今天會利用gqlgen這個套件來產生一個基本的後端架構
首先開啟terminal 依序輸入以下指令
user@userdeMBP GolandProjects % mkdir ithome
user@userdeMBP GolandProjects % cd ithome
user@userdeMBP ithome % mkdir server
user@userdeMBP ithome % cd server
// 這邊的[username]就自己隨意填就好 不影響
user@userdeMBP server % go mod init github.com/[username]/server
user@userdeMBP server % printf '// +build tools\npackage tools\nimport (_ "github.com/99designs/gqlgen"\n _ "github.com/99designs/gqlgen/graphql/introspection")' | gofmt > tools.go

go mod tidy

user@userdeMBP server % go run github.com/99designs/gqlgen init
完成後會看到專案架構像這樣
├── go.mod
├── go.sum
├── gqlgen.yml - The gqlgen config file, knobs for controlling the generated code.
├── graph
│ ├── generated - A package that only contains the generated runtime
│ │ └── generated.go
│ ├── model - A package for all your graph models, generated or otherwise
│ │ └── models_gen.go
│ ├── resolver.go - The root graph resolver type. This file wont get regenerated
│ ├── schema.graphqls - Some schema. You can split the schema into as many graphql files as you like
│ └── schema.resolvers.go - the resolver implementation for schema.graphql
└── server.go - The entry point to your app. Customize it however you see fit
接著我們可以在schema.graphqls內看到下面這些內容,就是透過這樣的格式跟graphql溝通
type Todo {
  id: ID!
  text: String!
  done: Boolean!
  user: User!
}

type User {
  id: ID!
  name: String!
}

type Query {
  todos: [Todo!]!
}

input NewTodo {
  text: String!
  userId: String!
}

type Mutation {
  createTodo(input: NewTodo!): Todo!
}
接著到resolver.go內將檔案修改如下,把我們透過gqlgen init 產生的model 加入到 Resolver struct
type Resolver struct {
	todos []*model.Todo
}
再來到schema.resolver.go,當我們進行任何graphql操作,方法就是寫在裡面
我們可以看到CreateTodo跟Todos這兩個方法還沒有被實作,所以他有用panic提醒我們尚未實作功能
// CreateTodo is the resolver for the createTodo field.
func (r *mutationResolver) CreateTodo(ctx context.Context, input model.NewTodo) (*model.Todo, error) {
	panic(fmt.Errorf("not implemented: CreateTodo - createTodo"))
}

// Todos is the resolver for the todos field.
func (r *queryResolver) Todos(ctx context.Context) ([]*model.Todo, error) {
	panic(fmt.Errorf("not implemented: Todos - todos"))
}

// Mutation returns generated.MutationResolver implementation.
func (r *Resolver) Mutation() generated.MutationResolver { return &mutationResolver{r} }

// Query returns generated.QueryResolver implementation.
func (r *Resolver) Query() generated.QueryResolver { return &queryResolver{r} }

type mutationResolver struct{ *Resolver }
type queryResolver struct{ *Resolver }
把這兩個方法修改如下:
func (r *mutationResolver) CreateTodo(ctx context.Context, input model.NewTodo) (*model.Todo, error) {
todo := &model.Todo{
Text: input.Text,
// 這邊import的rand 是"math/rand"
ID: fmt.Sprintf("T%d", rand.Int()),
User: &model.User{ID: input.UserID, Name: "user " + input.UserID},
}
r.todos = append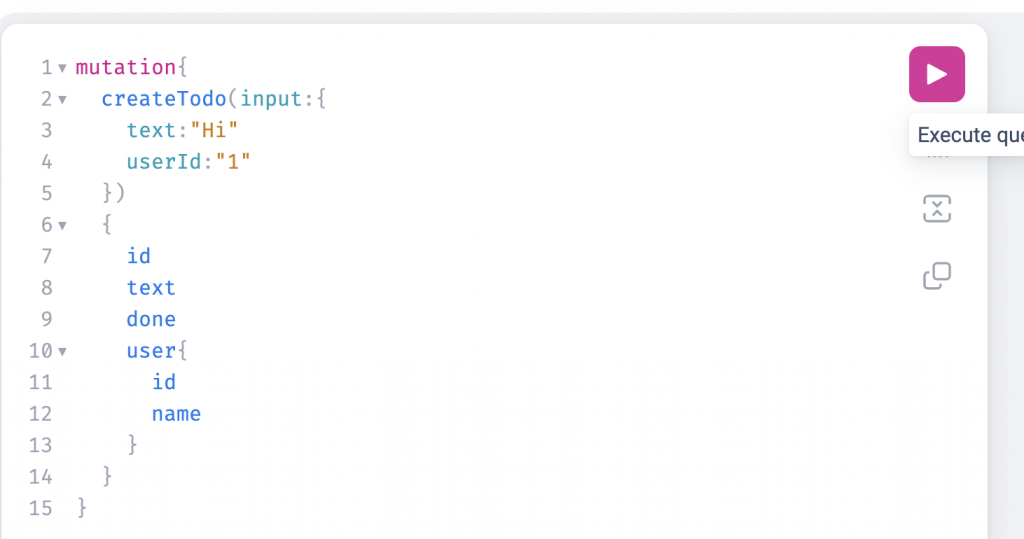(r.todos, todo)
return todo, nil
}
func (r *queryResolver) Todos(ctx context.Context) ([]*model.Todo, error) {
return r.todos, nil
}
之後可以回到terminal輸入
user@userdeMBP server % go mod tidy
user@userdeMBP server % go run server.go
//看到這個代表已經連接到graphql了
2022/09/24 20:47:16 connect to http://localhost:8080/ for GraphQL playground
打開localhost:8080
可以看到以下畫面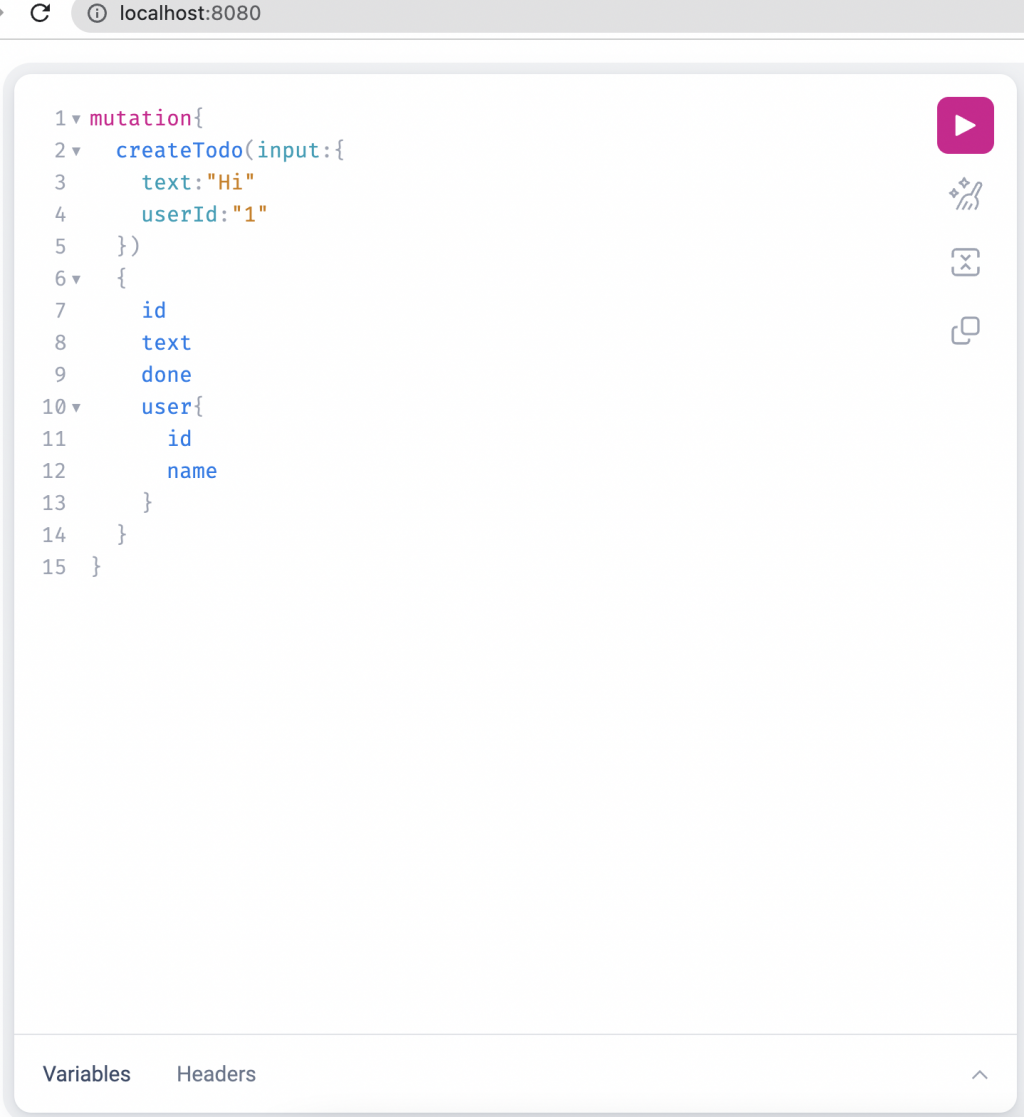
接著按下右邊的紅框 執行createTodo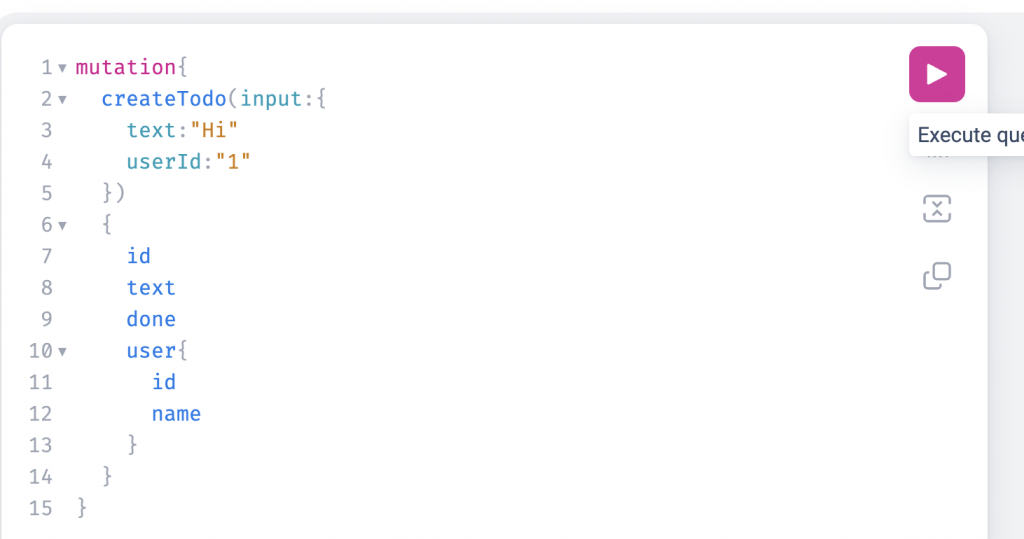
mutation{
  createTodo(input:{
    text:"Hi"
    userId:"1"
  })
  {
    id
    text
    done
    user{
      id
      name
    }
  }
}
可以看到我們成功新增了一筆資料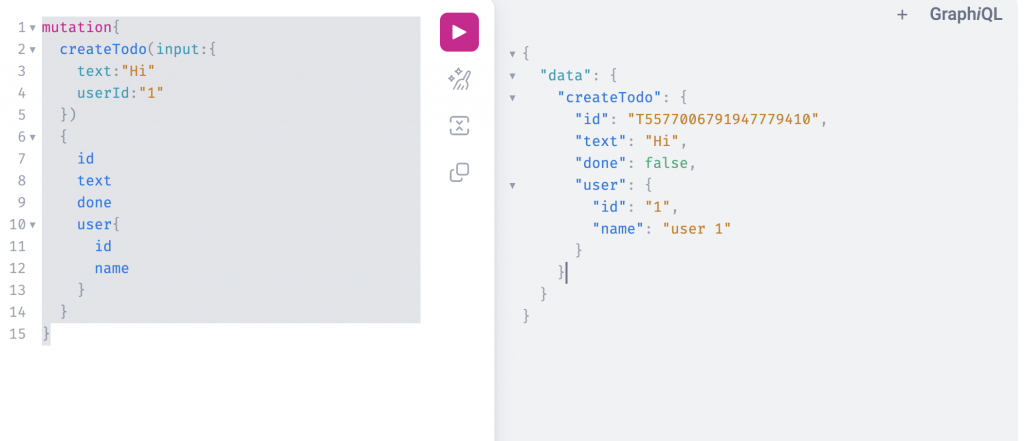
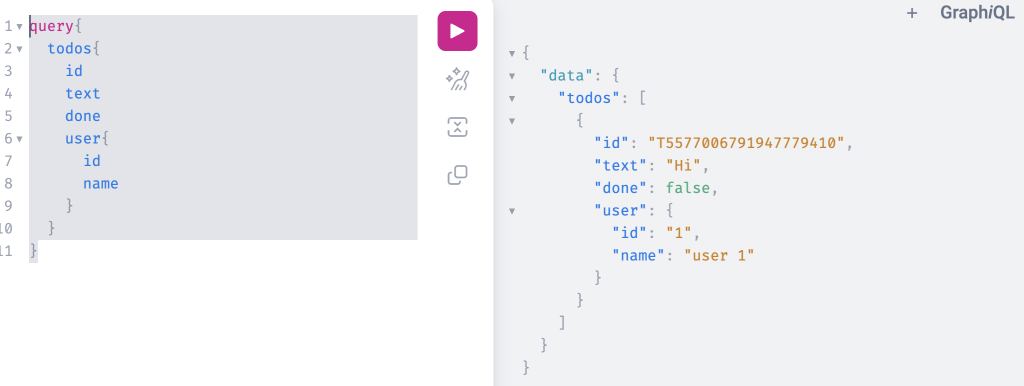
接著可以用query查詢我們剛剛的資料
query{
  todos{
    id
    text
    done
    user{
      id
      name
    }
  }
}
gqlgen大致上功能就介紹到這邊
