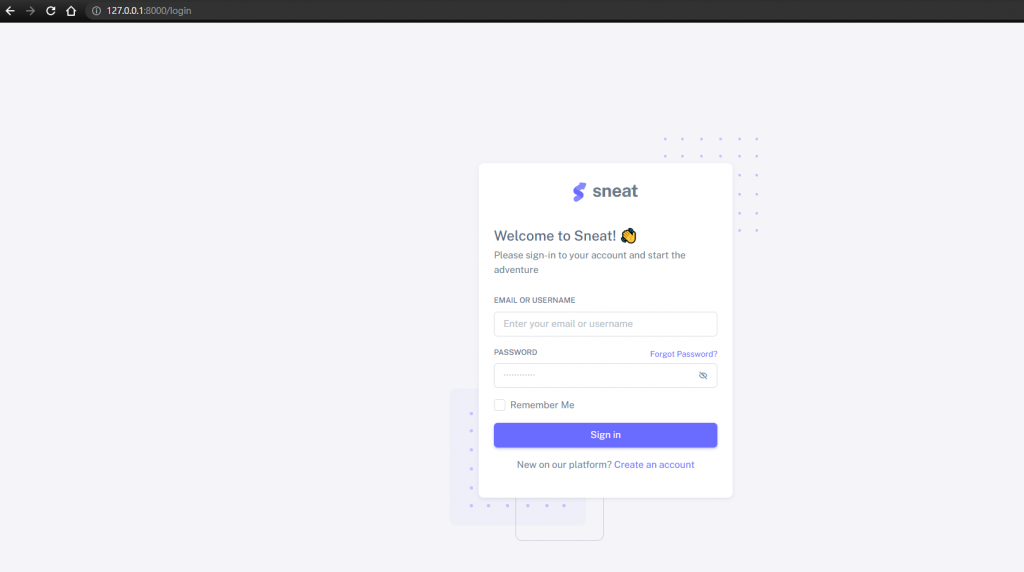
一、登入頁面
- App\Providers\RouteServiceProvider 修改預設轉指路徑
    # 將轉只設定道路由 adm 下
    // ... 其他程式省略
    public const HOME = '/adm';
- App\Http\Controllers\Auth\LoginController 覆寫(override) 表單頁面 showLoginForm() 方法
- 基本 function 都有使用特徵或繼承引入, 只改寫一些需要客製化的部分
    public function showLoginForm()
    {
        return view('admin.pages.user.login');
    }
- 覆寫(override) 表單頁面 logout() 方法
    public function logout(Request $request)
    {
        $this->guard()->logout();

        $request->session()->invalidate();

        $request->session()->regenerateToken();

        if ($response = $this->loggedOut($request)) {
            return $response;
        }

        return $request->wantsJson()
            ? new JsonResponse([], 204)
            : redirect()->route('login');
    }

    // 預設路由只提供 POST 方法訪問登出
    // 另外新增一個 GET 路由
    // routes/web.php
    Route::get('/logout', '\App\Http\Controllers\Auth\LoginController@logout');
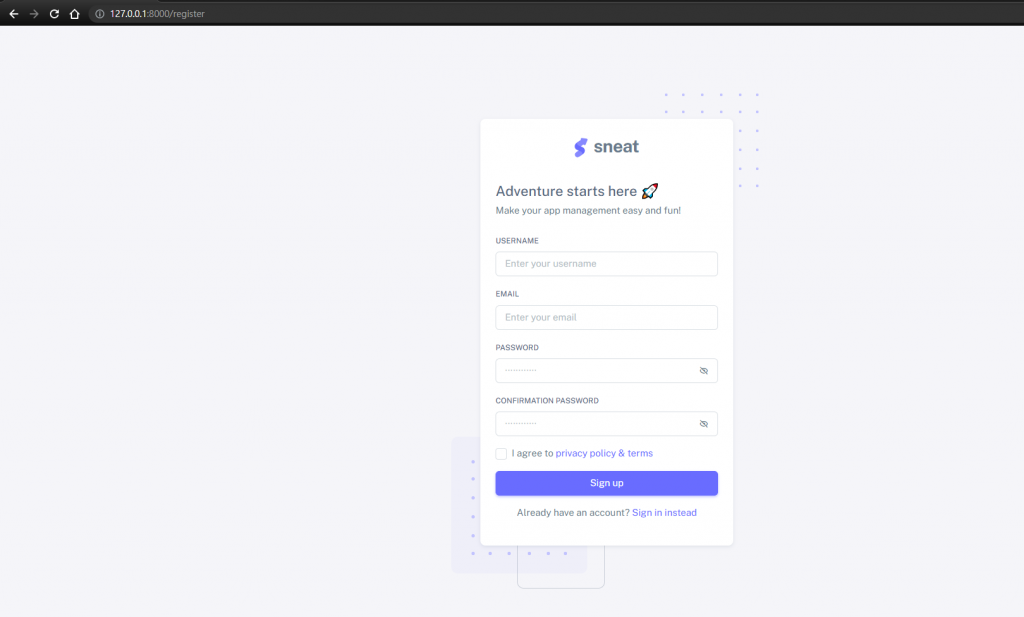
二、註冊頁面
- App\Http\Controllers\Auth\RegisterController 覆寫(override) 表單頁面 showRegistrationForm() 方法
    // ... 其他程式省略
    public function showRegistrationForm()
    {
        return view('admin.pages.user.register');
    }
- 表單 html 主要欄位
- name: 使用者名稱
- email: 使用者 email
- password: 使用者密碼
- password_confirmation: 確認使用者密碼, 提供程式驗證是否與密碼相同
- action: 表單傳送位置使用 POST 方法到 route('register') 下
    <form id="formAuthentication" class="mb-3"
            action="{{ route('register') }}" method="POST">
       // ... 其他程式省略
    </form>
    // App\Models\User
    // implements MustVerifyEmail 介面
    use Illuminate\Contracts\Auth\MustVerifyEmail;
    class User extends Authenticatable implements MustVerifyEmail
    {
        // ... 其他程式省略
    }

    // routes/web.php 設定使用驗證
    Auth::routes([ 'verify' => true ]);

    // 在要使用驗證 email 使用者的路由加上 verified middleware
    Route::get('/', [AdminController::class, 'index'])
            ->name('admin.index')
            ->middleware('verified');
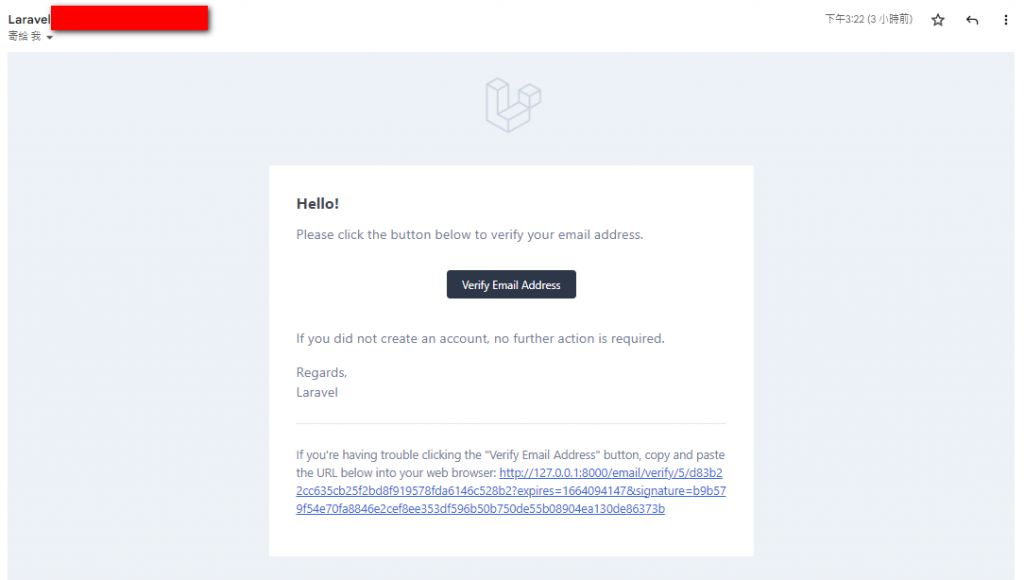
- 頁面畫面
- 預設驗證信畫面
- 點選連結即可完成驗證, 資料表 user 欄位 email_verified_at 會記錄驗證時間
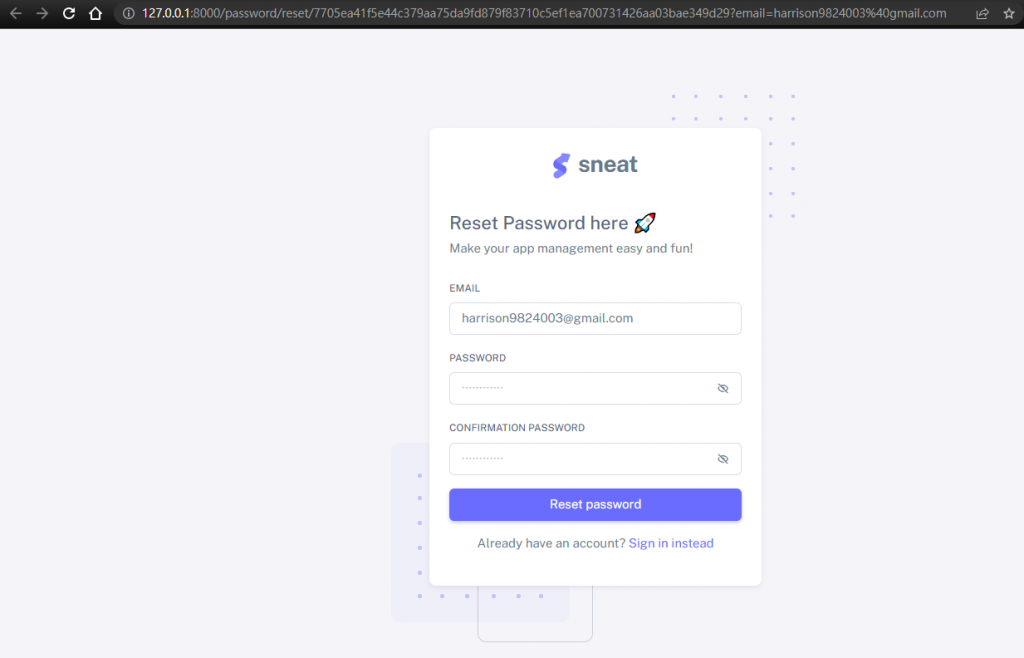
三、忘記密碼與重設密碼
- App\Http\Controllers\Auth\ForgotPasswordController 覆寫(override) 表單頁面 showLinkRequestForm() 方法
    // ... 其他程式省略
    public function showLinkRequestForm() {
        return view('admin.pages.user.reset');
    }
- 表單 html 主要欄位
- email: 使用者 email
- csrf 驗證
- action: 表單傳送位置使用 POST 方法到 route('password.email') 下
- 頁面畫面
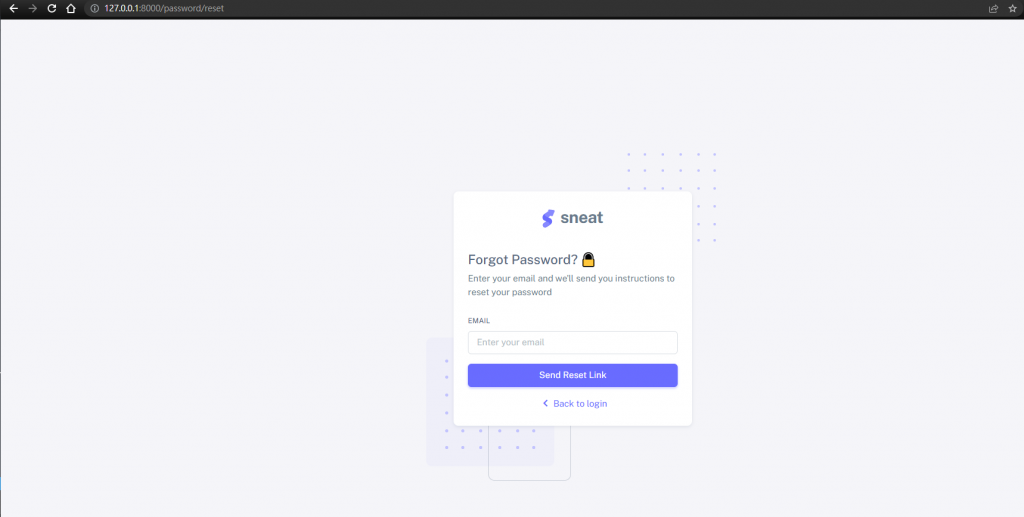
- 預設驗證信畫面
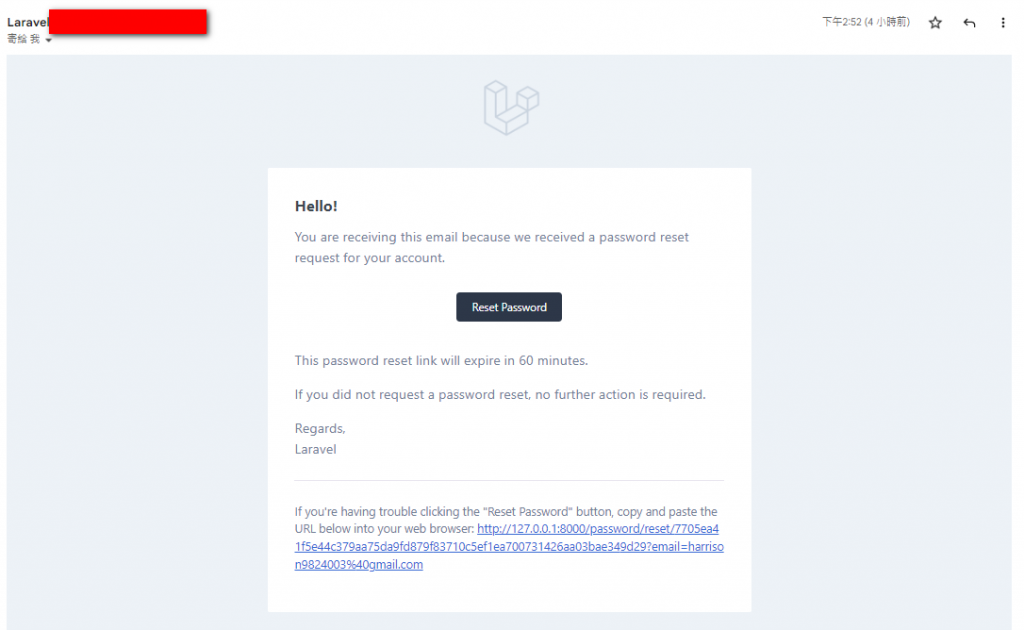
- 點擊信中重設連結到重設頁面
- 主要欄位
- email: 使用者 email 可以重網址連結中帶入
- password: 輸入要修改的密碼
- password_confirmation: 確認密碼提供程式驗證是否與 password 一樣
- token: 由信中連結傳來帶入表單提供驗證
- csrf 驗證
- 表單畫面
四、設定 middleware 路由
    Route::group(['prefix' => 'adm', 'middleware' => ['auth', 'admin.menu']], function(){
        // ... 其他程式省略
    });
- 其他常用 middleware
- auth.basic 設定驗證用戶定使用 HTTP Basic Authentication 訪問
- guest 讓位通過驗證的用戶造訪
- can 授權用戶造訪指定路由
五、模板內使用身分指令
- @auth ... $endauth
- 設定通過用戶驗證才顯示
- 可用小括弧包住 guard 指定特定守衛
- @guest ... @endguest
- 設定未通過使用者驗證要顯示的內容
- 也可用小括弧包住 guard 指定特定守衛
六、Guard 守衛
- 主要由兩個部分組成
- dirver 驅動器: 用來定義如何存取驗證的狀態, 目前有提供 session 和 token
- provider 供應器: 設定用哪一個方式來取得用戶, e.g. 使用 user 資料表驗證
- 取得 guard 流程, 使用 auth middleware 說明
- 當請求進入 App 內經過 middleware 時會跑到 App\Http\Middleware\Authenticate
- App\Http\Middleware\Authenticate 是繼承 Illuminate\Auth\Middleware\Authenticate
- Illuminate\Auth\Middleware\Authenticate 內會呼叫自身的 authenticate() 方法
- authenticate() 內會去判斷要使用哪個 guard, 此時會執行 $this->auth->guard($guard)->check() 來判斷
- $this->auth 是在 __construct 時傳入, 是用 Illuminate\Auth\AuthManager 實例
- Illuminate\Auth\AuthManager 實例
- 在 \Illuminate\Auth\AuthServiceProvider\AuthServiceProvider 內建立的
- 主要功能是判斷要解析哪個 driver 建立 guard 實例
- guard 實例
- 是由 \Illuminate\Contracts\Auth 或者 \Illuminate\Contracts\Auth\StatefulGuard 實現的
- 主要 guard 有三個 request, session, token, 其對應的 Class 為:
- \Illuminate\Auth\RequestGuard.php
- \Illuminate\Auth\SessionGuard.php
- \Illuminate\Auth\TokenGuard.php
- 當取的 guard 實例後, 就會用 session 中的 user id 或是 token 內的資訊, 去對 eloquent 或是 database 查詢驗證是否有這位使用者, 並可以繼續進入之後的流程, 或是導回到等路頁面做驗證動作
參考資料:關於Laravel框架中Guard的底層實現
- 預設的 guard
    // ... 其他程式省略
    'defaults' => [
        'guard' => 'web',
        'passwords' => 'users',
    ],
- 在程式碼中切換守衛
$apiUser = auth()->guard('api')->user();
- 設定新守衛
    // 在 guards 下設定新的守衛
    'guards' => [
        'web' => [
            'driver' => 'session',
            'provider' => 'users',
        ],
        'api' => [
            'driver' => 'token',
            'provider' => 'tokenUsers'
        ]
    ],

    // 到 providers 建立新的 provider
    // driver 可以設定成 database 或 eloquent
    'providers' => [
        'users' => [
            'driver' => 'eloquent',
            'model' => App\Models\User::class,
        ],

        'tokenUsers' => [
            'driver' => 'database',
            'table' => 'users',
        ],
    ],
- 非關聯資料表另外設定守衛
- 實作 Illuminate\Contracts\Auth\UserProvider
- 在 boot() 方法中綁定
    auth()->provider('test', function( $app, array $config) {
        return new TestUserProvider($app['test.connection']);
    });
github 進版


 iThome鐵人賽