開始在VMware上建立第一台VM及使用Customization Specification複製VM並產生新的 Windows SID
Step1.點選VM要建立host位置 >右鍵>新增虛擬機器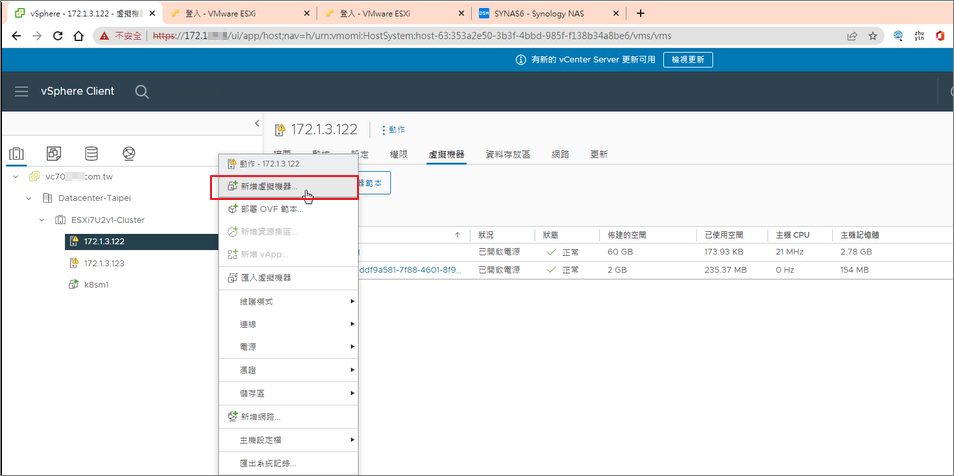
Step2.建立新的虛擬機器 >Next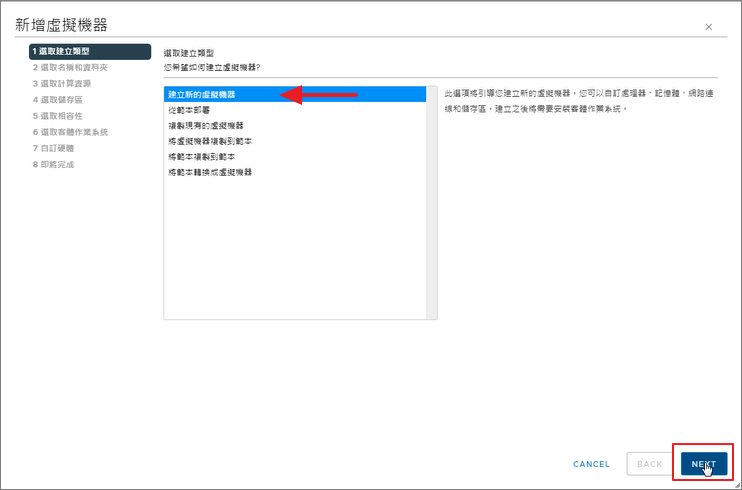
Step3.輸入虛擬機器名稱 >Next
Step4.選擇host >Next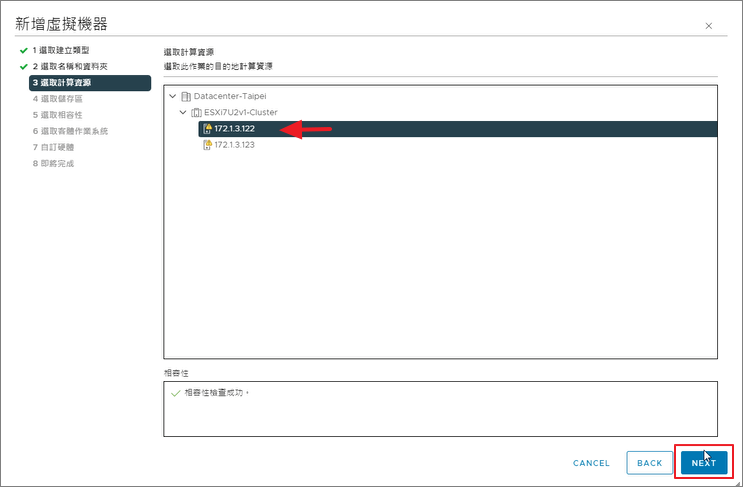
Step5.選擇儲存位置 >Next
Step6.選擇VM要相容的版本>Next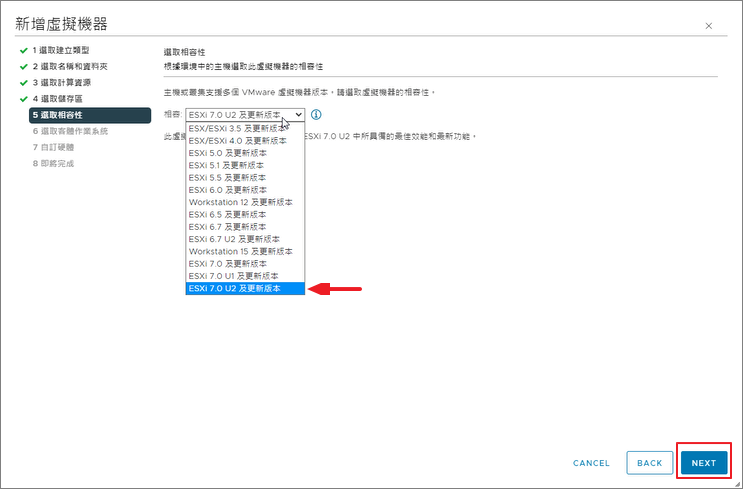
Step7.選擇要安裝的作業系統 >Next (此處作業系統的清單條列,會因為Step.VM的版本選擇而出現不同清單)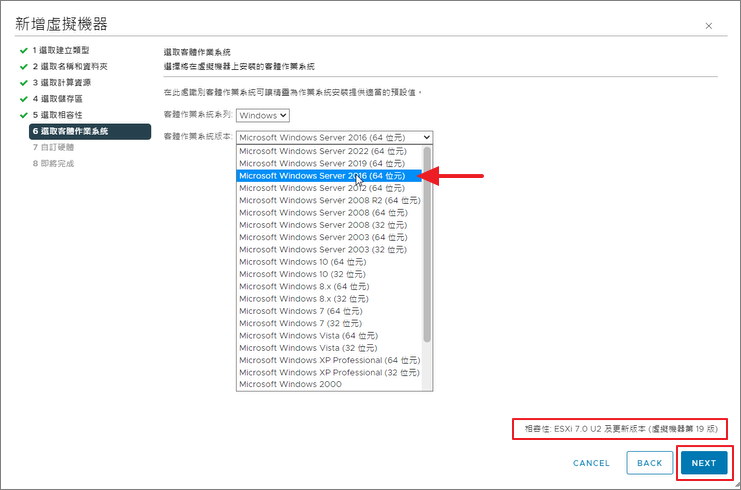
Step8.確認和調整需要的資源後 >Next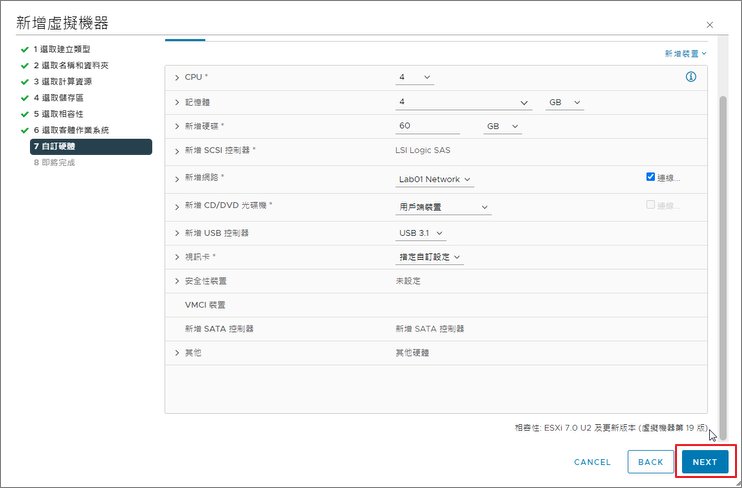
Step9.Finish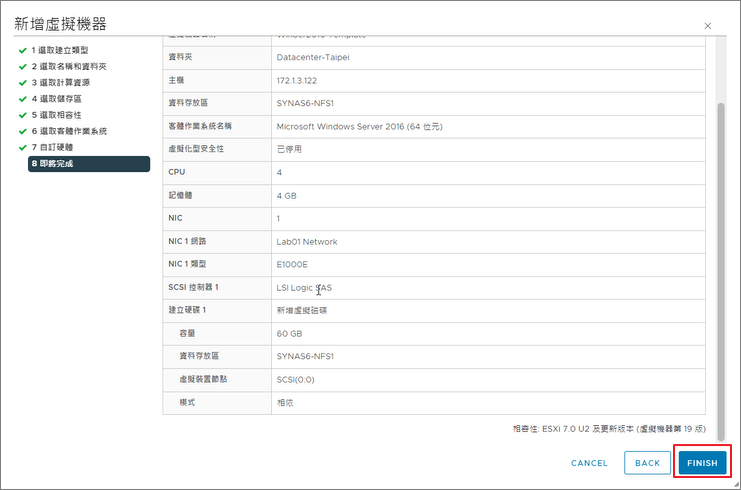
Step10.點選該VM >右鍵編輯設定>掛載ISO檔案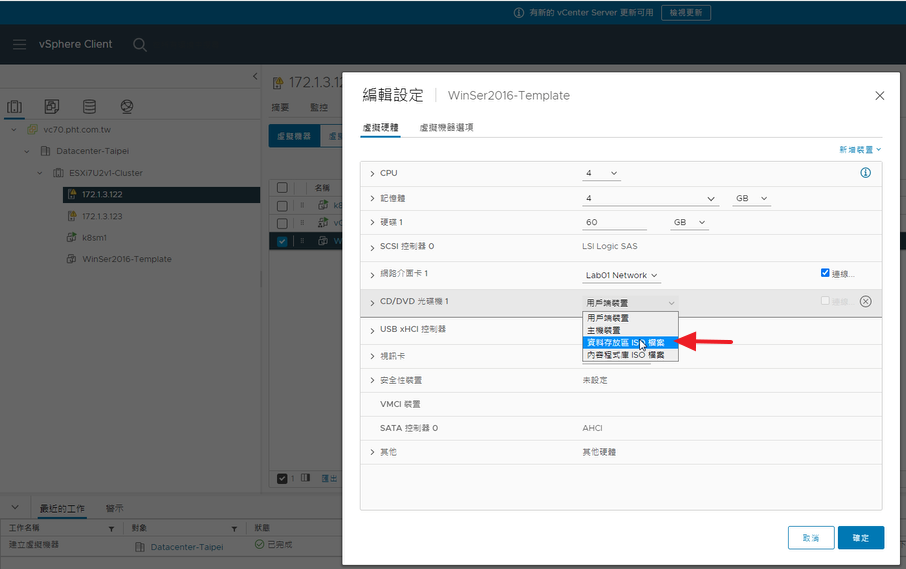
Step11.點選「開啟電源時連線」>確定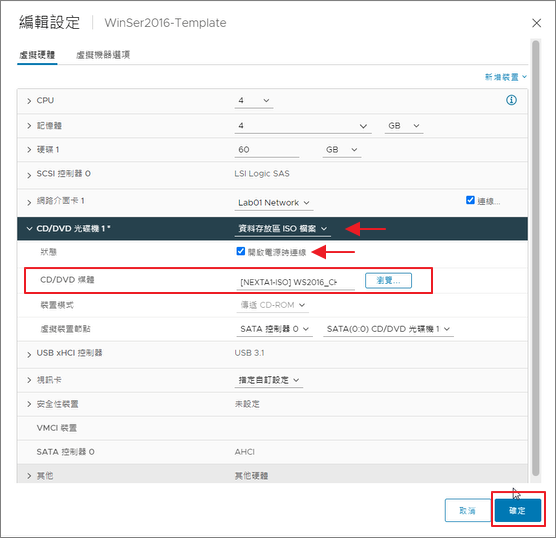
Step12.啟動作業系統安裝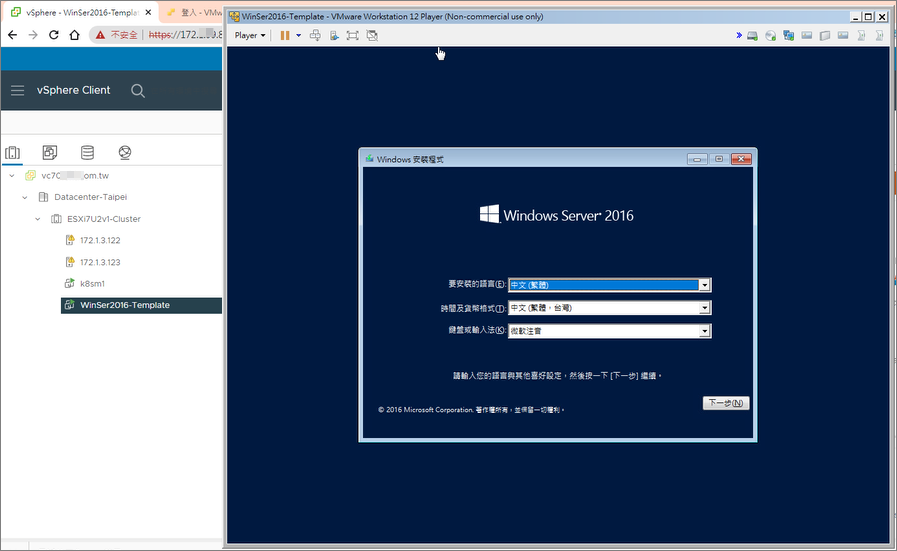
Step13.選擇作業系統版本 >Next >將系統安裝完成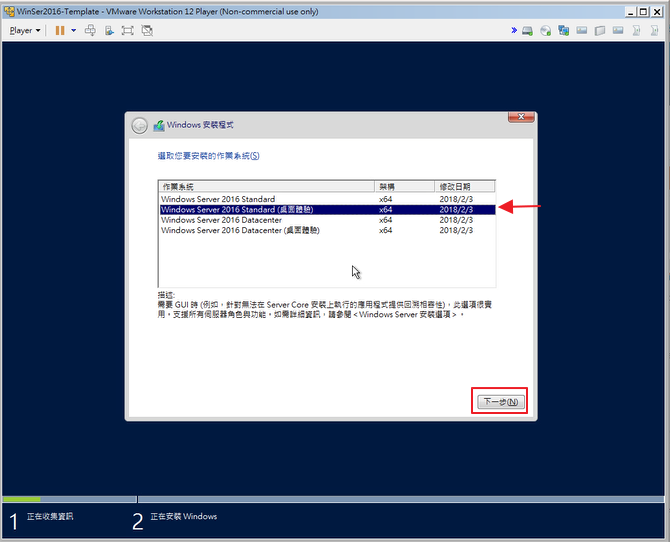
Step14.啟動作業系統後 >執行devmgmt.msc 打開裝置管理員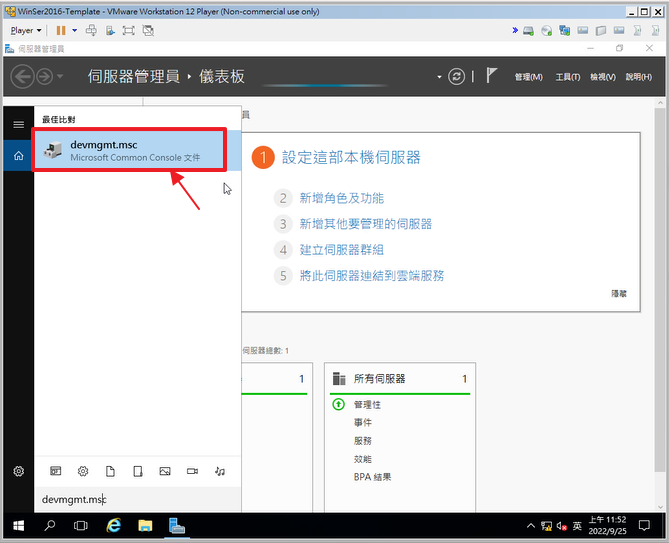
Step15.可以看到部分裝置並未偵測到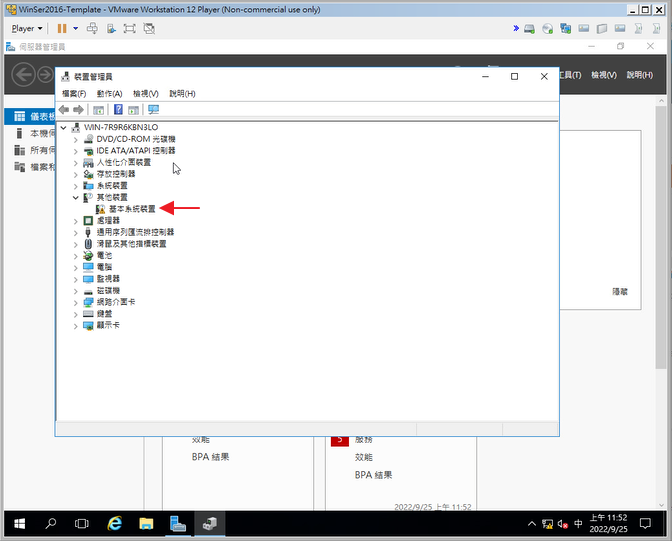
Step16.安裝VM Tools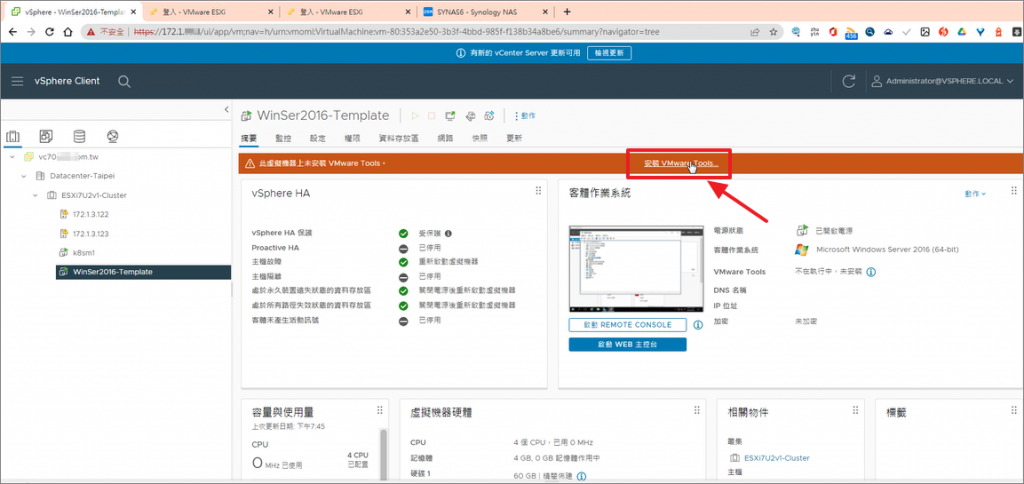
Step17.掛接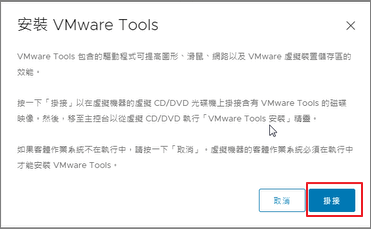
Step18.回到OS執行setup64.exe >進行VM Tools安裝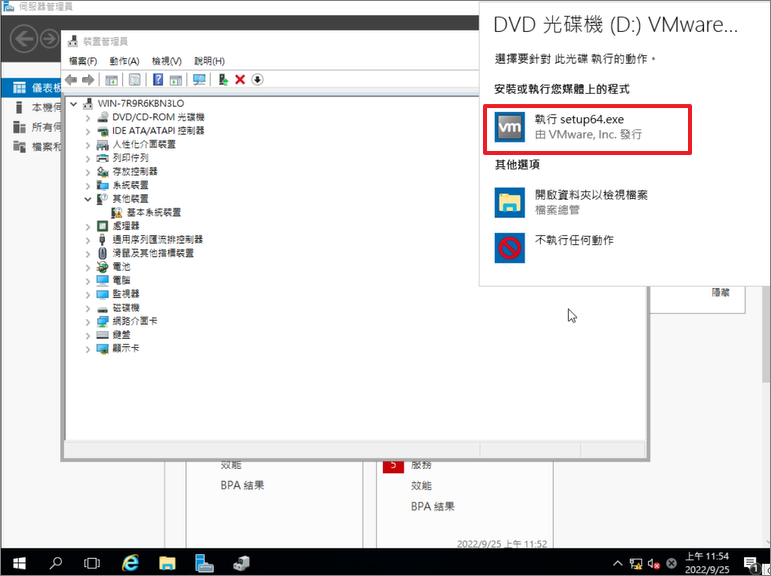
Step19.安裝完成後 >確認裝置管理員所有裝置偵測正常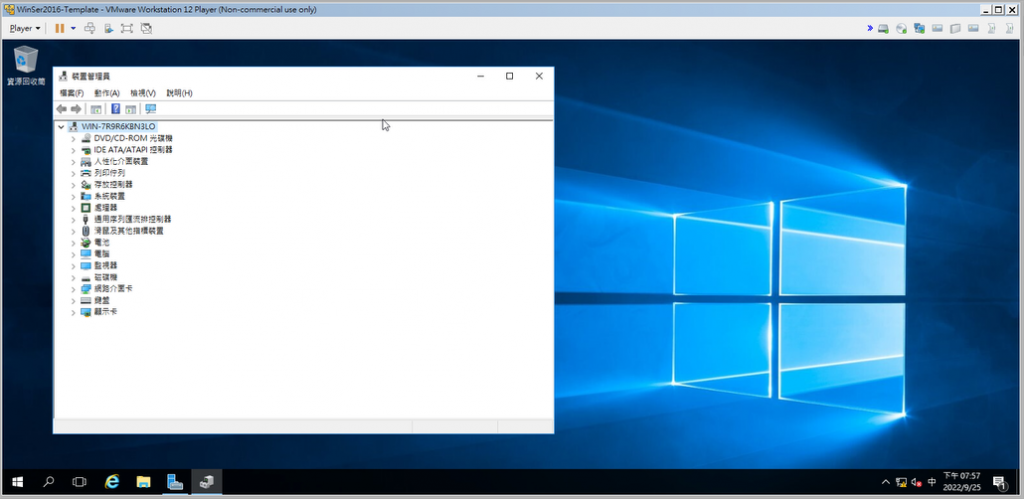
Step20.進行Windows Update將OS保持當下最新狀態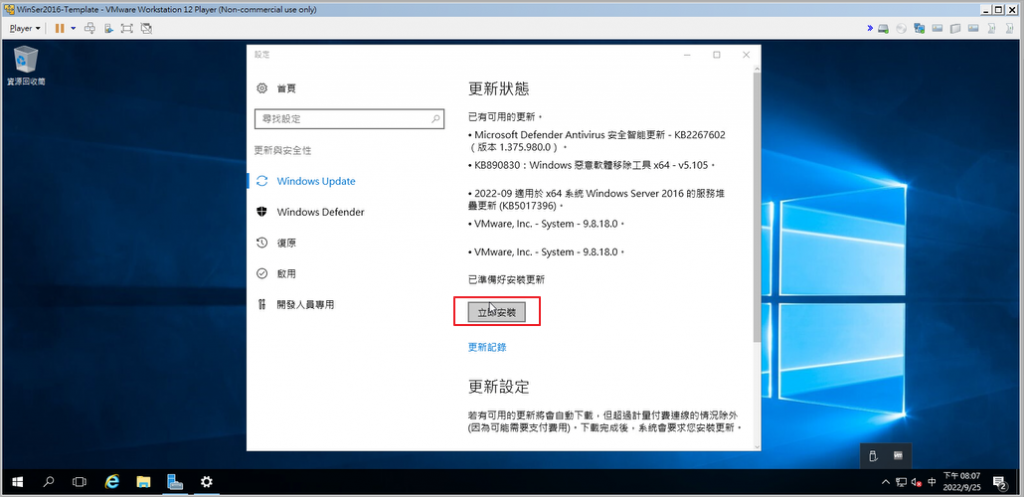
Step21.接下來我創建一個 windows版本的原則設定檔;未來可以拿此設定檔來產生新的SID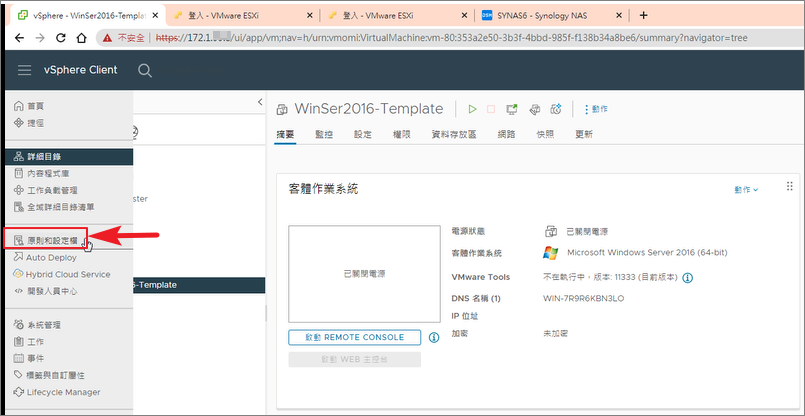
Step22.新增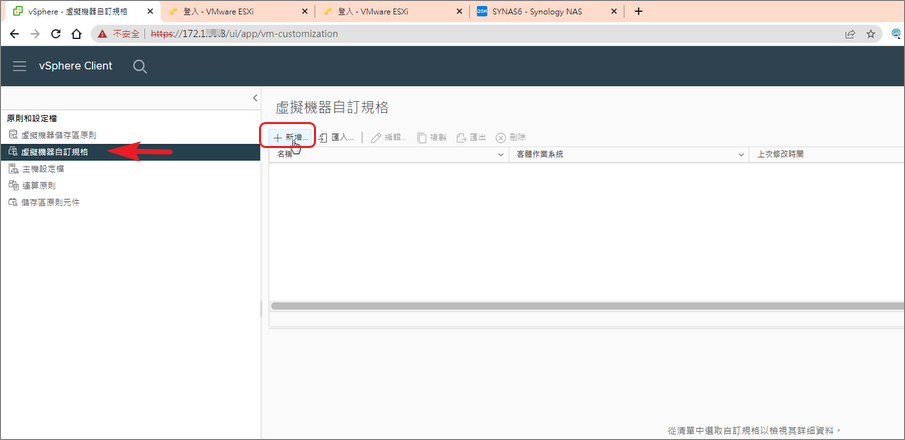
Step23.自訂一個規格名稱 >選擇Windows >點選「產生新的安全性身分識別SID」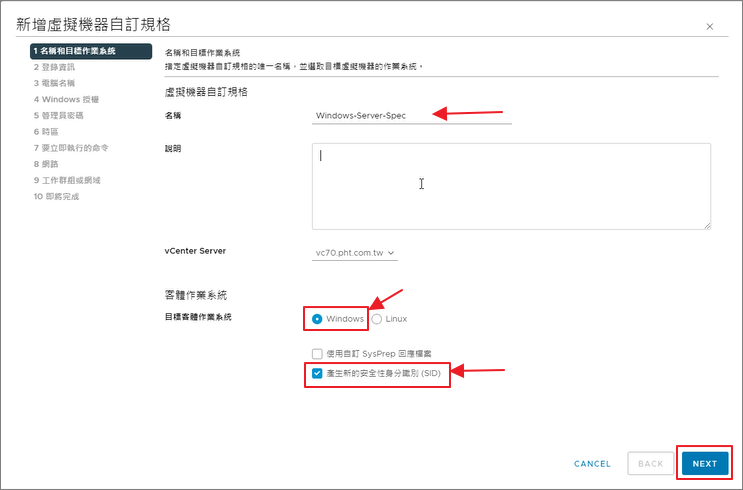
Step24.輸入擁有者名稱和擁有者組織 >Next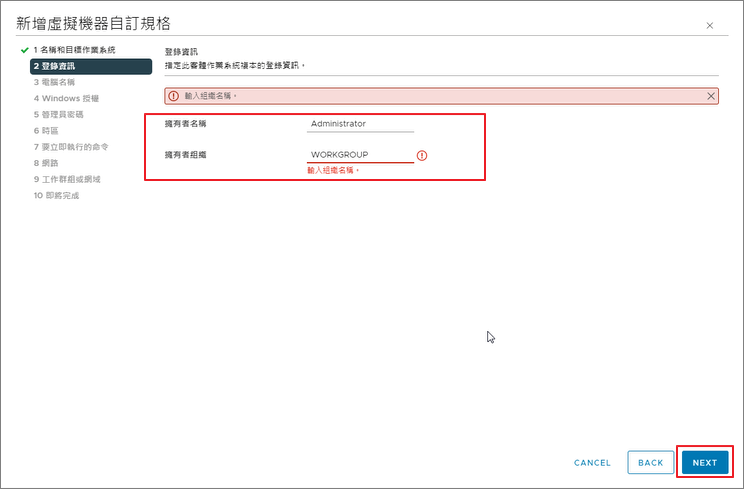
Step25.這邊可以指定VM建立後,電腦hostname >Next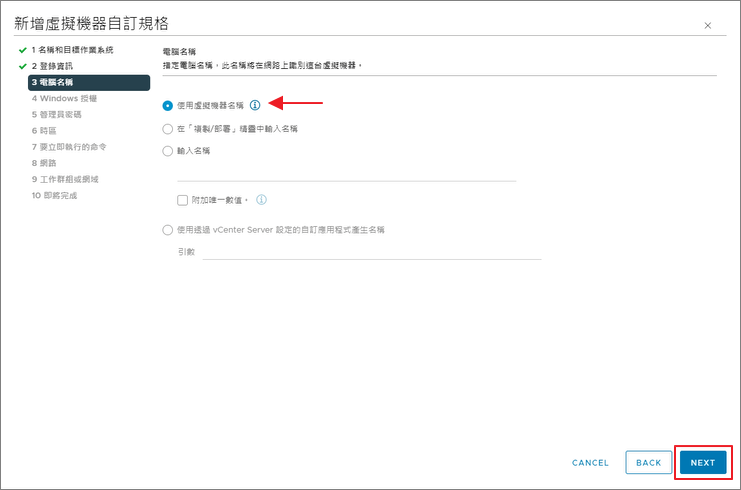
Step26.Next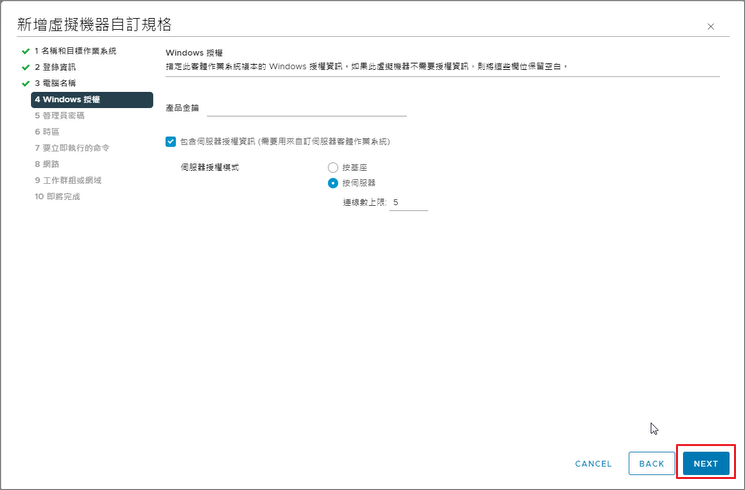
Step27.輸入管理者密碼 >Next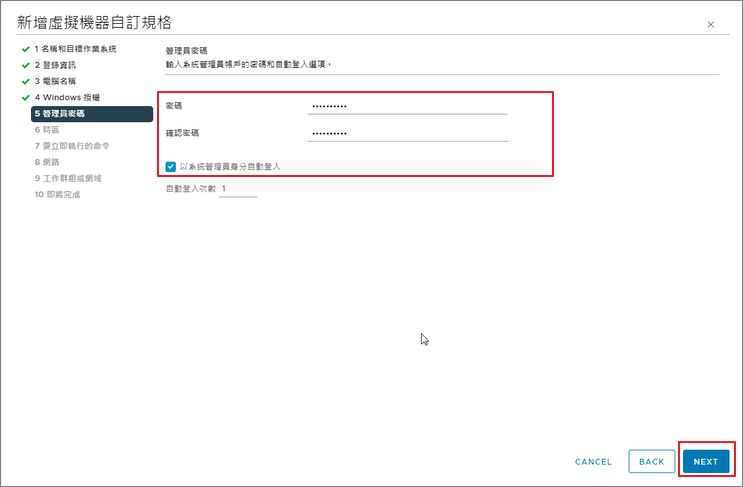
Step28.選擇時區 >Next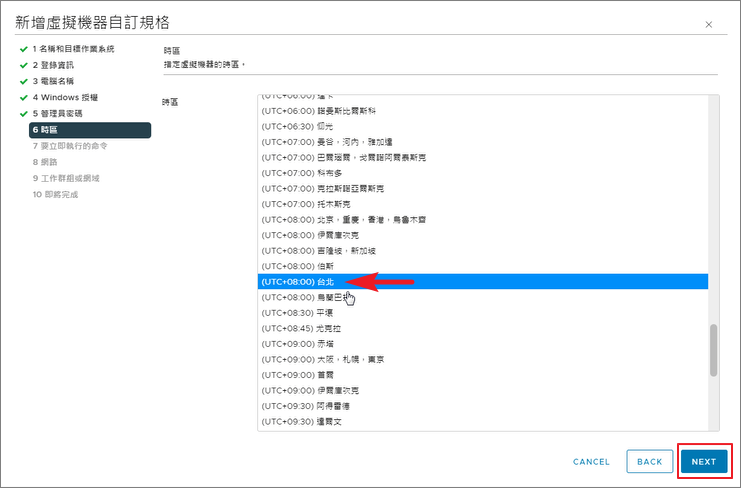
Step29.Next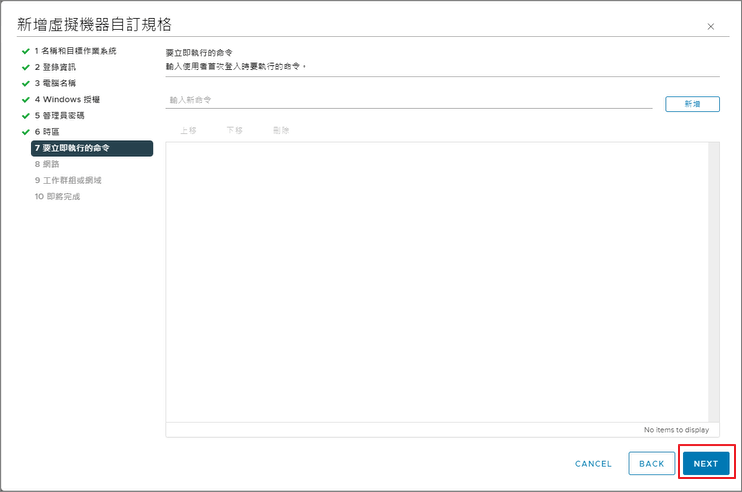
Step30.Next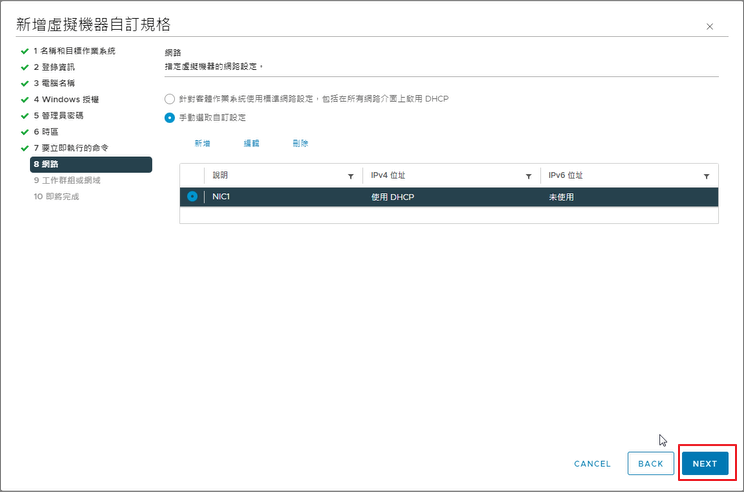
Step31.Next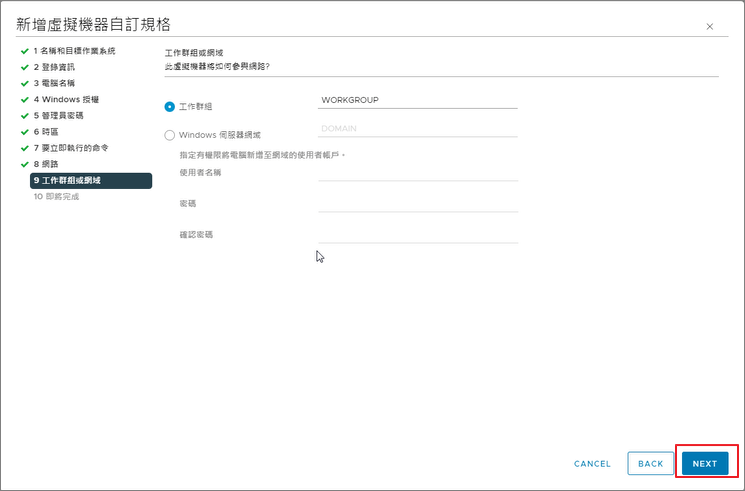
Step32.Finish
Step33.完成一個客制的【windows版本的原則設定檔】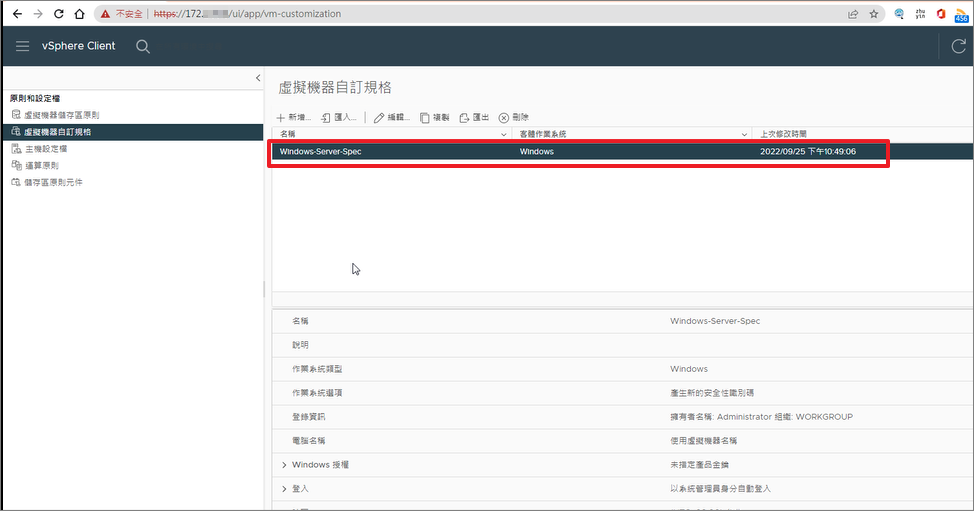
Step34.接下我們進行VM的複製(Clone)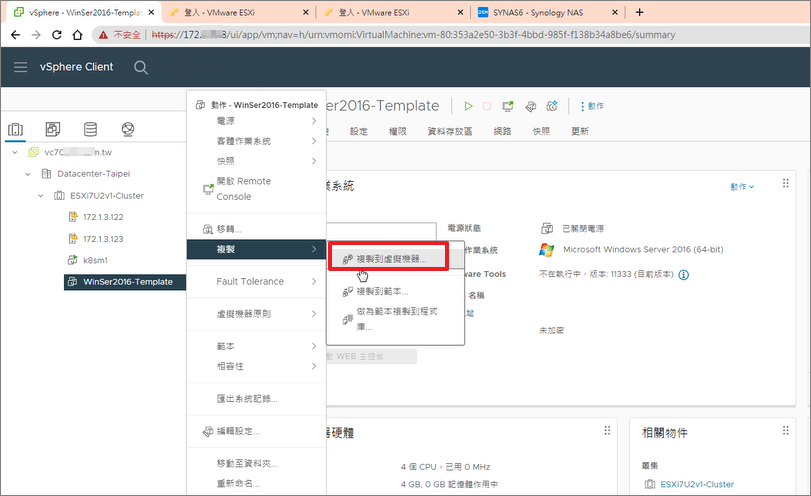
Step35.輸入虛擬機器名稱 >Next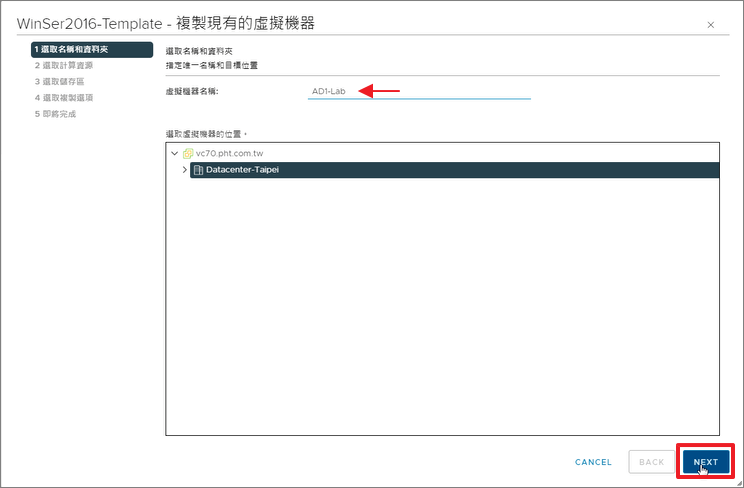
Step36.選擇ESXi host位置
Step37.選擇儲存區位置>Next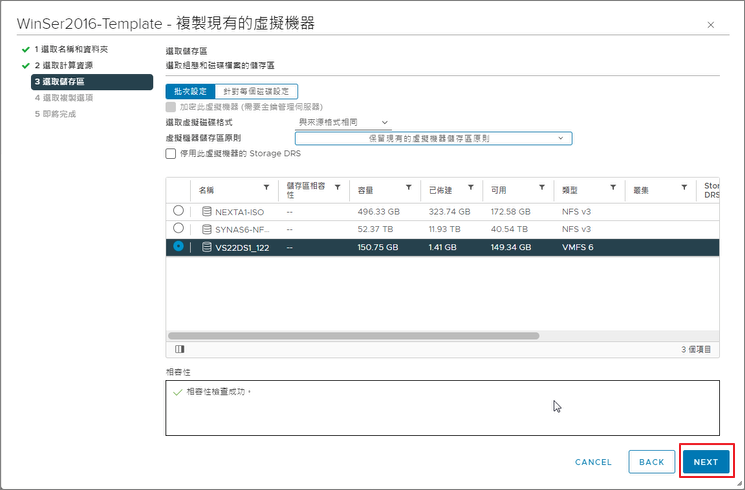
Step38.Next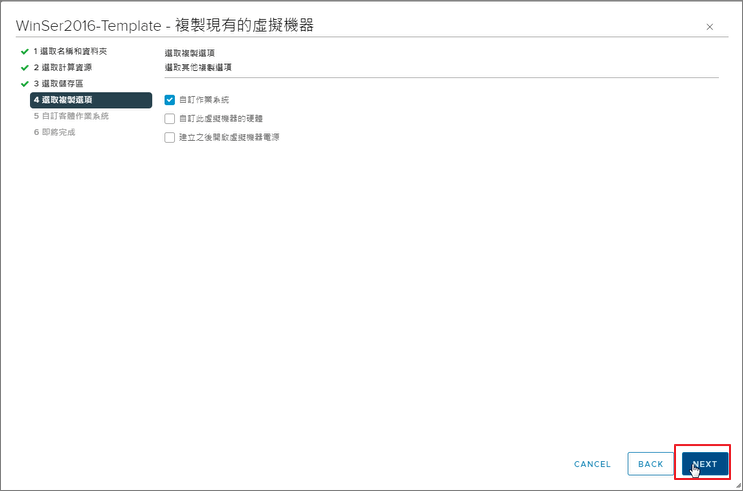
Step39.選擇前面建立的【windows版本的原則設定檔】>Next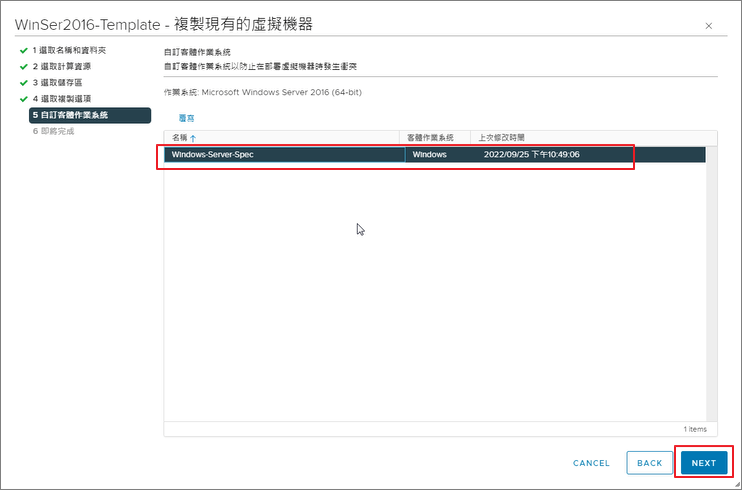
Step40.Finish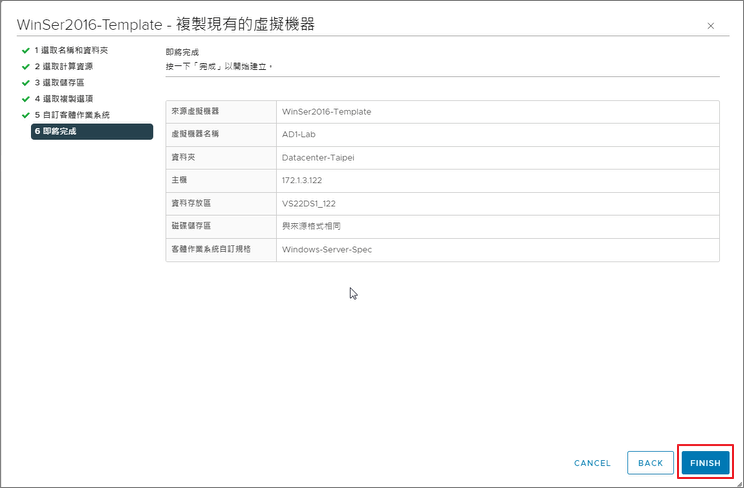
Step41.登入Clone的VM:AD1-Lab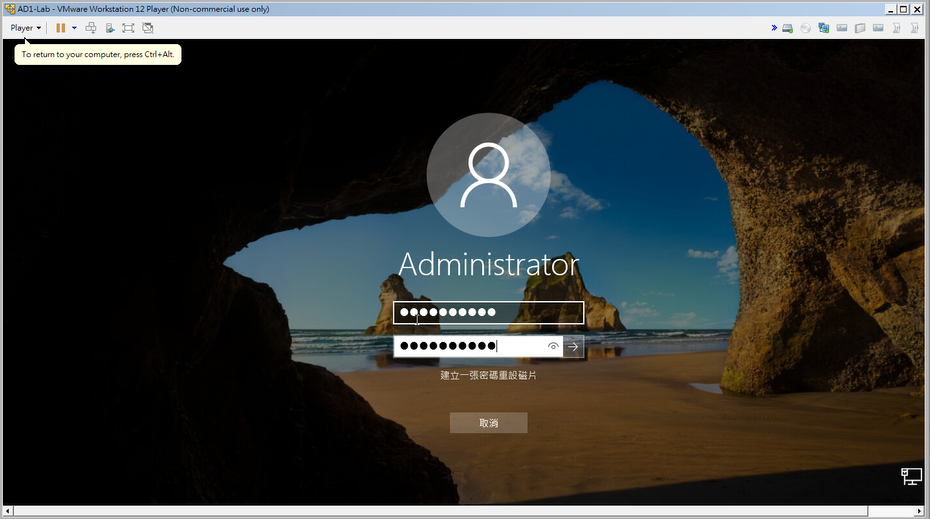
Step42.我們可以看到產生新的SID及Hostname會依據VM名稱去建立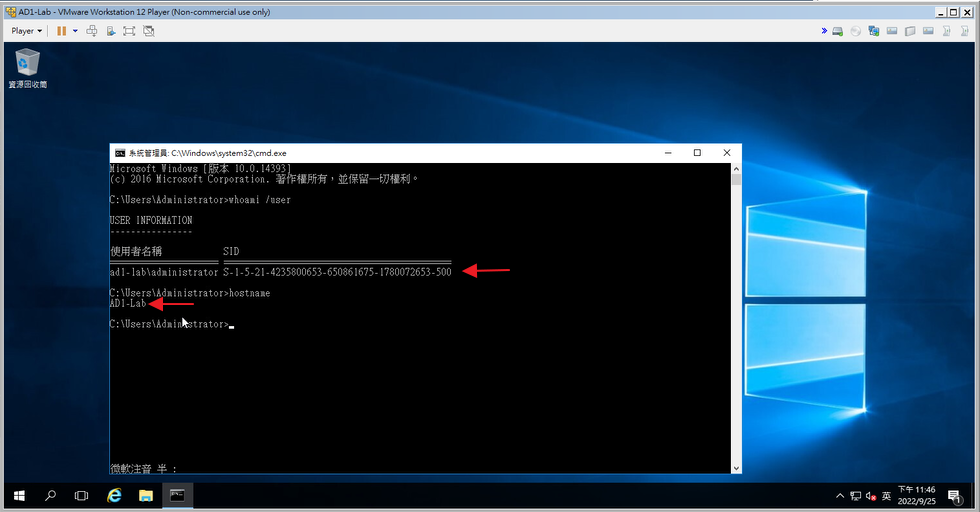
透過客制設定檔的方式,未來我們要新建一台VM,自然會快速便利許多。


 iThome鐵人賽