假設現在有一個租賃管理服務公司提出一個需求,有一批租戶的資訊需要被維護與管理,我們需要建一個頁面供使用者查詢租戶資訊,並支援新增,修改與刪除租戶資訊。
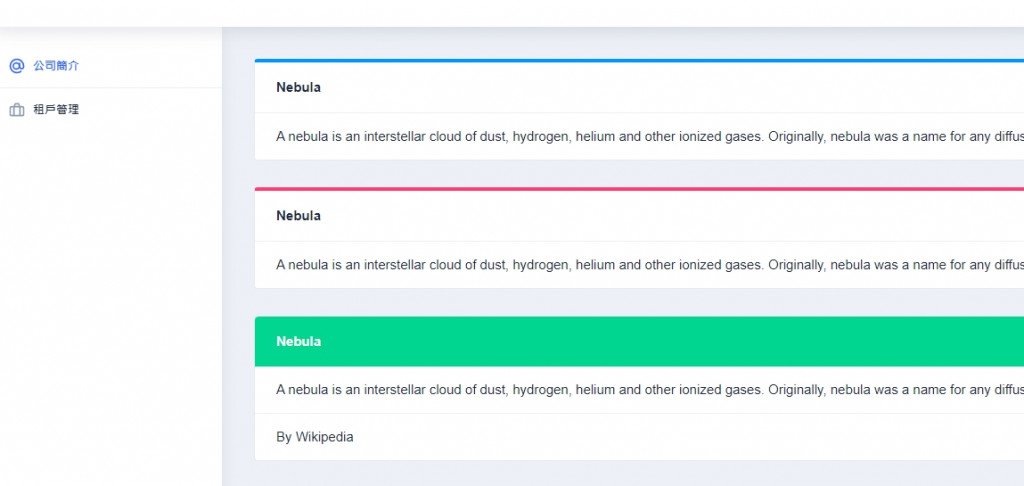
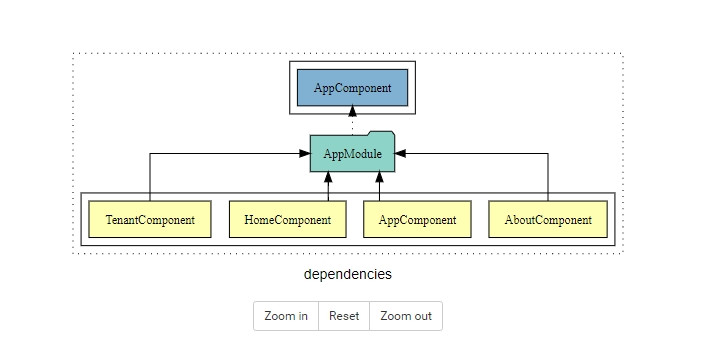
原本用於 POC 的 my-app 要開始進入開發階段了,讓我們先整理一下專案結構,首先建立 AboutComponent 與 TenantComponent 2個元件分別是公司簡介與租戶管理頁面的元件。
STEP 1. 建立元件
ng g c about

and

ng g c tenant
STEP 2. HomeComponent 改為入口
src\app\home\home.component.ts
import { NbMenuItem } from '@nebular/theme';

// 側邊樹狀菜單
items: NbMenuItem[] = [
    {
        title: '公司簡介',
        icon: { icon: 'at-outline', pack: 'eva' },
        link: '/home/about',
    },
    {
        title: '租戶管理',
        icon: { icon: 'briefcase-outline', pack: 'eva' },
        link: '/home/tenant',
    },
];
src\app\home\home.component.html
<nb-layout>
    <nb-layout-header fixed>
        <a href="#" (click)="toggle()"><i class="nb-menu"></i></a>
    </nb-layout-header>

    <!-- 側邊樹狀菜單 -->
    <nb-sidebar>
        <nb-menu [items]="items"></nb-menu>
    </nb-sidebar>

    <!-- 元件內容 -->
    <nb-layout-column class="colored-column-info">
        <router-outlet></router-outlet>
    </nb-layout-column>
</nb-layout>
STEP 3. 調整路由 src\app\app-routing.module.ts
const routes: Routes = [
    {
        path: 'home',
        component: HomeComponent,
        children: [
            {
                path: 'tenant',
                component: TenantComponent,
            },
            {
                path: 'about',
                component: AboutComponent,
            },
        ],
    },
    { path: '', redirectTo: 'home/about', pathMatch: 'full' },
    { path: '**', redirectTo: 'home/about' },
];

租戶管理元件已就緒,接下來我們可以進行相關開發了。
package.json Angular 啟動前先打開 Mockserver 方便前端開發
"scripts": {
    "start": "npm-run-all -p mock \"ng serve\"",
    "mock": "json-server ./_mockserver/_db.js -c _mockserver/config.json",
}
http://localhost:3000/myapp-tenant-list_mockserver\myapp\tenant\list.js
var faker = require("@faker-js/faker");

function generateCustomers() {
    var customers = [];

    // 自動產生 50筆 假資料
    for (var id = 0; id < 10; id++) {
        var firstName = faker.faker.name.firstName();
        var lastName = faker.faker.name.firstName();
        var phoneNumber = faker.faker.phone.phoneNumberFormat();
        var address = faker.faker.address.city();

        customers.push({
            id: id,
            first_name: firstName || null,
            last_name: lastName || null,
            phone: phoneNumber || null,
            address: address || null,
        });
    }

    return customers;
}

// 如果你要用json-server的話,就需要export
module.exports = generateCustomers();
API Response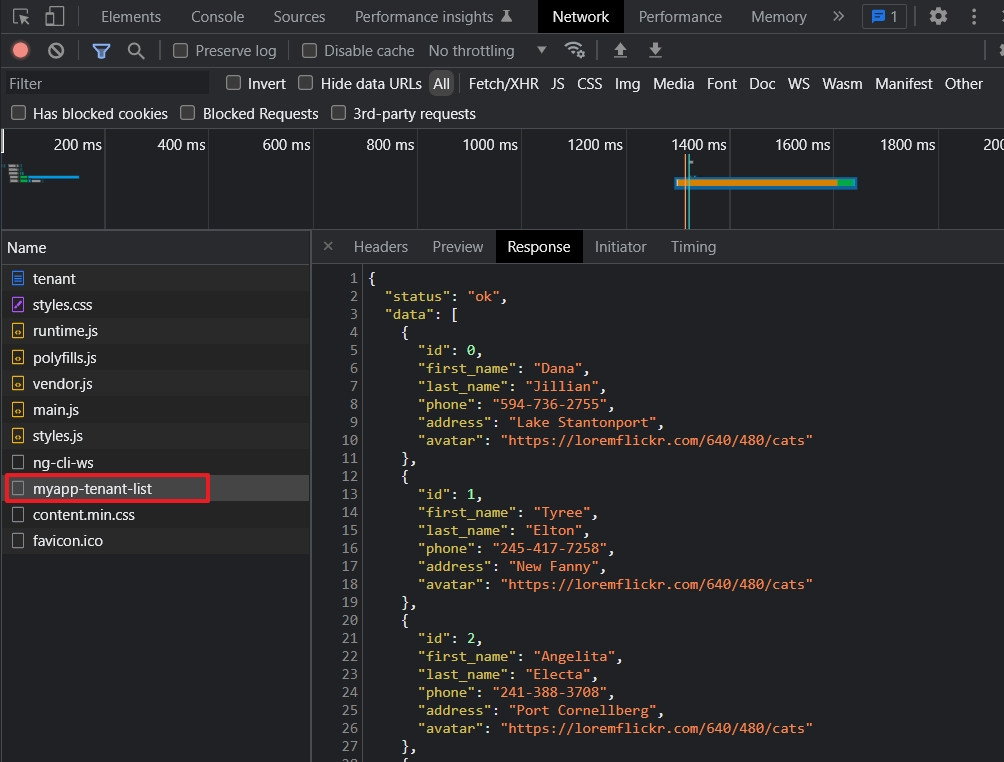
NbListComponent 與 NbUserComponent 建立租戶列表src\app\tenant\tenant.component.ts 接收資料async ngOnInit(): Promise<void> {
const resp: any = await this.httpService.httpGET('http://localhost:3000/myapp-tenant-list');
const data: [] = resp;
// 全部的租戶
this.tenantList = data;
// 過濾的租戶
this.queryTenantList = data;
}
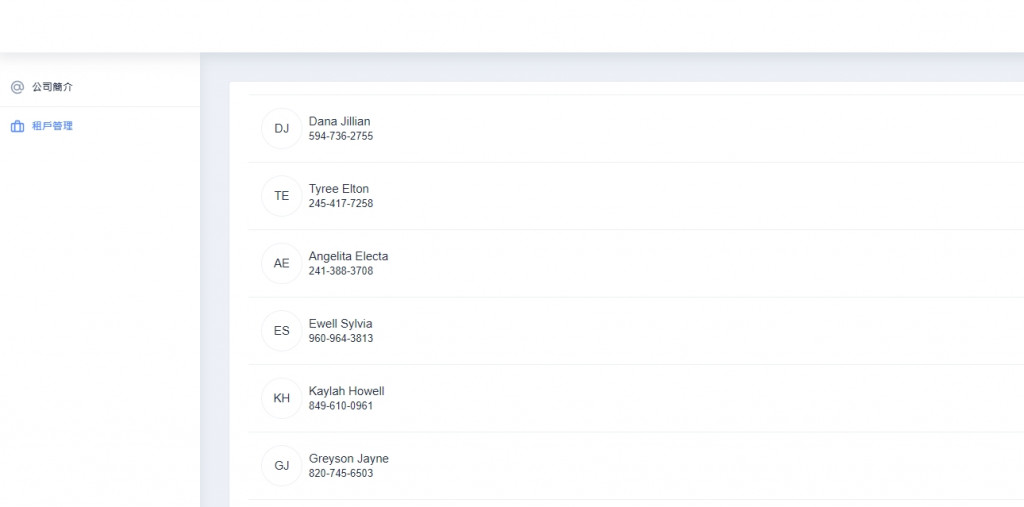
src\app\tenant\tenant.component.html 輸出結果<nb-card>
<nb-card-body>
<nb-list-item *ngFor="let tenant of tenantList">
<nb-user size="large" [title]="tenant['phone']" name="{{ tenant['first_name'] }} {{ tenant['last_name'] }}">
</nb-user>
</nb-list-item>
</nb-card-body>
</nb-card>
STEP 1. 雙向綁定搜尋字串 query 要先載入 FormsModule 模組
import { FormsModule } from '@angular/forms';
STEP 2. 修改 src\app\tenant\tenant.component.html
<!-- 搜尋框用於租戶查詢 -->
<nb-form-field>
    <nb-icon nbPrefix icon="search-outline" pack="eva"></nb-icon>
    <!-- 雙向綁定搜尋字串 query 觸發 filterItem 過濾租戶 -->
    <input type="text" nbInput [(ngModel)]="query" (input)="filterItem()" />
</nb-form-field>

<!-- 以過濾結果 queryTenantList 作為列表資料 -->
<nb-list-item *ngFor="let tenant of queryTenantList">
    <nb-user size="large" [title]="tenant['phone']" name="{{ tenant['first_name'] }} {{ tenant['last_name'] }}">
    </nb-user>
</nb-list-item>
STEP 3. 修改 src\app\tenant\tenant.component.ts
filterItem() {
    let result = [];
    if (!!this.query) {
        const tempList = this.tenantList;
        result = tempList.filter((item) => {
            const name = item['first_name'] + ' ' + item['last_name'];
            return !!~name.toLowerCase().indexOf(this.query.toLowerCase());
        });
    } else result = this.tenantList;

    this.queryTenantList = result;
}

本篇帶大家整理用於 POC 的 my-app,實作一個租戶管理頁面的元件,結合 Mockserver 的資料,用 Nebular 元件,做一個租戶管理列表,並利用 Angular 雙向綁定 的特性實作一個簡單的列表搜尋功能。
下一篇會延續今天的成果繼續把頁面功能完善。