先在 github 建立新的專案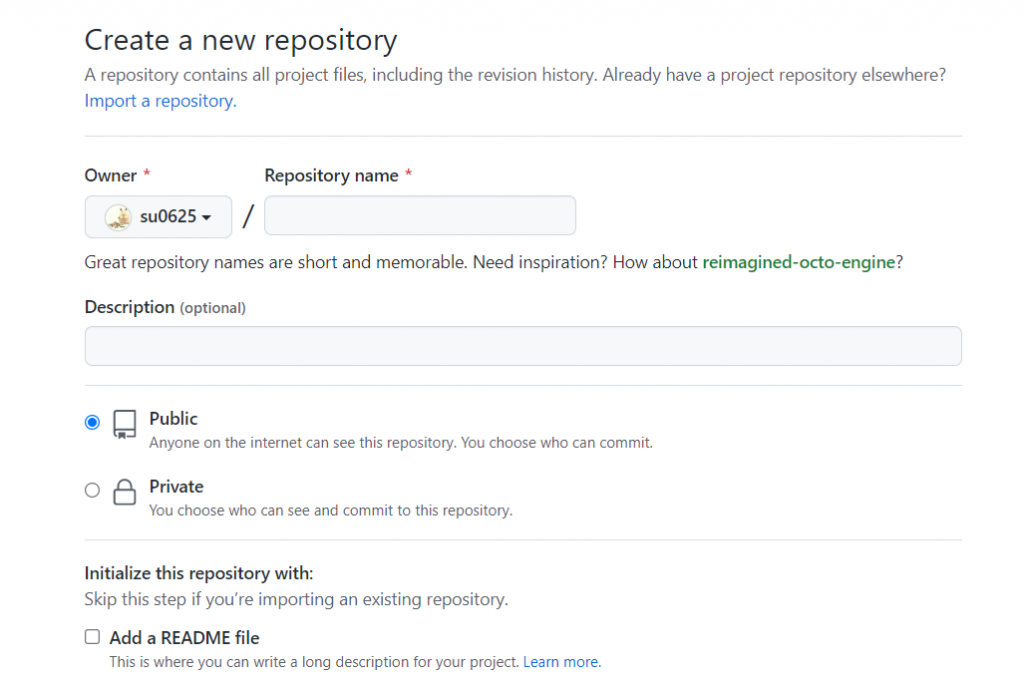
在 app.js 將當初設定監聽這段註解掉,避免部署時出問題
const http = require('http')
const server = http.createServer(app);
const PORT = process.env.PORT || 3000

// server.listen(3000, (err) => {
//     if(err){
//         console.log("error")
//     }
//     console.log("The server is work on", "http://127.0.0.1:" + PORT)
// })
module.exports = app;
修改好後將程式碼全部上傳至 Github
透過 github 登入 render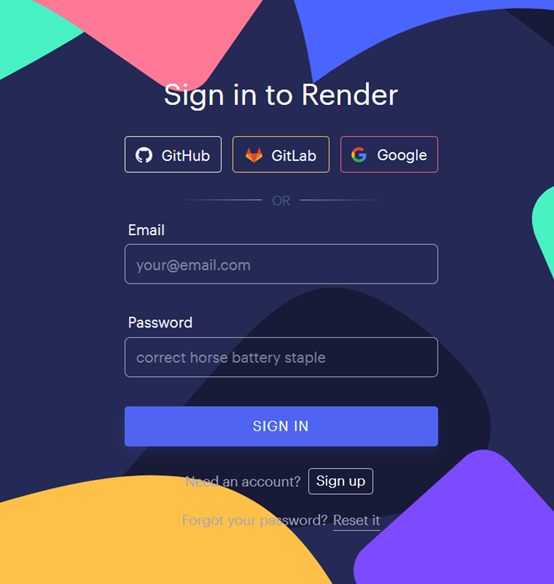
選擇建立Web Services 專案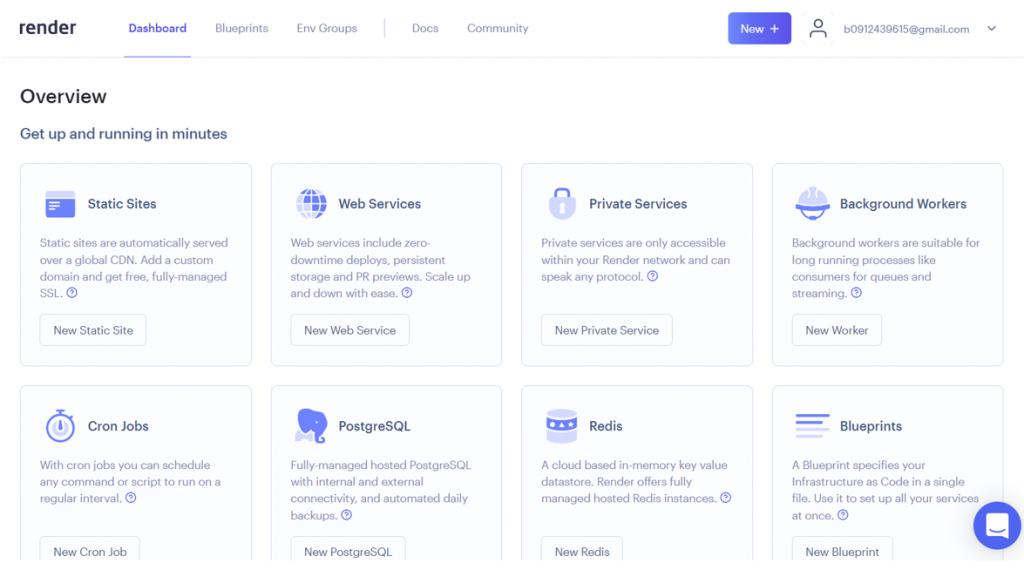
點擊右方Connect Account,連結至Github帳號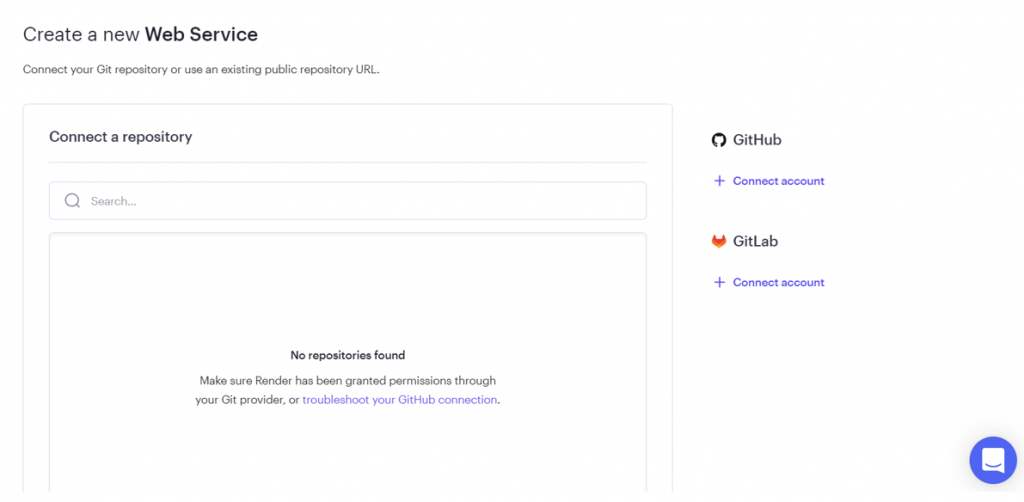
選擇存放程式碼的專案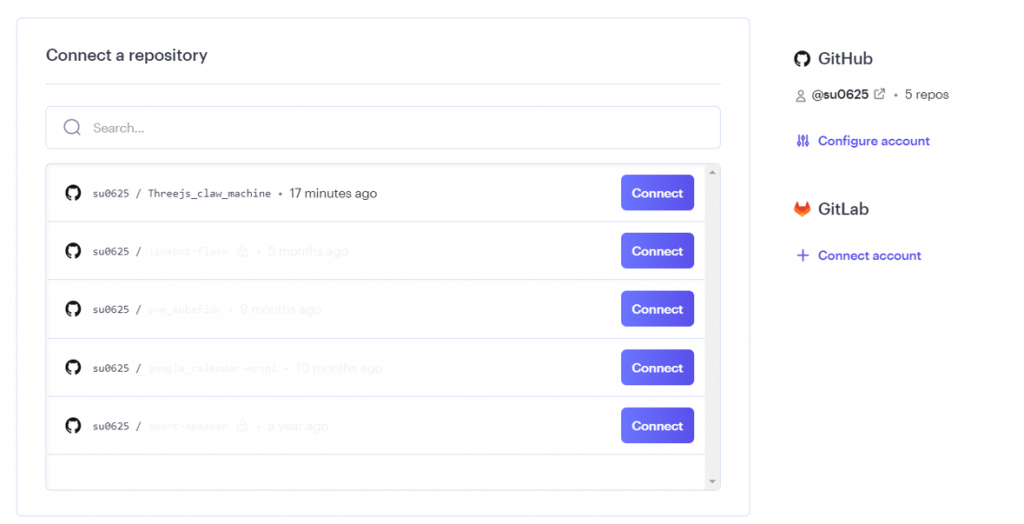
設定建置指令 npm build 跟開始指令 npm start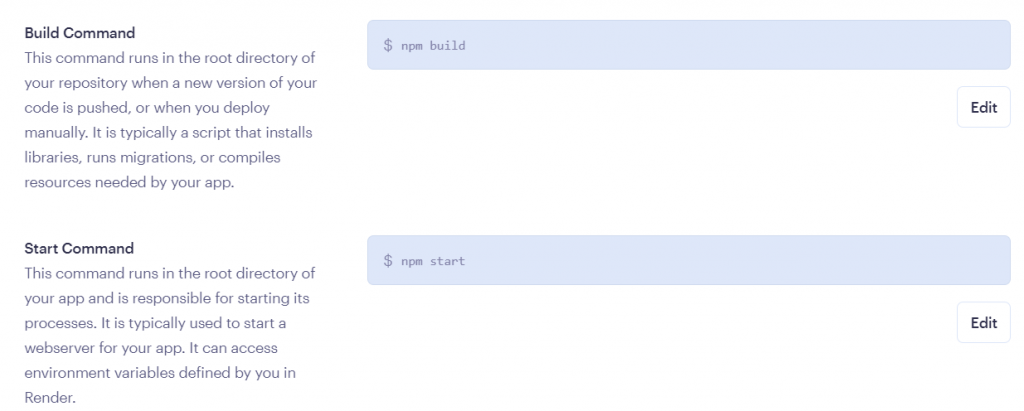
在 Events 頁面可以查看部署狀態,部署成功後會顯示 Build successful ?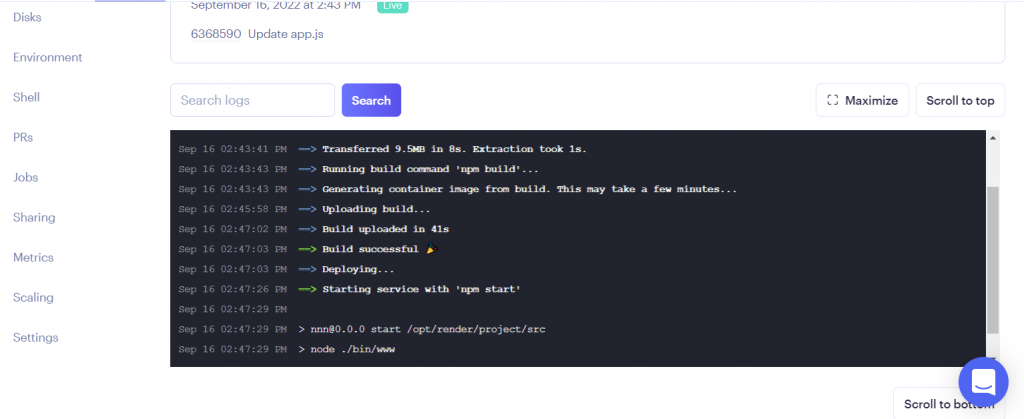
在 Dashboard 也可以看到狀態變為 Deploy succeeded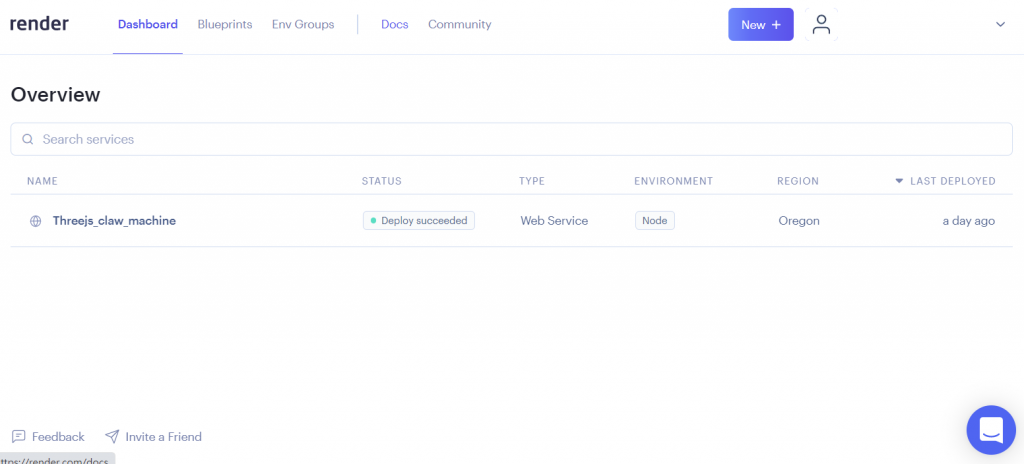
就可以點擊專案名稱下方網址,前往建立好的網頁了,之後只要 github 上的程式碼一更新,Render 就會自動部署不須手動重建