在我們安裝完我們的資料庫後,我們在電腦中搜尋mysql command line打開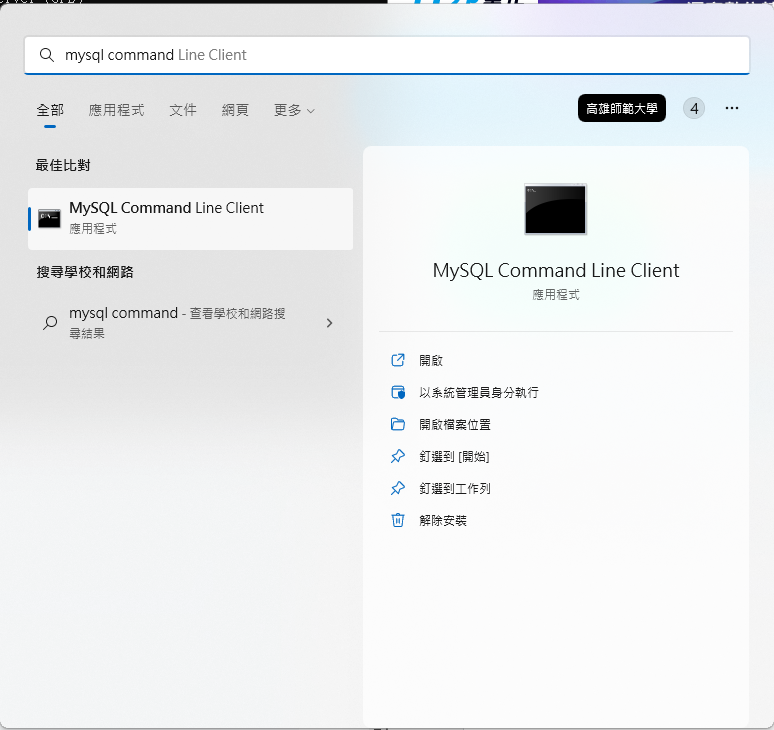
他會要求我們輸入密碼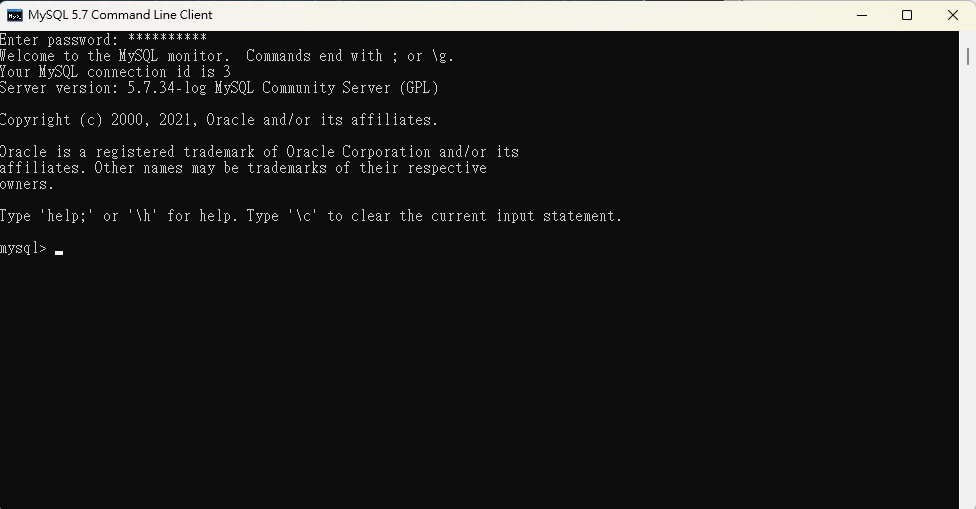
接著就是我們和資料庫溝通的介面
我們在mysql的命令列裡面輸入:
create user '帳戶名'@'localhost' identified by '密碼';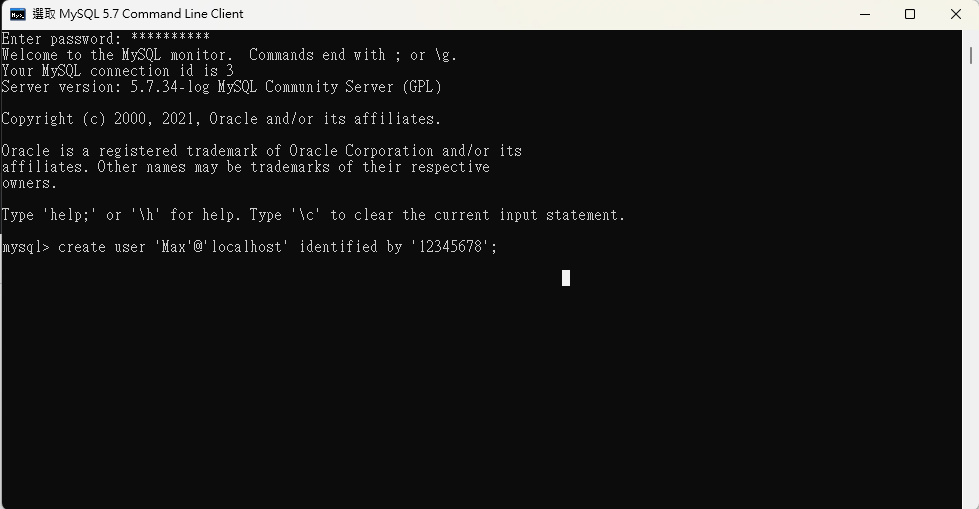
創建成功畫面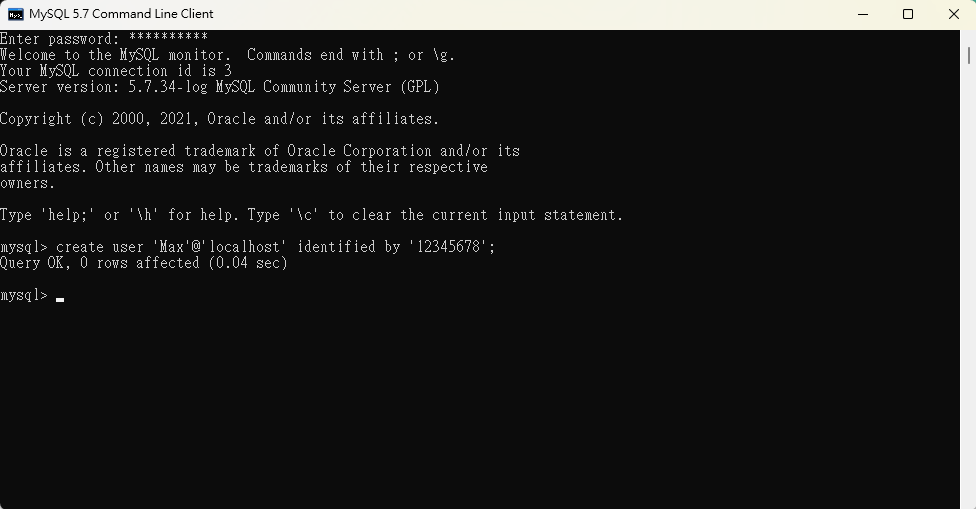
在mysql命令列輸入:
grant select, insert, update, delete, create, create view, drop, execute, references on . to 'Max'@'localhost';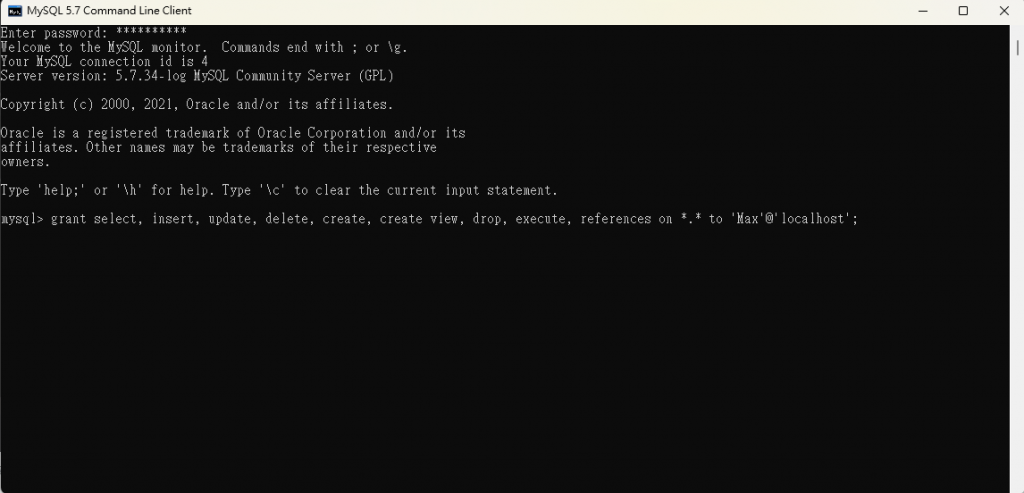
授權成功畫面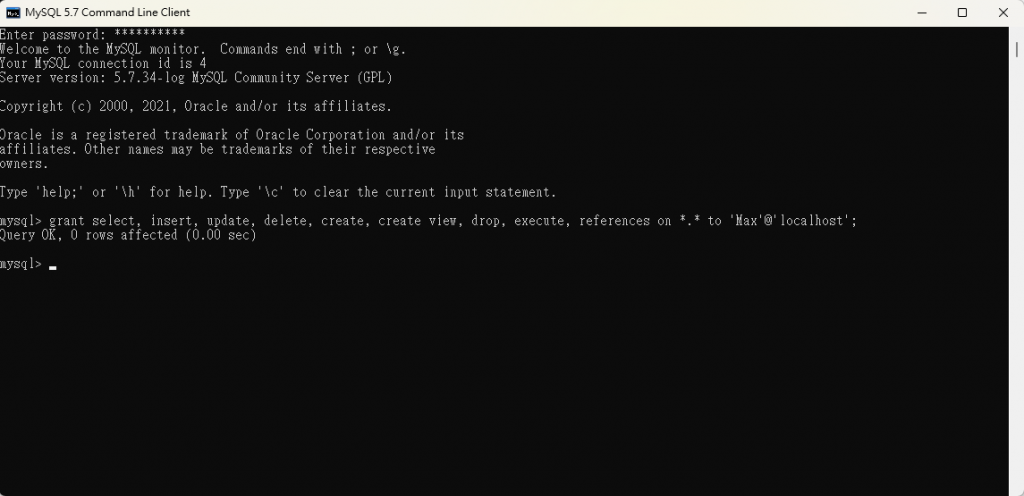
在mysql命令列輸入:
show databases;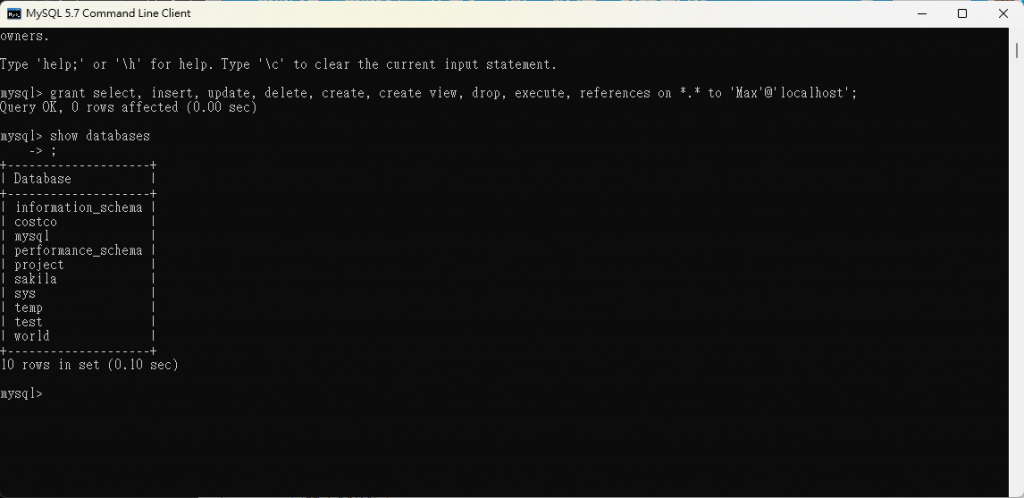
我因為有創建過其他資料庫所以可能顯示的內容會和你們不一樣
這次輸入忘了加上";",所以跳到下一行,只要再補上";"告訴命令列輸入完畢就好
在mysql命令列輸入:
create database 資料庫名稱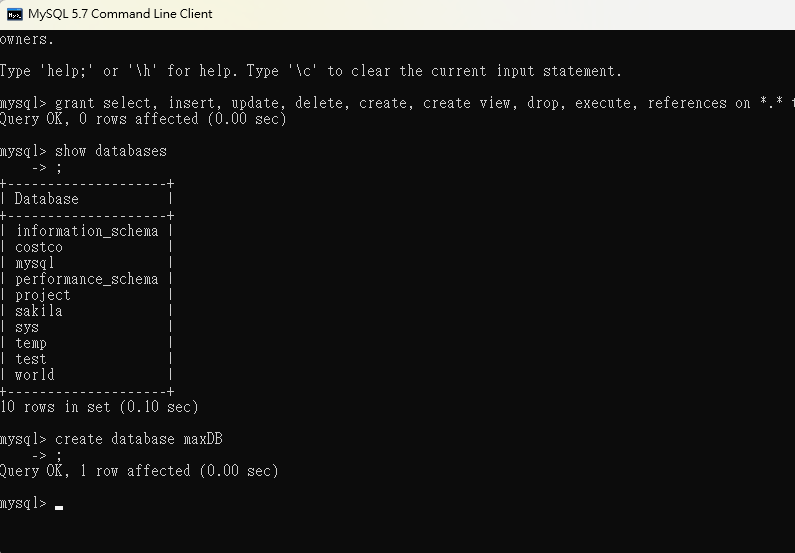
接著再去用show databases確認資料庫有沒有創建成功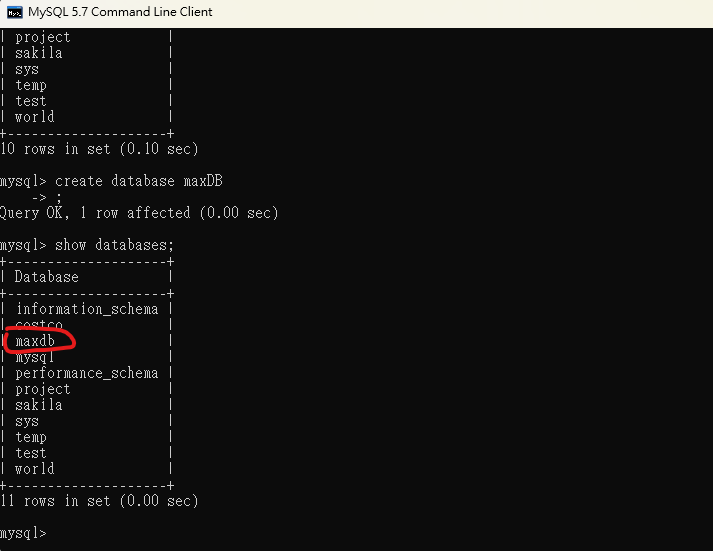
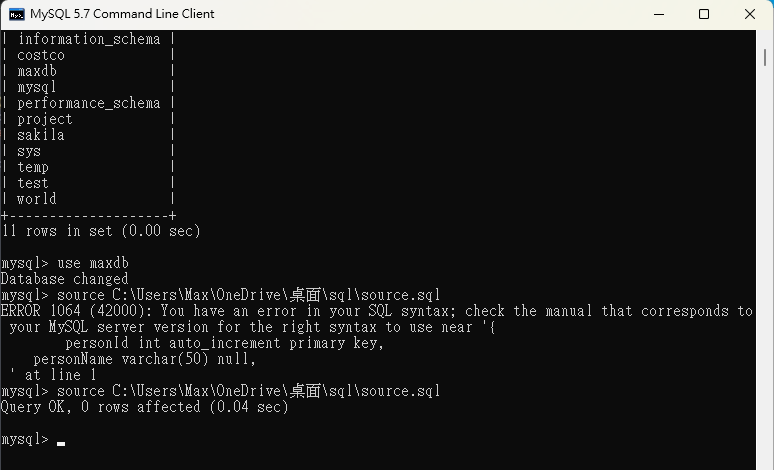
在mysql命令列輸入:
use maxdb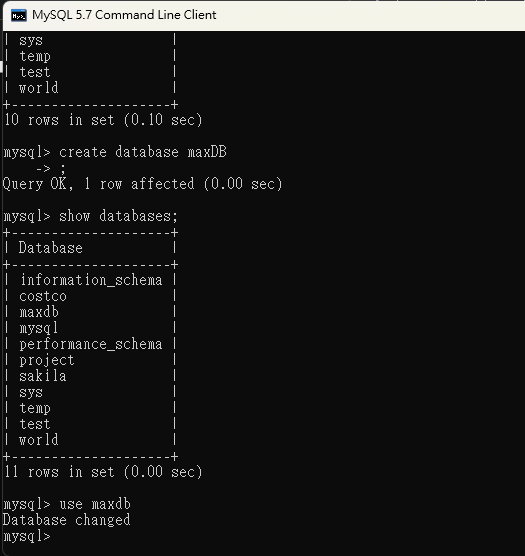
database changed代表切換到我們選擇的資料庫
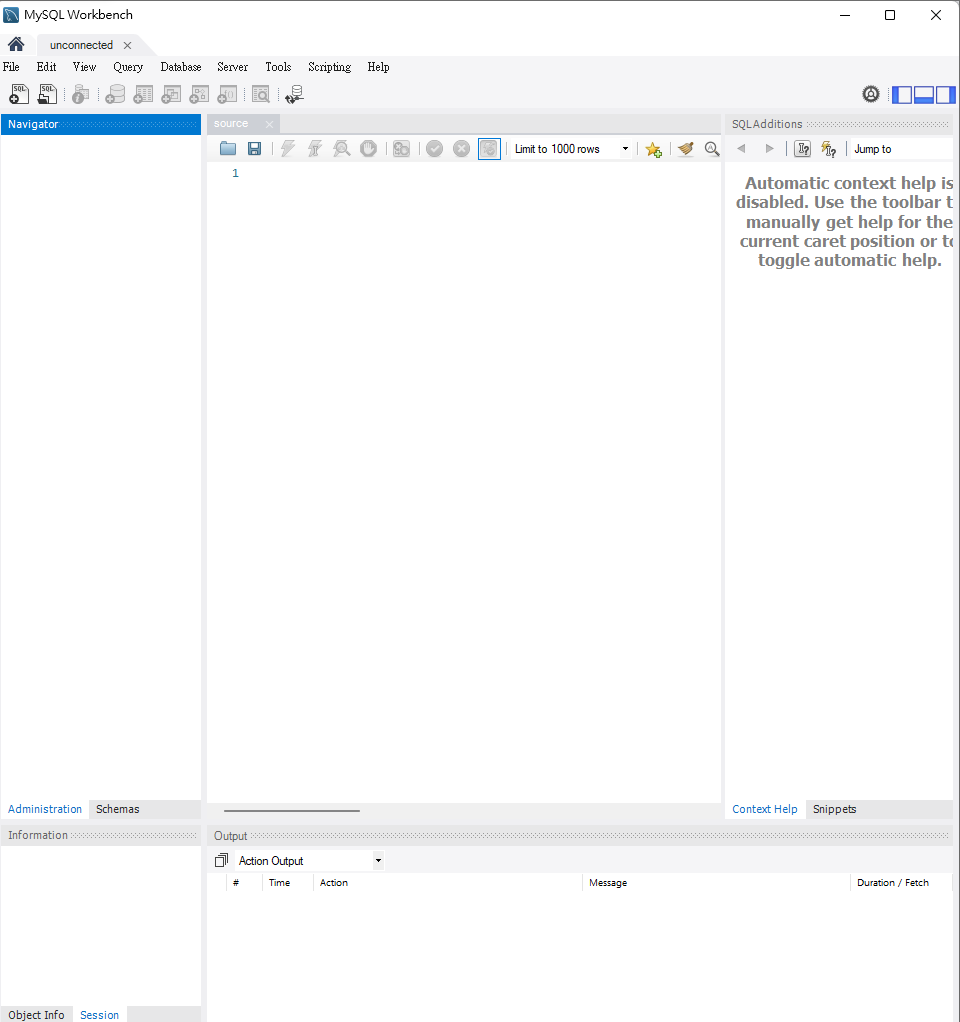

打開Java Ultimate版本去新增一個project
接著去上方的View -> Tool Window -> 點選Database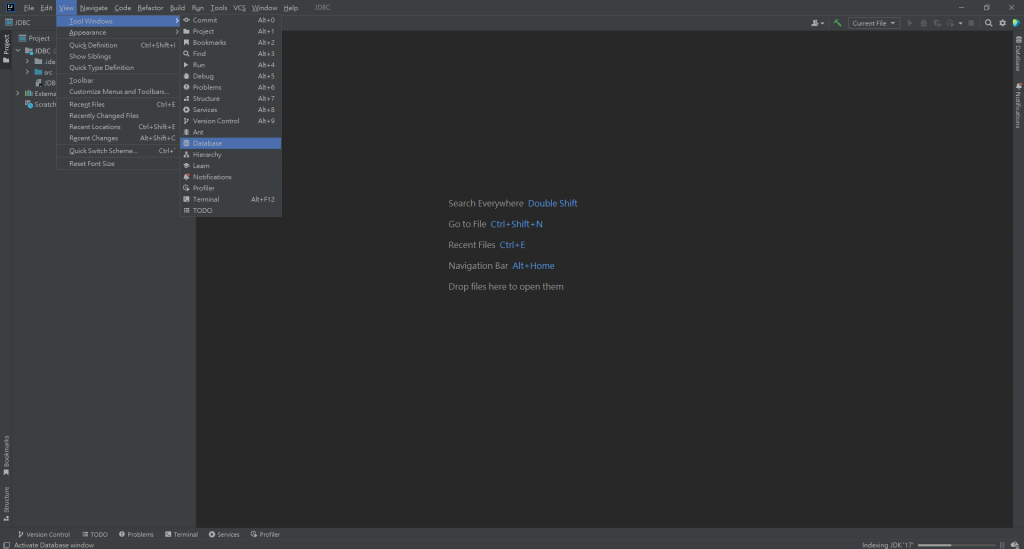
在程式區塊旁邊就會顯示出database區塊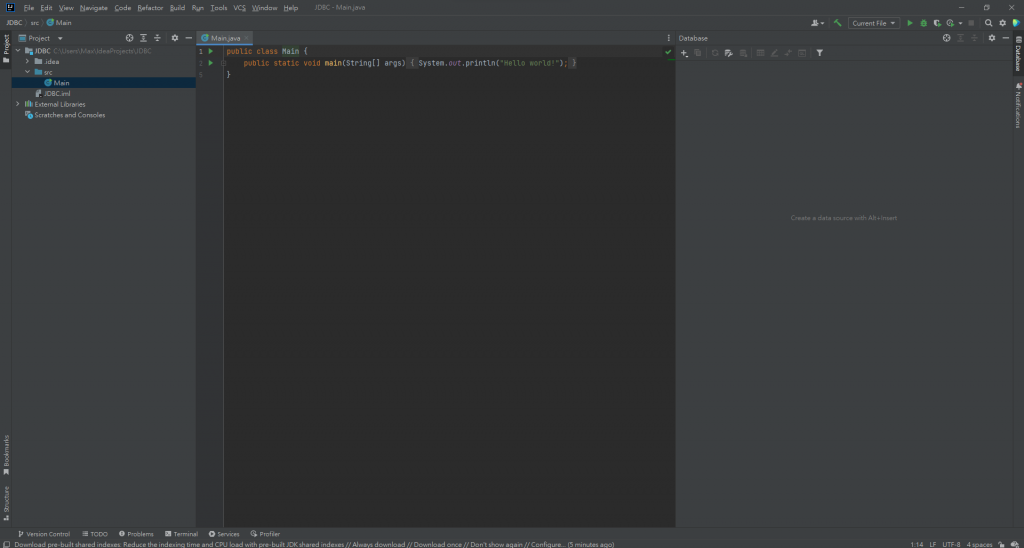
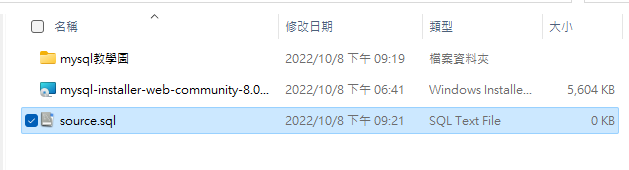
匯入我們剛剛的資料庫,點選"+" -> source -> 自己選擇的資料庫(我是用MySQL)
輸入資料庫帳戶資料和資料庫名稱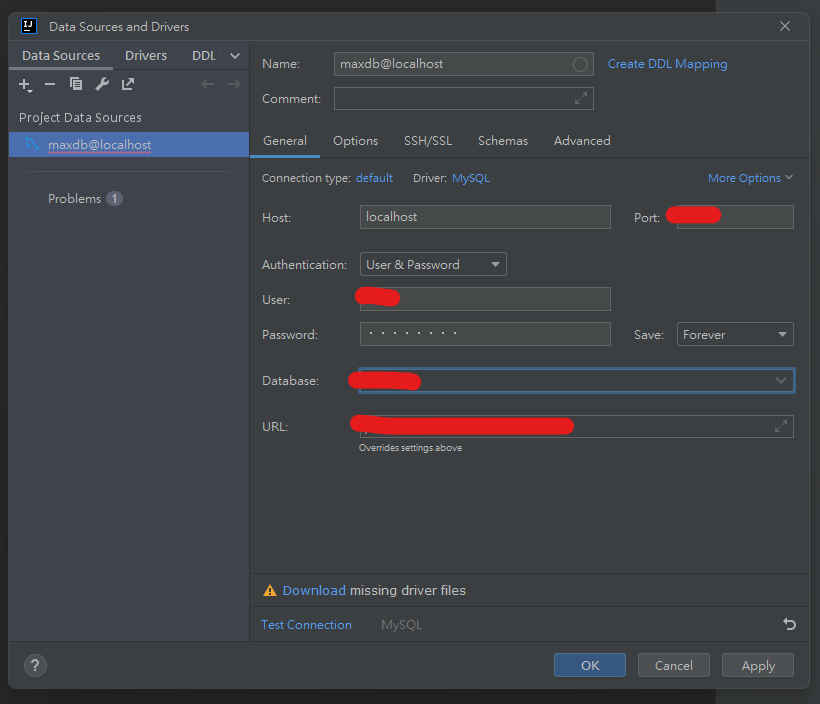
輸入完後就可以打開我們資料庫裏面剛剛建立的table
這裡面有個console也可以輸入sql程式碼
但如果你沒有顯示出來下面會顯示提示下載database driver,下載完重新登入就有了
下載mysql server connector
選擇platform independent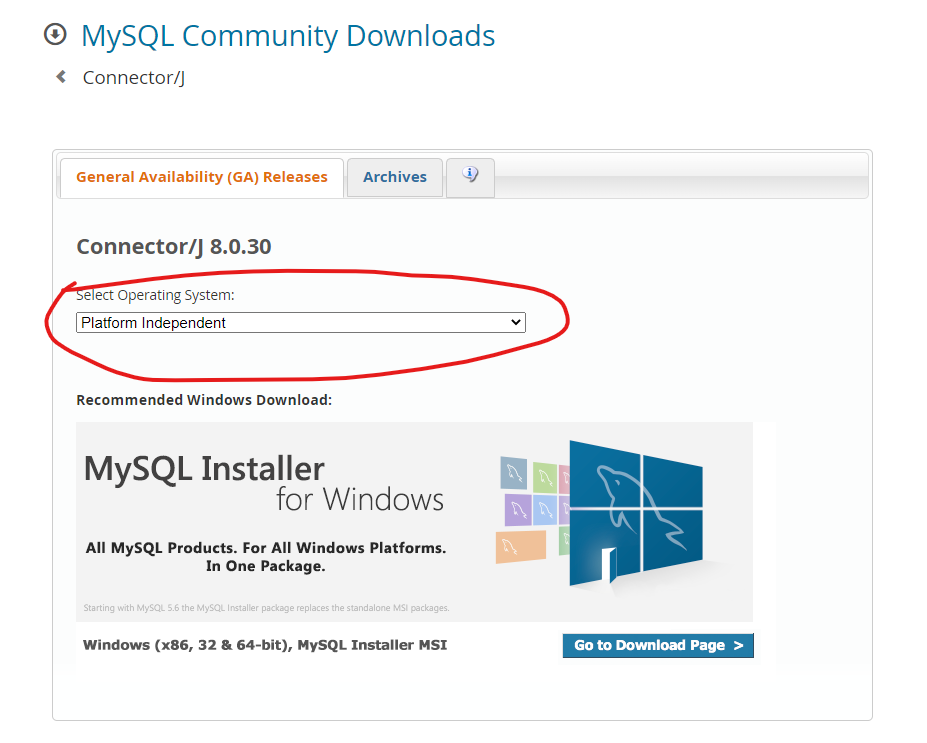
下載後會是一個壓縮檔,解壓縮完再去放入JDBC的project裡面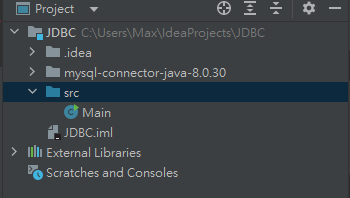
接著再去找出connector的jar檔,右鍵選擇add to library
明天再來確認連接狀況囉~


 iThome鐵人賽