程式版本控管平台,私有雲做最大的就是 GitLab 了,今天來安裝私有雲 GitLab 吧!
(本篇內容很多,需要了解前面的東西做安裝會比較好)
這篇終於進到了 GitLab,不過在這之前,我們要先把 Port 22 打開才能使用 GitLab SSH 功能
根據之前 Day 19 的教學,使用了預設 values 作為安裝,但今天要打開 TCP Port 22,必須對 values 做一些編輯。
那就先把 Istio Gateway 的 values 拿出來做編輯:
helm show values istio/gateway > gateway-values.yaml
vim gateway-values.yaml
拉到 .service,就會找到這裡對外 Expose 出去的 Port
service:
  # Type of service. Set to "None" to disable the service entirely
  type: LoadBalancer
  ports:
  - name: status-port
    port: 15021
    protocol: TCP
    targetPort: 15021
  - name: http2
    port: 80
    protocol: TCP
    targetPort: 80
  - name: https
    port: 443
    protocol: TCP
    targetPort: 443
  annotations: {}
  loadBalancerIP: ""
  loadBalancerSourceRanges: []
  externalTrafficPolicy: ""
  externalIPs: []
.service.ports 加入 SSH 的資料
service:
  # Type of service. Set to "None" to disable the service entirely
  type: LoadBalancer
  ports:
  - name: status-port
    port: 15021
    protocol: TCP
    targetPort: 15021
  - name: http2
    port: 80
    protocol: TCP
    targetPort: 80
  - name: https
    port: 443
    protocol: TCP
    targetPort: 443
  - name: ssh
    port: 22
    protocol: TCP
    targetPort: 22
  annotations: {}
  loadBalancerIP: ""
  loadBalancerSourceRanges: []
  externalTrafficPolicy: ""
  externalIPs: []
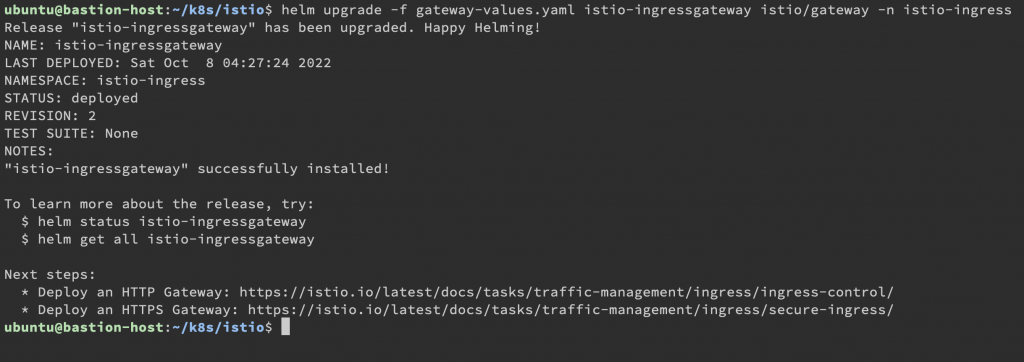
編輯完成以後,需要把原本的 Release 解除安裝嗎?其實不用,可以直接用 upgrade 更新它:
helm upgrade -f gateway-values.yaml istio-ingressgateway istio/gateway -n istio-ingress
確認一下 Service 的 NodePort 是多少:
kubectl get svc -n istio-ingress

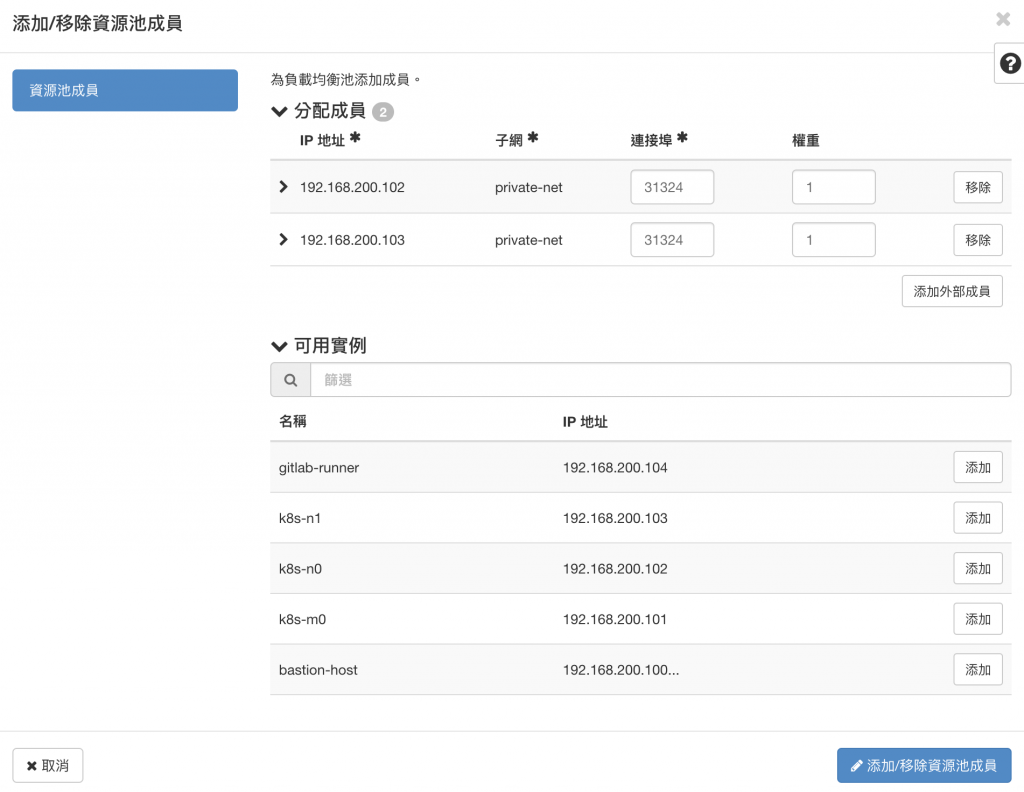
確認 SSH Port 是開在 NodePort 31324,那就可以仿照 Day 21 設定 SSH Member
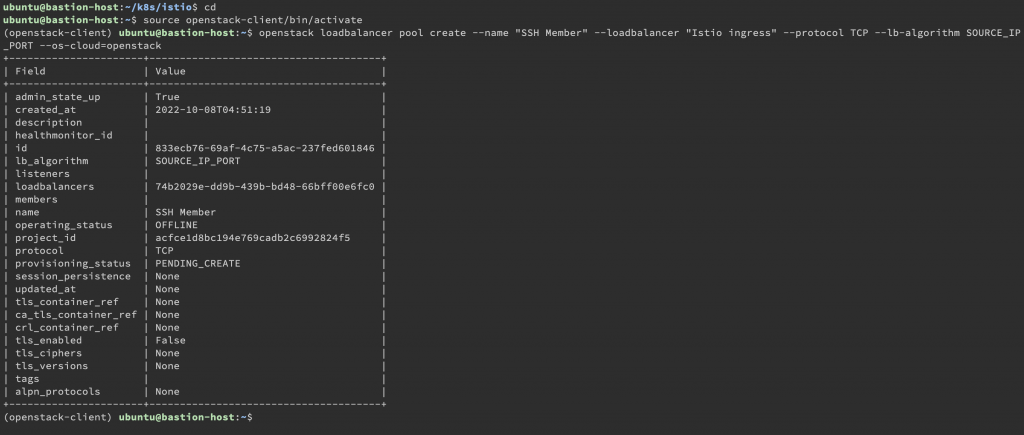
cd # 回 Home
source openstack-client/bin/activate # 虛擬環境 openstack-client 打開
openstack loadbalancer pool create --name "SSH Member" --loadbalancer "Istio ingress" --protocol TCP --lb-algorithm SOURCE_IP_PORT --os-cloud=openstack # 建立 SSH Service 的成員
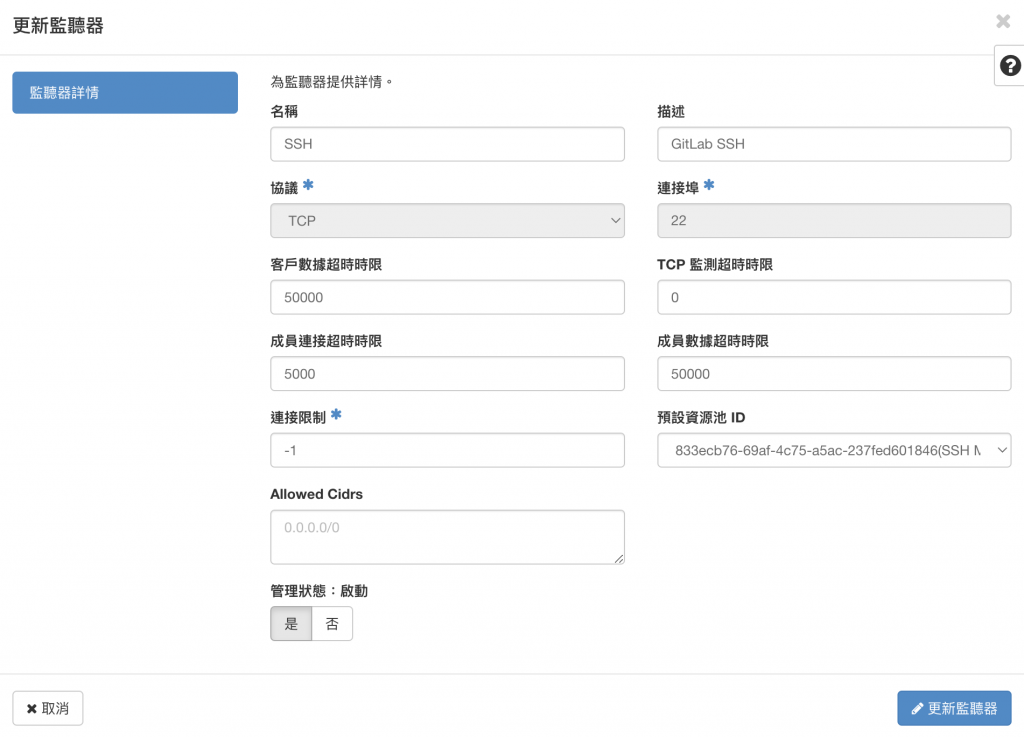
加入 SSH Member 寫上 31324。
建立監控器,不用建立資源池。
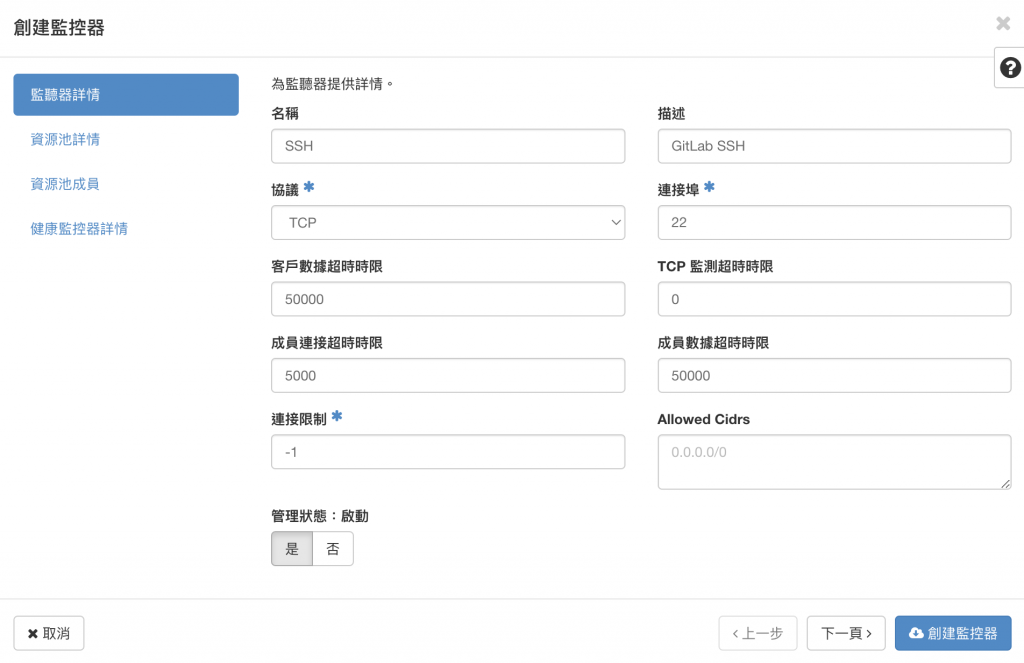
再次編輯監聽器,設定預設資源池到 SSH Member。
這樣就設定完成 SSH 的部分了,等等來設定 VirtualService 跟 Gateway 的部分,先來安裝 GitLab。
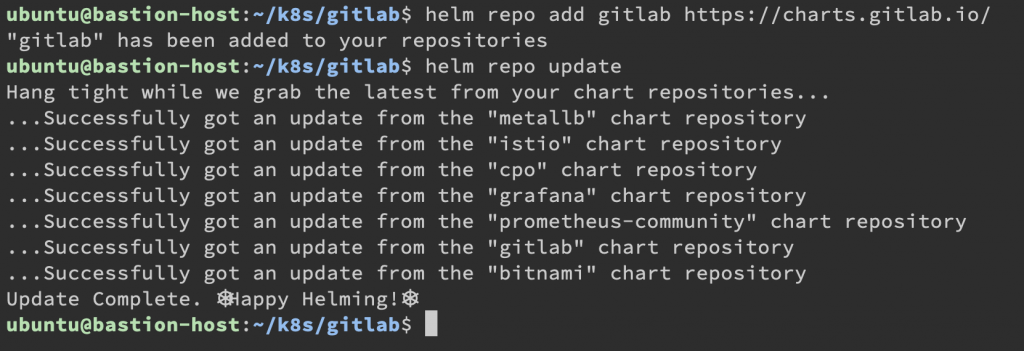
按照往常慣例加入 GitLab 官方的 Chart repo:
helm repo add gitlab https://charts.gitlab.io/
helm repo update
把預設 Values 檔案倒出來,目前最新版本 GitLab Version 為 15.4.2,對應 Chart Version 為 6.4.2:
helm show values gitlab/gitlab --version 6.4.2 > values.yaml
vim values.yaml
這邊要設定幾個參數:
.global.hosts.domain 設定為 yjerry.tw。(到時候服務都會變成 gitlab.yjerry.tw 或者 registry.yjerry.tw,網址請自行設定).global.appConfig.cron_jobs 把部分工作解除註解,可以自動做 Housekeeping 跟一些 Work,下面也有 LDAP 自動同步工作,有需要也可以打開。.global.appConfig.ldap 就是 LDAP 相關設定了,有需要可以自行設定。.global.smtp 這部分是 GitLab 寄信的部分,需要可以自行設定。.global.time_zone 設定為 Asia/Taipei。.upgradeCheck 下方有個被註解的 .certmanager-issuer.email 要把自己的 Email 填寫上去,不然安裝不會給過。.nginx-ingress.enabled 設定 false,因為我們有 istio 了,不需要再設定 Nginx。.prometheus.install 跟 .prometheus.rbac.create 也設定 false。.gitlab-runner.runners.config 可以改為 ubuntu:22.04 或其他版本,個人覺得 18.04 太舊了。.certmanager 都改為 false 了,短時間暫時測不出 ACME Challenge,以後會再測試,這邊會使用 Certbot 的 ACME Challenge 給的 Wildcard。(無法沿用 Cloudflare 的憑證是因為那只是 Cloudflare 的 CA 憑證,直接對外會顯示不安全,通過 Cloudflare 也會有上傳流量限制 100MB)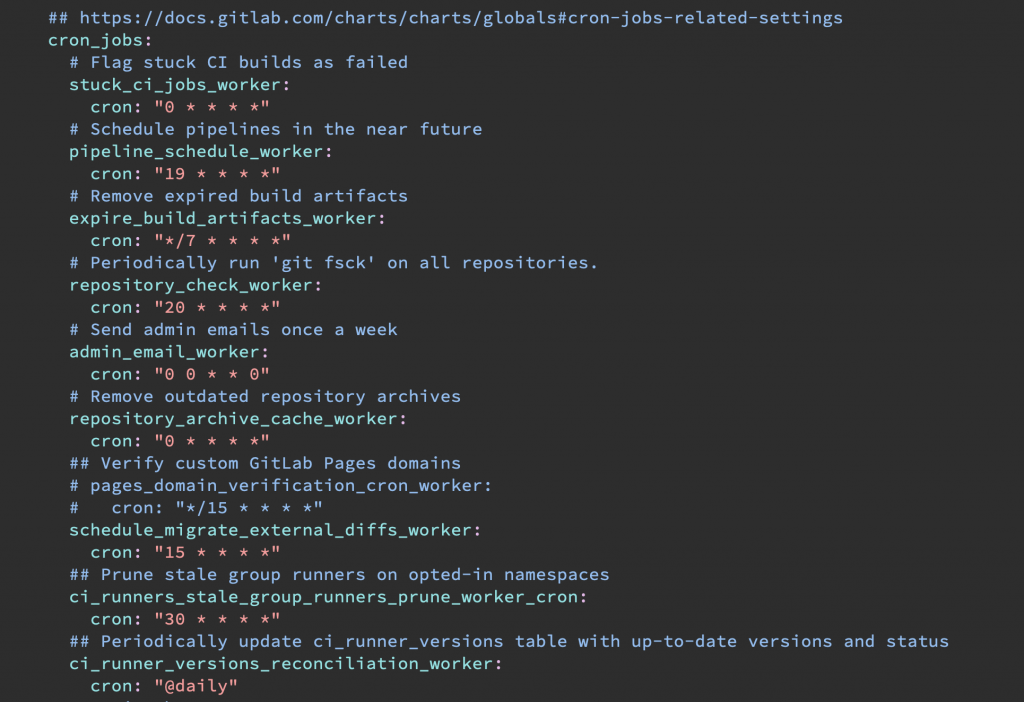
除了這些以外,其實還有 Persistent Volume Claim 還沒做設定,需要給 StorageClass 才會自動分配 PV 給系統。
.postgresql 裡面加入 persistence 設定,加入 StorageClass,也就是 .postgresql.persistence:
postgresql:
  # ...
  persistence:
    enabled: true
    size: 8Gi
    storageClass: csi-cinder-sc-retain
.redis 裡面加入 master 設定,加入 StorageClass,也就是 .redis.master:
redis:
  # ...
  master:
    persistence:
      enabled: true
      size: 8Gi
      storageClass: csi-cinder-sc-retain
檔案裡面找地方加 .minio 設定,加入 StorageClass,也就是 .minio:
minio:
  persistence:
    enabled: true
    size: 10Gi
    storageClass: csi-cinder-sc-retain
.gitlab 裡面 gitaly 解除註解,加入 StorageClass 設定,也就是 .gitlab.gitaly:
gitlab:
  toolbox: # ...
  webservice: # ...
  gitaly:
    persistence:
      enabled: true
      storageClass: csi-cinder-sc-retain
      accessMode: ReadWriteOnce
      size: 40Gi
.gitlab 裡面 webservice 解除註解,加入 StorageClass 設定,也就是 .gitlab.webservice:
gitlab:
  toolbox:
  # ...
  webservice:
    enabled: true
    deployments:
      default:
        ingress:
          path: /
        hpa:
          minReplicas: 1
    tolerations:
      - key: node-role.kubernetes.io/master # 將 Pod 分配進 Master Node
        operator: Exists
        effect: NoSchedule
為什麼要這樣設定?因為筆者在測試的時候,發現 Worker Node 記憶體 Request 不足,導致無法分配 Pod 進去 Worker Node,看了看 Master Node 記憶體還可以,就分配給 Master Node 了。
hpa 設定為 1 個,原本為 2 個可以做 Failover,測試用的這樣也夠了。
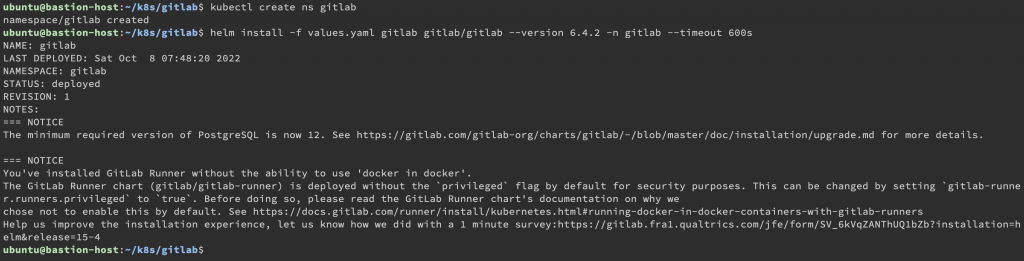
編輯完以後,就可以 Install 進去:
kubectl create ns gitlab
helm install -f values.yaml gitlab gitlab/gitlab --version 6.4.2 -n gitlab --timeout 600s
這裡我會額外建立 Gateway 處理 GitLab 的 Route 做區分,要跟之前設定合併也是可以,這裡的 credentialName 是筆者自己用 Certbot 做 wildcard 的 key 再傳到 K8s Secret 上。
# 1. Save as `gitlab-ingressgateway.yaml`
# 2. In bash, `kubectl apply -f gitlab-ingressgateway.yaml`
# 3. If you want to remove, `kubectl delete -f gitlab-ingressgateway.yaml`
apiVersion: networking.istio.io/v1beta1
kind: Gateway
metadata:
  name: gitlab-ingressgateway
  namespace: istio-ingress
spec:
  selector:
    istio: ingressgateway
  servers:
  - port:
      number: 22
      name: ssh
      protocol: TCP
    hosts:
    - gitlab.yjerry.tw
  - port:
      number: 80
      name: http2
      protocol: HTTP2
    hosts:
    - gitlab.yjerry.tw
    - registry.yjerry.tw
    - kas.yjerry.tw
    tls:
      httpsRedirect: true
  - port:
      number: 443
      name: https-443
      protocol: HTTPS
    hosts:
    - gitlab.yjerry.tw
    - registry.yjerry.tw
    - kas.yjerry.tw
    tls:
      mode: SIMPLE
      credentialName: certbot-yjerry-tw # 自行取得 Wildcard 憑證放上來
因為 Helm Chart 是使用 K8s 內建的 Ingress,可以根據 Ingress 給的內容來設定 VirtualService:
kubectl get ingress -n gitlab
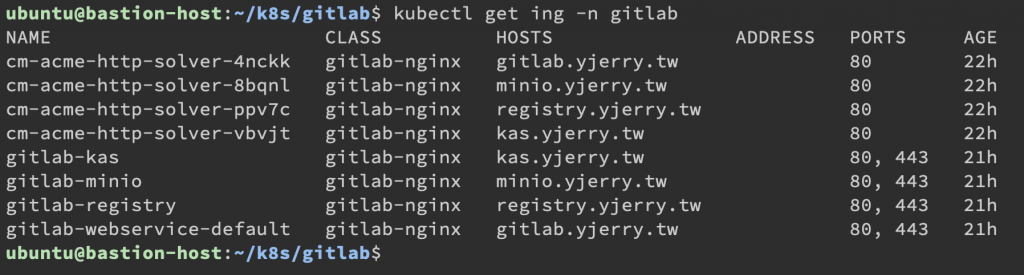
拿一下 gitlab-webservice-default 的內容
kubectl edit ing gitlab-webservice-default -n gitlab
往裡面看 .spec 的內容,可以知道 Backend 內容是 gitlab-webservice-default:8181。
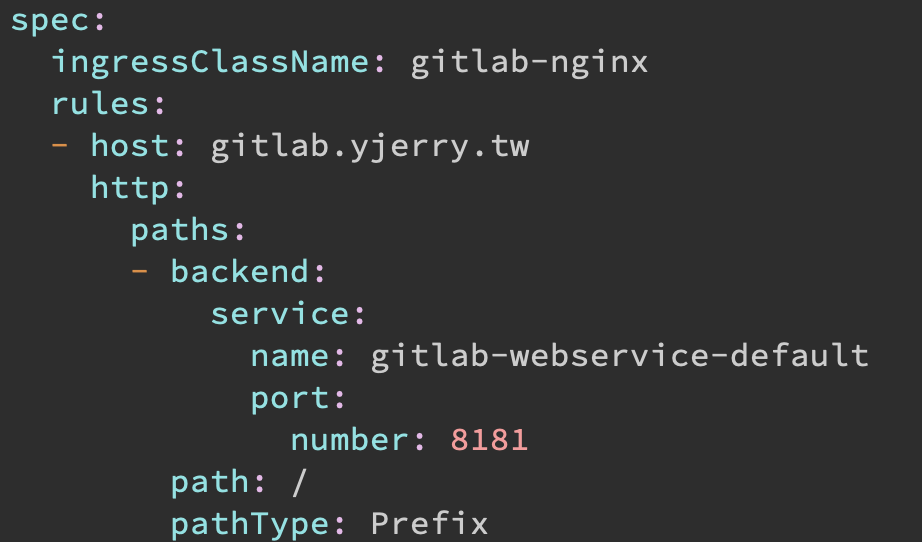
那就可以寫出相對應的 VirtualService,那因為也有 SSH 的服務,就也順便寫上去。
# 1. Save as `gitlab-vs.yaml`
# 2. In bash, `kubectl apply -f gitlab-vs.yaml`
# 3. If you want to remove, `kubectl delete -f gitlab-vs.yaml`
apiVersion: networking.istio.io/v1beta1
kind: VirtualService
metadata:
  name: gitlab-vs
  namespace: gitlab
spec:
  hosts:
    - gitlab.yjerry.tw
  gateways:
    - istio-ingress/gitlab-ingressgateway
  http:
  - name: "gitlab"
    match:
     - uri:
        prefix: "/"
    route:
    - destination:
        host: gitlab-webservice-default
        port:
          number: 8181
  tcp:
  - match:
    - port: 22
    route:
    - destination:
        host: gitlab-gitlab-shell
        port:
          number: 22
還有拿一下 gitlab-registry 的內容
kubectl edit ing gitlab-registry -n gitlab
往裡面看 .spec 的內容,可以知道 Backend 內容是 gitlab-registry:5000。
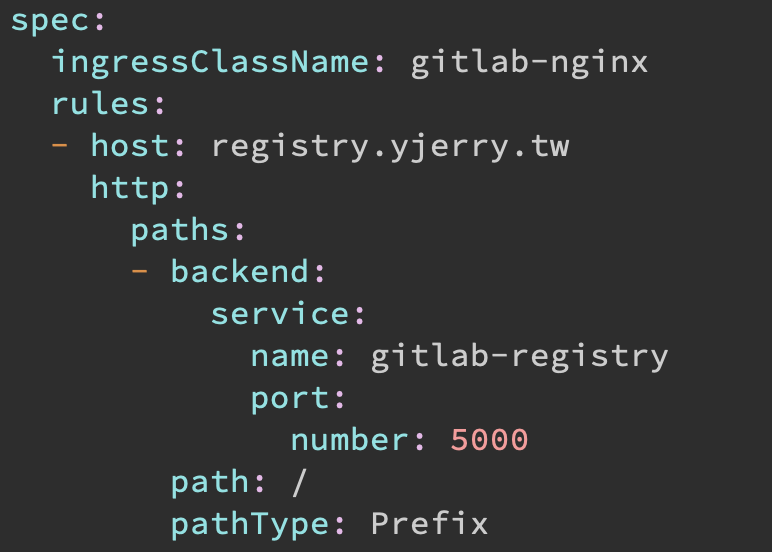
那就可以寫出相對應的 VirtualService,Registry 的部分。
# 1. Save as `registry-vs.yaml`
# 2. In bash, `kubectl apply -f registry-vs.yaml`
# 3. If you want to remove, `kubectl delete -f registry-vs.yaml`
apiVersion: networking.istio.io/v1beta1
kind: VirtualService
metadata:
  name: registry-vs
  namespace: gitlab
spec:
  hosts:
    - registry.yjerry.tw
  gateways:
    - istio-ingress/gitlab-ingressgateway
  http:
  - name: "registry"
    match:
     - uri:
        prefix: "/"
    route:
    - destination:
        host: gitlab-registry
        port:
          number: 5000
就把上面的設定檔 Apply 進去,DNS 不用經過 Cloudflare,只要「僅 DNS」就好,不然會被吃限制 100 MB 上傳,Registry 會無法上傳。

確認沒問題以後就可以連線 https://gitlab.yjerry.tw
到了這裡以後,預設密碼呢?其實已經在 Secret 裡面了,只是要把它顯示出來,Username 為 root,密碼用下列命令印出來。
kubectl get secret -n gitlab gitlab-gitlab-initial-root-password -o jsonpath={.data.password} | base64 --decode
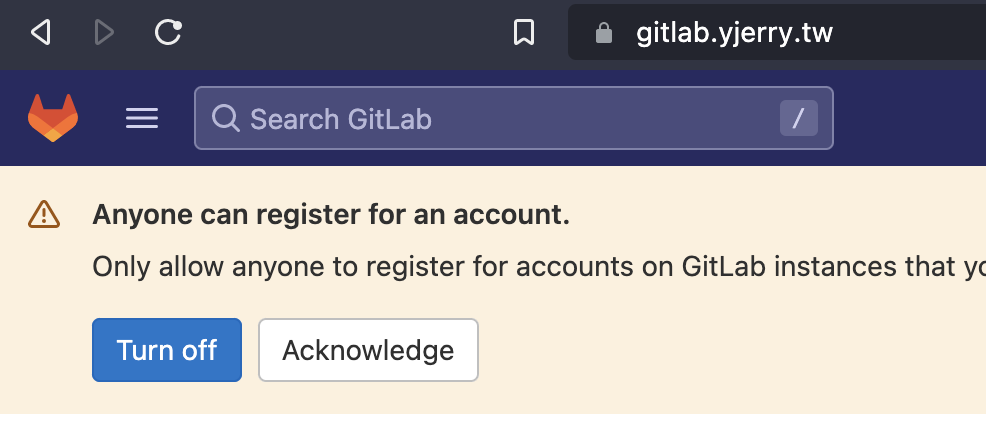
這樣就可以進去了,不想開放記得把 Sign up 關閉。
下一篇要來設定 Runner,雖然裡面已經有個 K8s Runner,但我們還需要 Shell Runner 來做事,同時也來說說兩者差異。
本系列內容也會同步貼到我的 Blog https://blog.yangjerry.tw 歡迎來我的 Blog 點一下 RSS 追蹤,那我們就下一篇文章見啦!