以往 git 作法都是用 command line 如下:
Git global setup
git config --global user.name "Administrator"
git config --global user.email "admin@example.com"

Create a new repository
git clone ssh://git@xxx.xxx.xxx.xxx:30001/cicd/ansible.git
cd ansible
touch README.md
git add README.md
git commit -m "add README"
git push -u origin master

Push an existing folder
cd existing_folder
git init
git remote add origin ssh://git@xxx.xxx.xxx.xxx:30001/cicd/ansible.git
git add .
git commit -m "Initial commit"
git push -u origin master

Push an existing Git repository
cd existing_repo
git remote rename origin old-origin
git remote add origin ssh://git@xxx.xxx.xxx.xxx:30001/cicd/ansible.git
git push -u origin --all
git push -u origin --tags
大部份工程師都很熟,目前很多人會使用 Visual Code, 如果將此二個合併真是讚
以下說明:
步驟1:
在 gitlab 新增 project 如下: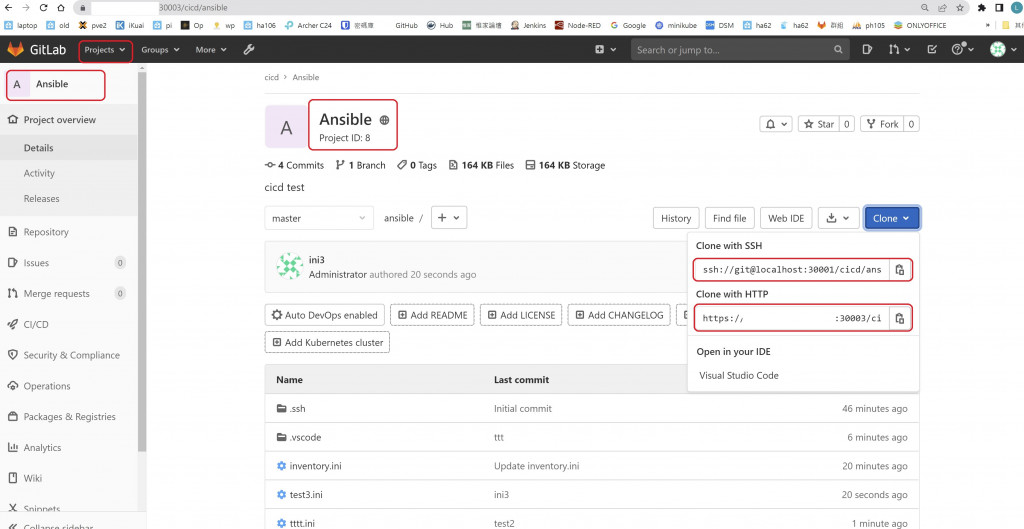
步驟2:
1.在 windows 建立一個目錄 xxx
2.在該目錄開終端(command line)
3.執行以下:
# 與 gitlab project 連結
git config --global user.name "Administrator"
git config --global user.email "admin@example.com"
git init
git remote add origin ssh://git@xxx.xxx.xxx.xxx:30001/cicd/ansible.git
#打開 visual code
code .
步驟3:
在 visual code 新增一個檔案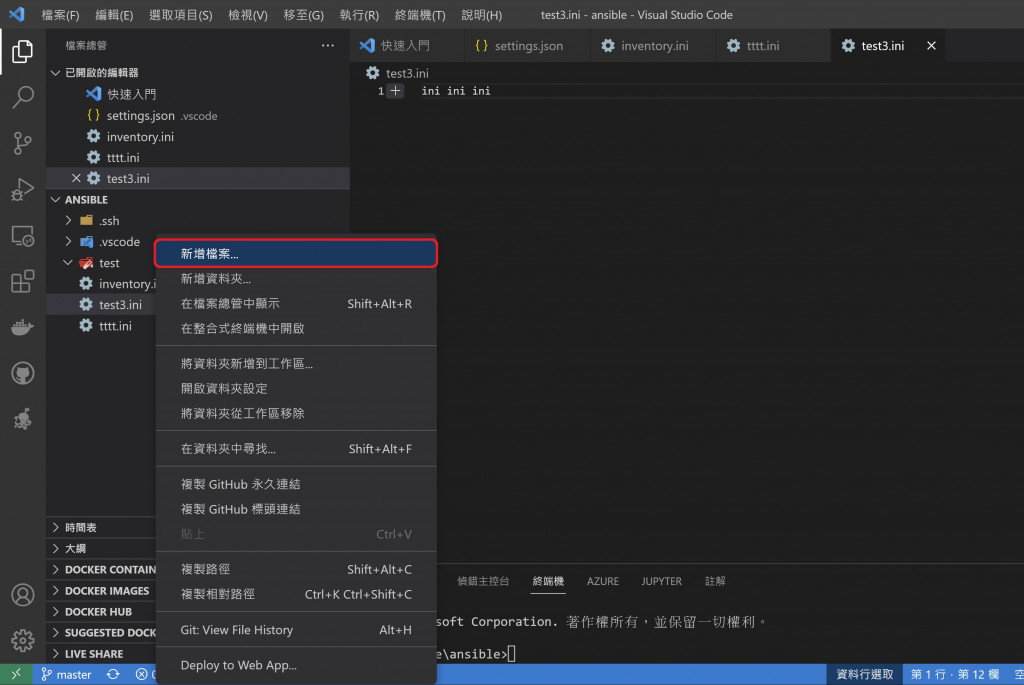
步驟4:
會出現1個同步檔案如下: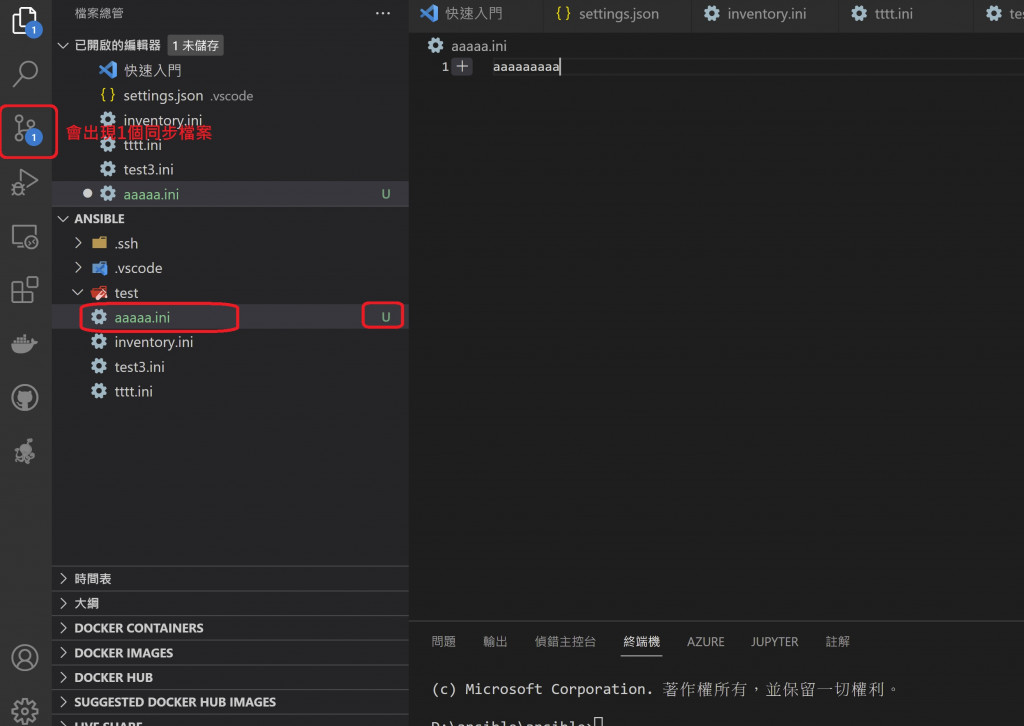
步驟5:
1.打上更版備註完按以下commit如下: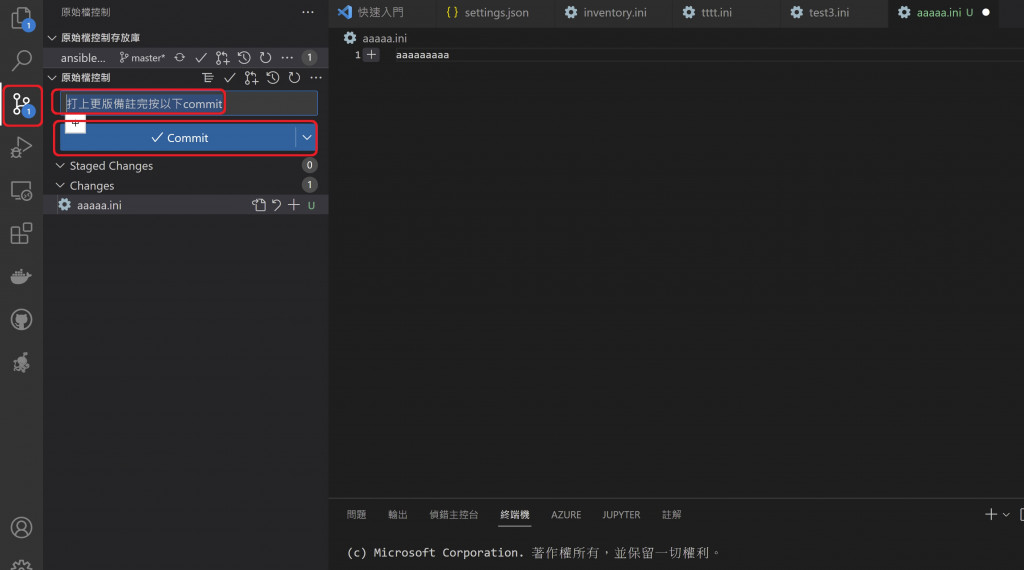
2.接下來出現同步按鈕如下: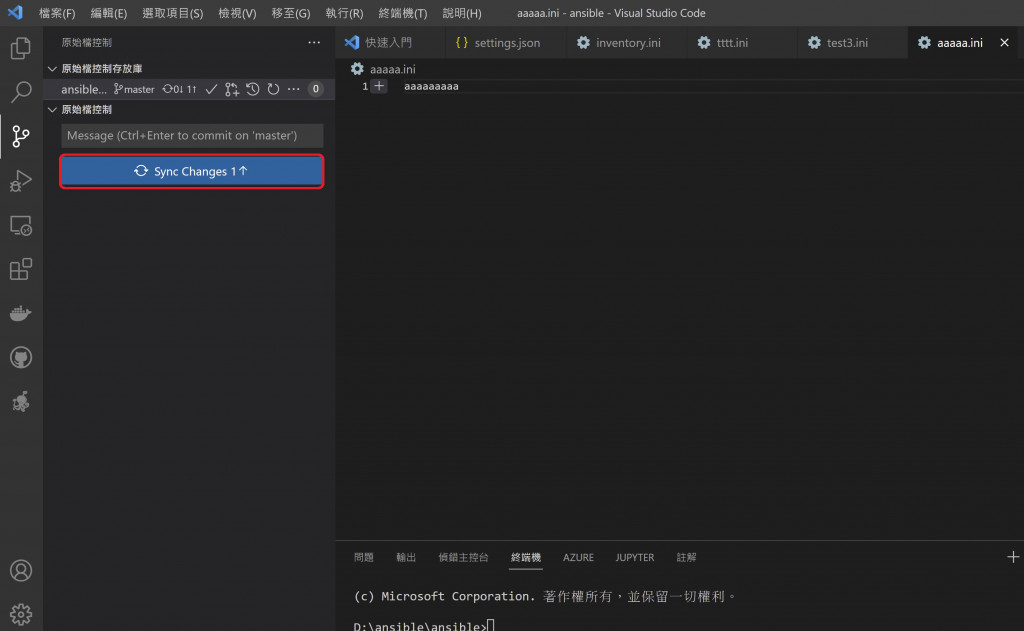
3.到gitlab看有沒有出現aaaaa.ini以下: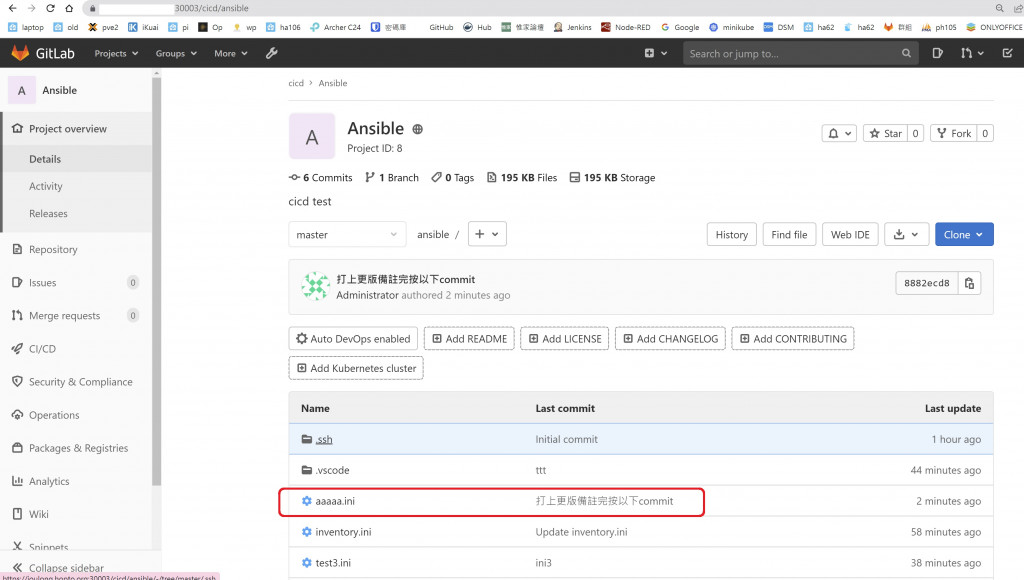
 joulongleu
