在上一篇【Azure MLOps - 1】使用Azure DevOps建立AML pipelines,已經設定好練習會需要的教材: Azure DevOps與Azure Machine Learning。
本篇文章架構:
上一篇說明MLOps的精神是做到「資料版本控管」、「訓練模型的程式碼版本控管」、「模型的版本控管」。其實在Azure ML平台上,透過「註冊模型步驟」做到模型版本控管: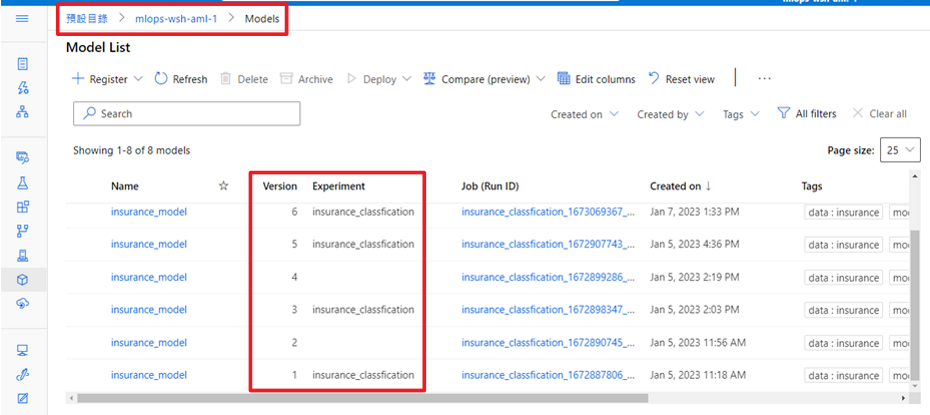
除了模型版本控管之外,也可利用「註冊資料步驟」進行資料版本控管: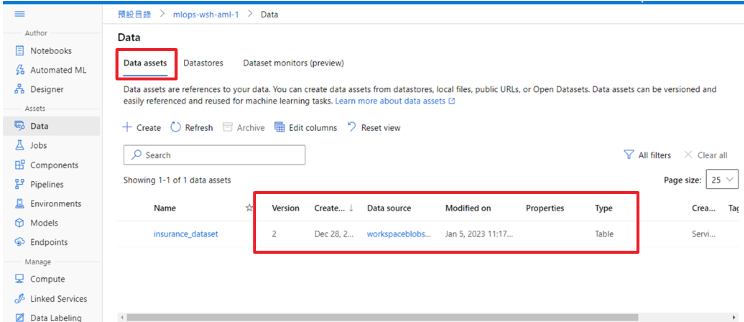
所以資料科學家在AML上進行模型開發的時候,工作流程如下:
過了一段時間後,資料科學家會想要嘗試的演算法,所以當測試完新的演算法後,會需要註冊新的模型、把模型發佈到測試環境中(staging area)與前一版模型比較、如果測試結果比起前一版模型更好,接下來會把它部署到正式環境(production area)取代舊有的。
然後,又過了一段時間,上述事情(粗體字處)又需要再做一次,但是絕大部分都是重複的步驟,只有在調整訓練模型程式碼的時候會有差異。所以如果能使用CI/CD pipeline來協助進行自動化訓練、註冊模型、部署模型,會減輕許多負擔。
在接下來的練習中,我們就要在Azure DevOps中把這些重複步驟,變成一個一個可以被機器(稱作agent)看得懂的任務,不同步驟指令(tasks)串接後,形成一條pipeline,自動地完成資料科學家的本來由手動完成的步驟。因為原本需要手動點選UI,也是有人為錯誤的風險,如果變成自動化的CI/CD pipeline後,一切變得可控且可重複。
下圖顯示其實工作流程一樣,只是把工作寫成pipeline,讓agent代為執行(只要建立好Agent與AML之間的連線):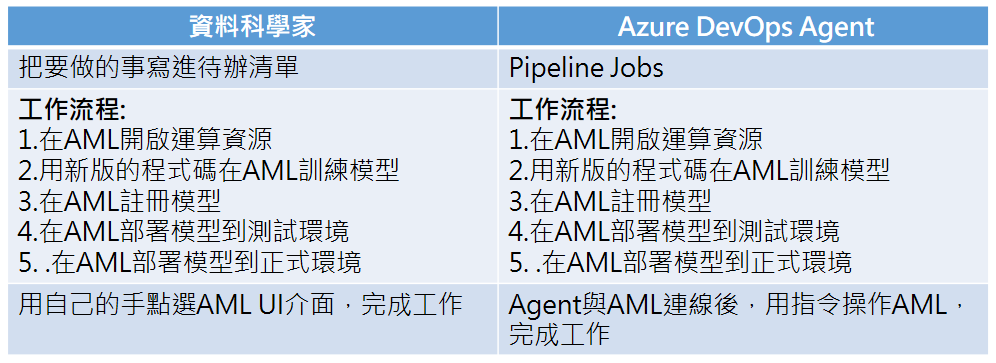
點選新增專案,輸入名稱後,點選private,名字可以自由填寫,我寫的是MLOps-workshop-1: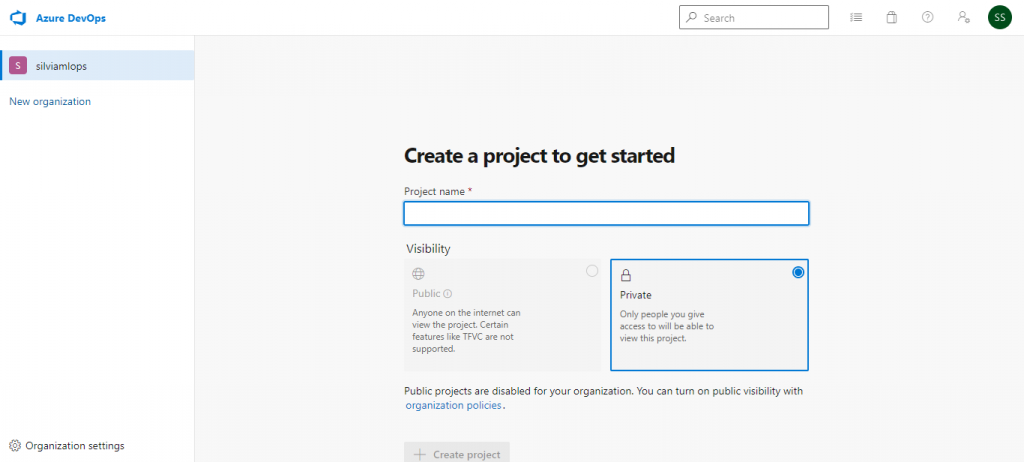
點選創建好的專案: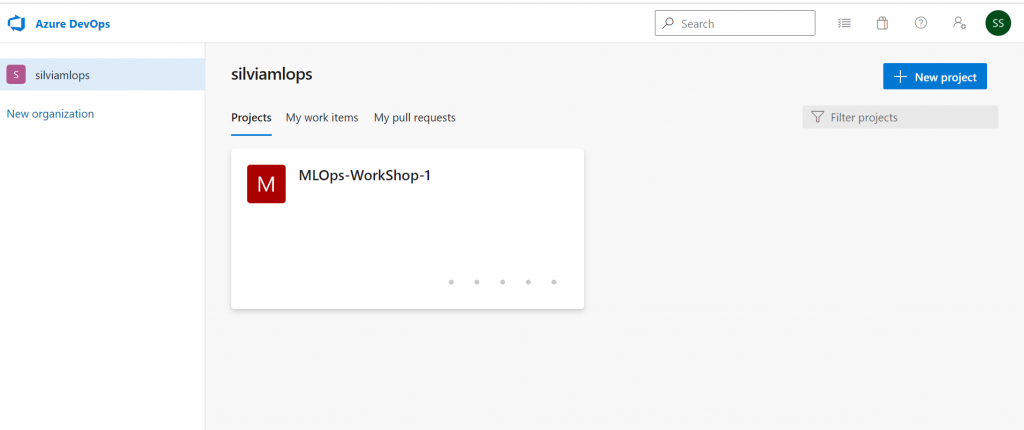
就可以到這個專案的主畫面:
左邊的一些圖標,代表的是這個專案在導入DevOps的各種所需功能。
為了讓DevOps可以與Azure Resource連線,與Azure Resource Manager (ARM)建立connection;點選project settings。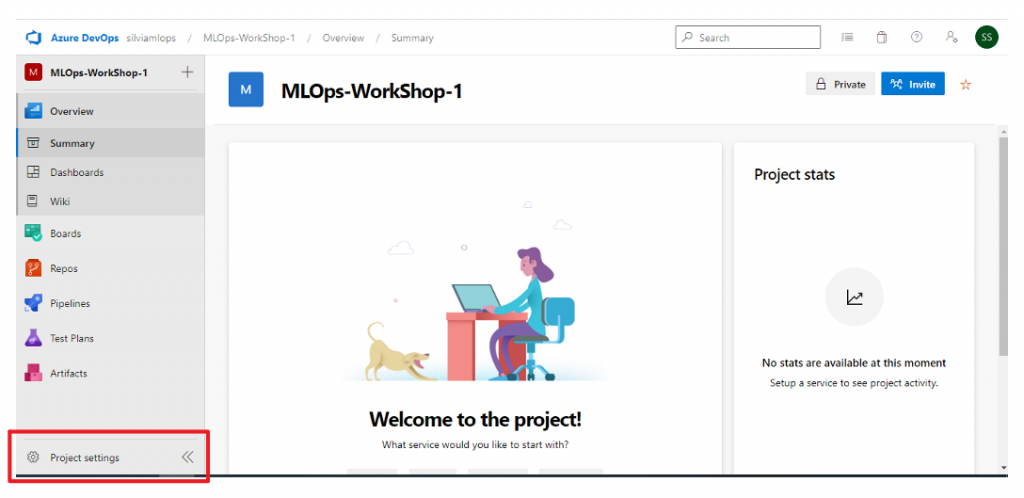
選取service connection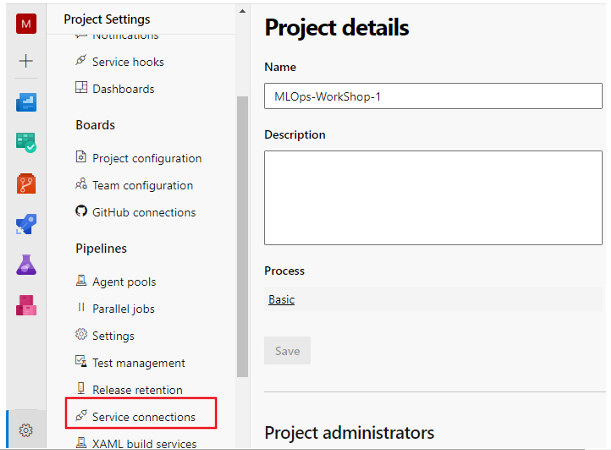
點選新增後,選擇Azure Resource Manager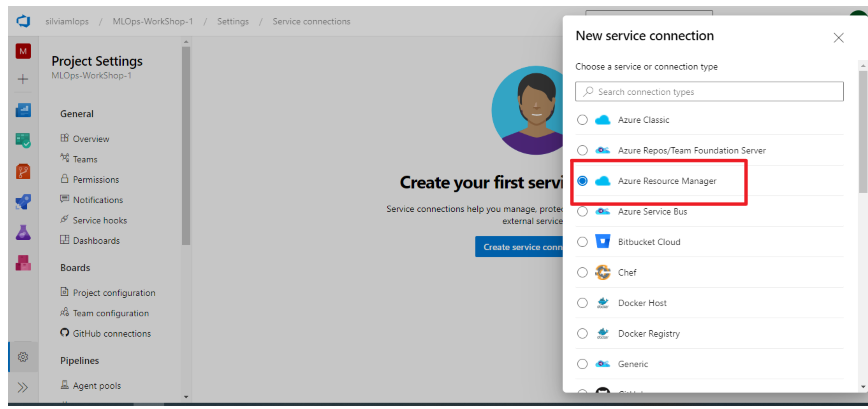
點選Service principal (automatic),按Next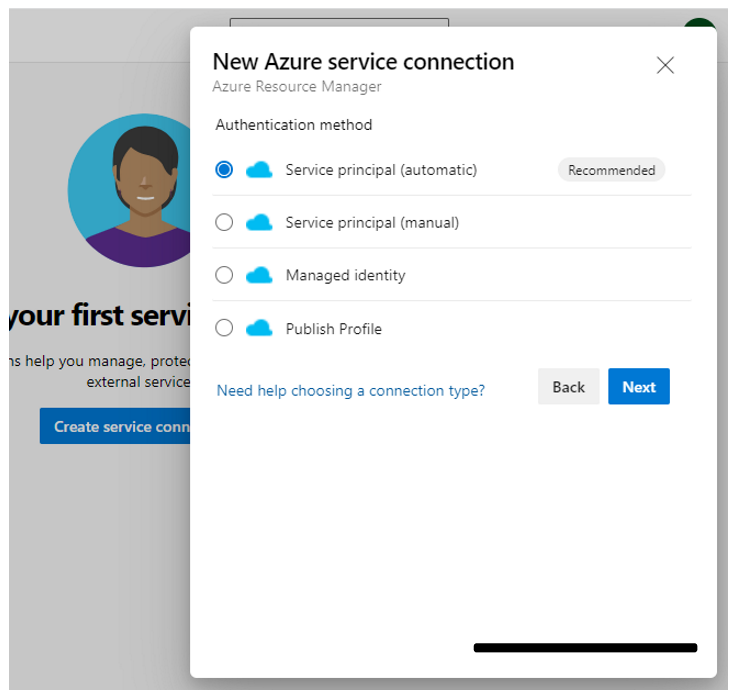
選擇訂閱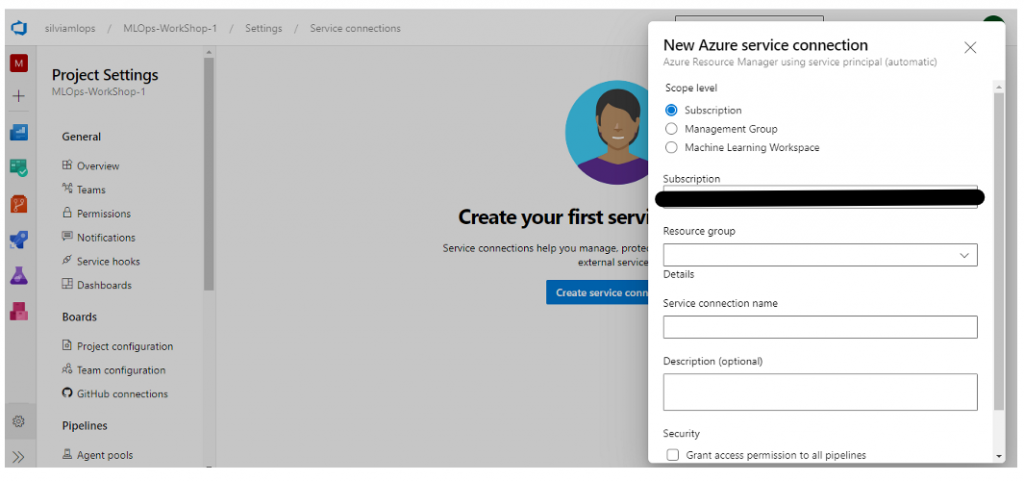
輸入這個connection名稱:azure-resource-connection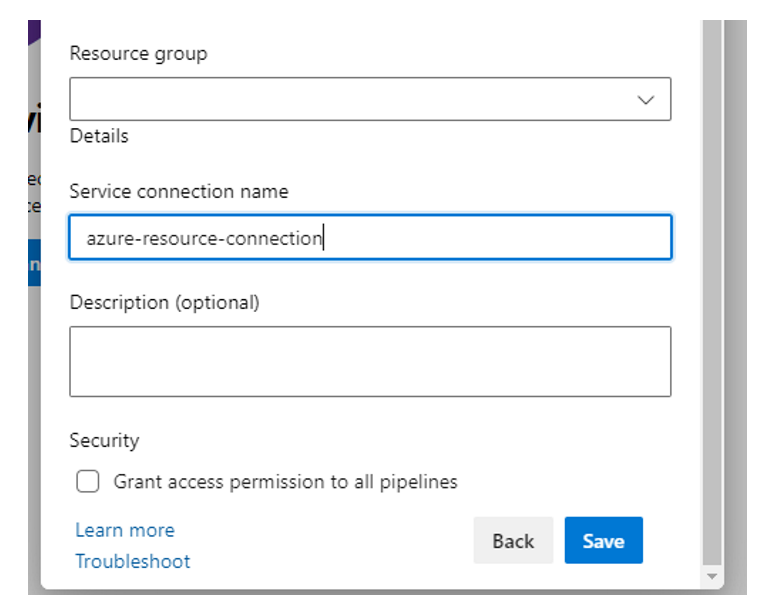
最後就會看到這個connection了。
如果想要AzureDevOps指定與某個Azure Machine Learning (AML)資源連線,也可在填寫步驟,指定到前一篇的建立的資源群組與AML服務。
最後就可以看到這個新的與AML的connection。
接下來為了模擬開發【新版的訓練模型程式碼情境】,我們從Github下載範例程式碼到自己的電腦,當作示意。
把剛剛下載的程式碼,作為示範的專案資料夾,使用vs code進行程式碼編輯和Git進行程式碼版本控管。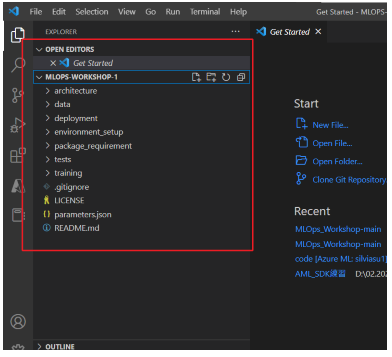
假設資料科學家使用vscode開發、用Git來進行版本控管模型訓練程式碼,在自己的機器裡(或者用AML的compute,Azure compute instance)測試完數次,認為這次的訓練程式碼,可以commit,並push到Azure DevOps Repo上。
情境:把在自己機器上的Repo,推到Azure DevOps Repo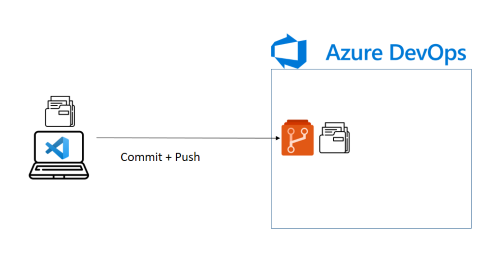
為了讓Azure DevOps的agent能夠取用所有程式碼,並且做到程式碼版本控管,把地端的這個一直都在使用的repository推到Azure DevOps Repo上。首先我們需要先從Azure DevOps取得「Push an existing repository from command line」指令,利用git remote add origin指令,添加Azure DevOps Repo作為遠端數據庫。
複製這一段指令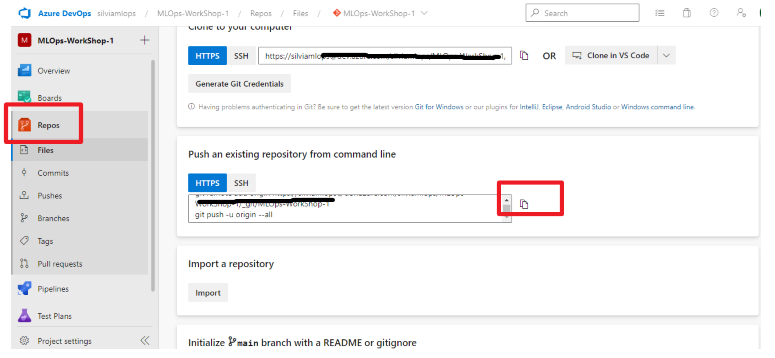
貼在vscode terminal上:
再點選push: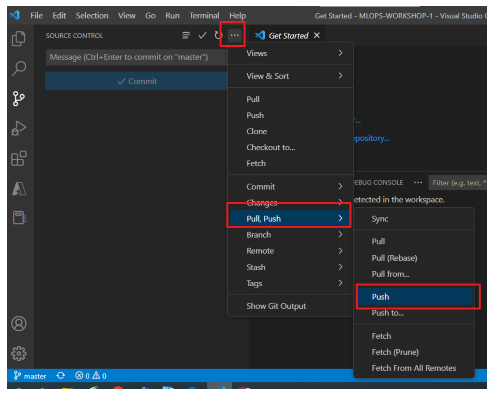
就可以在Azure DevOps Repo中,看到我們上傳repo結果了: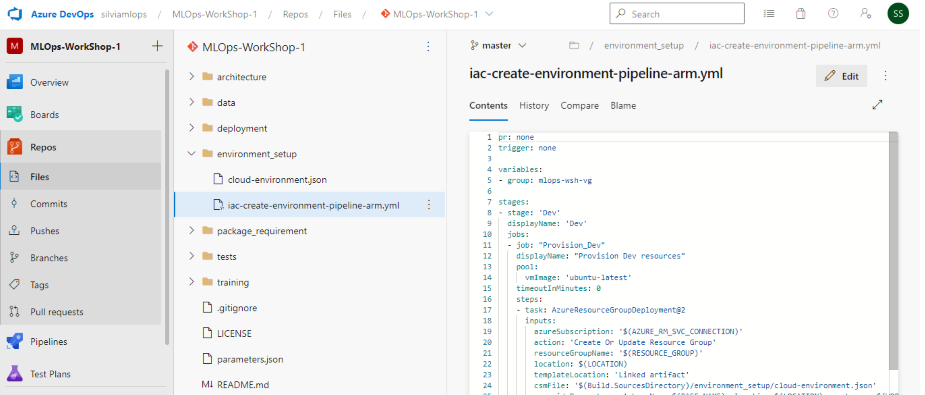
完成!
以上示範是為了模擬資料科學家的工作流程,產出新版的訓練程式碼之後,會進行commit與push。
也可以使用【Import a repository】的方式把Github上範例程式碼url複製後,直接上傳加入Azure Repo中。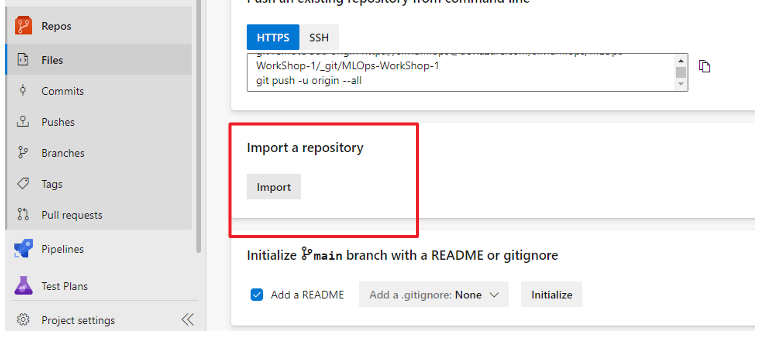
下一篇【Azure MLOps - 3】使用Azure DevOps建立訓練模型的CI pipeline(上)
 silviasu
