
作者我最近在寫專案時剛好需要拉Dropbox的檔案下來做操作
但在網路上找教學時都不是很懂
經過一番折騰後才弄出結果
希望這個文章能夠幫助同樣遇到困難的讀者
首先請先到這裡點選畫面中的Create Apps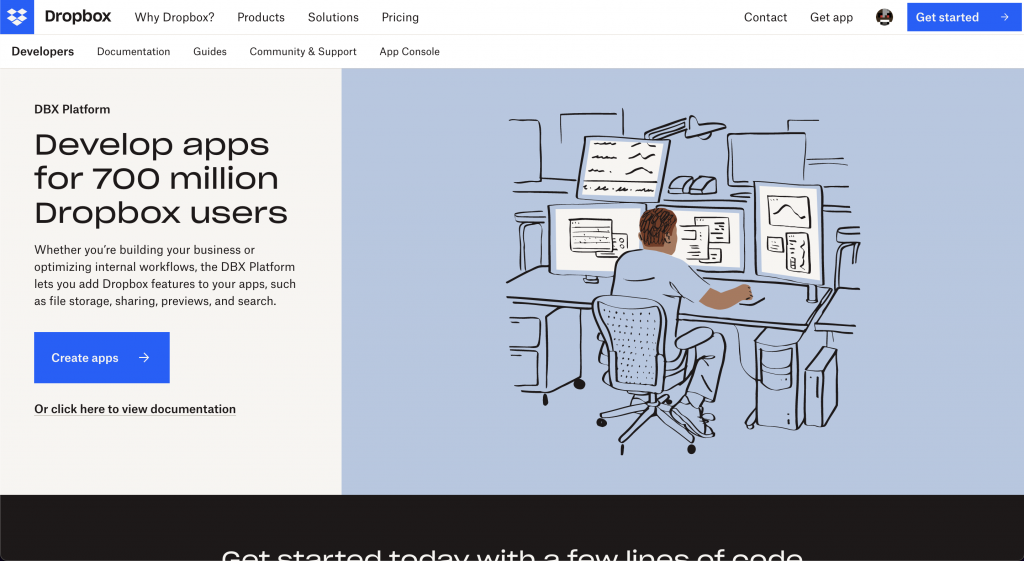
填入所需的資訊
Choose the type of access you need 這裡我是選擇 Full Dropbox 就是看各位自己的選擇
但不確定是否對後續操作有影響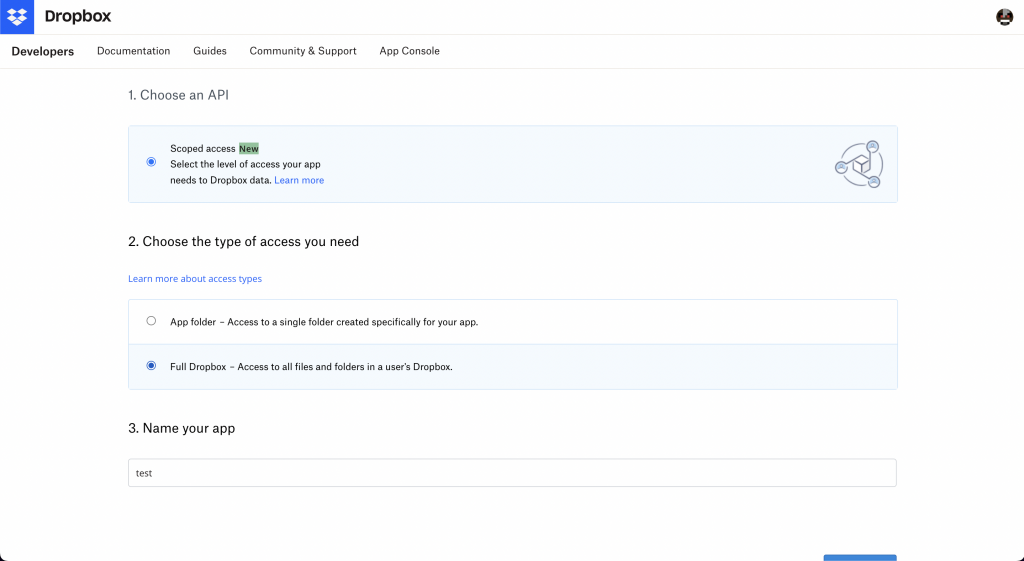
點選Create App之後就會來到下列的頁面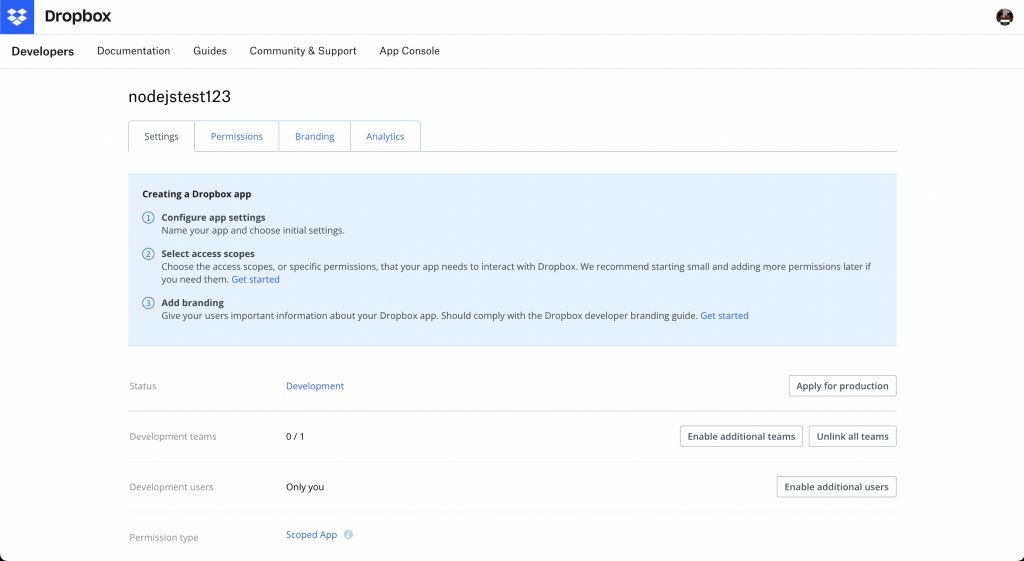
我們點選左上角的Permissions然後把畫面往下拉
把 files.content.read 打開
然後點選Submit儲存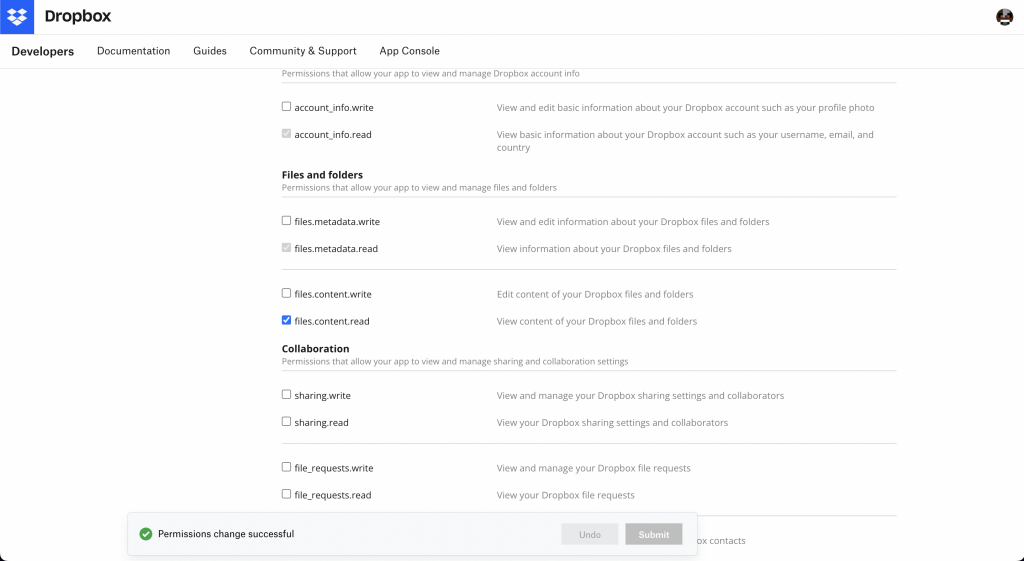
然後我們再通過左上角的Setting回到一開始的頁面
往下滑後會看到 App key 跟 App secret 這兩個東西大家先記著在這裡 晚點的時候會用到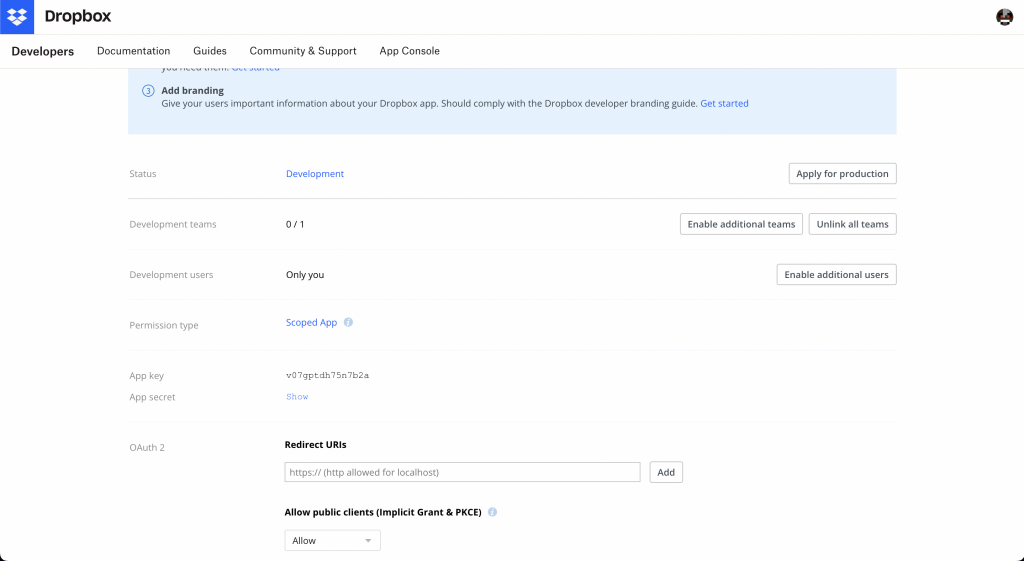
然後請大家在自己的瀏覽器中貼上以下網址
https://www.dropbox.com/oauth2/authorize?client_id='APP_KEY'&token_access_type=offline&response_type=code
'APP_KEY'請替換成剛剛提到的APP_KEY
以我自己的為例子就是
https://www.dropbox.com/oauth2/authorize?client_id=v07gptdh75n7b2a&token_access_type=offline&response_type=code
一路同意之後就會看到這個畫面
請將裡面的代碼(CODE)記起來 晚點的時候會用到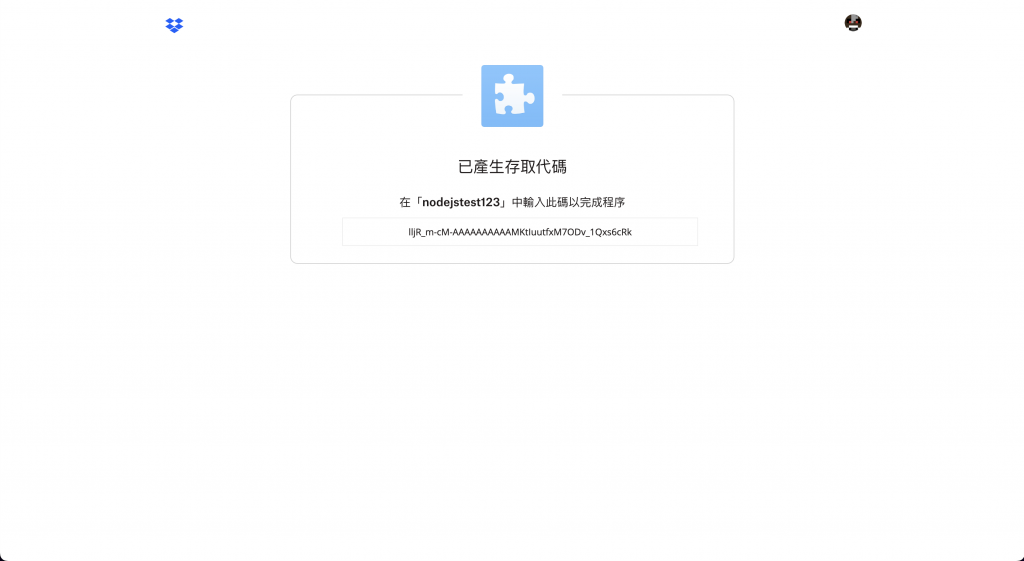
到這裡就完成前置準備了 接下來我們進到程式碼的部分
npm init -y
npm i -D typescript ts-node
npm install dropbox
都下載完成後在package.json裡的script改成
"scripts": {
    "start": "ts-node index.ts"
},
到這裡就完成了
但如果使用typescript的話記得在新增一個tsconfig.json
然後放入以下程式碼
{
  "compilerOptions": {
    "esModuleInterop": true,
    "module": "CommonJS"
  }
}
在DropBox裡面如果想用使用它們的API有非常多的方式
我這邊使用的是其中一種
首先要先透過下列程式碼的方式取得REFRESH_TOKEN
const APP_KEY = 'v07gptdh75n7b2a'
const APP_SECRET = 'pl8ofiwxgpzlp96'
const CODE = 'lljR_m-cM-AAAAAAAAAAMgBahaz4_5Qr__d3BE-vKxs'

const myHeaders = new Headers({
  "Authorization": `Basic ${Buffer.from(`${APP_KEY}:${APP_SECRET}`).toString('base64')}`,
  "Content-Type": "application/x-www-form-urlencoded"
});

const urlencoded = new URLSearchParams({
    "code": CODE,
    "grant_type": "authorization_code"
});

fetch("https://api.dropboxapi.com/oauth2/token", {
  method: 'POST',
  headers: myHeaders,
  body: urlencoded,
  redirect: 'follow'
})
  .then(response => response.json())
  .then(result => console.log(result))
  .catch(error => console.log('error', error));
請大家把上面的APP_KEY,APP_SECRET,CODE改成自己的喔!
然後在Terminal輸入
npm run start
將可以在Terminal看到自己的refresh_token了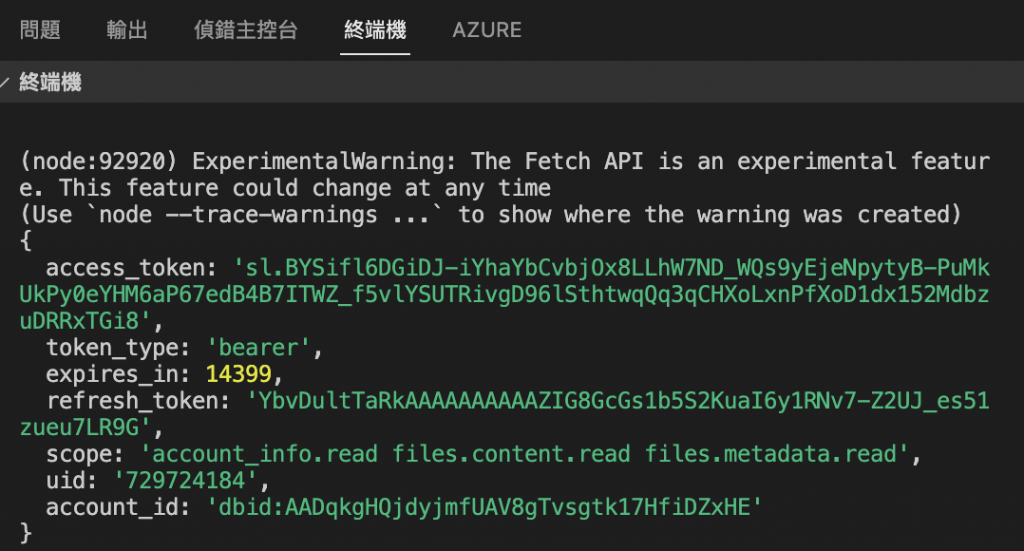
之後呢就能夠透過下列的程式碼來使用DropBox
import { Dropbox } from "dropbox";

const APP_KEY = 'v07gptdh75n7b2a'
const APP_SECRET = 'pl8ofiwxgpzlp96'
const REFRESH_TOKEN = 'YbvDultTaRkAAAAAAAAAAZIG8GcGs1b5S2KuaI6y1RNv7-Z2UJ_es51zueu7LR9G'
const dbx = new Dropbox({
      clientId: APP_KEY,
      clientSecret: APP_SECRET,
      refreshToken: REFRESH_TOKEN
});
dbx.filesListFolder({ path: '' })
  .then(function(response) {
    console.log(response.result.entries);
  })
// 這裡的filePath可以換成自己想要讀取的檔案路徑
const filePath = '/test.xlsx'
dbx.filesDownload( {path: filePath })
    .then(function (response) {
      // 這裡要加 @ts-ignore 因為在 dropbox 的 response 中,有些欄位是存在的,但是在 typescript 的定義中沒有
      // @ts-ignore
      const arrayBuffer = response.result.fileBinary as ArrayBuffer
      console.log(arrayBuffer);
      return arrayBuffer
    })
到這邊就結束了,這是我第一次在iT邦上面寫文章,如果有什麼需要補充或遺失的,都歡迎大家在下面幫我補充一下喔。最後謝謝各位的觀看
 agry
agry
