今天我们来看看怎么在 Jenkinsfile 中使用凭据。
在 Jenkins 中,支持多种凭据,一般常用的的有:
在这里,我们只讲解两种我们常用的凭据:Username and password 和 SSH Username with private key。
首先我们来看看 Username and password
登录到 Jenkins,点击 Manage Jenkins > Credentials, 然后点击 Stores scoped to Jenkins 下的 System(基于安装方式,这里显示的内容可能不一样。)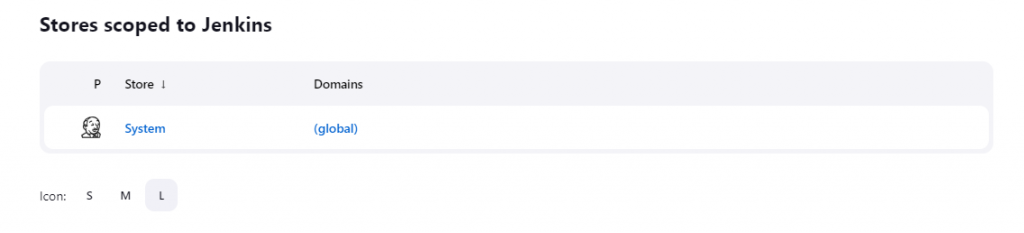
然后点击 System 下的 Global credentials(unrestricted) domain,我们将凭据添加到该 domain 下。默认就这一个 domain,如果你想添加 domain,你可以点击右上角的 Add domain 来添加。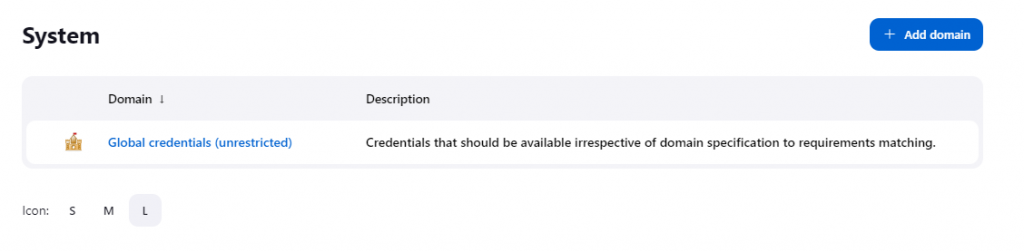
点击右上角的 Add Credentials 按钮,添加一个凭据。
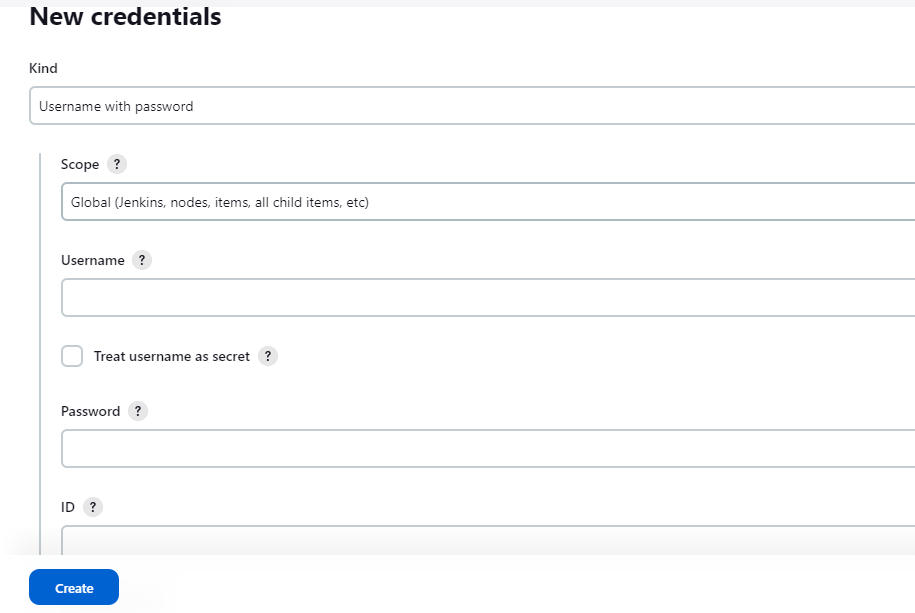
填写下面信息,然后点击 Create 按钮创建凭据。
创建一个新的 pipeline 项目,并在 Pipeline Script 文本框中粘贴下面内容,并 Build。
pipeline {
    agent any
    stages {
        stage('echo') {
            steps {
                withCredentials([usernamePassword(credentialsId: 'ssh_remote', usernameVariable: 'USERNAME', passwordVariable: 'PASSWORD')]){
                    sh 'echo the username is ${USERNAME} and the password is ${PASSWORD}'
                }
            }
        }
    }
}
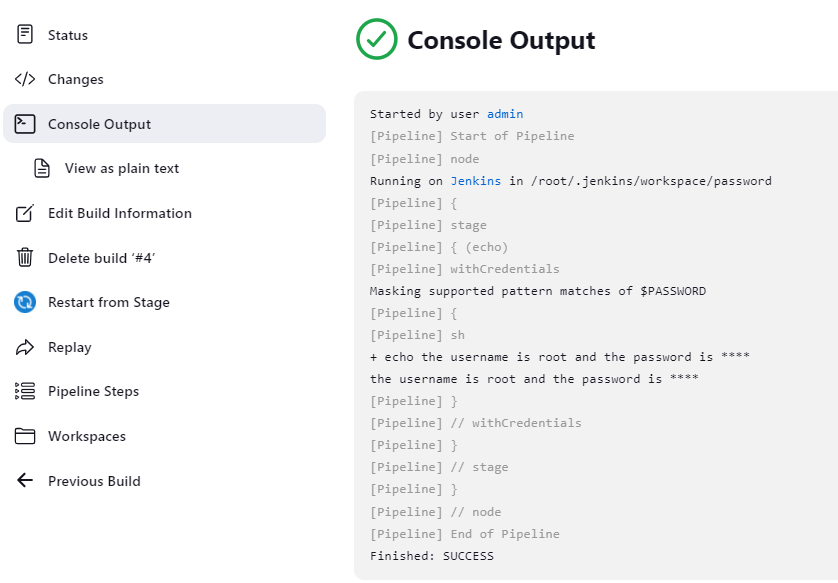
Build 完成后,点击当前的 Build ID,在 Console Output 中查看当前的 Build 输出。密码字段是以 ***** 的方式暂时的,但这个并不影响我们使用这个凭据。
接下来我们来看看 SSH Username with private key。
在创建私钥之前,我们需要在 Jenkins 上生成秘钥对。我们后面的演示,是通过私钥进行 ssh 连接到远程主机,运行一个 shell 命令,所以我们需要指定秘钥的格式,使用 RSA 的格式,因此,我们需要在 Jenkins 服务器上运行下面命令来生成秘钥对:
ssh-keygen -m PEM -t rsa -b 4096
然后使用 ssh-copy-id 命令将公钥传输到远程主机。
创建方式与前面一样,不同的地址在于,创建凭据时的 Kind 的选项,前面我们选择的是 Username with password,现在我们要选择 SSH Username with private key。具体的选项内容:
然后点击 Create 按钮,创建凭据。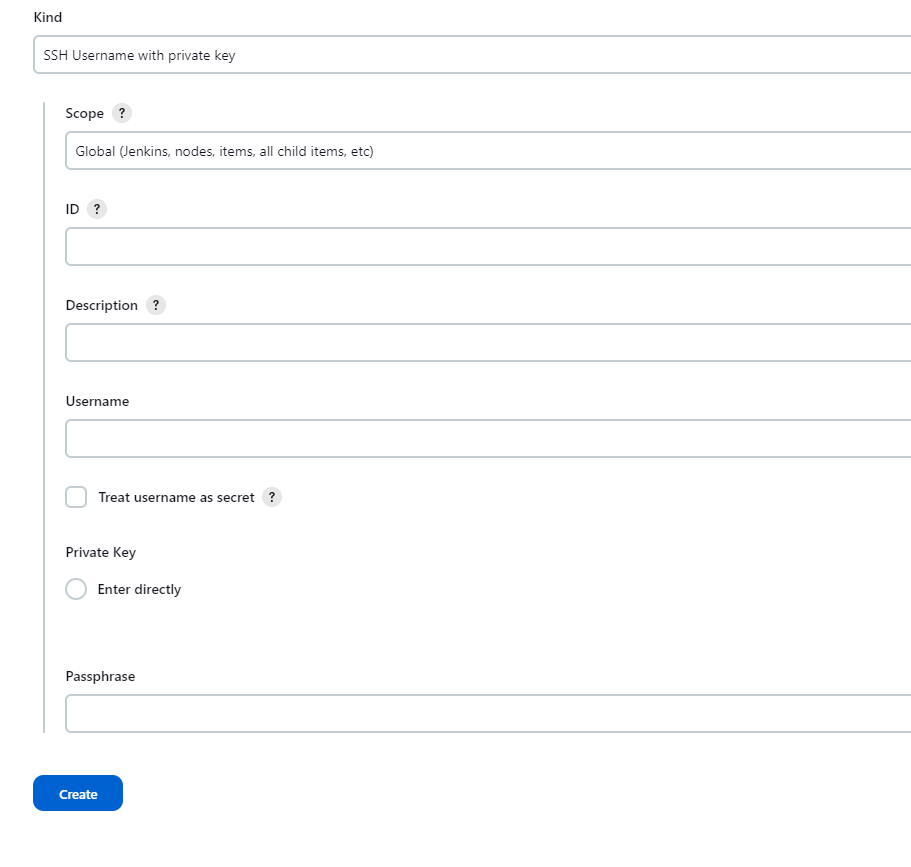
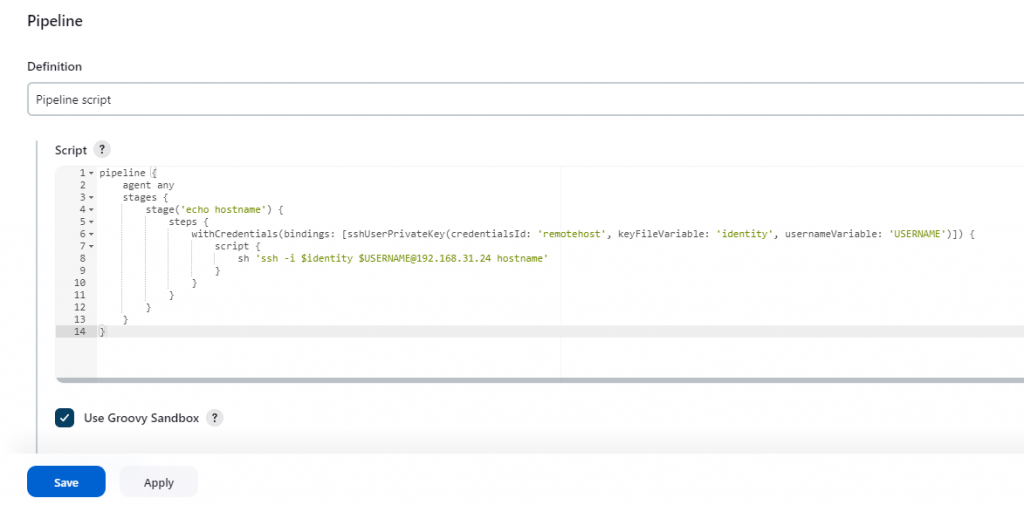
创建一个新的 pipeline 项目,并在 Pipeline Script 文本框中粘贴下面内容,并 Build。
pipeline {
    agent any
    stages {
        stage('echo hostname') {
            steps {
                withCredentials(bindings: [sshUserPrivateKey(credentialsId: 'remotehost', keyFileVariable: 'identity', usernameVariable: 'USERNAME')]) {
                    script {
                        sh 'ssh -i $identity $USERNAME@192.168.31.24 hostname'
                    }
                }
            }
        }
    }
}
Build 完成后,点击当前的 Build ID,在 Console Output 中查看当前的 Build 输出。远程主机名被正确输出。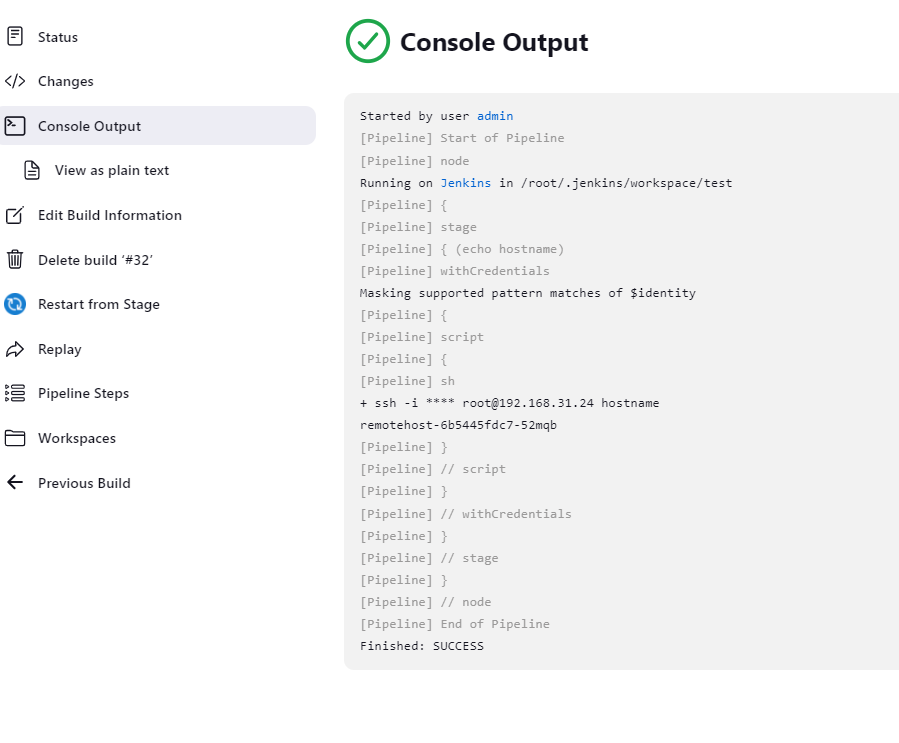
更多关于凭据的使用,可以参考:
using-credentials
handling-credentials


 iThome鐵人賽