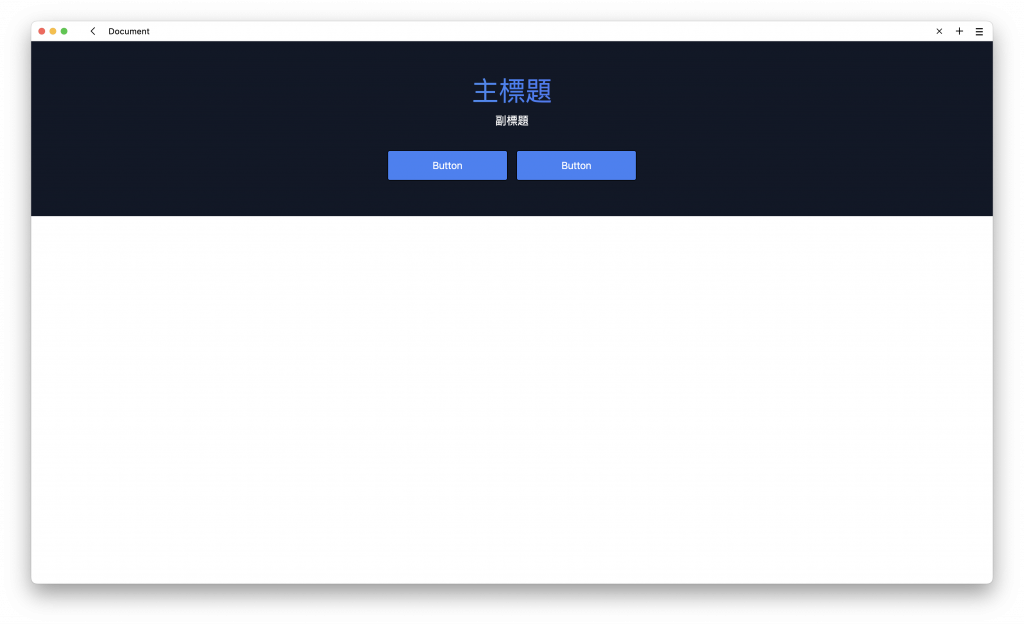
這個單元要來練習建立一個橫幅排版,最終希望的完成品會呈現如:
首先,一樣先建立基礎的排版:
<section class="">
  <h1 class="">主標題</h1>
  <p class="">副標題</p>
  <div class="">
    <a class="" href="/">Button</a>
    <a class="" href="/">Button</a>
  </div>
</section>
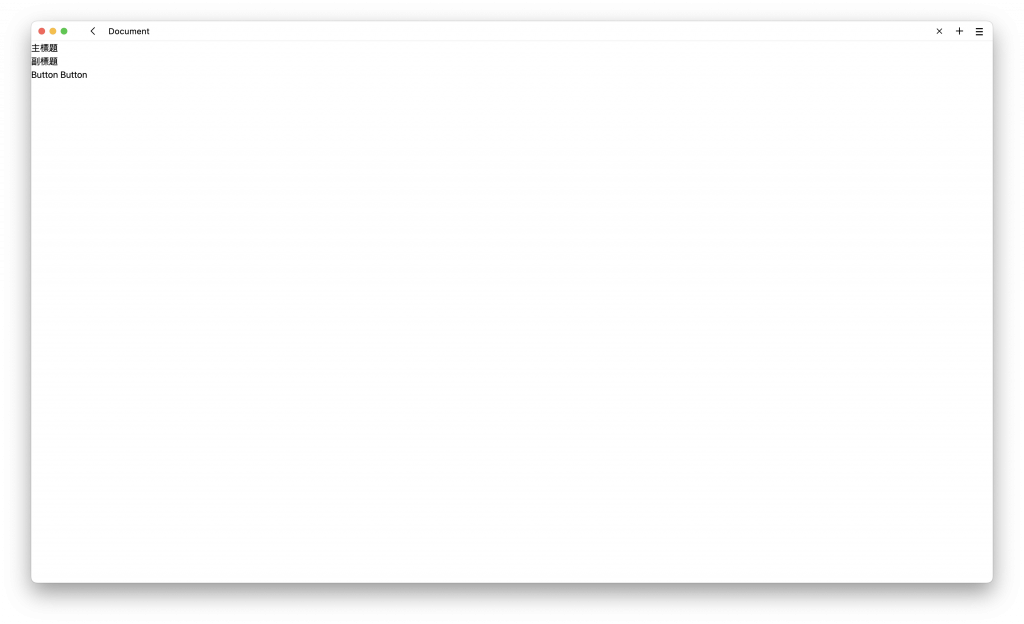
在這個排版之中,有兩個標題,一個主標題,一個副標題,以及兩個按鈕。會呈現這個醜醜的樣子:
在第一層的 div 加入背景顏色、文字顏色、padding、文字置中:
<section class="bg-gray-900 px-4 py-16 text-center text-white">
  <h1 class="">主標題</h1>
  <p class="">副標題</p>
  <div class="">
    <a class="" href="/">Button</a>
    <a class="" href="/">Button</a>
  </div>
</section>
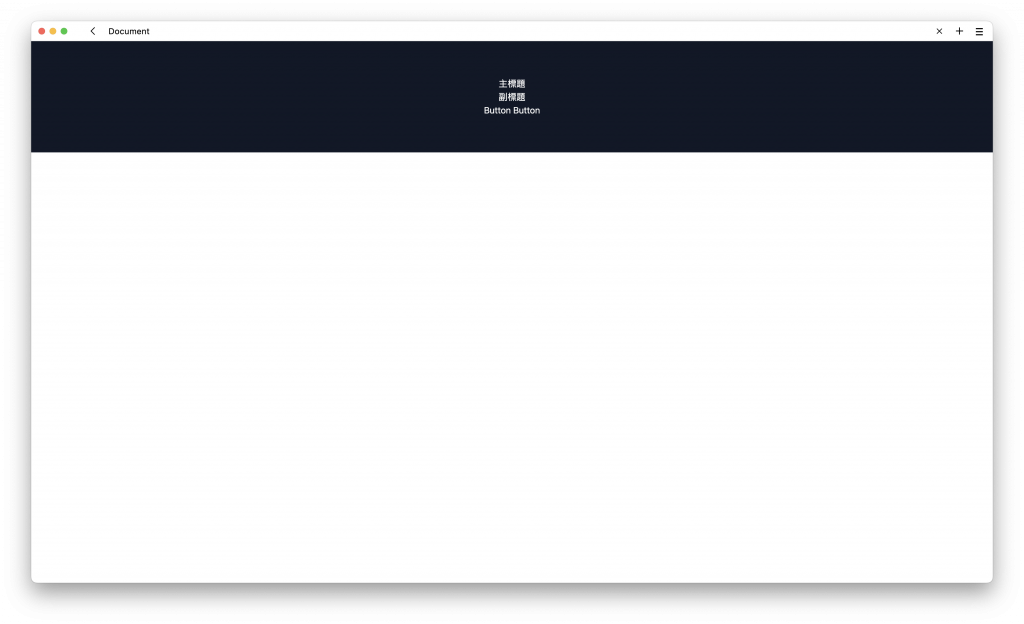
會呈現這個樣子:
在主標題與副標題加入文字大小:
<section class="bg-gray-900 px-4 py-16 text-center text-white">
  <h1 class="text-4xl sm:text-5xl">主標題</h1>
  <p class="mt-4 sm:text-xl">副標題</p>
  <div class="">
    <a class="" href="/">Button</a>
    <a class="" href="/">Button</a>
  </div>
</section>
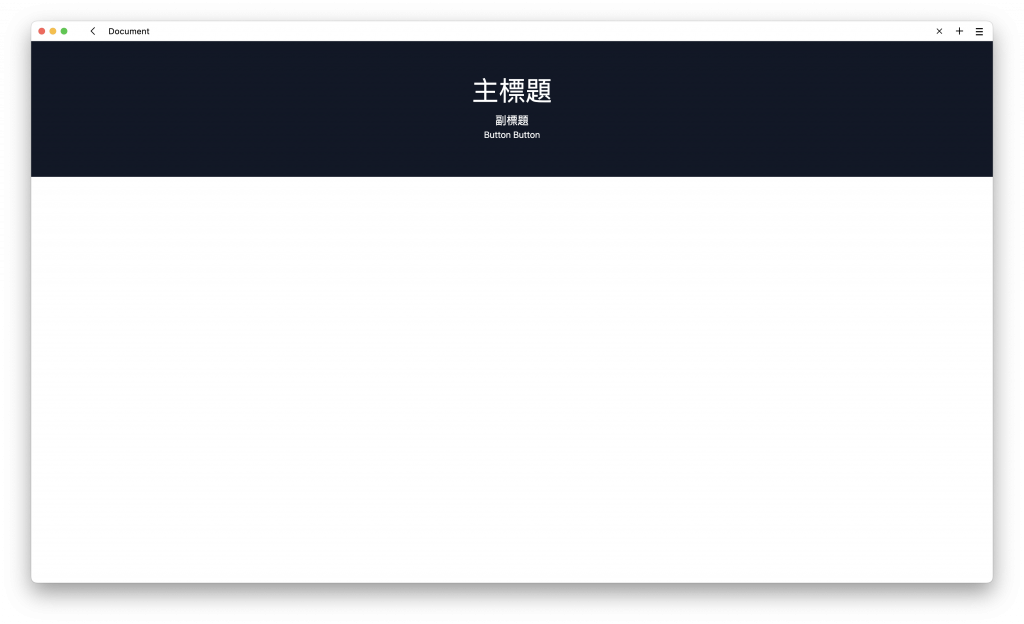
會呈現這個樣子:
在兩個按鈕的外層 div,加入 flex flex-wrap,flex-wrap 會允許自動換行,也就是初始為水平排版,當螢幕寬度變小,會自動決定是否要換行。
而另外加入 gap-4,表示其間隔為 4:
<section class="bg-gray-900 px-4 py-16 text-center text-white">
  <h1 class="text-4xl sm:text-5xl">主標題</h1>
  <p class="mt-4 sm:text-xl">副標題</p>
  <div class="mt-10 flex flex-wrap justify-center gap-4">
    <a class="" href="/">Button</a>
    <a class="" href="/">Button</a>
  </div>
</section>
與上一個單元類似,把按鈕的樣式也補上去:
<section class="bg-gray-900 px-4 py-16 text-center text-white">
  <h1 class="text-4xl sm:text-5xl">主標題</h1>
  <p class="mt-4 sm:text-xl">副標題</p>
  <div class="mt-10 flex flex-wrap justify-center gap-4">
    <a class="w-full rounded border border-black bg-blue-500 px-20 py-3 text-lg text-white hover:bg-transparent hover:text-indigo-600 sm:w-auto" href="/">Button</a>
    <a class="w-full rounded border border-black bg-blue-500 px-20 py-3 text-lg text-white hover:bg-transparent hover:text-indigo-600 sm:w-auto" href="/">Button</a>
  </div>
</section>
會呈現這個樣子:
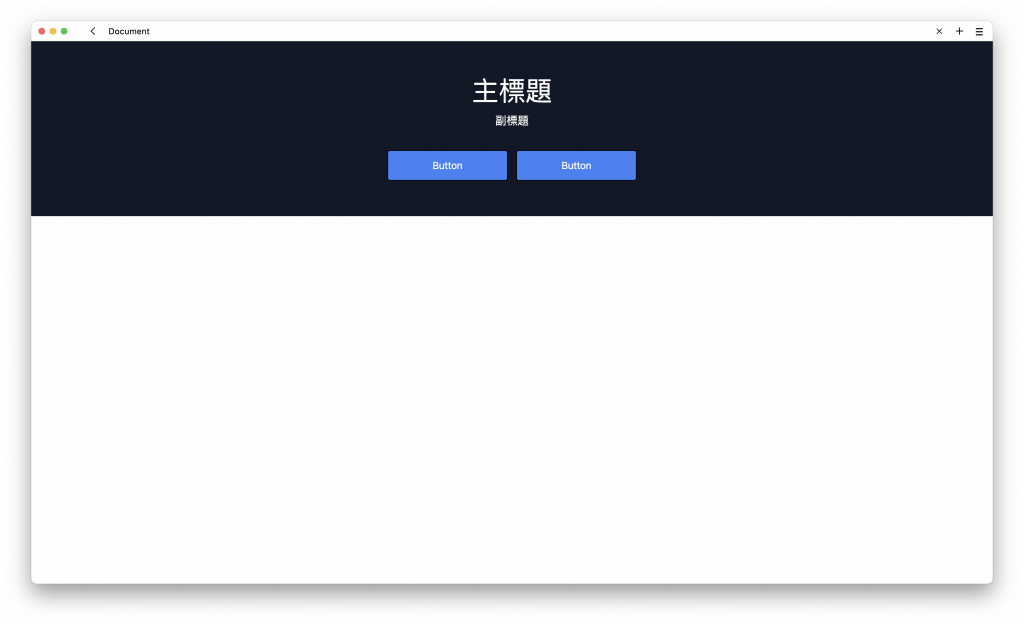
與上一個單元比較不一樣的地方是加入 sm:w-auto,表示當螢幕寬度大於 640px 時,會使用 w-auto,表示寬度為自動。
如此一來整個 RWD 的架構大致上完成。
最後讓這個大標題產生漸層的效果,要使用以下四個 class name:
bg-gradient-to-r:背景加入漸層效果,顏色渲染的方式為從左邊到右邊
from-green-300:初始顏色為綠色
via-blue-500:中間色為藍色
to-purple-600:最後用紫色結尾
<section class="max-w-screen bg-gray-900 px-4 py-16 text-center text-white">
  <h1 class="bg-gradient-to-r from-green-300 via-blue-500 to-purple-600  text-4xl  sm:text-5xl">主標題</h1>
  <p class="mt-4 sm:text-xl">副標題</p>
  <div class="mt-10 flex flex-wrap justify-center gap-4">
    <a class="w-full rounded border border-black bg-blue-500 px-20 py-3 text-lg text-white hover:bg-transparent hover:text-indigo-600 sm:w-auto" href="/">Button</a>
    <a class="w-full rounded border border-black bg-blue-500 px-20 py-3 text-lg text-white hover:bg-transparent hover:text-indigo-600 sm:w-auto" href="/">Button</a>
  </div>
</section>
這樣會得到這個效果:
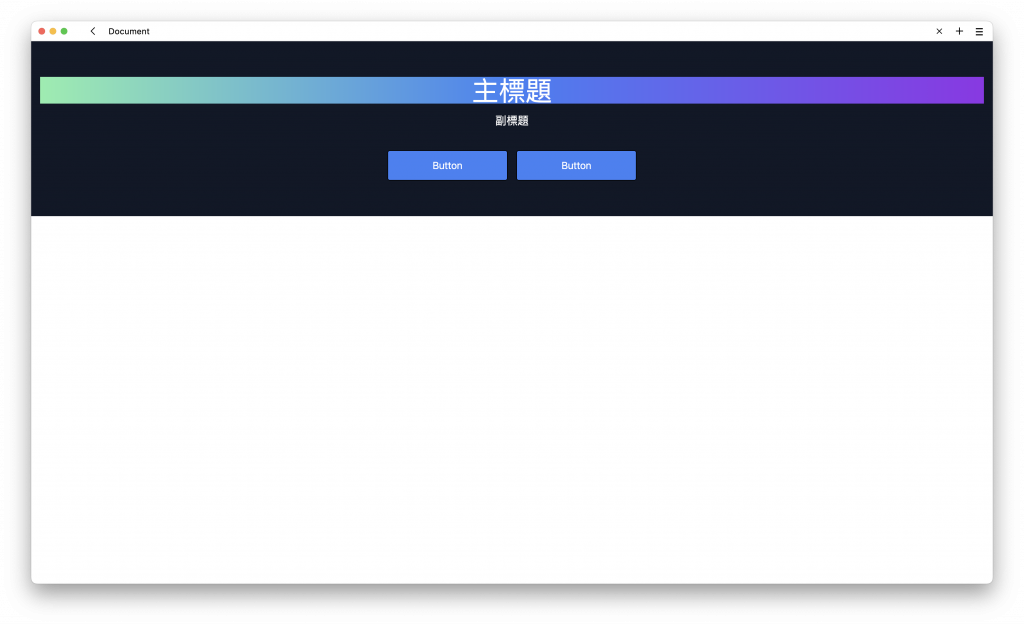
但這樣不是我想要的效果,我想要的是這個漸層色只能夠出現在文字上面。
那就要使用 bg-clip-text 表示將背景色切成符合文字的內容。
最後再使用 text-transparent 表示將文字設成透明色。
所以整體的完整版為:
<section class="max-w-screen bg-gray-900 px-4 py-16 text-center text-white">
  <h1 class="bg-gradient-to-r from-green-300 via-blue-500 to-purple-600 bg-clip-text text-4xl text-transparent sm:text-5xl">主標題</h1>
  <p class="mt-4 sm:text-xl">副標題</p>
  <div class="mt-10 flex flex-wrap justify-center gap-4">
    <a class="w-full rounded border border-black bg-blue-500 px-20 py-3 text-lg text-white hover:bg-transparent hover:text-indigo-600 sm:w-auto" href="/">Button</a>
    <a class="w-full rounded border border-black bg-blue-500 px-20 py-3 text-lg text-white hover:bg-transparent hover:text-indigo-600 sm:w-auto" href="/">Button</a>
  </div>
</section>
最後就會得到這樣的效果:
tailwindcss - 從零開始學 - Day7 [完]

