
昨天推上github後發現actions執行一直失敗,後來才發現原來是yaml檔的資料夾設定錯誤(應該要在./github/workflows而不是/workflows)後來發現先使用 gitHub的推薦流程來執行比較方便,流程如下:
2.貼上剛剛複製的檔案後,進到該頁面後,做commit change
3.在本地端git fetch,將剛剛的檔案拉下來
4.google查詢"gitHub actions python"的第一個結果,並點進去查看安裝pip及其套件的的配置方法
pip及其套件的的配置方法:
steps:
- uses: actions/checkout@v3
- uses: actions/setup-python@v4
  with:
    python-version: '3.9'
    cache: 'pip' # caching pip dependencies
- run: pip install -r requirements.txt
5.另外因為我們設定的該事件是排程固定時間(on schedule),
如果要檢查的話可以加上一個手動trigger workflow_dispatch的事件
到時候上傳時就可以手動在github cli等各種gui介面先檢查,而不用去動on schedule那段的設定
6.改設定檔為如下並上傳到github:
name: Oil Notify

on:
  workflow_dispatch:  #設定手動觸發工作流事件
  schedule:
    - cron: '30 12 * * 0'  # 每週日的中午(UTC時間)
# on:
#   push:
#     branches: [ "main" ]

jobs:
  build:
    runs-on: ubuntu-latest

    steps:
      - name: Checkout code
        uses: actions/checkout@v3

      - name: Set up Python & Independencies
        uses: actions/setup-python@v4
        with:
          python-version: "3.9"  # 指定所需的 Python 版本
          cache: 'pip' # caching pip dependencies

      - name: Install dependencies
        run: pip install -r requirements.txt

      - name: Jupyterbook execution
        run: jupyter execute oil_notify.ipynb
        shell: bash

      # - name: Run Python Script
      #   run: python oil_notify.py  # 執行您的 Python 腳本
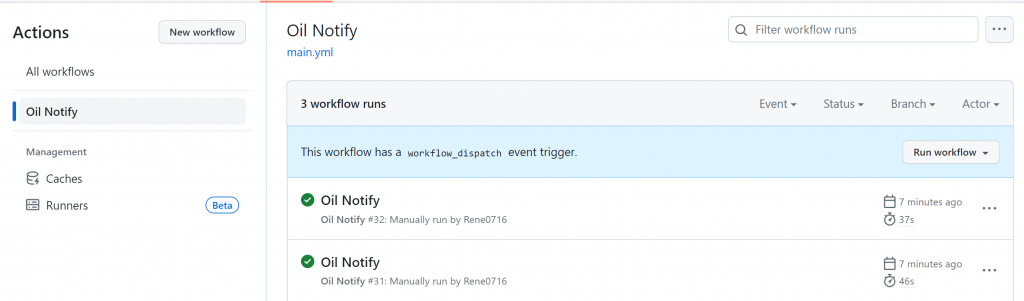
若成功會出現以下畫面:
手動啟用工作流: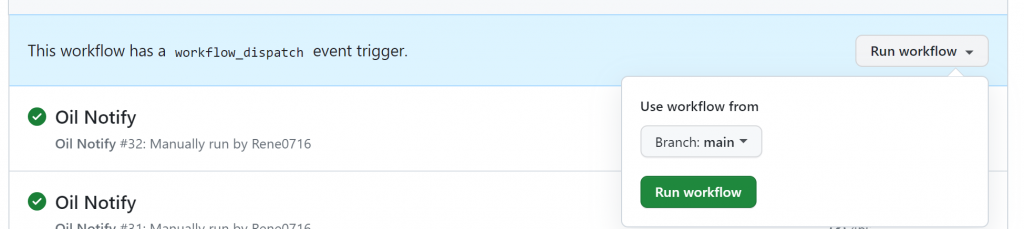
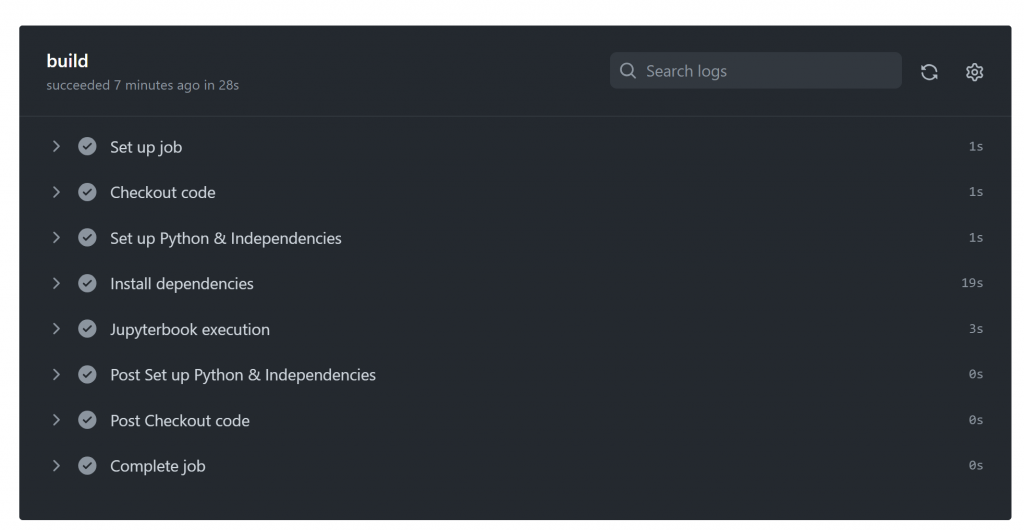
內層每個步驟的樣子: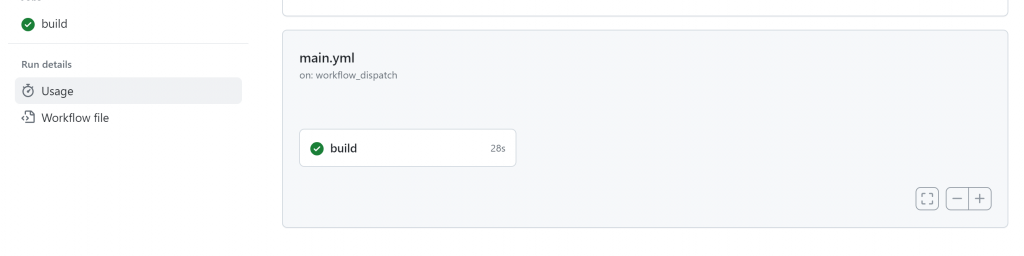
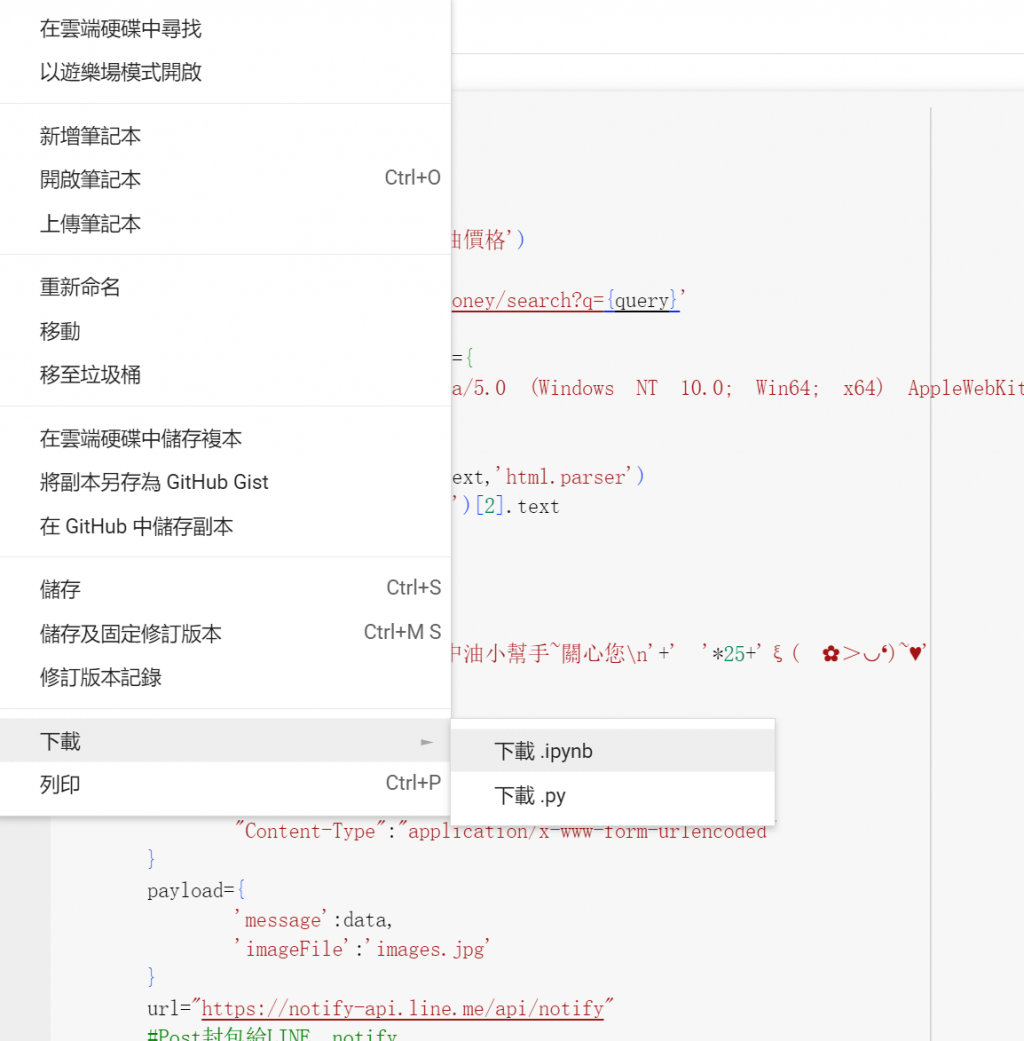
若要改使用google colab的jupyter book檔案,則有以下幾個步驟需要修改:
2.yaml設定檔改以下這段:
        name: Jupyterbook execution
        run: jupyter execute oil_notify.ipynb

        shell: bash
3.requirements.txt檔案設定改加入jupyterlab,nbclient&套件名稱
nbclient 是用來讓jupyterbook可以在command line執行的套件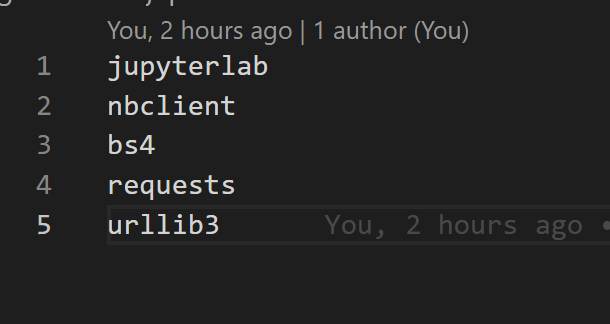

 iThome鐵人賽