首先安裝VUE.js的環境,這裡就用Vue-CLI來建立專案吧!
npm install -g @vue/cli
或
yarn global add @vue/cli
安裝完之後就要建立專案名稱囉!
vue create [專案名稱]
確定好專案名稱後選取自己要的版本。
Vue CLI v5.0.8
? Please pick a preset: (Use arrow keys)
> Default ([Vue 3] babel, eslint)
  Default ([Vue 2] babel, eslint)
  Manually select features
建立完成後會出現下方提示,恭喜沒有任何問題。
🎉  Successfully created project [專案名稱].
👉  Get started with the following commands:

 $ cd [專案路徑]
 $ npm run serve
再來是如何啟動Vue的專案,首先進入你專案的路徑下輸入:
先輸入 cd ithome_vue
後輸入 npm run serve
成功啟動後就會出現下方訊息。
C:\Users\***\Desktop\ithome>cd ithome_vue
C:\Users\***\Desktop\ithome\ithome_vue>npm run serve

> ithome_vue@0.1.0 serve
> vue-cli-service serve

 INFO  Starting development server...

 DONE  Compiled successfully in 4422ms

  App running at:
  - Local:   http://localhost:8081/
  - Network: http://192.168.38.55:8081/

  Note that the development build is not optimized.
  To create a production build, run npm run build.
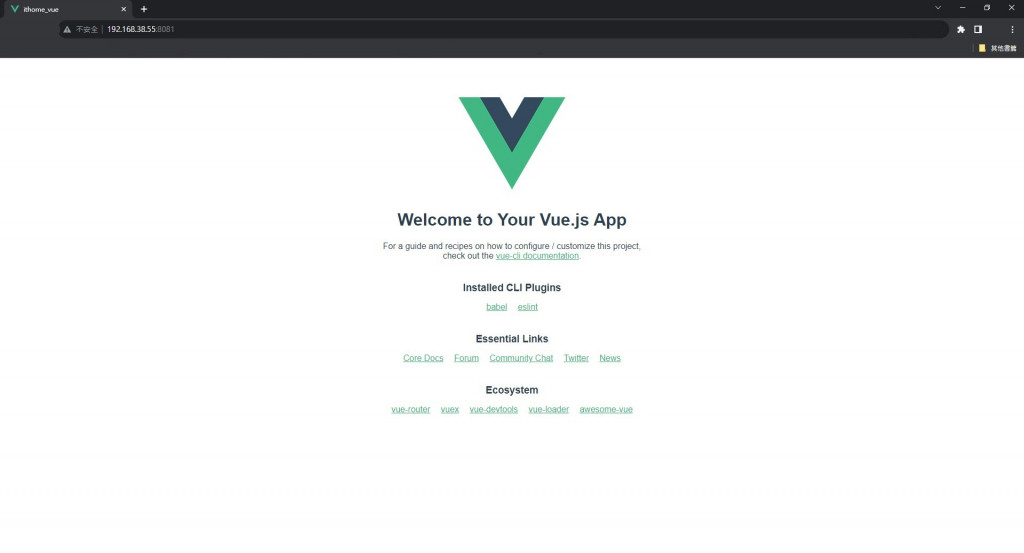
再來是查看建立完成之後的長得如何:
以上就是第二天的內容,感謝各位的觀看,我們明天再見。
