在前兩天,我們已經建立了穩固的基石:熟悉了 Rust、Cargo 和 Actix Web。今天,將會進行這次挑戰的核心部分,那就是使用 Rust 製作 QR Code!
目前 Rust 豐富的生態圈,有許多優秀的開發者研發出了很棒的開源套件,如果要尋找適合並且符合需求的套件的話,可以到 crates.io 去尋找。crates.io 是等同於 npm 的一個 Rust 官方套件託管中心。
既然有了前人造好的輪子,我們也就不需要去自己造輪子。不過還是很歡迎大家未來也都能親自參與並開發出更多好用的套件,以後有機會的話我們再介紹如何開發一個套件,並發布到 crates.io。
既然我們的核心功能是製作 QR code,那麼我們就來搜尋一下關鍵字。
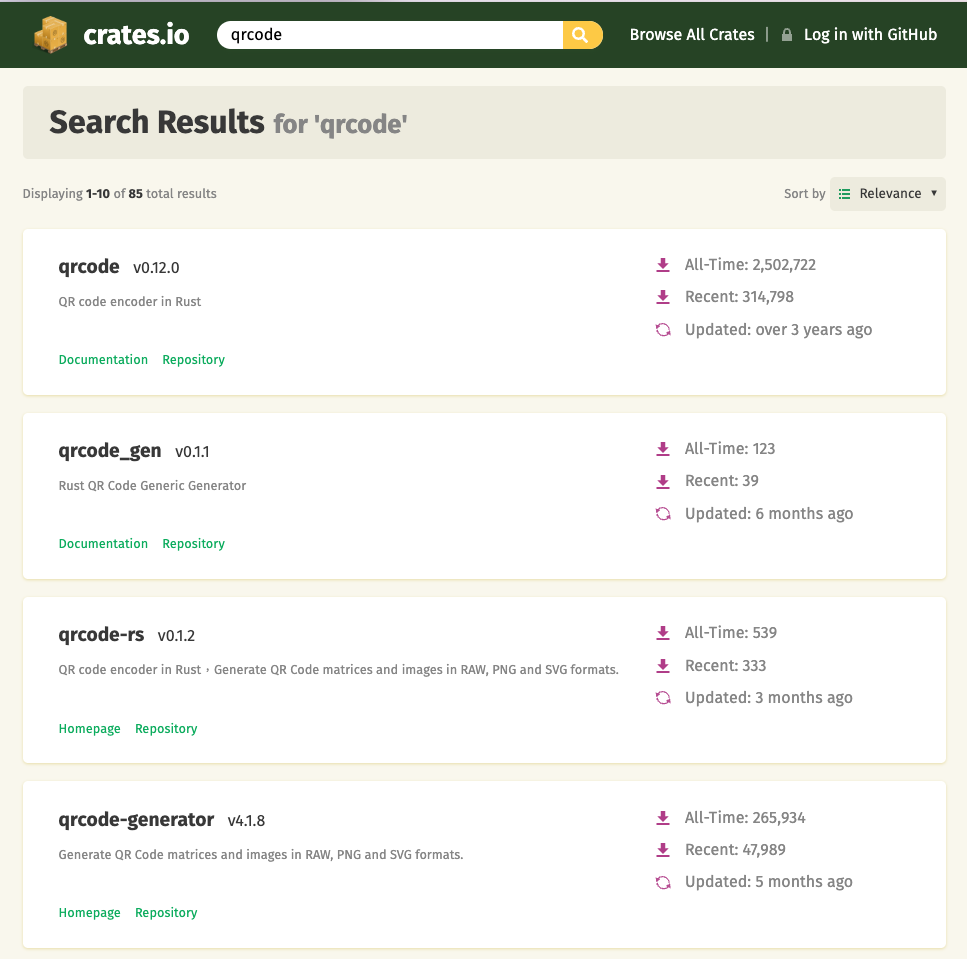
可以看到目前搜尋完有 85 筆符合關鍵字的套件,可以按照自己的需求去使用喜歡的套件,這裡我們就選擇 qrcode 這個套件。
安裝方式可以在專案目錄下,並且在 Terminal 輸入指令:
$ cargo add qrcode
或是在專案根目錄下的 Cargo.toml,在其 [dependencies] 下輸入:
[dependencies]
qrcode = "0.12.0"
讓我們快速地製作一個基本的 QR Code:
use qrcode::QrCode;

fn main() {
    let code = QrCode::new(b"https://buckychu.im").unwrap();
    let string = code
        .render::<char>()
        .quiet_zone(false)
        .module_dimensions(2, 1)
        .build();
    println!("{}", string);
}
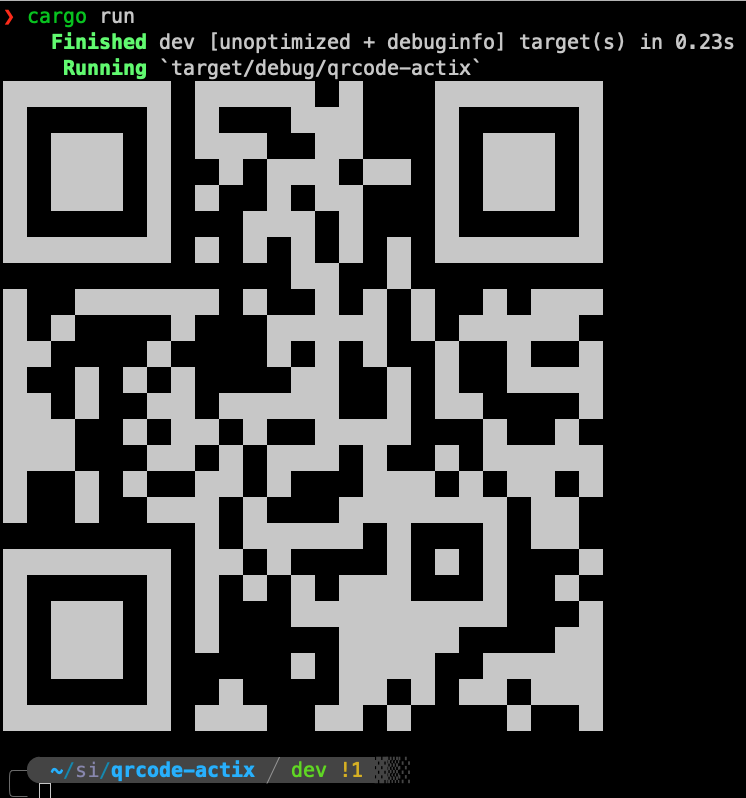
接著在 Terminal 執行 cargo run,就可以看到以下的畫面:
由於這個專案希望使用者可以通過我們的程式來讓網頁畫面顯示相對應的 QR Code 圖片,所以我們這裡還需要安裝一個套件來處理圖片,會使用的是 image。
這裡要注意的是,因為 qrcode 這個套件不支援 image 的最新版本,所以我們要安裝特定的版本。打開 Cargo.toml 後,手動輸入:
[dependencies]
actix-web = "4.4.0"
qrcode = "0.12.0"
image = "0.23.0"
這裡 image 用的版本是 0.23.0。
接下來建立一個 index 的函式,並且用 GET 來處理:
use actix_web::{get, web, App, HttpResponse, HttpServer};
use image::{Luma, DynamicImage};
use qrcode::QrCode;

#[get("/")]
async fn index() -> HttpResponse {
    let code = QrCode::new(b"https://buckychu.im").unwrap();

    let image = code.render::<Luma<u8>>().build();

    let mut buffer = Vec::new();
    DynamicImage::ImageLuma8(image).write_to(&mut buffer, image::ImageOutputFormat::Png).unwrap();

    HttpResponse::Ok()
        .content_type("image/png")
        .body(buffer)
}
接著在 main 當中建立一個 service:
#[actix_web::main]
async fn main() -> std::io::Result<()> {
    HttpServer::new(|| {
        App::new()
            .service(index)
    })
    .bind("127.0.0.1:8080")?
    .run()
    .await
}
然後執行 cargo run 後,並且在瀏覽器 URL 輸入 http://127.0.0.1:8080,就可以在網頁畫面上看到建立的 QR code。
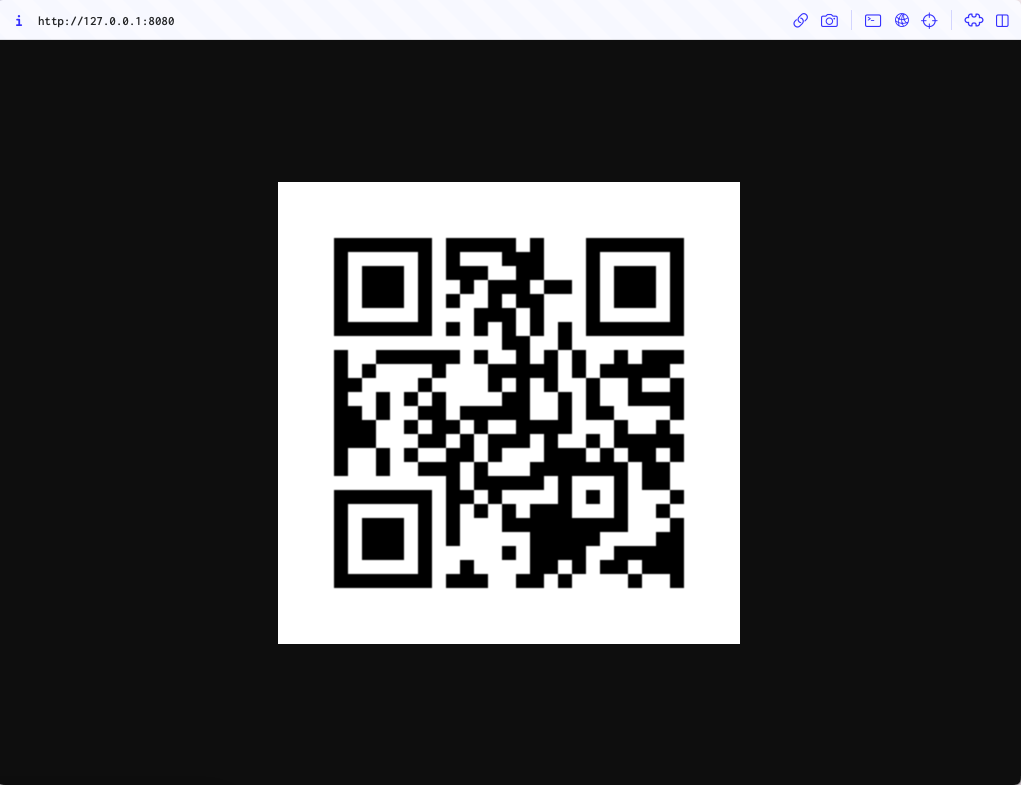
今天成功地在我們的 Actix Web 中整合了 QR Code 產生功能,並得到相對應的 QR Code 圖片。
明天,我們將持續加入功能,敬請期待!