接續上回,我們終於走到了感覺像真的要把server run起來的地方了!畢竟function名稱都直接叫run了!
那今天我們就繼續挖,挖到底看到底會長怎麼樣吧!!
接續上集的圖,今天會集中在這張圖~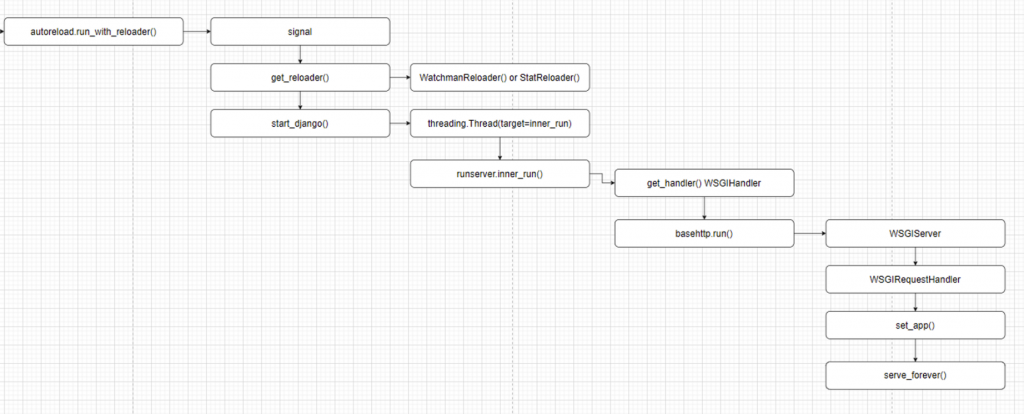
昨天我們到了run()的階段,讓我們來看看~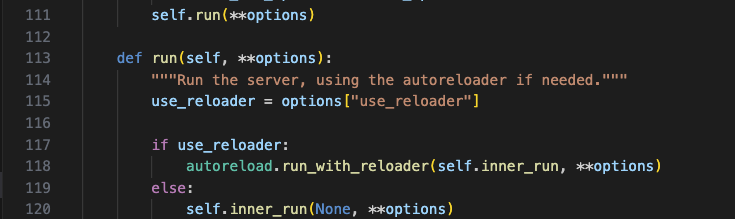
那這邊會流向使用reloader因為我們python manage.py runserver並沒有要求他不要啟動autoreloader
我挖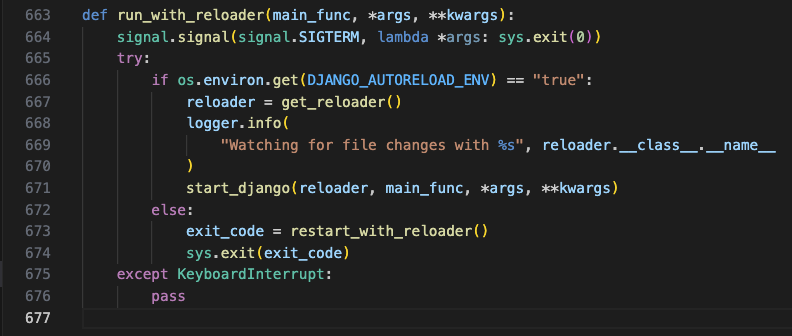
這邊會看到幾個重點(路徑為django.utils.autoreload.py)
signal
get_reloader()
start_django()
我們一個一個看signal先來
他怎麼來的呢,往上看會發現
是內建函式庫呢,看來直接google比較快~
python的官方文件
簡單的理解大概是當python接收到訊號signal.SIGTERM會去執行後面的lambda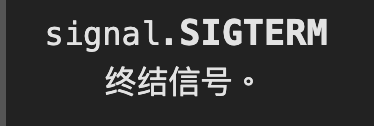
而lambda中的sys.exit(0)則是讓這支程序退出
接下來是get_reloader()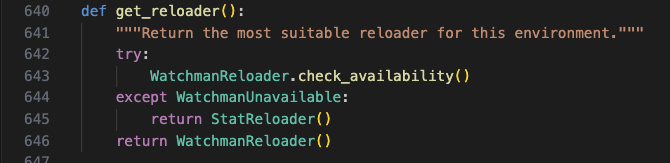
這邊會看到兩條路WatchmanReloader和StatReloader,兩個都是會去紀錄並關心Django的健康狀況,之後看有沒有機會來說明,今天的重點依舊是runserver
最後是start_django()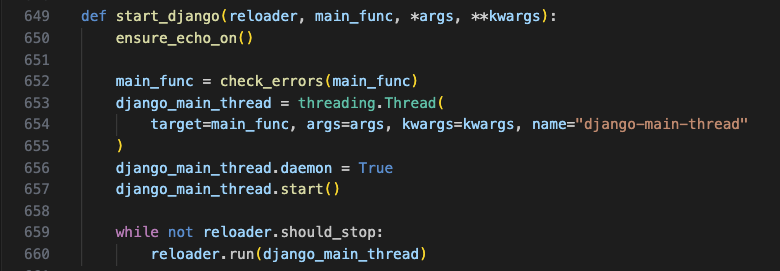
這邊可以看到Django額外開了一個thread是for main_func的,至於thread是什麼呢?可能還會提到process,網路上有很多詳細的資料可以查閱這邊就不獻醜了
我們回過頭來看main_func是什麼呢?
哦~是在進去autoreload之前的runserver裡面的function啊~
那這個self.inner_run做了哪些事情呢?
我們直接來看重點!
這邊兩個重點
get_handler()
run()
首先get_handler()
再挖
這邊我們可以看到他會去拿我們startproject後生出來的wsgi.py
我挖wsgi.py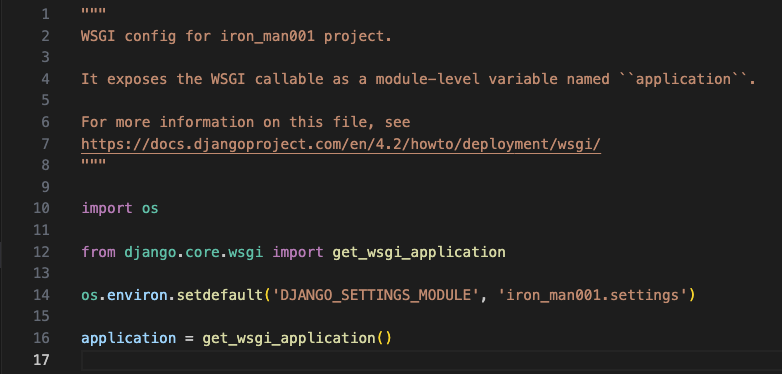
我再挖get_wsgi_application()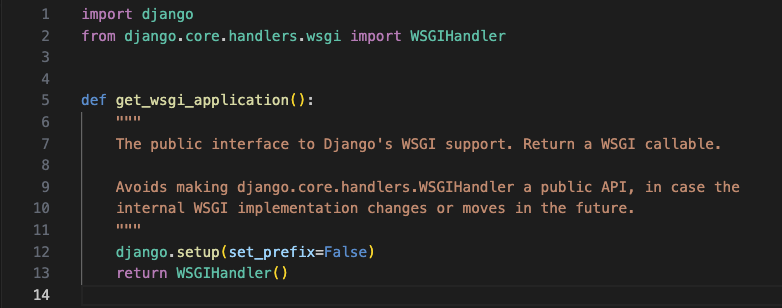
這邊可以看到django.setup()然後return WSGIHandler(),這兩個坑之後會補起來的!
至此我們可以知道get_handler()會return WSGIHandler()
接下來換run()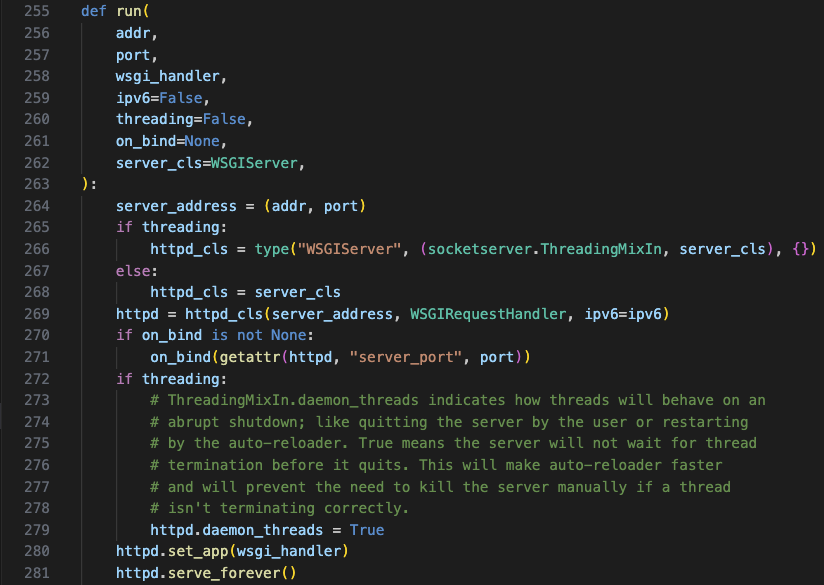
關鍵字來
WSGIServer和WSGIRequestHandler
這邊我們看關鍵字simple_server就好了(WSGIRequestHandler也是去繼承simple_server的類別)
摁~wsgiref也是個python的內建函式庫
上官方文件可以看到有提供簡單的起一個server的範例
而wsgiref的範例中就可以看到set_app()和serve_forever()的身影~
至此大概的流程就走到這邊,而python manage.py runserver最後就是由wsgiref啟動的!
其實當中還是有很多地方可以去深探,但我這邊就是講一個菜鳥看源碼的感覺,可以看到平常使用的python manage.py runserver到底做了多少事情,可以說越挖越深,但挖的越深我越開心呀!