LAMP搭建了,Wordpress也下載了,要開始搬遷了嗎?
很遺憾地告訴各位,請再稍等一天,我們還必須要使EC2使用phpMyAdmin管理RDS、設定Wordpress網站來生成wp-config.php文件...
安裝完phpMyAdmin後,phpMyAdmin預設是連線到EC2上的MySQL資料庫,而非RDS MySQL資料庫,因此打開瀏覽器輸入『EC2公有IP/phpMyAdmin』並輸入RDS的使用者名稱、密碼後,會跳出登入的錯誤訊息,如下圖所示: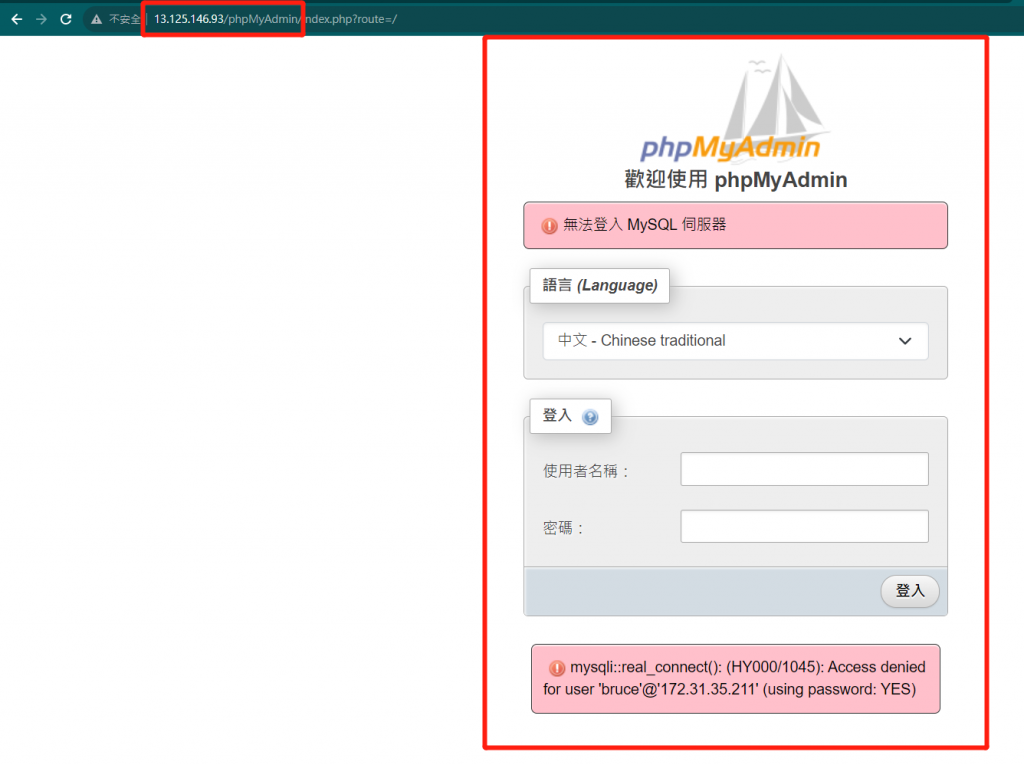
我們必須進入phpMyAdmin的設定檔,修改phpMyAdmin連線的主機才行,那我們就開始吧!
1.1 進入phpMyAdmin目錄
cd /var/www/html/phpMyAdmin
1.2 複製phpMyAdmin設定檔範本,並命名為config.inc.php
cp config.sample.inc.php config.inc.php
1.3 編輯config.inc.php文件
vim config.inc.php
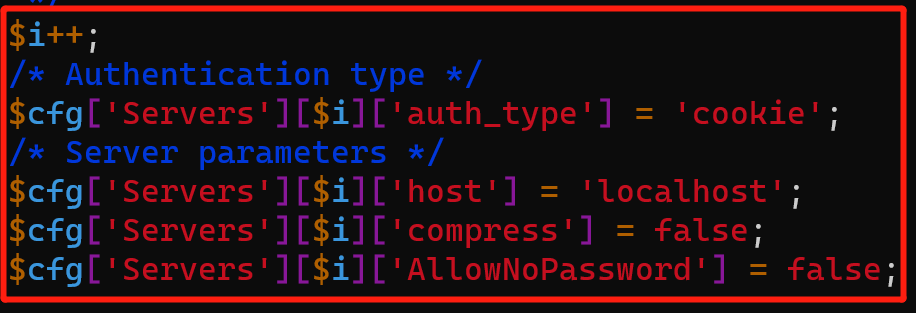
1.4 依照下列範例修改『主機參數(Server parameters)』
$cfg['Servers'][$i]['verbose'] = 'Amazon RDS';
$cfg['Servers'][$i]['host'] = 'RDS端點';
$cfg['Servers'][$i]['port'] = '3306';
$cfg['Servers'][$i]['socket'] = '';
$cfg['Servers'][$i]['connect_type'] = 'tcp';
$cfg['Servers'][$i]['extension'] = 'mysqli';
$cfg['Servers'][$i]['AllowNoPassword'] = false;
$cfg['ForceSSL'] = true;

1.5 重啟Apache網頁伺服器
sudo systemctl restart httpd
1.6 測試phpMyAdmin是否連線到RDS MySQL資料庫,打開瀏覽器輸入『EC2公有IP/phpMyAdmin』並輸入RDS的使用者名稱、密碼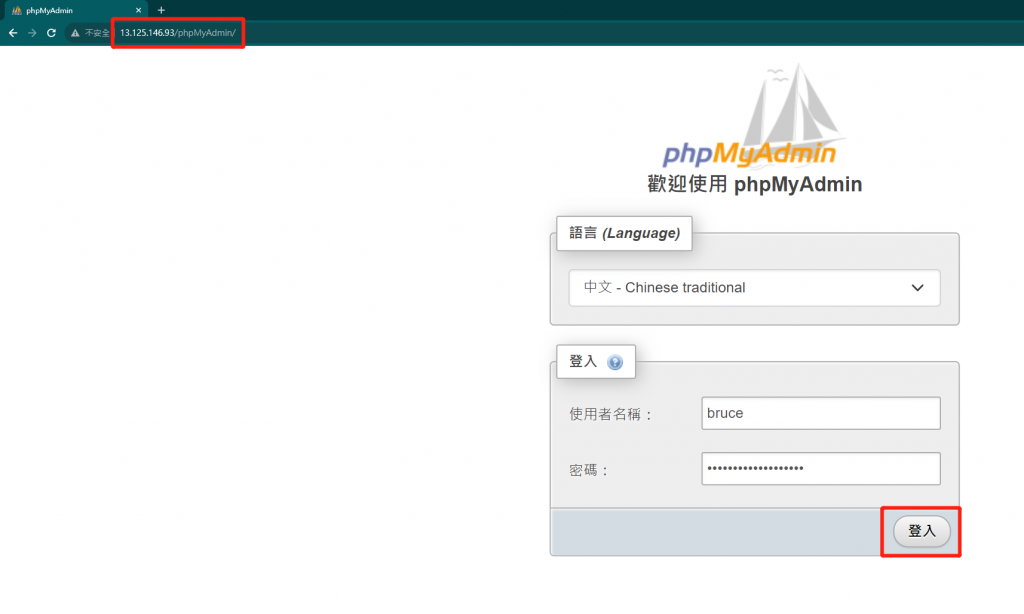
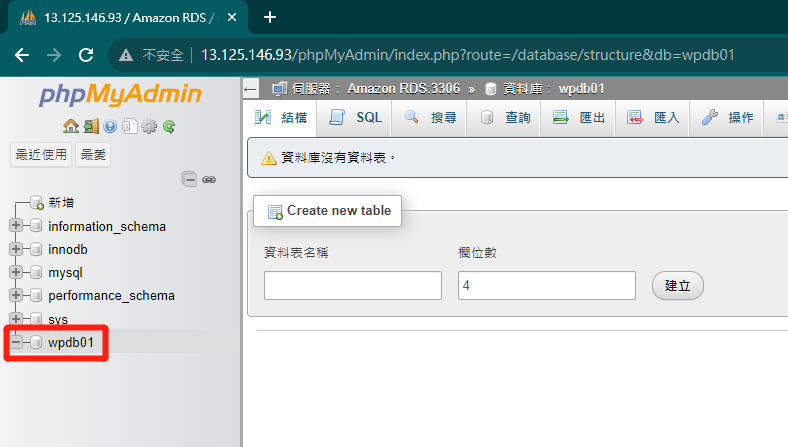
成功進入AWS RDS MySQL資料庫!
2.1 打開瀏覽器輸入『EC2公有IP』便會跳出『Wordpress初始設定頁面』
2.2 點選『開始安裝吧!』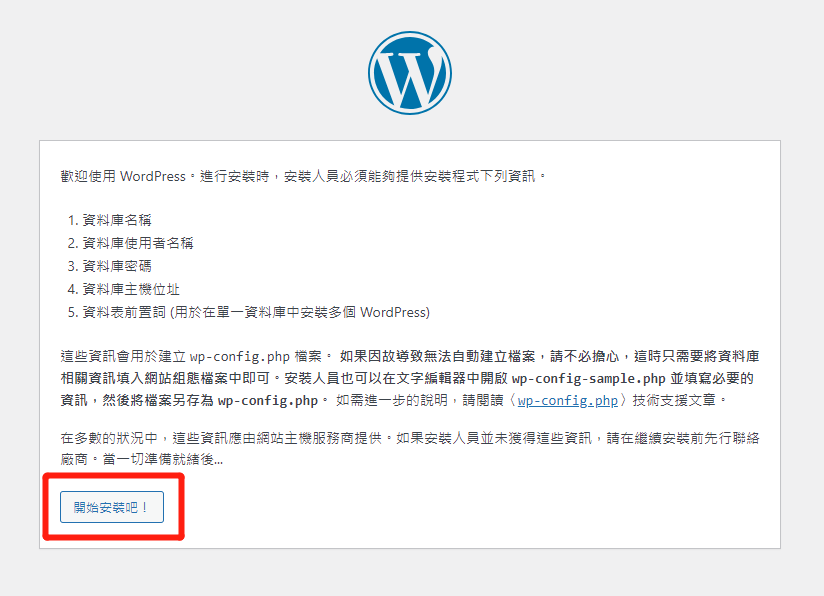
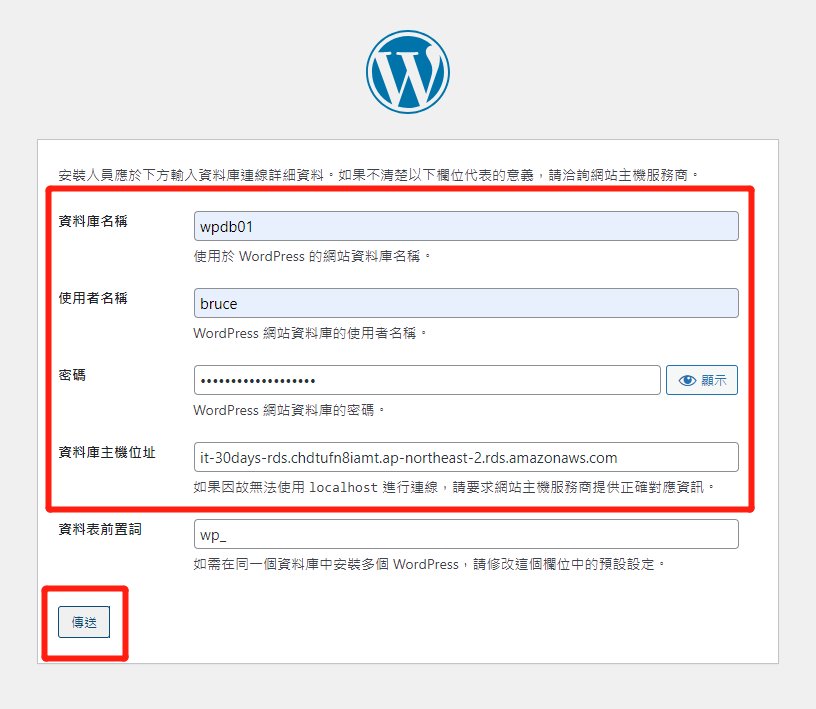
2.3 這邊是設定『Wordpress網站關聯的資料庫』,請參考下方說明進行輸入,完成後點選『傳送』。
注意事項:RDS資料庫的『端點/資料庫名稱/使用者名稱、密碼/安全組規則是否正確』
2.4 此步驟是讓Wordpress安裝wp-config.php文件至主機,點選『執行安裝程式』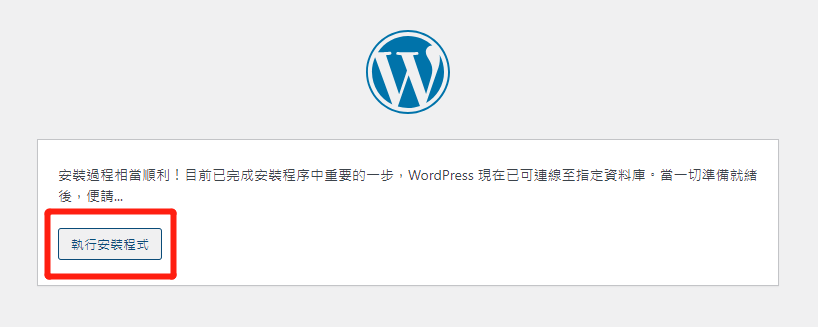
2.5 Wordpress網站資訊依照先前的舊站輸入即可,完成後點選『安裝』
2.6 大功告成!趕緊點選『登入』看看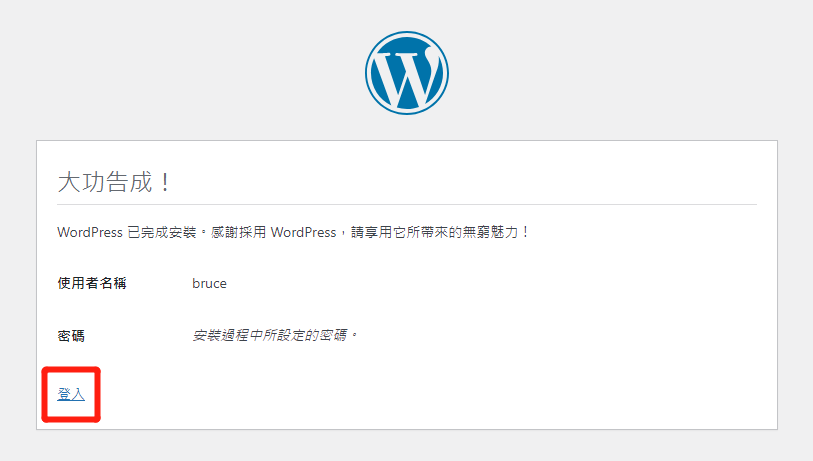
2.7 輸入剛剛設置的Wordpress使用者名稱、密碼,接著點選『登入』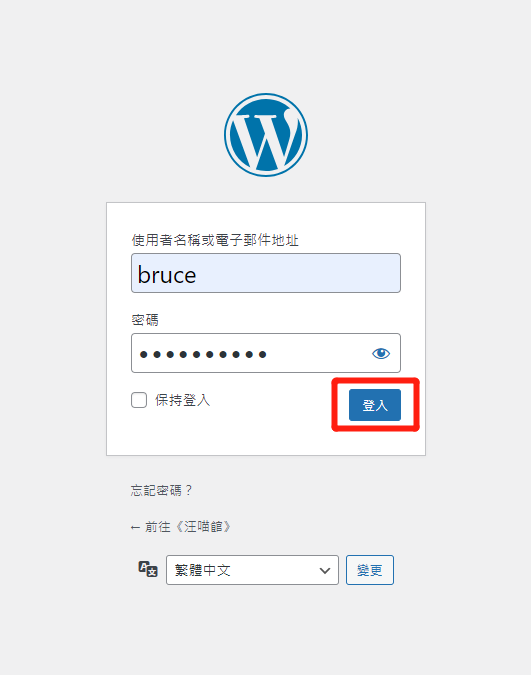
2.8 成功登入Wordpress新站控制台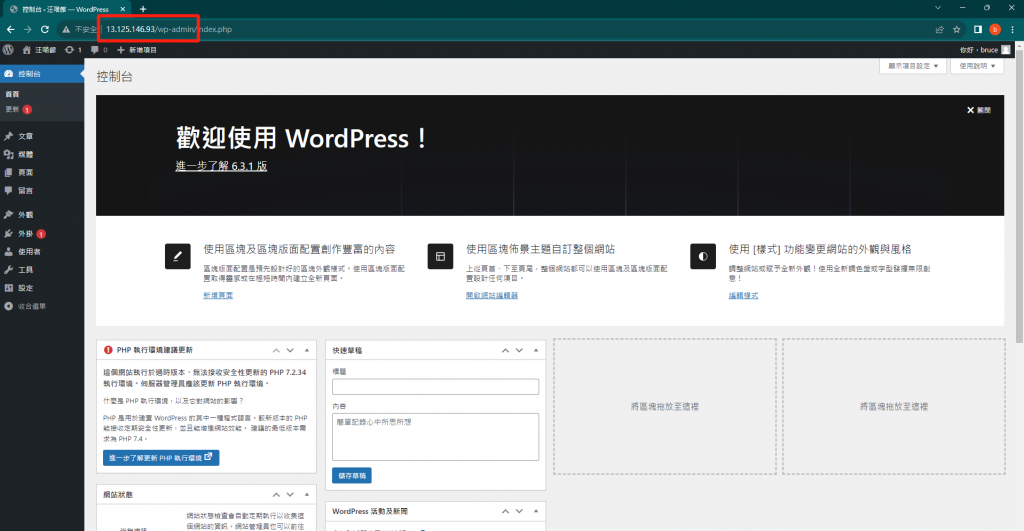
2.9 確認wp-config.php是否正確安裝至EC2主機
ssh root@EC2公網IP
2.10 進入html目錄
cd /var/www/html/
2.11 查看wp-config.php文件
vim wp-config.php
2.12 確認資料庫訊息、憑證Key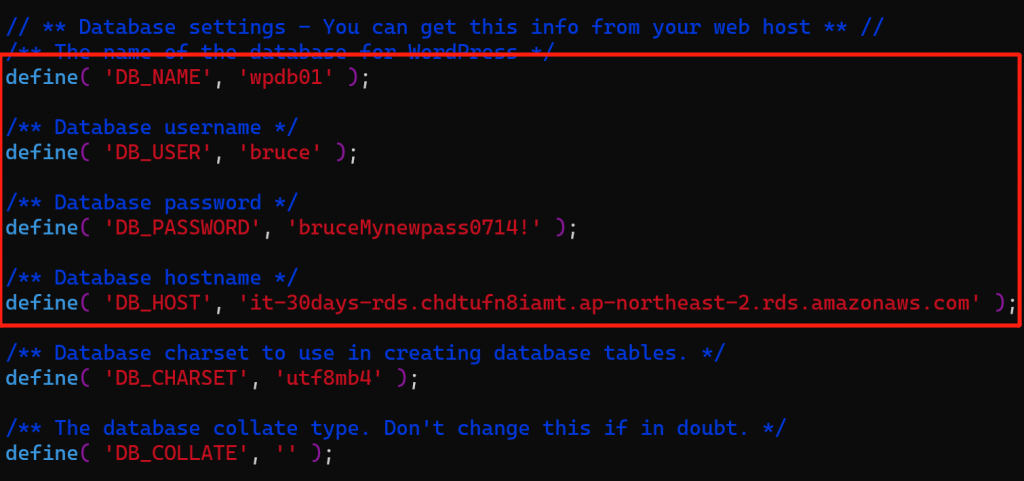


 iThome鐵人賽