有時候在想...fullPage.js 和 swiper 的垂直項展示畫面很像很像,但是整體上來看還是有點不一樣,fullPage.js 主要用於建立全螢幕捲動頁面, swiper 可以做成滑動框架,基於好奇所以還是嘗試使用它來看畫面,其實如果是主題式產品也很適合使用這個套件直接全屏展示。
fullPage.js 適用於各種場景,包括:
簡單來說,如果是介紹主題式內容,這個感覺優於 Swiper 和 AOS ,但是沒有絕對,看需求和設計
官網:fullPage.js
https://alvarotrigo.com/fullPage/zh/#page1(這裡提供中文文件,沒有原因只是個人對於中文文件特別喜愛)
npm install fullpage.js
  <div id="fullpage">
    <div class="section first">
      <p>hihi~</p>
    </div>
    <div class="section">Section 2</div>
    <div class="section">Section 3</div>
  </div>
</template>

<script setup>
import { onMounted } from 'vue'
import 'fullpage.js/dist/fullpage.css' // 導入 fullPage.js 的 CSS 樣式
import fullpage from 'fullpage.js' // 導入 fullPage.js

// 在元件掛載後初始化 fullPage.js
onMounted(() => {
  new fullpage('#fullpage', {
    // fullPage.js 的設定選項
    navigation: true,
    navigationPosition: "right"
  })
})
</script>

<style lang="scss" scoped>
.first {
  background: url(https://picsum.photos/seed/picsum/200/300)
    center center no-repeat fixed;
  background-size: cover;
  text-align: center;
  font-size: 50px;
  padding-top:15%;
  p {
    width: 50%;
    margin: auto;
    color: #fff;
    background: rgba(0, 0, 0, 0.2);
  }
}
</style>
fullPage.js 提供了許多設定選項,可以試著解讀需求後,按照需求自訂全螢幕滾動頁面的行為和外觀。
以下是配置項的說明:
| 配置項 | 範例 | 說明 |
|---|---|---|
| anchors | anchors: ['section1', 'section2', 'section3'] |
一個字串數組,包含每個投影片的錨點名稱。 錨點名稱可用於建立深連結以直接導覽至特定投影片。 |
| navigation | navigation: true |
布林值,用於啟用或停用預設的導航小工具(上一頁和下一頁按鈕)。 |
| navigationPosition | navigationPosition: 'right' |
字串,用於定義導航小部件的位置,可以是 'left'、'right'、'top' 或 'bottom'。 |
| scrollingSpeed | scrollingSpeed: 1000 |
滾動速度的毫秒數。 它定義了每次滾動動作的持續時間。 |
| loopTop | loopTop: false |
定義首尾連結滾動方式(首向上)。 |
| sectionsColor | sectionsColor: ['#f2f2f2', '#333', '#ccc'] |
一個字串數組,用於定義每個幻燈片的背景顏色。 |
| verticalCentered | verticalCentered: true |
布林值,用於控制是否將內容垂直居中顯示在每個投影片中。 |
| responsiveWidth 和 responsiveHeight | responsiveWidth: 768, responsiveHeight: 600 |
定義在哪個瀏覽器寬度或高度下套用 fullPage.js 的效果。 可以使用數字或字串,例如 '768px’ |
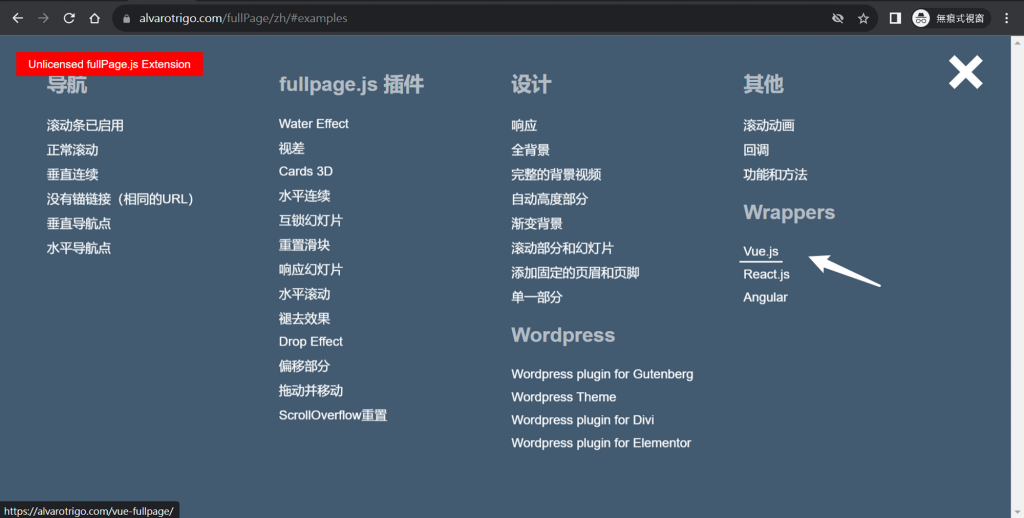
vue-fullpage 是 fullPage.js(全螢幕滾動插件)並專門設計用於在 Vue.js 中建立全螢幕滾動頁面。
安裝使用流程跟上方一般模式很像:
npm install vue-fullpage.js

import { createApp } from 'vue';
import App from './App.vue';

import 'vue-fullpage.js/dist/style.css';
import './fullpage.scrollHorizontally.min'; // Optional. When using fullpage extensions
import VueFullPage from 'vue-fullpage.js';

const app = createApp(App);
app.mount('#app');
FullPageDemo.vue
<template>
  <div>
    <vue-fullpage :options="fullpageOptions">
      <div class="section">
        <h1>第一屏的内容</h1>
      </div>
      <div class="section">
        <h1>第二屏的内容</h1>
      </div>
      <!-- 添加更多全屏圖片資訊... -->
    </vue-fullpage>
  </div>
</template>

<script setup>
import VueFullpage from 'vue-fullpage.js';

const fullpageOptions = {
  navigation: true,
  anchors: ['section1', 'section2', 'section3'],
  // 更多配置項...
};
</script>
<template>
    <FullPageDemo />
</template>

<script setup>
import FullPageDemo from './components/FullPageDemo.vue';
</script>

<style lang="scss" scoped>
/* 一樣在這裡添加自己的樣式 */
</style>
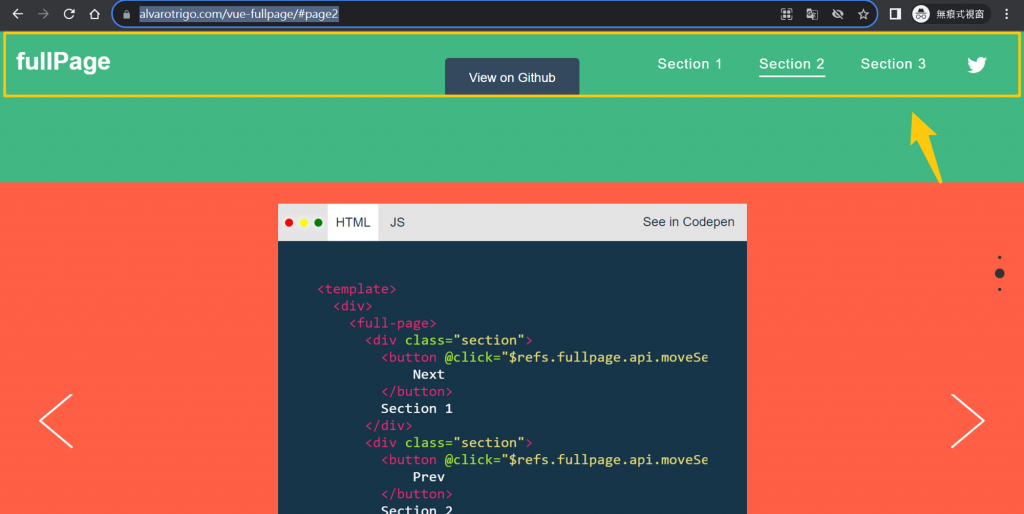
這些選單項目可以用於建立一個自訂的導覽選單,使用者可以點擊選單項目來導航到特定的幻燈片。 通常...在 fullPage.js 的設定選項中,使用 menu 和 anchors 選項來啟用和自訂這個導覽功能表。
建立了一個具有選單項目的列表 <ul>,每個選單項目對應一個頁面幻燈片,並透過 data-menuanchor 屬性指定了每個選單項目的錨點名稱。
<ul id="menu_wrapper">
    <li data-menuanchor="item_anchor1"> Menu1 </li>
    <li data-menuanchor="item_anchor2"> Menu2 </li>
    <li data-menuanchor="item_anchor3"> Menu3 </li>
</ul>
const fullpageOptions = {
  menu: '#menu_wrapper', // 指定選單的容器 id
  anchors: ['item_anchor1', 'item_anchor2', 'item_anchor3'], // 指定錨點名稱
  // 其他選項...
};
透過這樣的配置,fullPage.js 將自動建立並管理導覽選單,使用者可以點擊選單項目以平滑地捲動到對應的投影片。 這提供了一種方便的方式來導航全螢幕滾動頁面的不同部分。
對於畫面的動態到目前已經分享 3 種套件,希望您會喜歡!
