這裡要跟大家分享,把自己的專案部屬到 GitHub 上,這裡就沒有像前面文章用固定格式,這裡要改用步驟流程的方法分享。
這裡就是前面魔法編譯器 - vite提到的內容,可以從那邊建立環境後再轉來這篇準備部屬。
deploy.sh 腳本創建一個 deploy.sh 腳本,包含以下內容(注意高亮的行,按需使用),運行腳本來部署站點:
在跟目錄下建立 deploy.sh 資料夾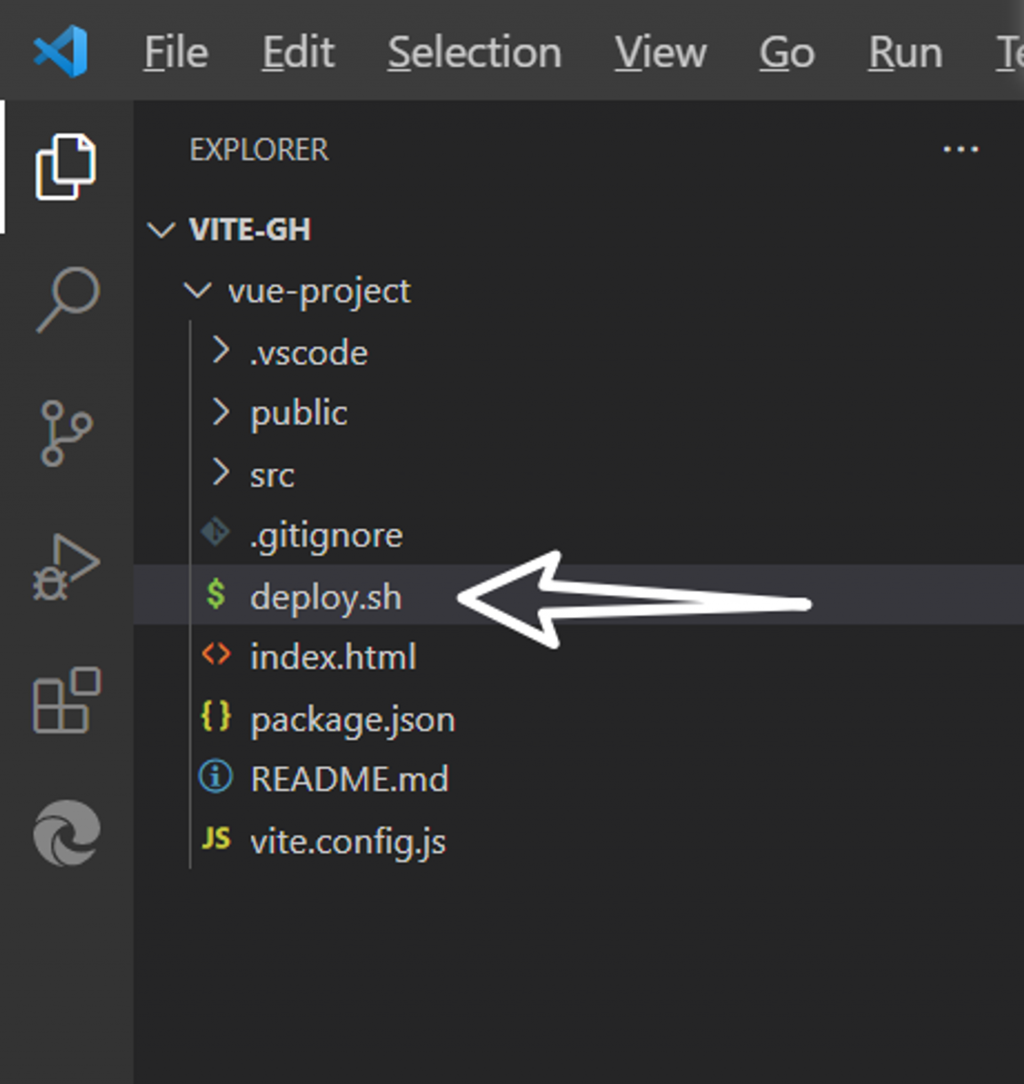
按照官方文件設定 deploy.sh 的內容
部署静态站点
https://vitejs.cn/guide/static-deploy.html#github-pages
#!/usr/bin/env sh

# abort on errors
set -e

# build
npm run build

# navigate into the build output directory
cd dist

# place .nojekyll to bypass Jekyll processing
echo > .nojekyll

# if you are deploying to a custom domain
# echo 'www.example.com' > CNAME

git init
git checkout -B main
git add -A
git commit -m 'deploy'

# if you are deploying to https://<USERNAME>.github.io
# git push -f git@github.com:<USERNAME>/<USERNAME>.github.io.git main

# if you are deploying to https://<USERNAME>.github.io/<REPO>
git push -f https://github.com/MengtingKu/vueTest.git main:gh-pages

cd -
git checkout -B main
千萬留意這個地方: 官方網站文件是小寫,後來沒有這段語法,我發現會有失敗的現象,建議可以補上,另外,一定要轉大寫,因為在 window 系統如果小寫,就會部屬失敗。

cd 資料夾位置
create-vue 生成的 package.json 進行安裝
npm install
npm run dev
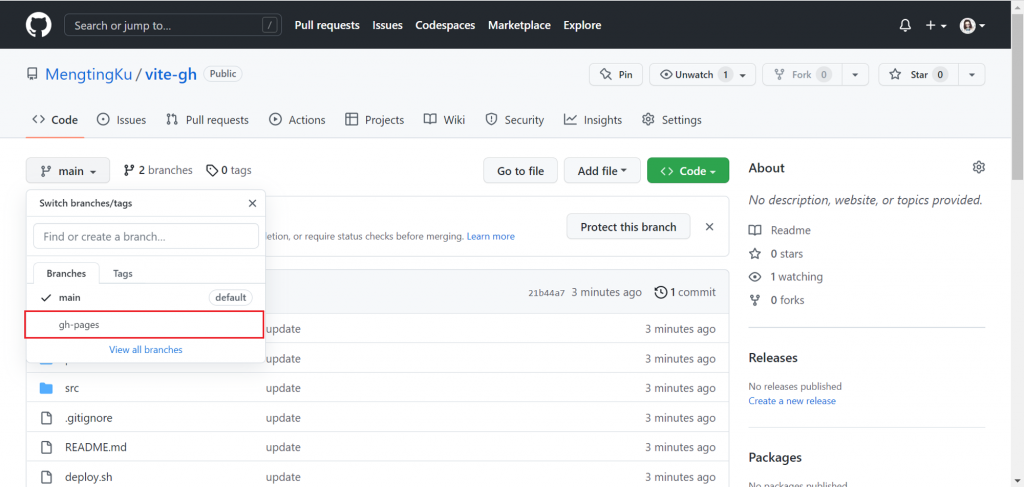
目前建立的 vue-product 是 create-vue@latest package,如果要部屬到 GitHub 必須把隱藏的 dist 資料夾叫出來,並且用分支的方法部在 master 上
在 vite.config.js 中設置正確的 base。
如果你要部署在 https://<USERNAME>.github.io/ 上,你可以省略 base 使其默認為 '/'。
如果你要部署在 https://<USERNAME>.github.io/<REPO>/ 上,例如你的倉庫地址為 https://github.com/<USERNAME>/<REPO>,那麼請設置 base 為 '/<REPO>/'。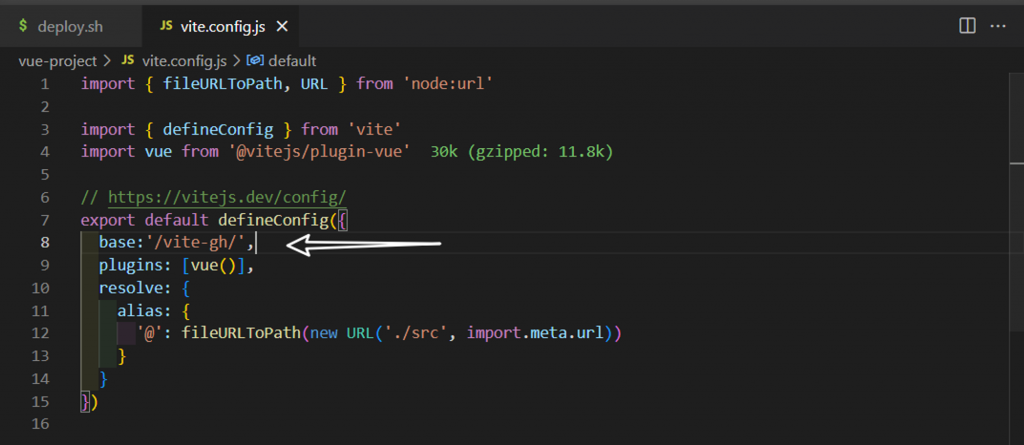
開始部屬
git init
git add .
git commit -m 'update'
git remote add origin 你的 HTTPS || SSH
git branch -M main
git push -u origin main
sh deploy.sh
sh deploy.sh
上傳上去的分支是 master,也就是整個專案, github pages 他會自動抓取你檔案中的 index.html ,但是專案中沒有,他藏在 dist 裡面,dist 是 src 也就是妳開發的程式碼、打包過後產生的,需要把打包後程式碼,也上傳上去,但是不能覆蓋掉 master ,要在新增一個分支,所以多一個 sh deploy.sh 指令,把 dist 叫出來並且上傳去分支
dist 都是透過 vite 產生,要改的是 src 底下的資料
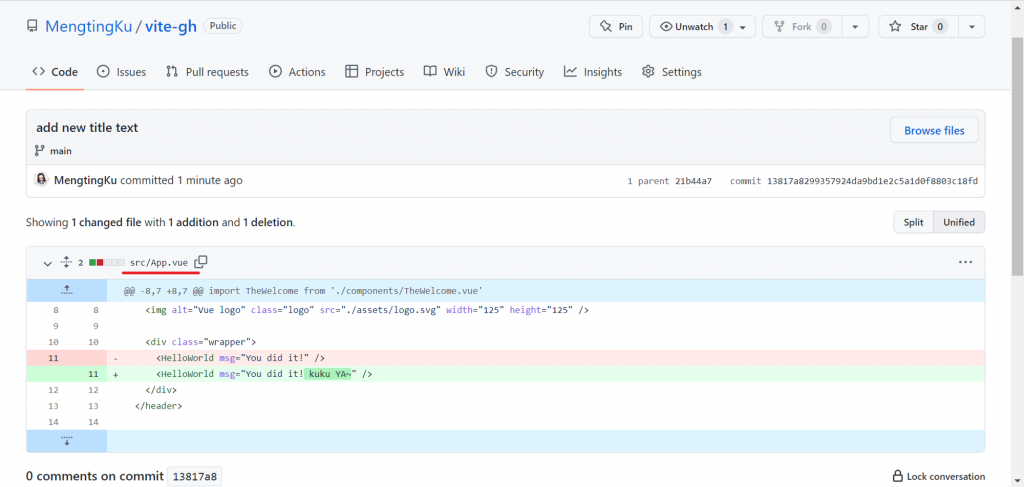
在 src 底下找出 App.vue,並修改內容
啟動開發伺服器來運行專案確認本機有沒有變更
npm run dev
把更新的內容部屬到 GitHub
git add .
git commit -m 'update2'
git push
sh deploy.sh
時間過得很快,轉眼來到最終回,其實還有套件想跟大家分享,其中 vxe-table 也是很好用的套件,雖然 Bootstrap 和 Element-plus 也有內建元件,但是運用上還是有點不同,加上 vxe-table 可以直接套用在 vue.js 真的很方便,所以附上以下鏈接,讓大家可以參考看看,更歡迎大家一起討論。
vxe-table v4
https://vxetable.cn/#/table/start/install
Element-plus
https://element-plus.org/zh-CN/component/table.html
完賽了!容我感謝一下:
我真的很幸運,在我前端旅程中出現很多幫助我的人,你們讓我覺得不孤單。
特別感謝六角學院爆肝指導,讓我在入門的時候隨時有專人諮詢;
最最感謝蘿蔔冰塊無私教學,讓我在上線的時候一直有強大後援;
要感謝的人事物真的太多了,讓我在這說聲:謝謝!謝謝大家!