本次的程式碼與目錄結構可以參考 FastAPI Tutorial : Day08 branch
我們已經知道如何透過:
response_model
HTTPException
為我們的 FastAPI 生出的 Swagger docs 有基本的資訊
但是我們還可以透過更多的設定,讓 Swagger docs 更加完整。
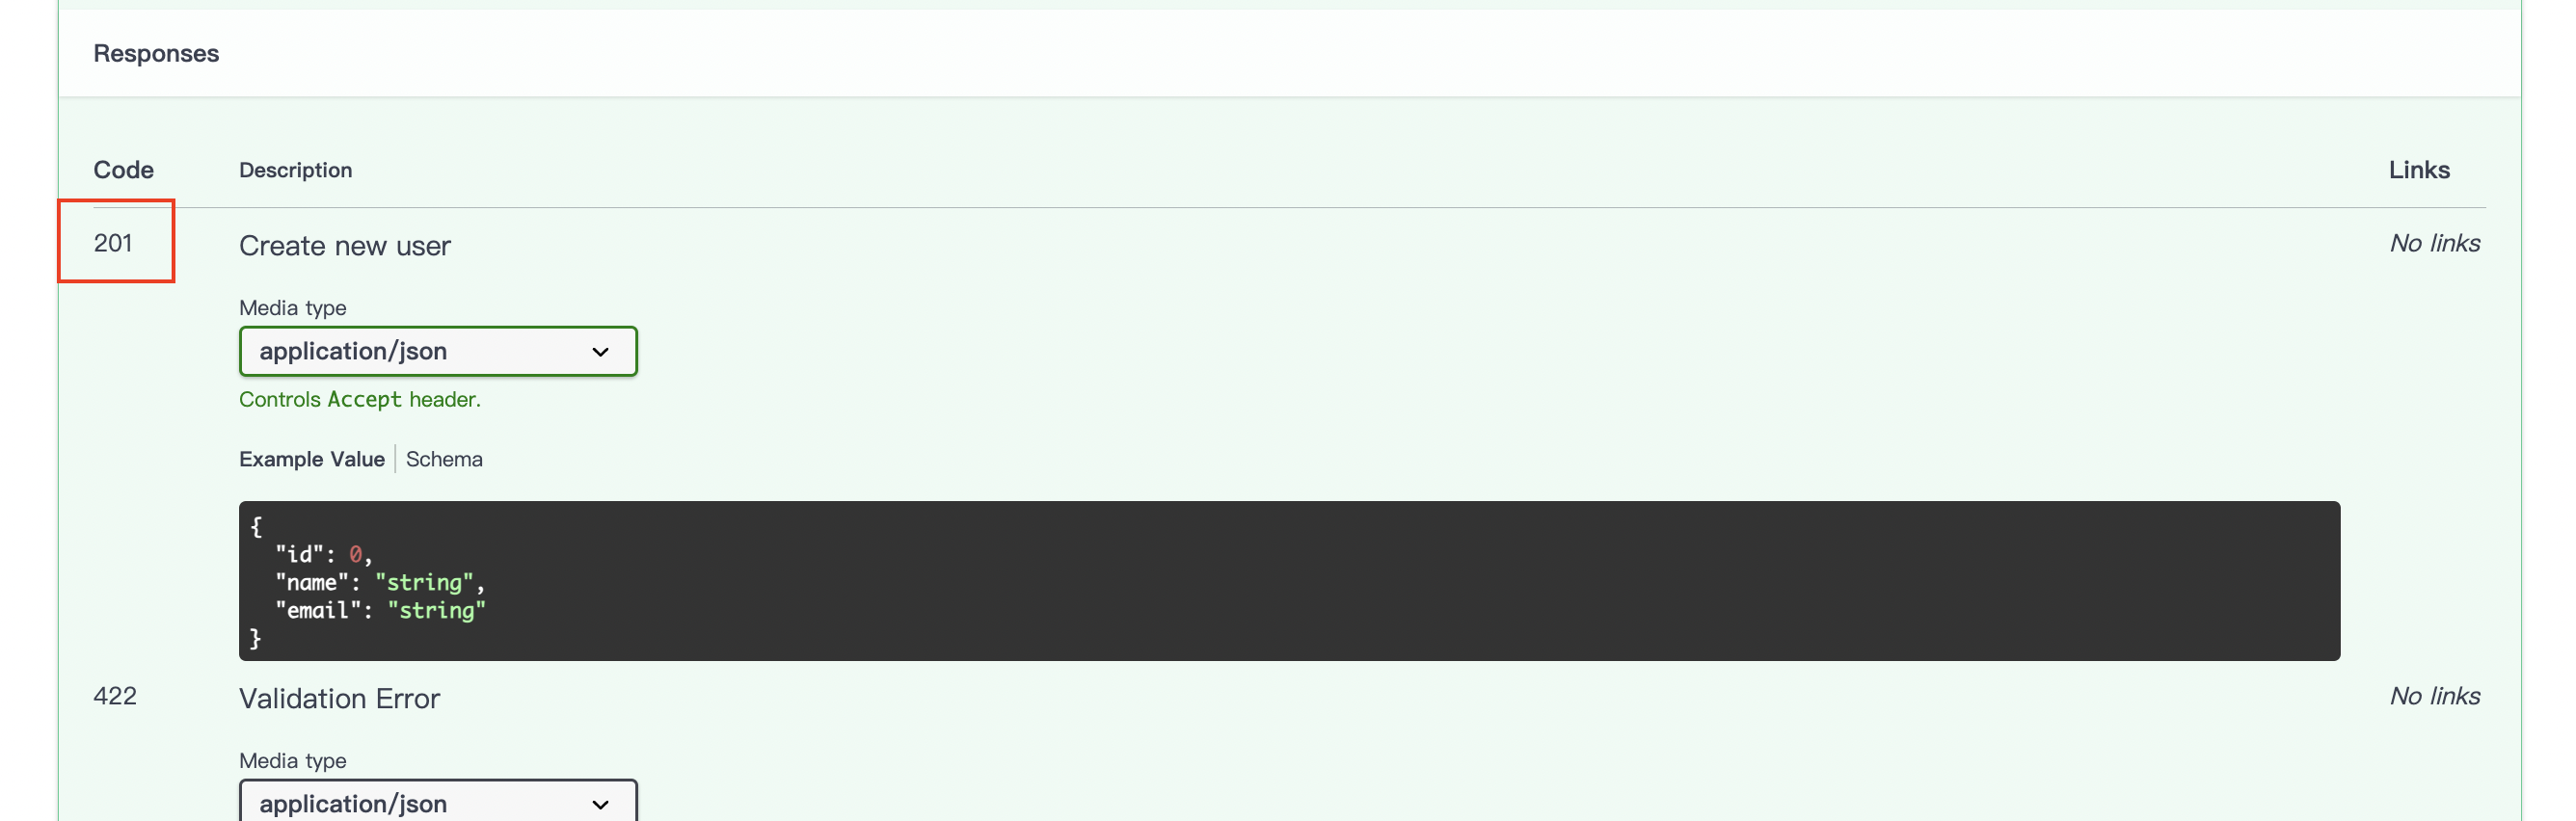
在 create user 的操作
比較正確的回傳 status code 應該是 201
但是我們的 Swagger docs 顯示的是 200
可以透過 status_code 來設定我們的 status code
main.py 的 create_user 加上 status_code:
@app.post("/users" ,
        response_model=UserSchema.UserCreateResponse,
        status_code=status.HTTP_201_CREATED,  # <--- 加上 status_code
)
def create_users(newUser: UserSchema.UserCreate ):

    for user in fake_db["users"]:
        if user["id"] == newUser.id:
            raise HTTPException(status_code=409, detail="User already exists")

    fake_db["users"].append(newUser)
    return newUser
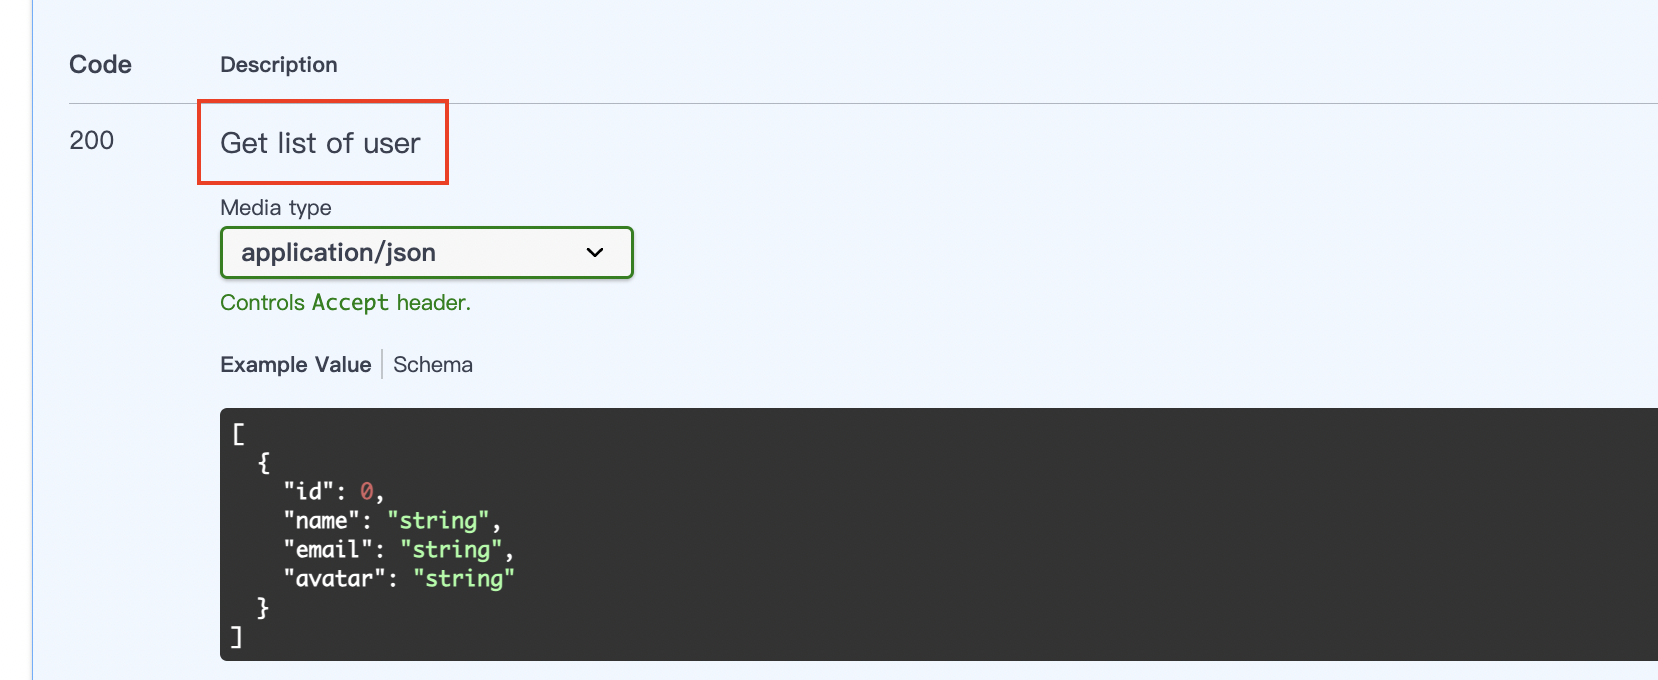
我們可以透過 response_description 來為我們的 API endpoint 加上簡短的描述
這個描述會出現在 Swagger docs 的 Response 欄位中。
main.py 的 get_users 加上 response_description:
@app.get("/users",
        response_model=List[UserSchema.UserRead],
        response_description="Get list of user",  # <--- 加上 response_description
)
def get_users(qry: str = None):
    return fake_db['users']
我們也可以透過 docstring ( 多行註解 ) 來為我們的 API endpoint 加上描述
並且註解的區塊支援 Markdown 語法 !
而 docstring 需要放在 def 的下一行,並且需要縮排
main.py 的 get_users 加上 docstring:
@app.get("/users",
        response_model=List[UserSchema.UserRead],
        response_description="Get list of user",
)
def get_users(qry: str = None):
    """
    Create an user list with all the information:

    - **id**
    - **name**
    - **email**
    - **avatar**

    """
    return fake_db['users']
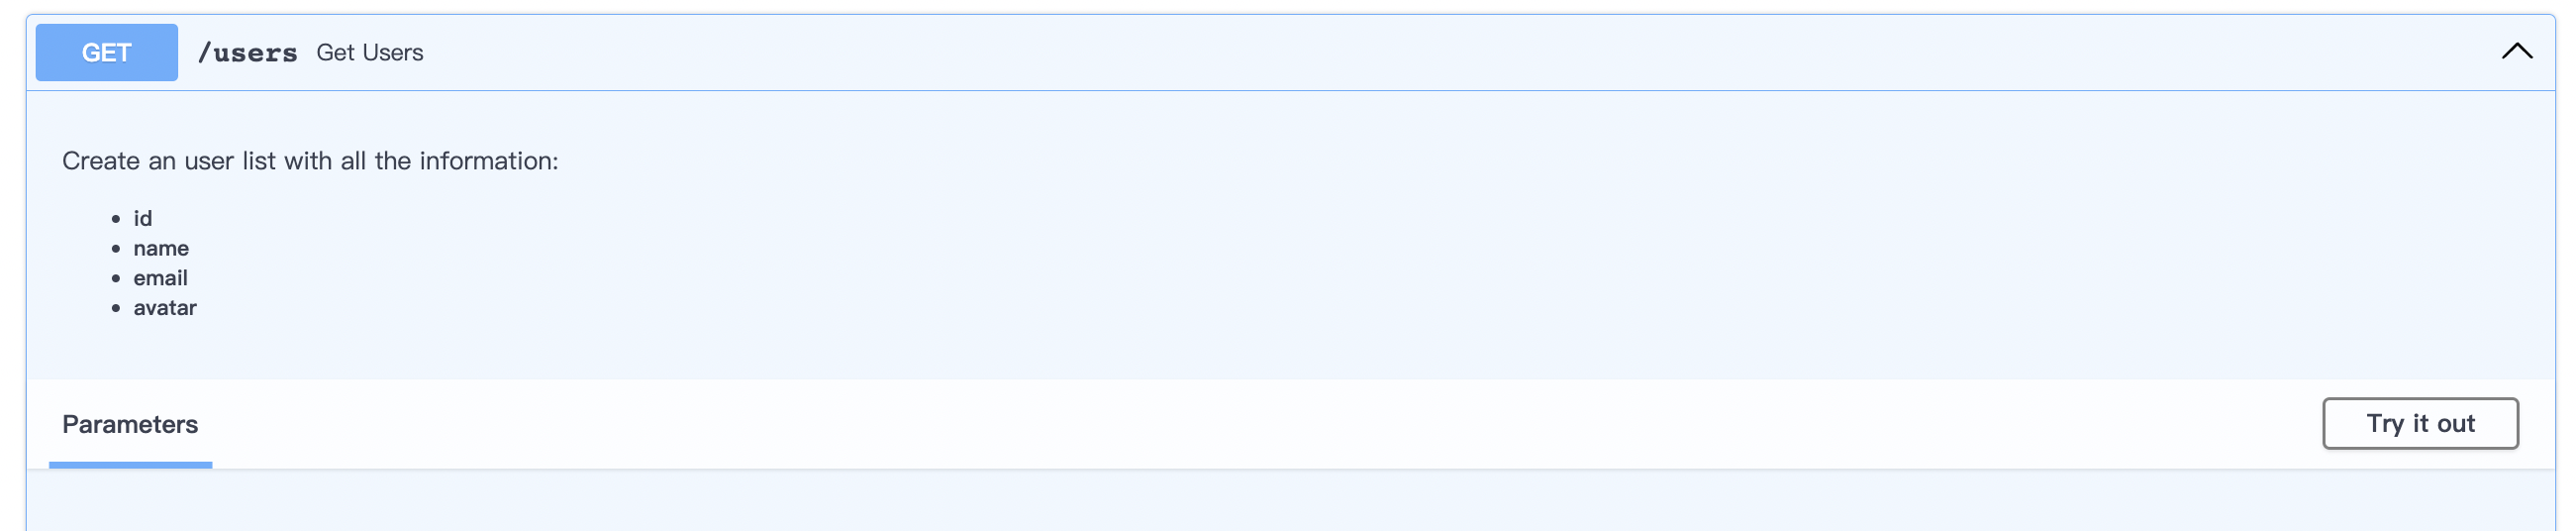
可以看到我們的 docstring 顯示在 Swagger docs 的最上方
Field 和 Example 都是用來為我們的 API endpoint 加上更多資訊
而 Field 和 Example 都需要放在 schema 中
會出現在 Swagger docs 的 Example 欄位中
並且 Field 還可以加上更多的限制條件
schemas/users.py 的 create user 加上 Field :
from pydantic import BaseModel , Field # <--- import Field

class UserCreate(UserBase):
    password:str = Field(examples=['123456'], min_length=6)
    name: str  = Field(examples=['user1'], min_length=3)
    avatar: Optional[str] = Field(default=None, examples=['https://i.imgur.com/4M34hi2.png'], min_length=3)
    age: int = Field(examples=[10], gt=0, lt=100)
    email: str = Field(examples=['user1@email.com'])
    birthday: date = Field(examples=['2003-01-01'], gt=date(2000, 1, 1), lt=date(2005, 1, 1))
而 Example 則沒有辦法加上限制條件,只能單純當作範例
schemas/users.py 的 create user 加上 Example :
class UserCreate(UserBase):
    password:str
    name: str
    avatar: Optional[str] = None
    age: int
    email: str
    birthday: date

    model_config = {
        "json_schema_extra": {
            "examples": [
                {
                    "id": 1,
                    "password": "123456",
                    "name": "user1",
                    "avatar": "https://i.imgur.com/4M34hi2.png",
                    "age": 18,
                    "email": "user1@email.com",
                    "birthday": "2003-01-01"
                }
            ]
        }
    }
因為在 Field 中定義 examples 的話
看起來會很雜亂,不容易一次看出 Example 的結構
所以我們可以透過 model_config 來將 examples 獨立出來
而 Field 只保存條件限制
schemas/users.py 的 create user 同時使用 Field 和 Example :
class UserCreate(UserBase):
    password:str = Field(min_length=6)
    name: str  = Field(min_length=3)
    avatar: Optional[str] = Field(min_length=3)
    age: int = Field(gt=0,lt=100)
    email: EmailStr = Field()
    birthday: date = Field()

    model_config = {
        "json_schema_extra": {
            "examples": [
                {
                    "id": 1,
                    "password": "123456",
                    "name": "user1",
                    "avatar": "https://i.imgur.com/4M34hi2.png",
                    "age": 18,
                    "email": "user1@email.com",
                    "birthday": "2003-01-01"
                }
            ]
        }
    }
我們可以透過 deprecated 來標記我們的 API endpoint 已經不再使用
如突然新增了一個 API endpoint 取代了原本的 API endpoint
需要給前端一個過渡期,讓前端打的 API 可以慢慢遷移
在 main.py 新增一個 API endpoint create_user_deprecated :
@app.post("/userCreate" , deprecated=True)
def create_user_deprecated(newUser: UserSchema.UserCreate ):
    return "deprecated"
在 Swagger docs 中會有一個灰白色的標記 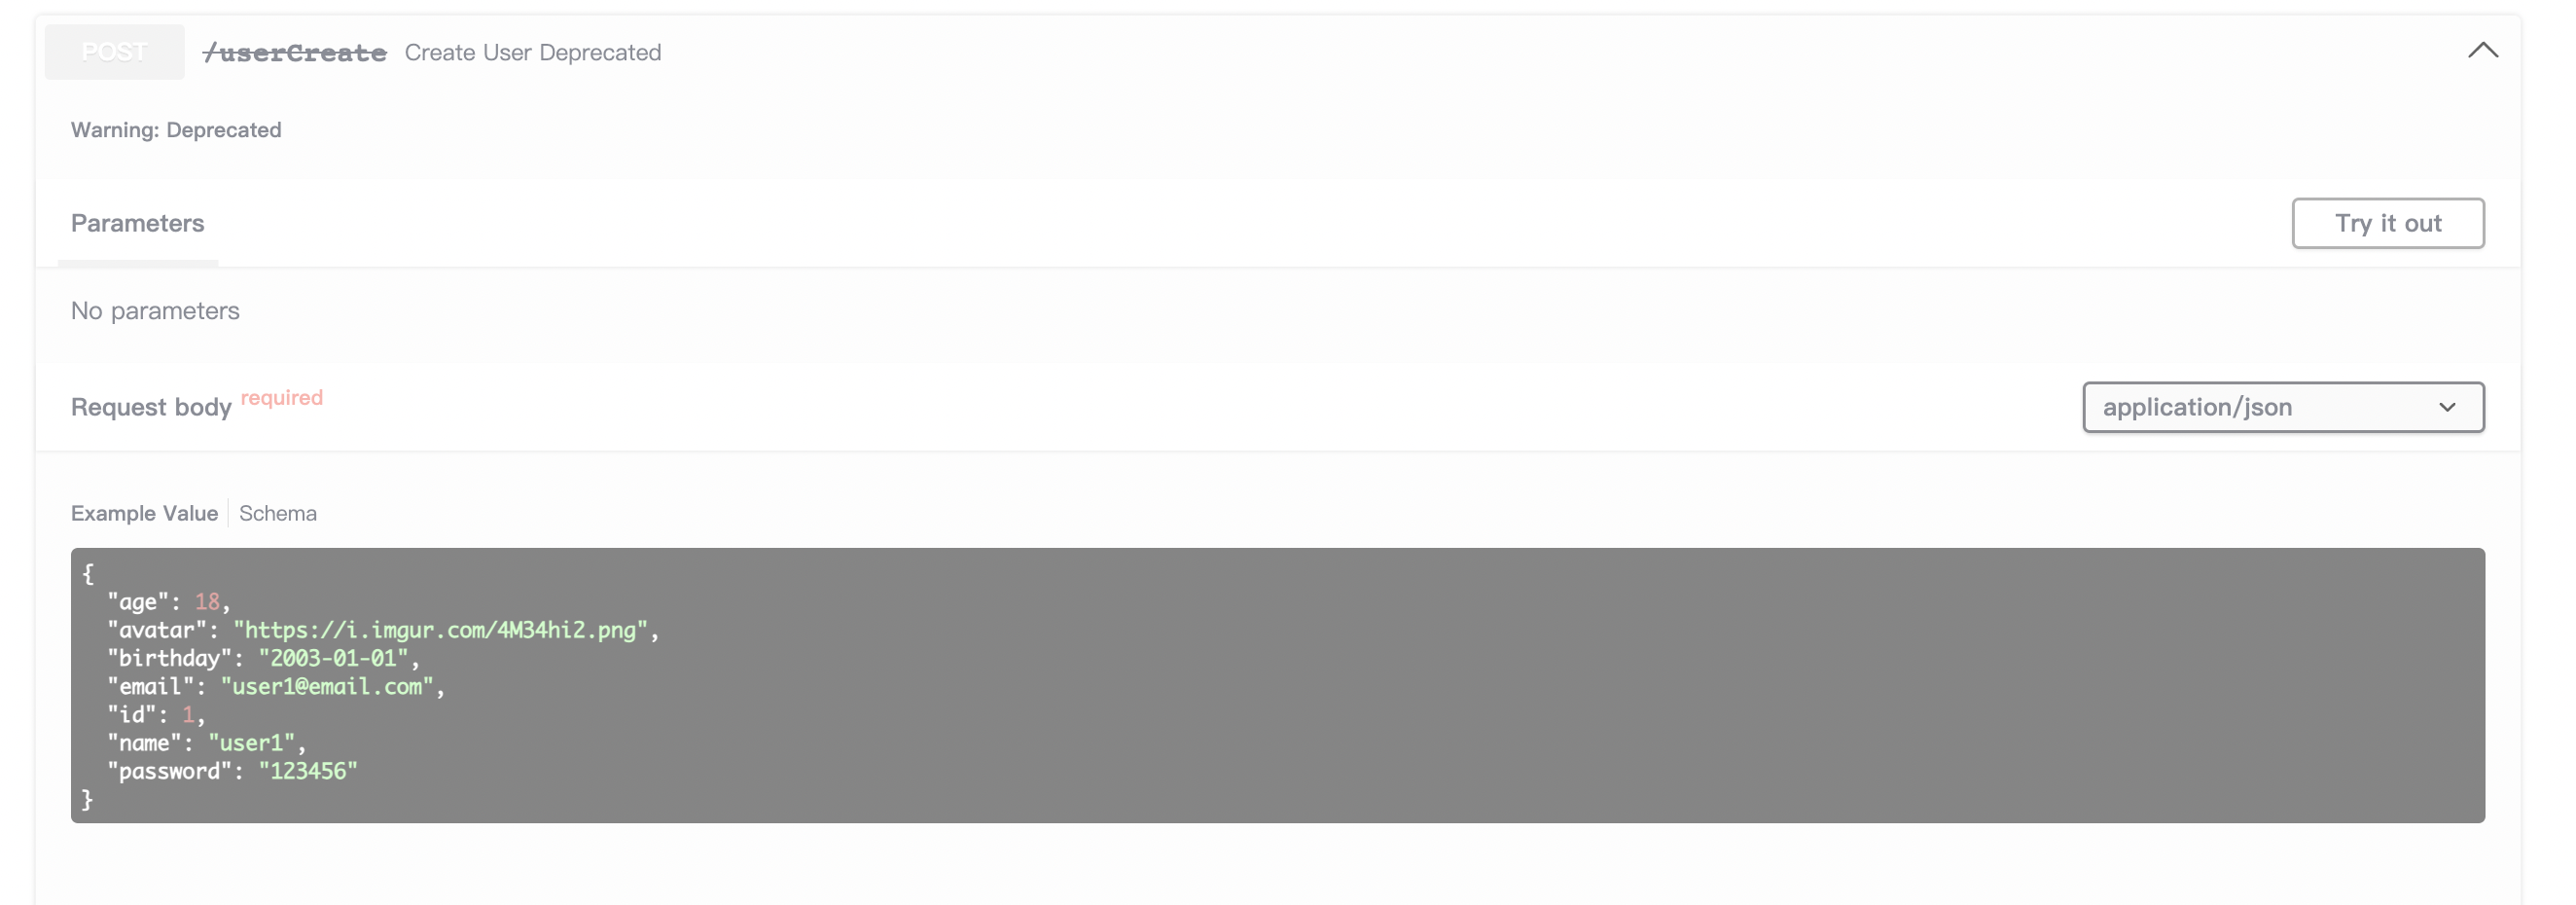
status_code 來設定 API 成功結果的 status code response_description 來為 API endpoint 加上簡短的描述 docstring 來為 API 加上描述,並且支援 Markdown 語法 Field 來為 API 加上限制條件 Example 來為 API 加上範例 deprecated 來標記 API 已經不再使用