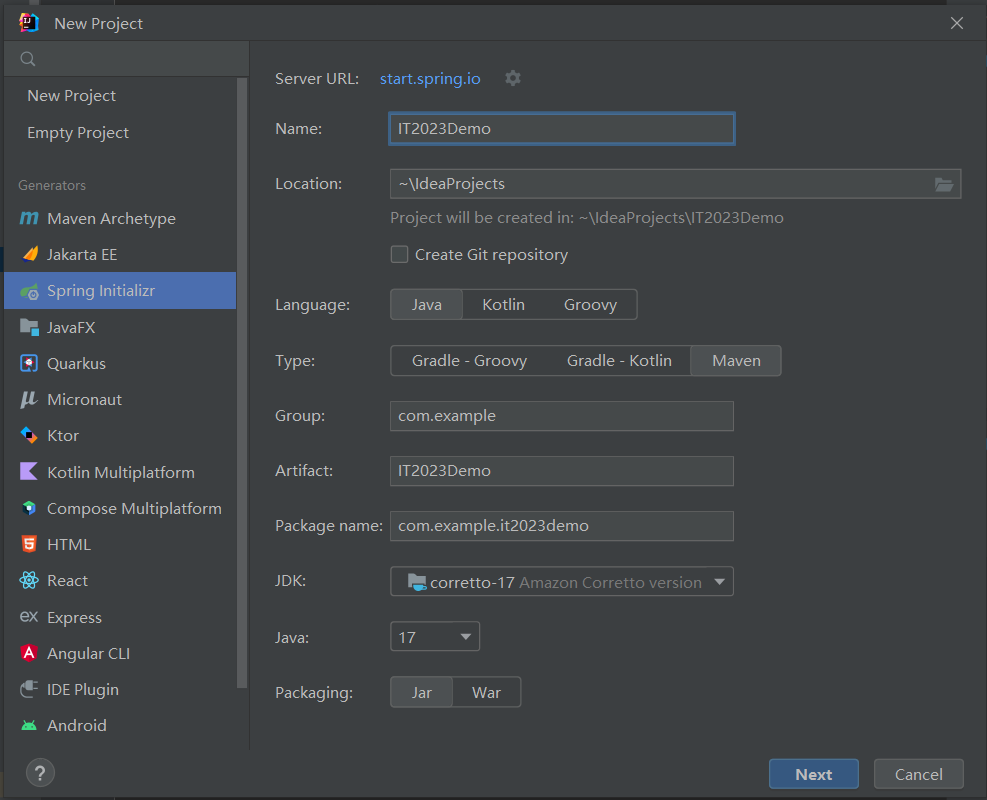
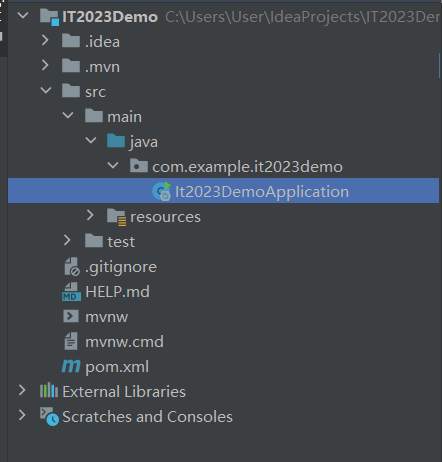
這邊我使用的是Intellij來進行示範,沒有業配~,各位可以使用自記喜歡的開發工具


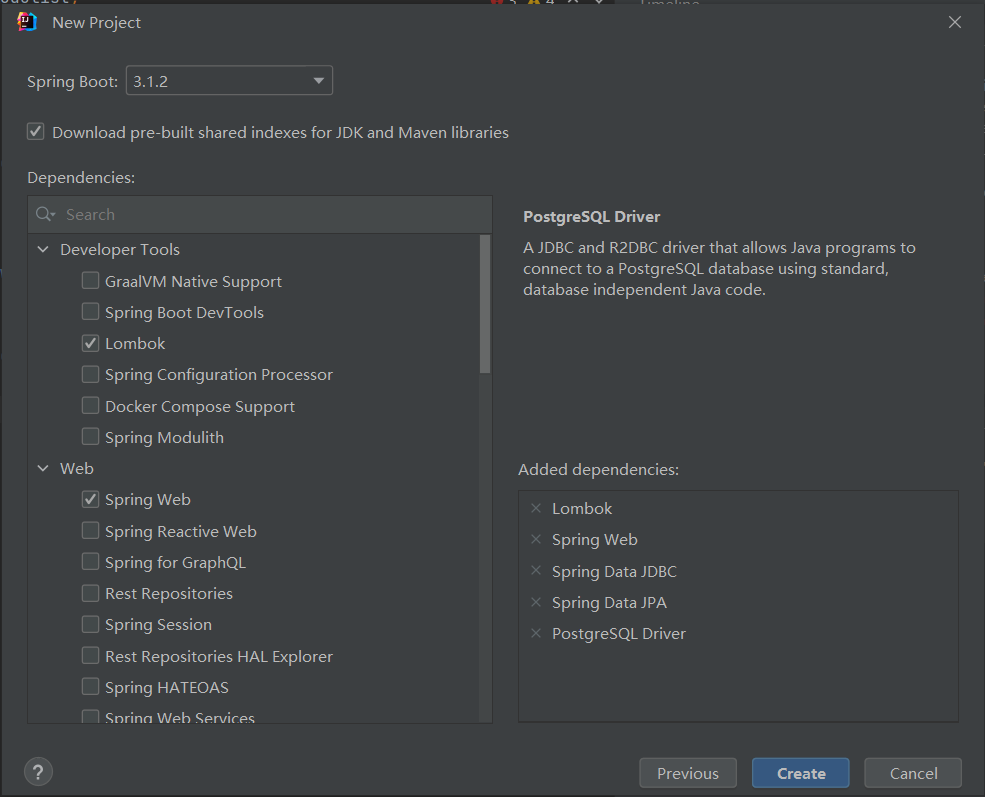
配合我後面的範例,這邊我先加了跟資料庫有關的一些套件。

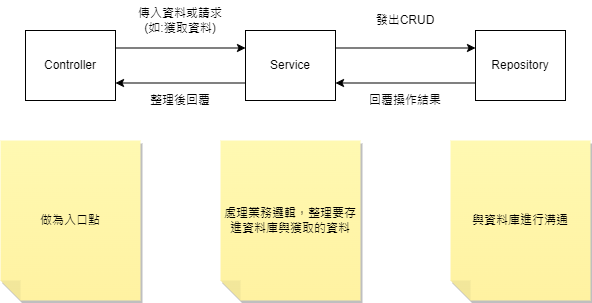
來到今天的重頭戲,接下來我講述三個重要的角色,分別為Controller、Service、Repository
為我們接下來開發API的入口,接受到請求時,會由此進入,這邊我們會使用@RestController標籤來標示,來開發出一個REST風格的API。這邊也講一下常用的幾個接收請求的標籤
以上四個標籤很直觀的就是分別處理Get、Post、Put、Delete四種請求的標籤。
間單上個範例
import org.springframework.web.bind.annotation.GetMapping;
import org.springframework.web.bind.annotation.RestController;

@RestController
public class HomeController {
    @GetMapping("/hello")
    public String index() {
        return "hello";
    }
}
import org.springframework.web.bind.annotation.GetMapping;
import org.springframework.web.bind.annotation.RestController;

@RestController
public class HomeController {
    @GetMapping("/hello")
    public String index() {
        return "hello";
    }
}
這樣當URL為/hello時,就會進入到@GetMapping這邊設定的入口點,也就是hello()內。
負責處理存進資料庫與資料獲取的邏輯,可以在這先進行資料的整理,並對資料庫進行溝通,與Controller 相同,需要一個@Service標籤來進行標示,表示這個class為Service。看起來如下
import org.springframework.stereotype.Service;

@Service
public class HomeService {
}
最後是Repository,真正在與資料庫進行溝通的地方,這邊不外乎需要一個@Repository來標示,比較不同的是這次是interface而不是class,這邊interface繼承的類別蠻多樣的,有興趣的話可以多方比較,這邊我使用的是JpaRepository這個interface,看起來如下:
import org.springframework.data.jpa.repository.JpaRepository;
import org.springframework.stereotype.Repository;

@Repository
public interface HomeRepository extends JpaRepository<Person, Long> {
}
以上三個角色的關係我再用一張圖總結一下
今天先到這邊,明天會加入資料庫並做個簡單的演示,讓各位更清楚這三個角色的分工。
