大家好,我是Leo
今天要來講解,django在gcp appengine的建置
OK~~~ Let's go now!!!
目前GCP帳號擁有90天300美元的免費額度,以下是GCP註冊連結。
https://cloud.google.com/
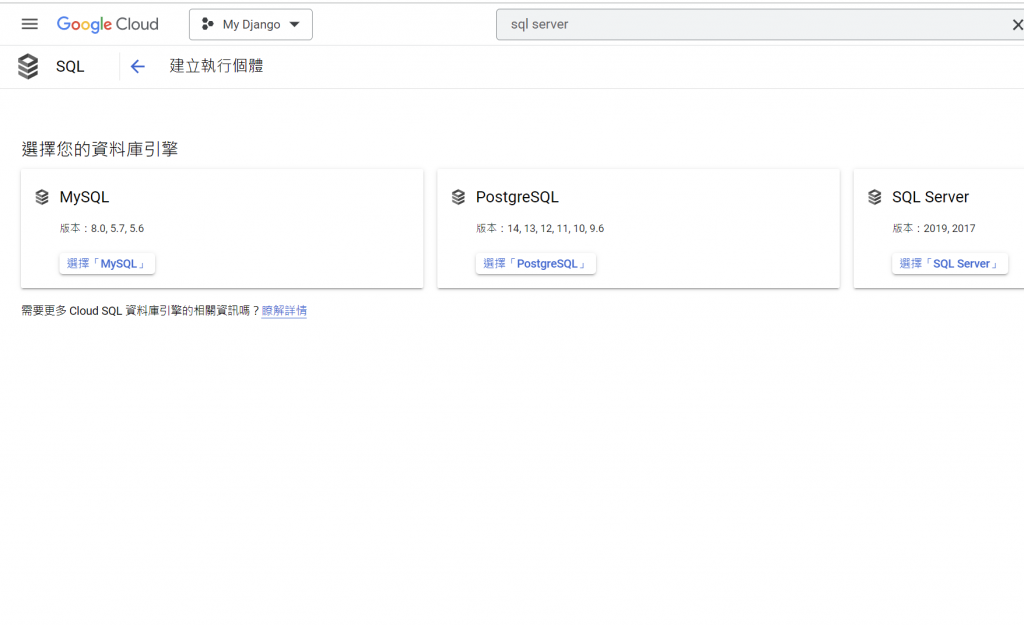
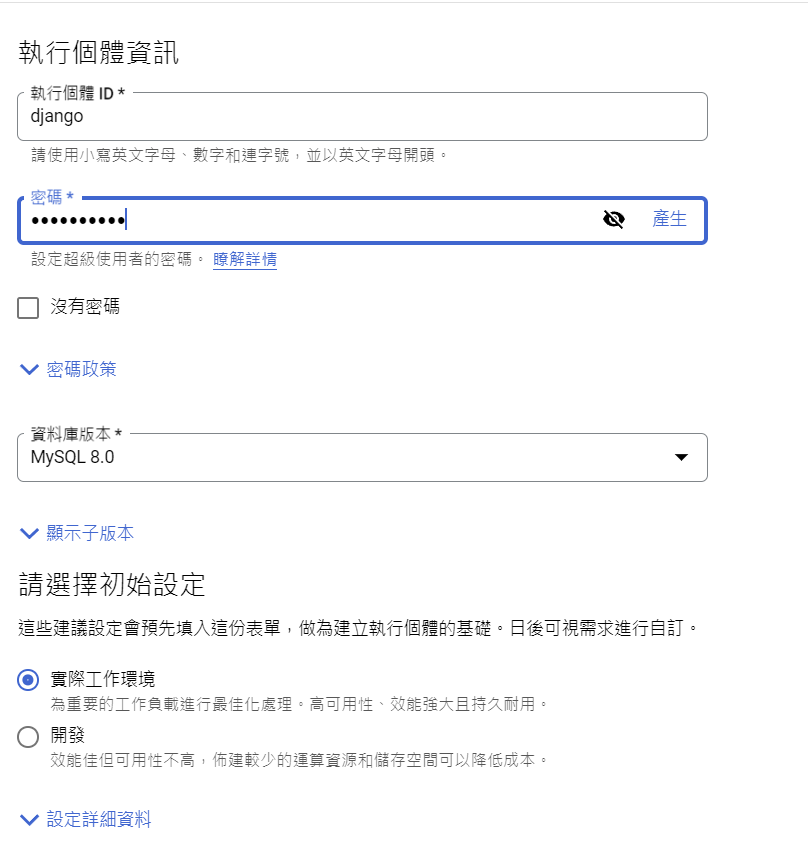
選擇要建立資料庫的類型,在這邊我選擇的是mysql
在這邊0.0.0.0/0 全開放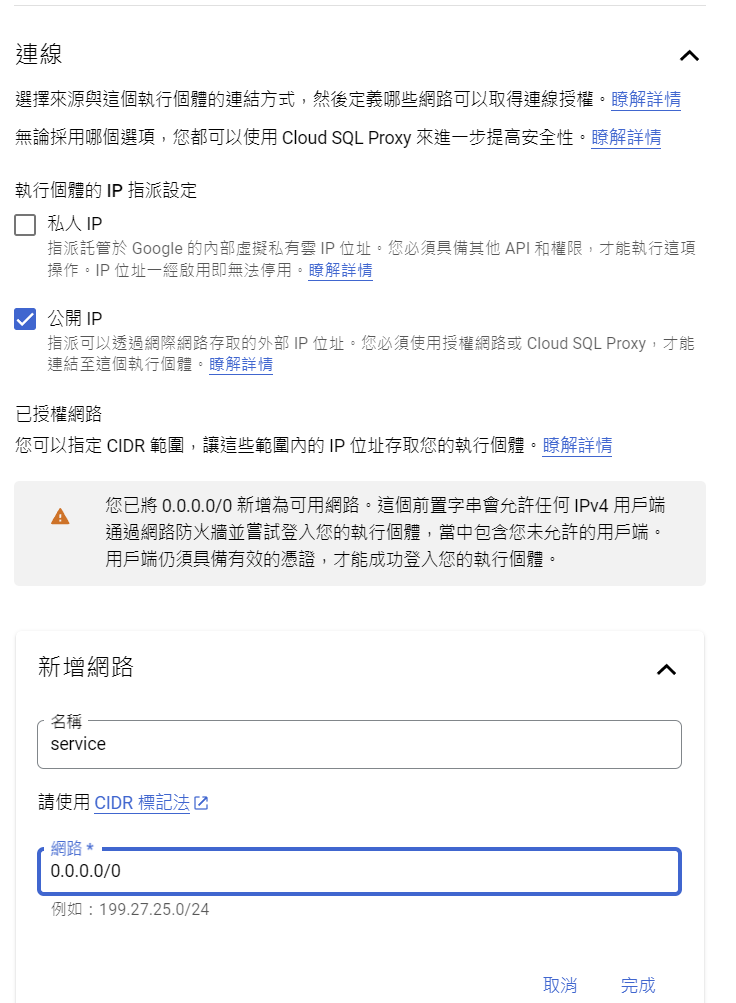
如果有圖片的專案,可以在此設定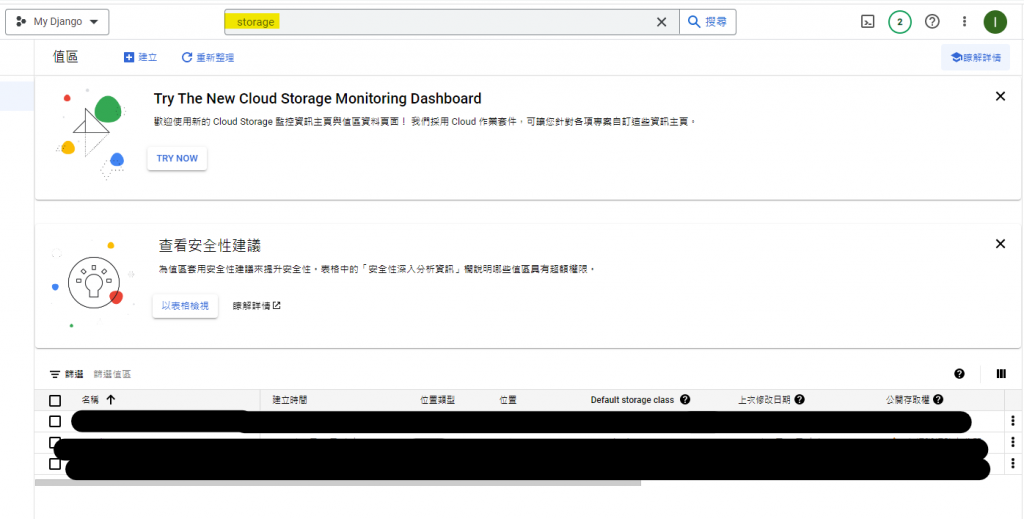
(點選專案->權限->賦予存取權->cloud storage)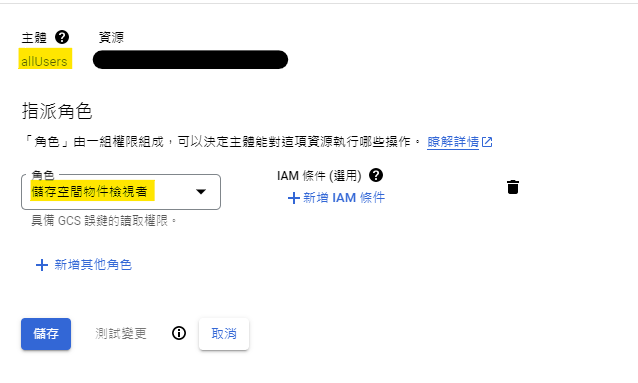
https://storage.googleapis.com/cloud-sql-connectors/cloud-sql-proxy/v2.0.0/cloud-sql-proxy.x64.exe
(Linux)
$ wget https://dl.google.com/cloudsql/cloud_sql_proxy.linux.amd64 -O cloud_sql_proxy
$ chmod +x cloud_sql_proxy
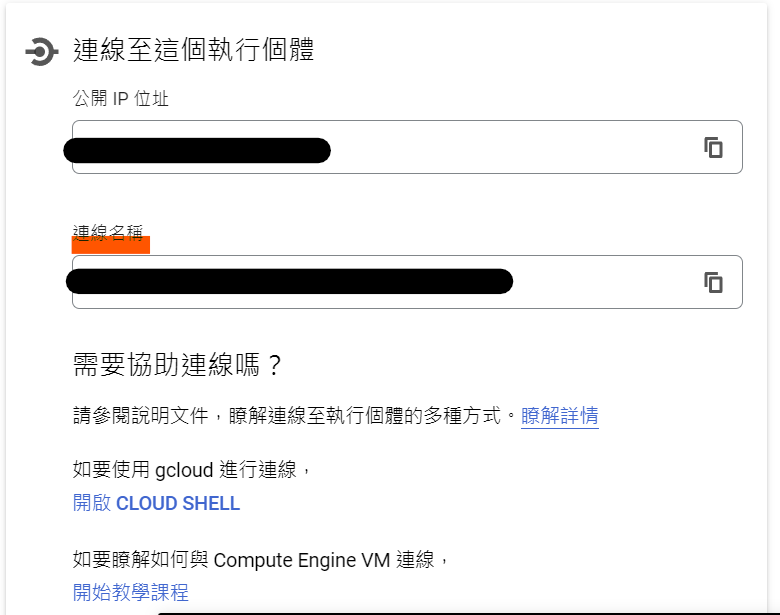
.\cloud_sql_proxy -instances=<INSTANCE_CONNECTION_NAME>=tcp:3306 -credential_file=<PATH_TO_KEY_FILE> &
INSTANCE_CONNECTION_NAME : 請看圖一
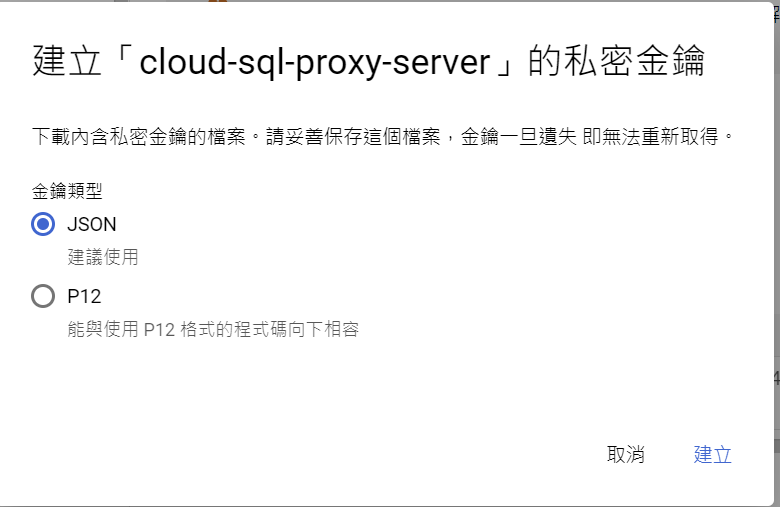
PATH_TO_KEY_FILE: json檔路徑
測試Cloud SQL Proxy 是否能夠連線資料庫
如3306 Port被佔用,可以先行去服務停止,待測試成功在開啟
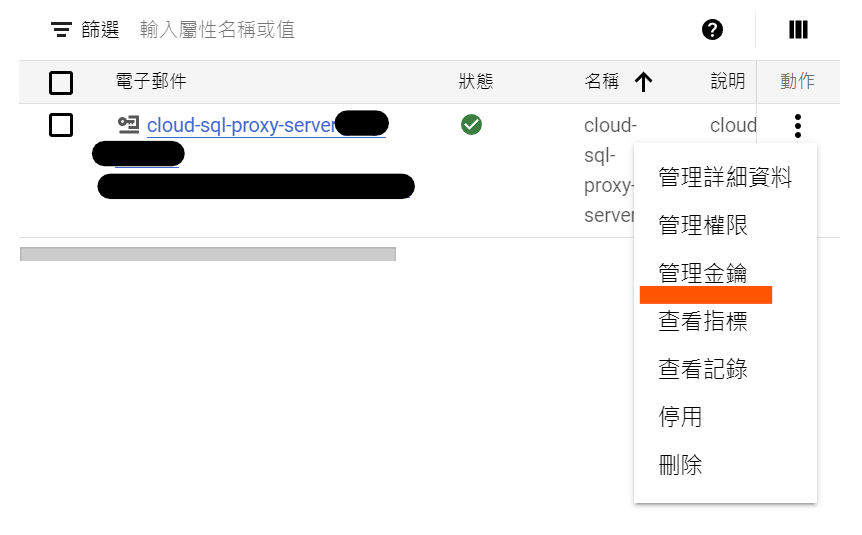
圖一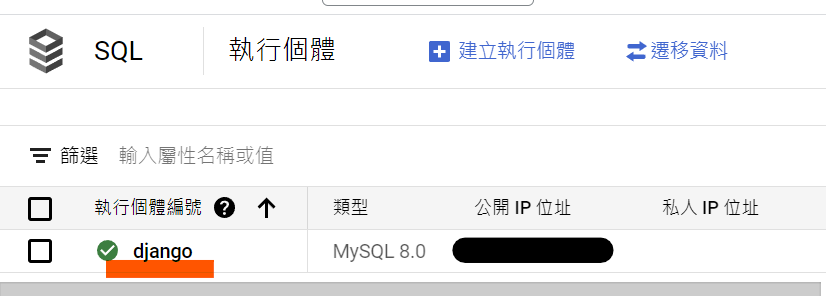
看到以下畫面代表測試成功
# [START django_app]
# [START gaestd_py_django_app_yaml]
runtime: python39

env_variables:
  # This setting is used in settings.py to configure your ALLOWED_HOSTS
  # APPENGINE_URL: PROJECT_ID.uc.r.appspot.com
  INSTANCE_UNIX_SOCKET: /cloudsql/<INSTANCE_CONNECTION_NAME>
  DB_USER: <YOUR DB_USER>
  DB_PASS: <YOUR DB_PASS>
  DB_NAME:<YOUR DB_NAME>

handlers:
# This configures Google App Engine to serve the files in the app's static
# directory.
- url: /static
  static_dir: static/

# This handler routes all requests not caught above to your main app. It is
# required when static routes are defined, but can be omitted (along with
# the entire handlers section) when there are no static files defined.
- url: /.*
  script: auto
# [END gaestd_py_django_app_yaml]
# [END django_app]
from mysite.wsgi import application

# App Engine by default looks for a main.py file at the root of the app
# directory with a WSGI-compatible object called app.
# This file imports the WSGI-compatible object of your Django app,
# application from mysite/wsgi.py and renames it app so it is discoverable by
# App Engine without additional configuration.
# Alternatively, you can add a custom entrypoint field in your app.yaml:
# entrypoint: gunicorn -b :$PORT mysite.wsgi
app = application
DATABASES = {
        'default': {
            'ENGINE': 'django.db.backends.mysql',
            'HOST': '/cloudsql/<INSTANCE_CONNECTION_NAME>',
            'USER': '<YOUR DB_USER>',
            'PASSWORD': '<YOUR DB_PASSWORD>',
            'NAME': '<YOUR DB_NAME>',
       }
}

from google.oauth2 import service_account
GS_CREDENTIALS = service_account.Credentials.from_service_account_file(
    os.path.join(BASE_DIR, 'credential.json'),
)

DEFAULT_FILE_STORAGE = 'mysite.gcloud.GoogleCloudMediaFileStorage'
GS_PROJECT_ID = 'PROJECT_ID'
GS_BUCKET_NAME = 'PROJECT_ID.appspot.com'
MEDIA_ROOT = 'media/'
MEDIA_URL = 'https://storage.googleapis.com/{}/'.format(GS_BUCKET_NAME)
mysite/
    * app.yaml
    * main.py
    manage.py
    mysite/
        __init__.py
        * settings.py
        urls.py
        wsgi.py
create database DB_NAME
python manage.py makemigrations
python manage.py migrate
類似google版的cmd 可以輸入指令
https://dl.google.com/dl/cloudsdk/channels/rapid/GoogleCloudSDKInstaller.exe
gcloud init
照著步驟登入自己的gcp帳號
位置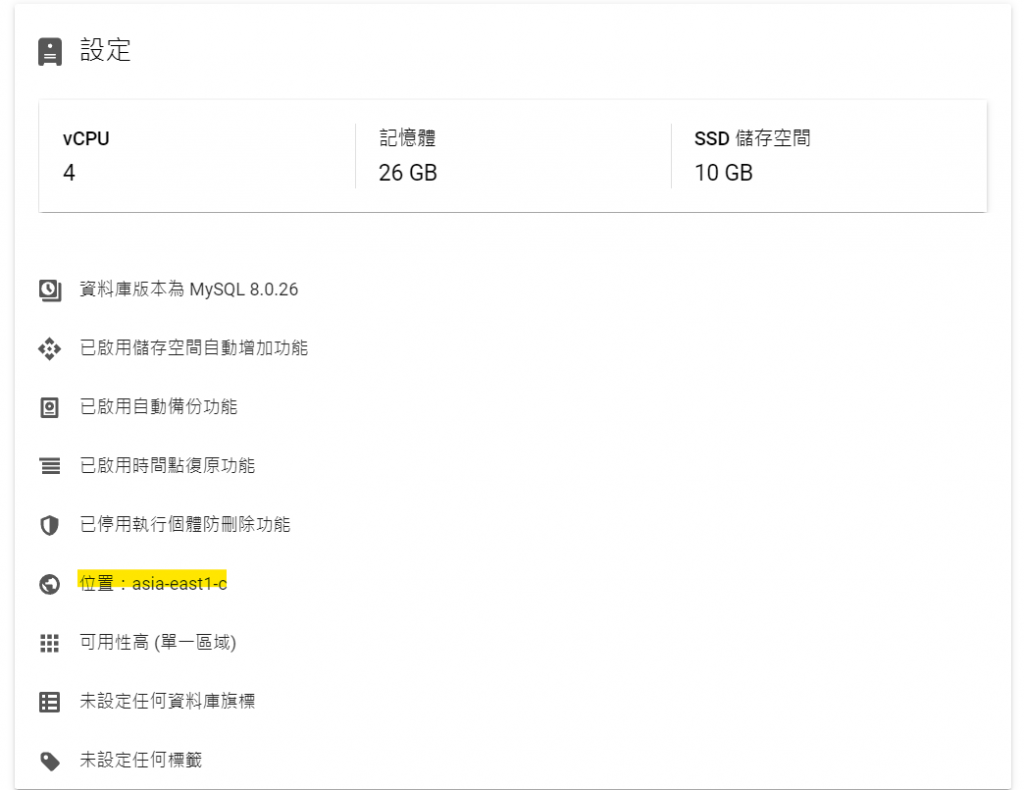
cd project
gcloud app deploy
之後跑完會跳出這行
Created [url]
ctrl點下url 會跳出網址 | gcloud app browse
今天主要是django 部署至 gcp appengine,透過以次計費的方式,使用越多付費越多,相對不常使用的情控下也比較節省,那我們明天會講的是object的create的一些功能。
我們明天見,各位掰掰~~~


 iThome鐵人賽