當開始iOS開發時,UIKit無疑是最重要的框架之一,負責提供iOS應用的用戶界面。今天,我們將介紹如何開始使用UIKit,從Storyboard開始,然後轉到Xib,這對於具有柔性和組織性的UI設計非常有用。
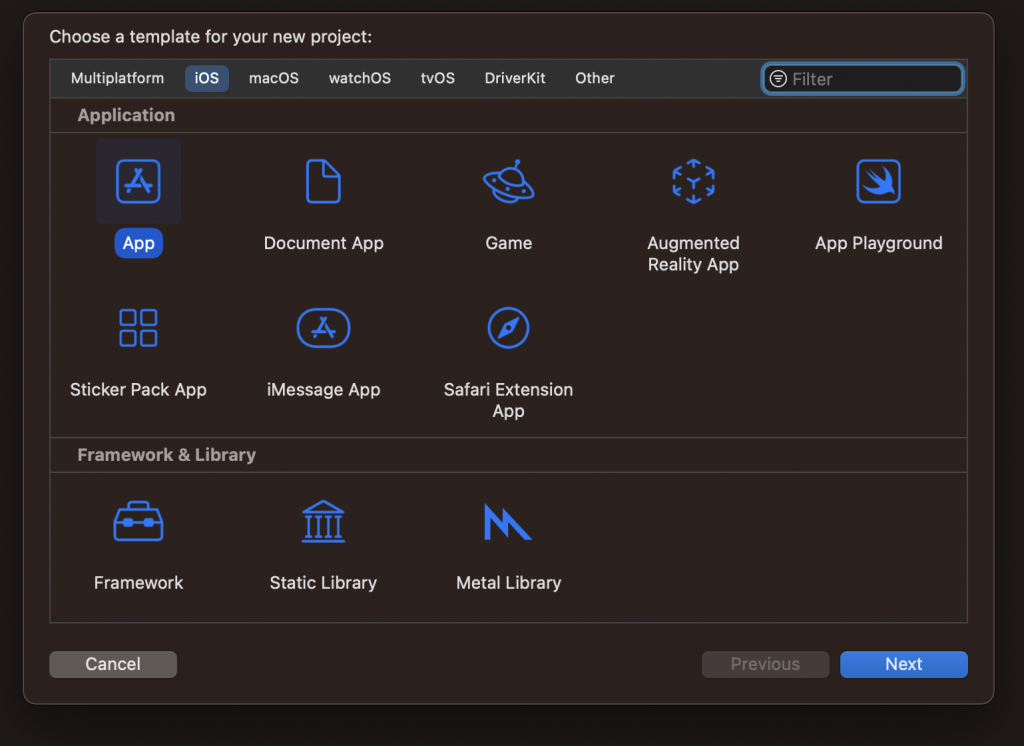
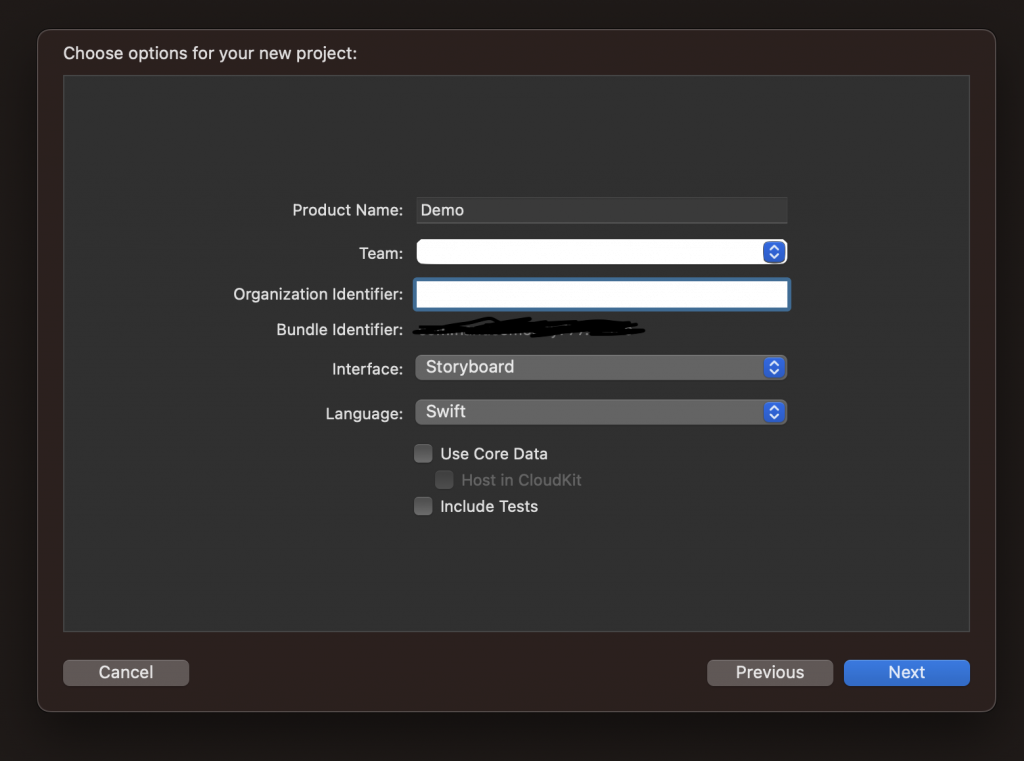
初識Storyboard:當你在Xcode中創建一個新的iOS專案時,Xcode會自動生成一個Main.storyboard文件。Storyboard提供了一個視覺化的界面,使你可以設計和導航你的App的整體用戶界面。
開始使用:打開Main.storyboard。這是你的App的主要界面。你可以看到中央的畫布上有一個ViewController,這是你App的首頁。
拖放UI元件:在屏幕的右下角,有一個名為“對象庫”的面板,其中包含各種UI控件。例如,你可以找到一個名為“Button”的控件,然後將其拖到ViewController上。
為什麼使用Xib? Xib允許你專注於單一的界面元件。這對於大型專案或多人合作的專案特別有用,因為它減少了合併衝突的風險。
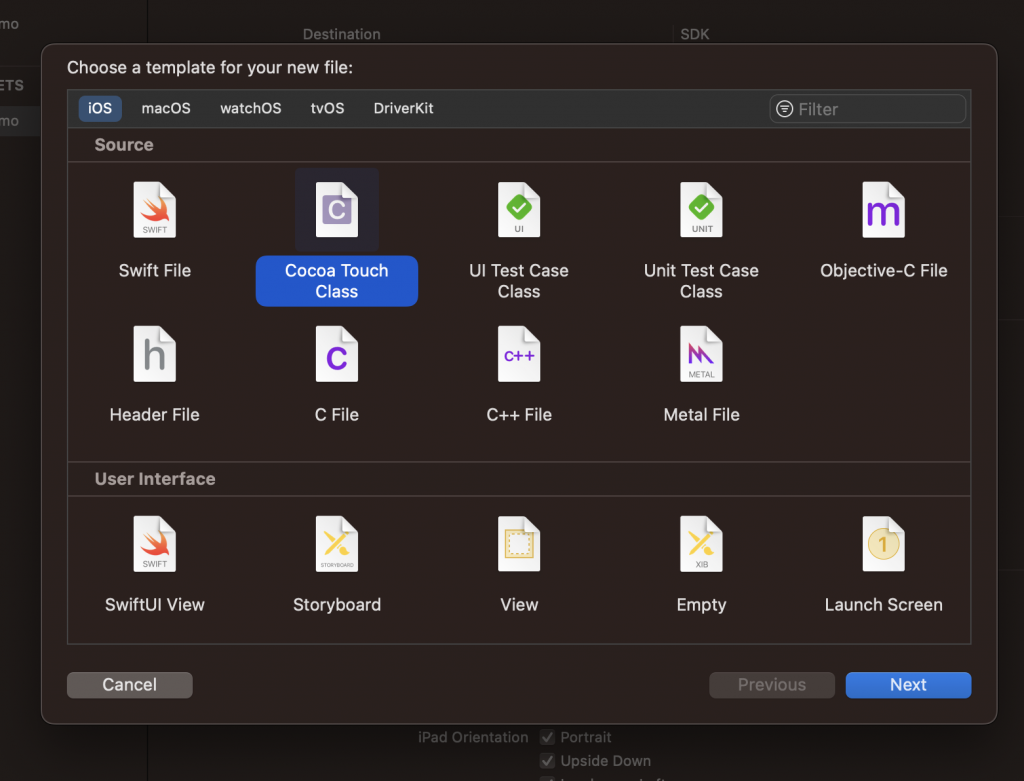
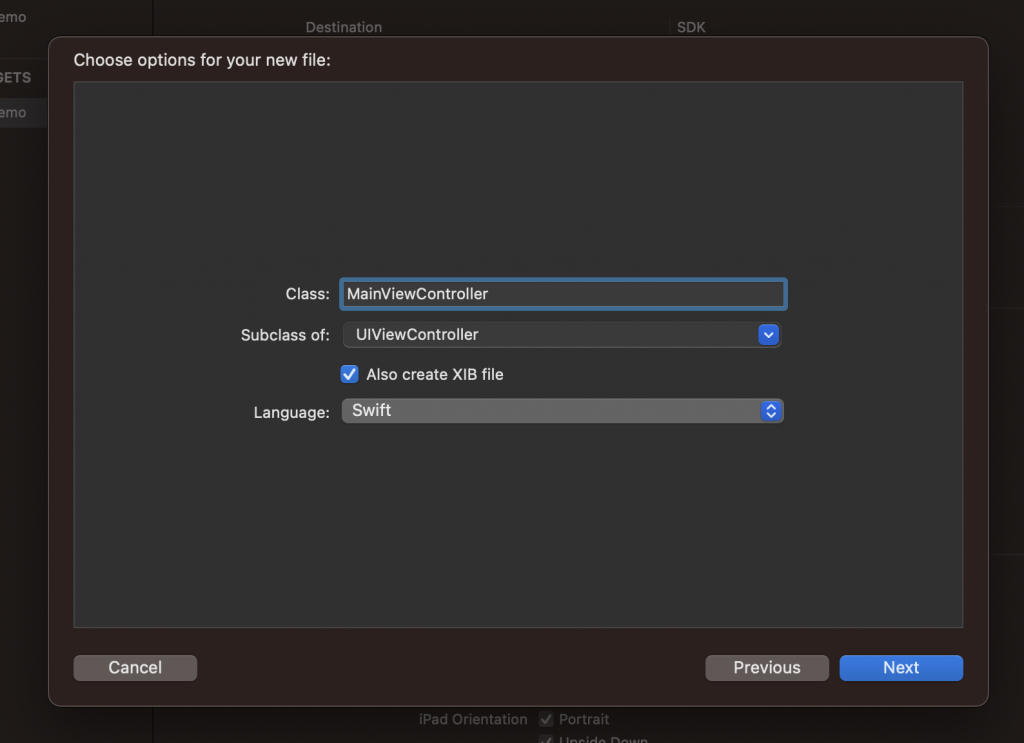
創建Xib:在Xcode的專案導航器中,右鍵點擊 -> 選擇"New File" -> 選擇“Source” -> "Cocoa Touch Class"。給它命名,例如"MainViewController",記得勾選Xib。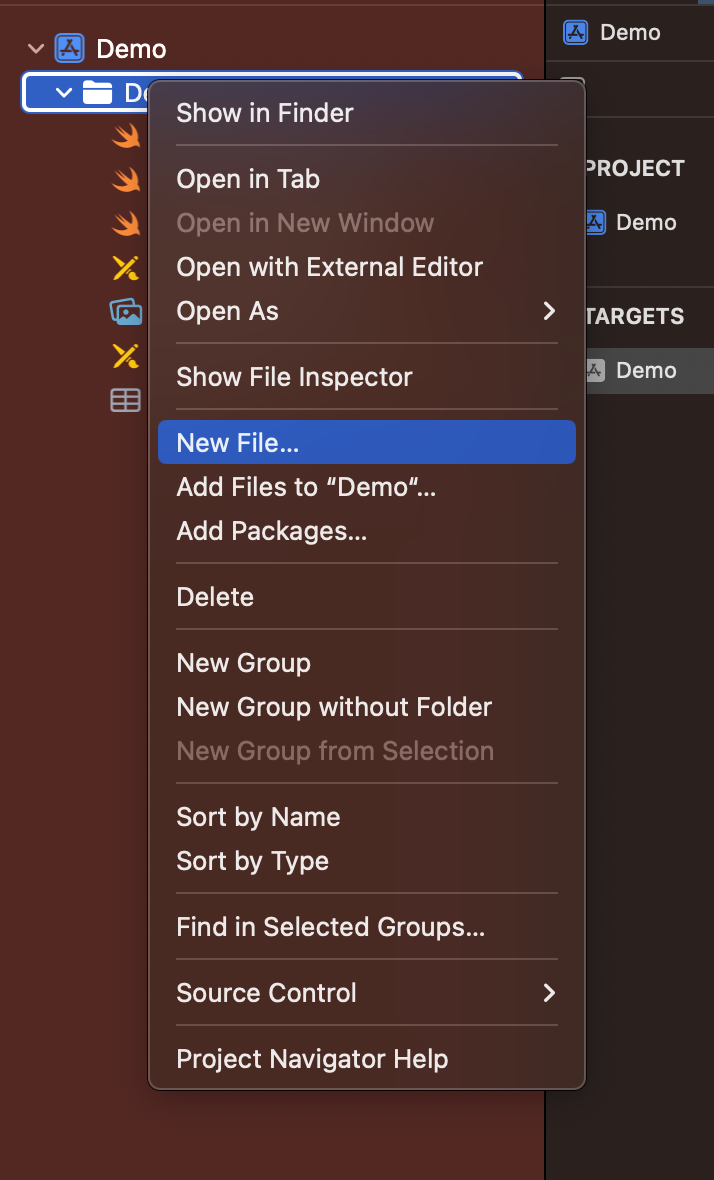
刪除Storyboard文件:在專案導航器中找到Main.storyboard並將其刪除。
更新SceneDelegate:打開SceneDelegate.swift。你將需要修改func scene(_ scene: UIScene, willConnectTo session: UISceneSession, options connectionOptions: UIScene.ConnectionOptions)方法:
func scene(_ scene: UIScene, willConnectTo session: UISceneSession, options connectionOptions: UIScene.ConnectionOptions) {
        // Use this method to optionally configure and attach the UIWindow `window` to the provided UIWindowScene `scene`.
        // If using a storyboard, the `window` property will automatically be initialized and attached to the scene.
        // This delegate does not imply the connecting scene or session are new (see `application:configurationForConnectingSceneSession` instead).
        guard let _ = (scene as? UIWindowScene) else { return }
        guard let windowScene = (scene as? UIWindowScene) else { return }
        let rootVC = MainViewController()
        let navigationController = UINavigationController(rootViewController: rootVC)
        window = UIWindow(frame: windowScene.coordinateSpace.bounds)
        window?.windowScene = windowScene
        window?.rootViewController = navigationController
        window?.makeKeyAndVisible()
    }   return true
}
Info.plist文件,並刪除“Main storyboard file base name”鍵。
在本教程中,我們介紹了如何從Storyboard開始創建iOS應用,然後切換到Xib。每種方法都有其優點和缺點,但熟悉這兩者都是很有價值的。
