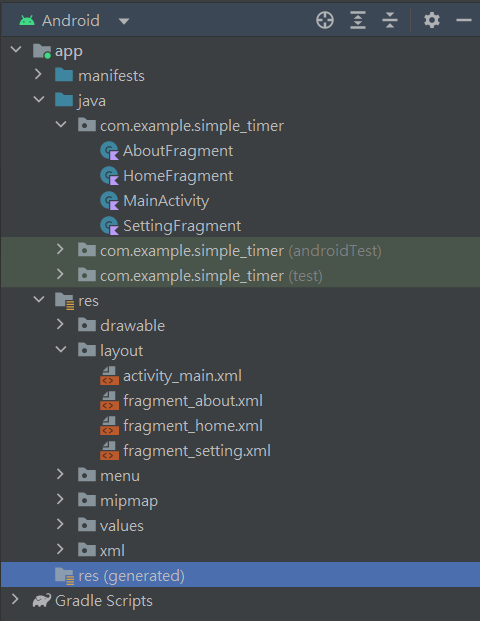
這邊會用到一個叫做 Frament 的 API,目的有點類似 RWD,希望可以顯示在大螢幕的平板電腦等,但現在不論是大螢幕還是小螢幕都離不開 Frament,它提供了一個很好的分段功能,可以把畫面切分成好幾塊,然後進行分組,就可以做到模組化的管理!
<resources>
    <string name="app_name">Simple_timer</string>
    <!-- TODO: Remove or change this placeholder text -->
    <string name="Home_fragment">This is a Home page</string>
    <string name="About_fragment">This is a About page</string>
    <string name="Setting_fragment">This is a Setting page</string>
</resources>
<?xml version="1.0" encoding="utf-8"?>
<FrameLayout xmlns:android="http://schemas.android.com/apk/res/android"
    xmlns:tools="http://schemas.android.com/tools"
    android:layout_width="match_parent"
    android:layout_height="match_parent"
    tools:context=".HomeFragment">

    <!-- TODO: Update blank fragment layout -->
    <TextView
        android:layout_width="wrap_content"
        android:layout_height="wrap_content"
        android:text="@string/Home_fragment"
        android:textSize="30sp"
        android:layout_gravity="center"/>

</FrameLayout>
<?xml version="1.0" encoding="utf-8"?>
<FrameLayout xmlns:android="http://schemas.android.com/apk/res/android"
    xmlns:tools="http://schemas.android.com/tools"
    android:layout_width="match_parent"
    android:layout_height="match_parent"
    tools:context=".SettingFragment">

    <!-- TODO: Update blank fragment layout -->
    <TextView
        android:layout_width="wrap_content"
        android:layout_height="wrap_content"
        android:text="@string/Setting_fragment"
        android:textSize="30sp"
        android:layout_gravity="center"/>

</FrameLayout>
<?xml version="1.0" encoding="utf-8"?>
<FrameLayout xmlns:android="http://schemas.android.com/apk/res/android"
    xmlns:tools="http://schemas.android.com/tools"
    android:layout_width="match_parent"
    android:layout_height="match_parent"
    tools:context=".AboutFragment">

    <!-- TODO: Update blank fragment layout -->
    <TextView
        android:layout_width="wrap_content"
        android:layout_height="wrap_content"
        android:text="@string/About_fragment"
        android:textSize="30sp"
        android:layout_gravity="center"/>

</FrameLayout>
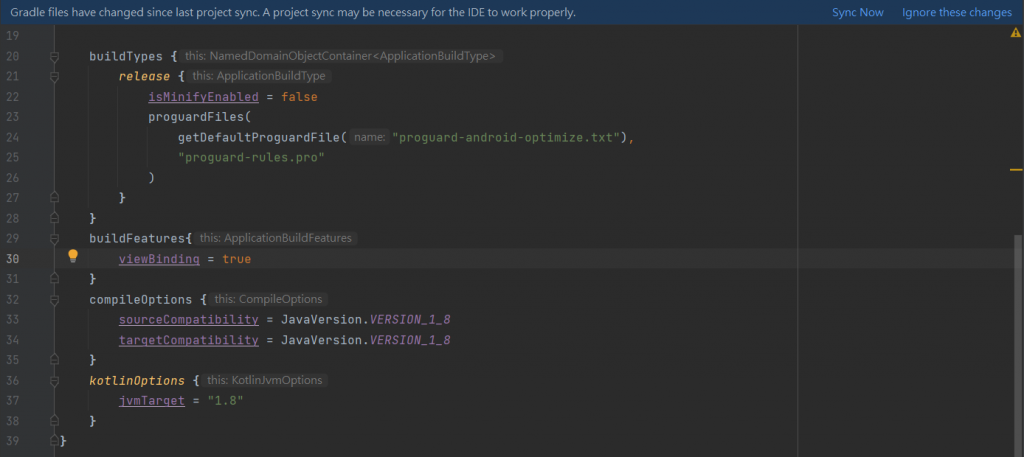
這邊要介紹一個酷東西叫做 View Binding,目的在於想要取代 findViewById,通過元件綁定可以更加輕鬆快速地做到畫面上的元件和程式碼連動
由於 Android Studio 預設 View Binding 為 false,所以我們第一步就是要去把它打開
buildFeatures{
    viewBinding = true
}
class MainActivity : AppCompatActivity() {
    private lateinit var binding: ActivityMainBinding

    override fun onCreate(savedInstanceState: Bundle?) {
        super.onCreate(savedInstanceState)
        binding = ActivityMainBinding.inflate(layoutInflater)
        setContentView(binding.root)
    }
}
今天認識了兩個新東西 Frament 以及 View binding,我覺得只要掌握這兩個東西後,就真的是 Android studio 大師了;另外今天第一次做人體 java to kotlin 翻譯機,也多虧有找到用 Kotlin 的參考資料,真的很推薦大家自己去看看參考資料的內容。
對不起啦,就這樣看著影片然後解讀他現在想要幹嘛、他現在用了甚麼我不知道的酷東西,然後瘋狂爬文真的好累,所以今天先放過我,明天再繼續。
下一篇祈禱程式碼寫的完!
Bottom Navigation Bar - Android Studio | Fragments | Java | 2023
https://www.youtube.com/watch?v=jOFLmKMOcK0
Android Developers - fragments
https://developer.android.com/guide/fragments?hl=zh-tw
5.1 Fragment基本概述
https://www.runoob.com/w3cnote/android-tutorial-fragment-base.html
Android ViewBinding使用及原理
https://www.jianshu.com/p/431c040b6af8
【Android APP 開發教學】元件綁定 View Binding
https://tw-hkt.blogspot.com/2021/01/android-app-view-binding.html


 iThome鐵人賽