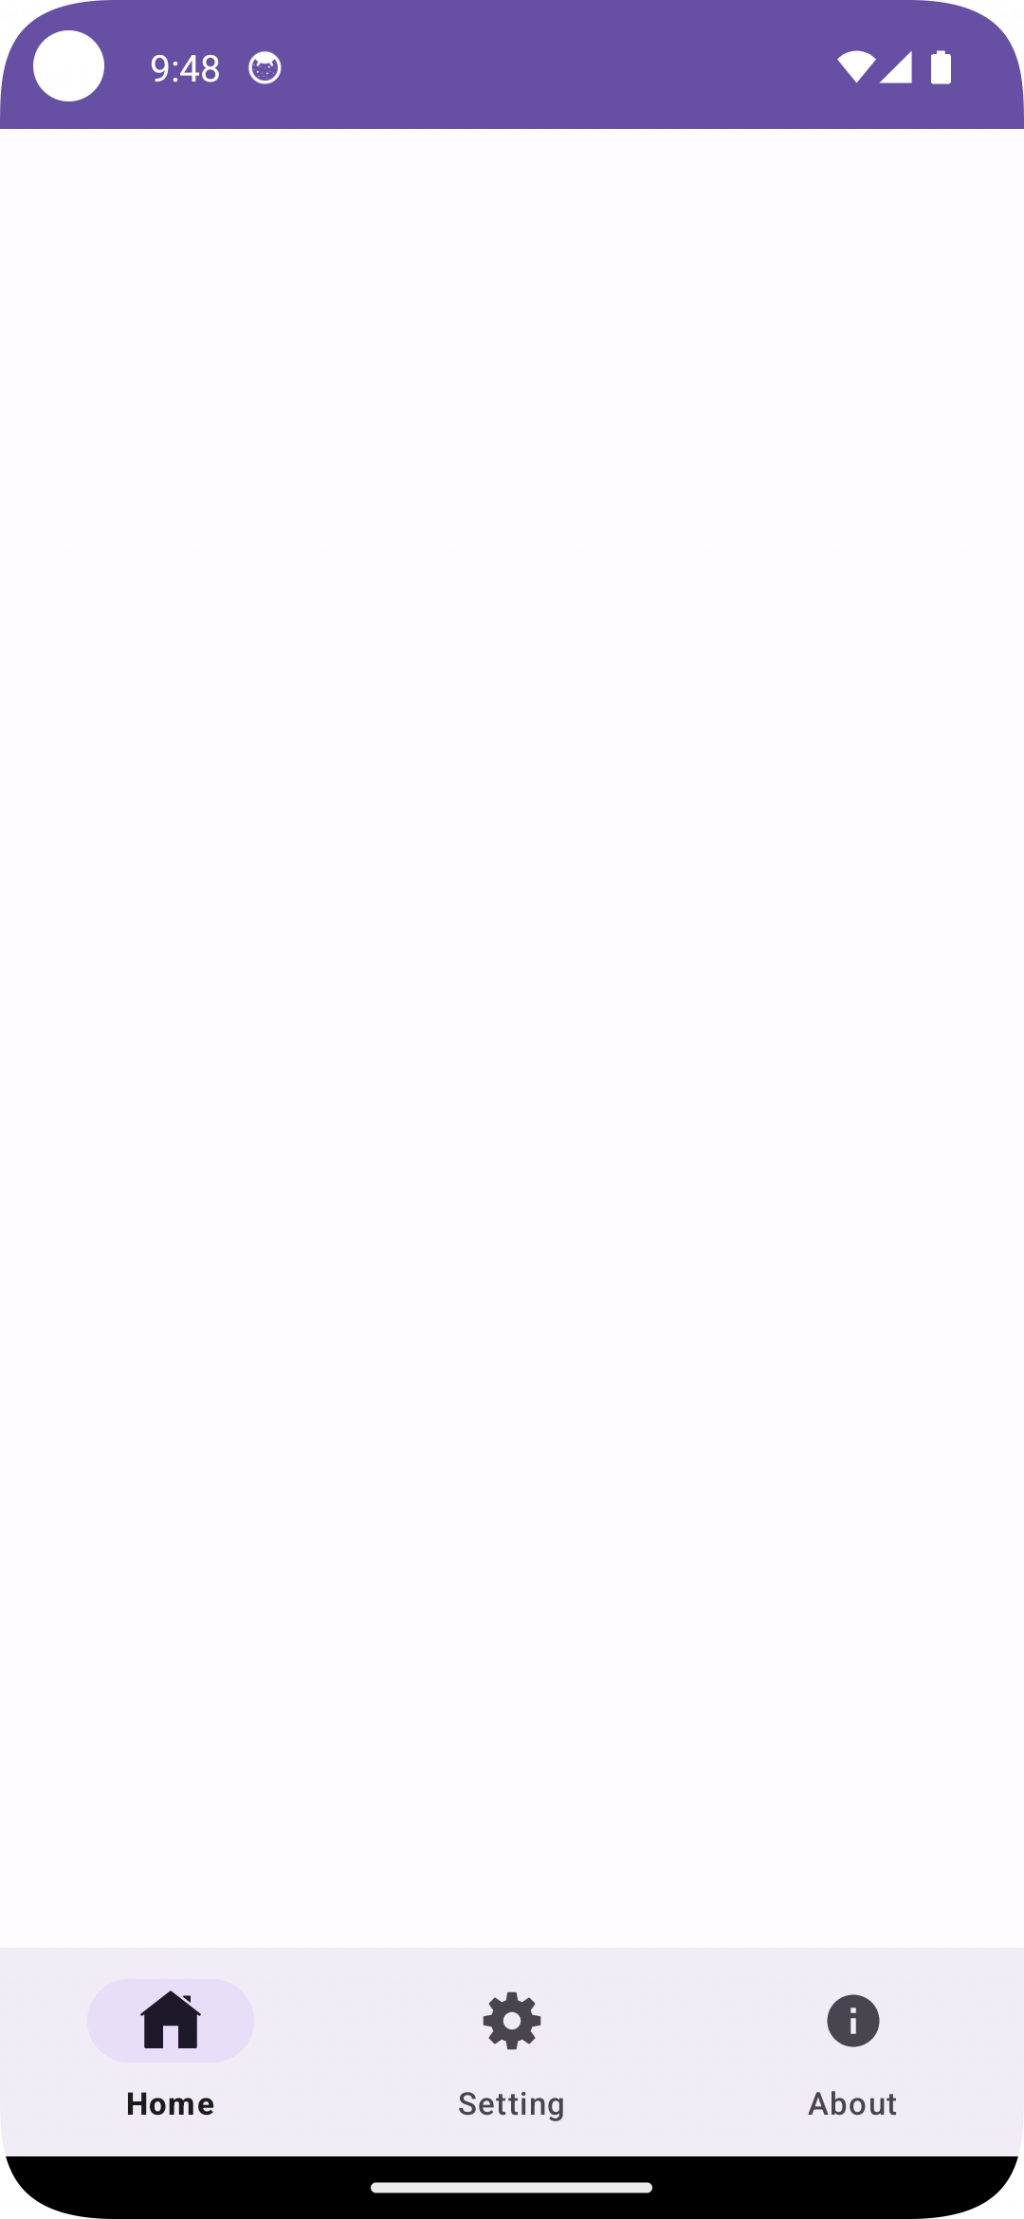
新的一天我們創建一個新專案,今天會帶著大家一步一步創分頁,今天的目標是三個分頁,分別是主頁、說明以及設定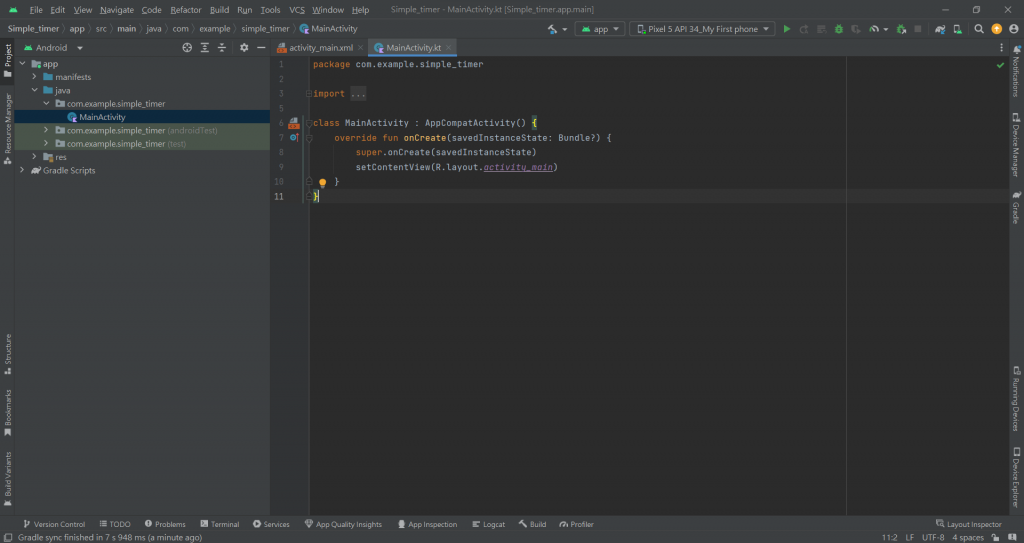
<FrameLayout
    android:layout_width="0dp"
    android:layout_height="0dp"
    app:layout_constraintBottom_toTopOf="@+id/bottomNavigationView"
    app:layout_constraintEnd_toEndOf="parent"
    app:layout_constraintStart_toStartOf="parent"
    app:layout_constraintTop_toTopOf="parent">
</FrameLayout>

<com.google.android.material.bottomnavigation.BottomNavigationView
    android:id="@+id/bottomNavigationView"
    android:layout_width="match_parent"
    android:layout_height="wrap_content"
    app:layout_constraintBottom_toBottomOf="parent"
    app:layout_constraintEnd_toEndOf="parent"
    app:layout_constraintStart_toEndOf="parent" />
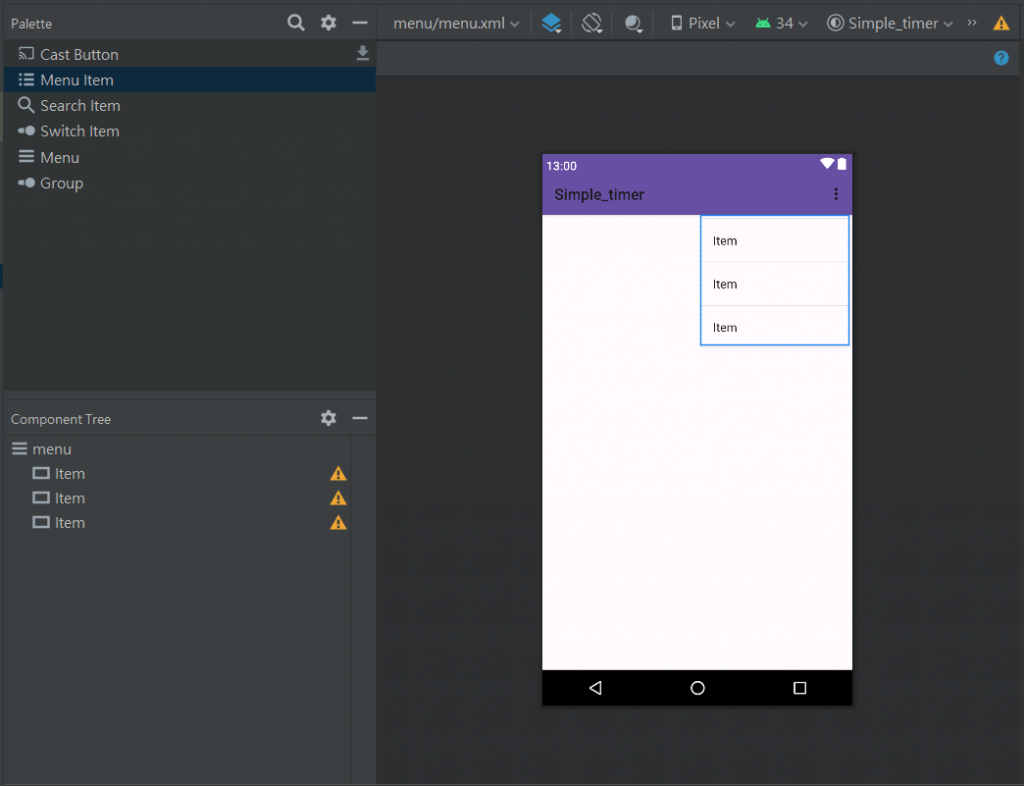
<item
    android:layout_width="wrap_content"
    android:layout_height="wrap_content"
    android:title="Home" />
<item
    android:layout_width="wrap_content"
    android:layout_height="wrap_content"
    android:title="Setting" />
<item
    android:layout_width="wrap_content"
    android:layout_height="wrap_content"
    android:title="About" />
<com.google.android.material.bottomnavigation.BottomNavigationView
    android:id="@+id/bottomNavigationView"
    android:layout_width="match_parent"
    android:layout_height="wrap_content"
    app:layout_constraintBottom_toBottomOf="parent"
    app:layout_constraintEnd_toEndOf="parent"
    app:layout_constraintStart_toEndOf="parent"
    app:menu="@menu/menu"/>
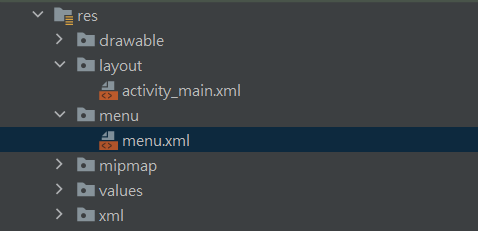
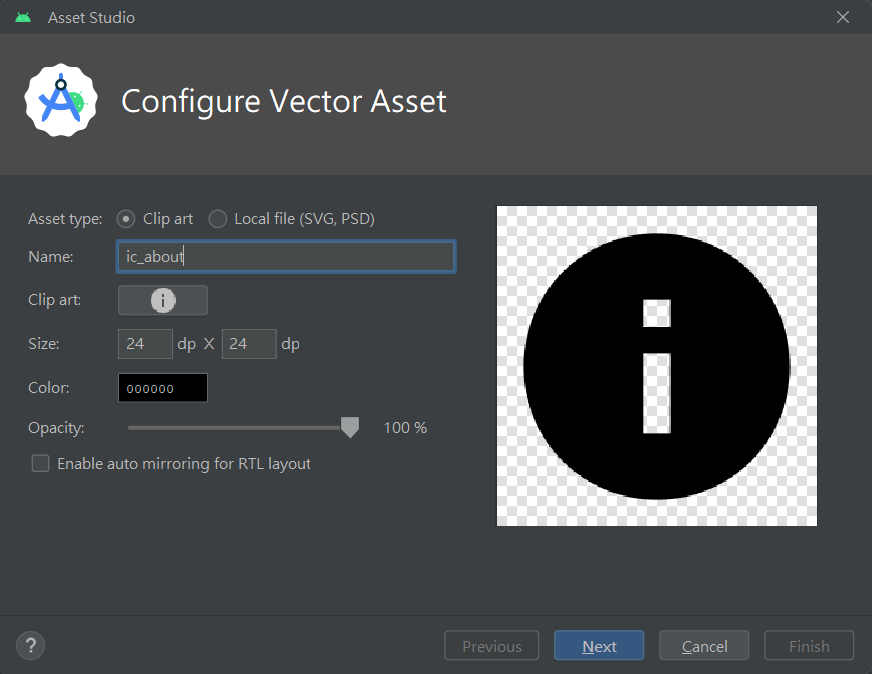
到這邊大家應該會覺得怪怪的,為甚麼文字那麼小,因為身為一個優秀的 Android 程式,我們需要可愛的 icon,所以我們要在 drawable 這個素材資料夾中引入圖片
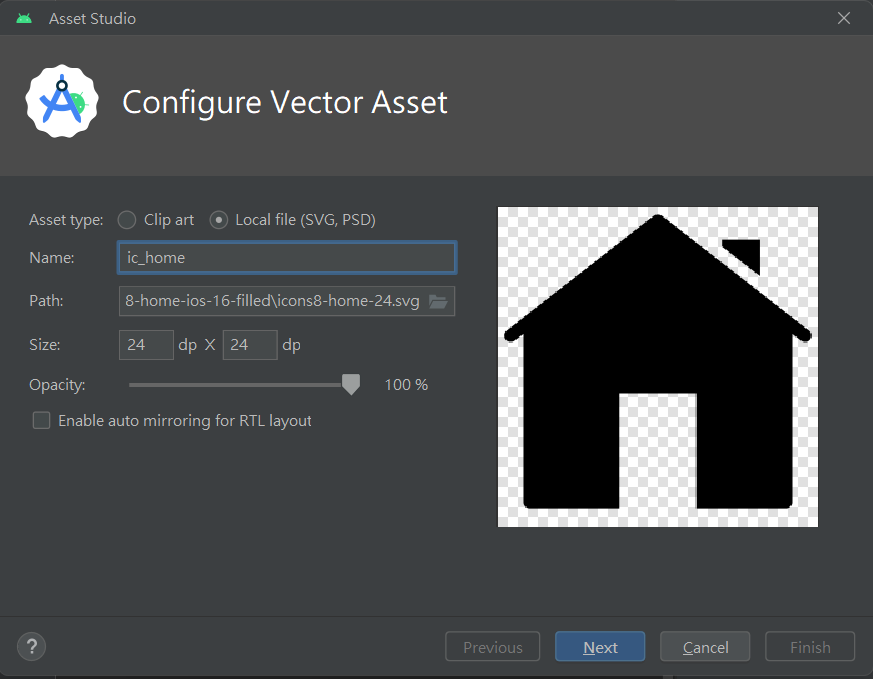
<item
    android:layout_width="wrap_content"
    android:layout_height="wrap_content"
    android:title="Home"
    android:icon="@drawable/ic_home"/>
<item
    android:layout_width="wrap_content"
    android:layout_height="wrap_content"
    android:title="Setting"
    android:icon="@drawable/ic_setting"/>
<item
    android:layout_width="wrap_content"
    android:layout_height="wrap_content"
    android:title="About"
    android:icon="@drawable/ic_about"/>
這邊主要是看了參考資料中第一個連結的影片一步一步做出來的,我花了很多時間找資料,但只有這個影片我覺得最清楚好懂(開字幕勉強能聽懂),一定是前兩天放假的報應,今天花超級久時間QwQ。
這邊篇主要處理的只有畫面呈現,下一篇會把切換頁面的程式碼做完!
雖然不清楚原因,但我在測試的時候有報錯,大意是我的 APK 版本太低,我的處理方法是照著這個網站做,如果有人也有遇到類似的問題,可以參考看看。
Bottom Navigation Bar - Android Studio | Fragments | Java | 2023
https://www.youtube.com/watch?v=jOFLmKMOcK0
Android Layout 五大佈局(FrameLayout–框架佈局)
https://fiend1120.pixnet.net/blog/post/191809836
[Android Studio菜鳥的學習分享]UI分享(二) - BottomNavigationView
https://ithelp.ithome.com.tw/articles/10248865


 iThome鐵人賽