接下來是快樂的撰寫切換分頁的程式碼時間,需要透過 binding 來偵測我們的 BottomNavigationView 被選擇的 item 是哪一個,然後去呼叫
<item
    android:id="@+id/home_item"
    android:layout_width="wrap_content"
    android:layout_height="wrap_content"
    android:title="Home"
    android:icon="@drawable/ic_home"/>
<item
    android:id="@+id/setting_item"
    android:layout_width="wrap_content"
    android:layout_height="wrap_content"
    android:title="Setting"
    android:icon="@drawable/ic_setting"/>
<item
    android:id="@+id/about_item"
    android:layout_width="wrap_content"
    android:layout_height="wrap_content"
    android:title="About"
    android:icon="@drawable/ic_about"/>
override fun onCreate(savedInstanceState: Bundle?) {
    super.onCreate(savedInstanceState)
    binding = ActivityMainBinding.inflate(layoutInflater)
    setContentView(binding.root)

    binding.bottomNavigationView.setOnItemSelectedListener { menuItem->
        when(menuItem.itemId){ // 功能跟 case 一樣,差別只有這是 Kotlin 的寫法
            R.id.home_item->{
                true
            }
            R.id.setting_item->{
                true
            }
            R.id.about_item->{
                true
            }
            else->false
        }
    }
}
<FrameLayout
    android:id="@+id/frame_layout"
    android:layout_width="0dp"
    android:layout_height="0dp"
    app:layout_constraintBottom_toTopOf="@+id/bottomNavigationView"
    app:layout_constraintEnd_toEndOf="parent"
    app:layout_constraintStart_toStartOf="parent"
    app:layout_constraintTop_toTopOf="parent">
</FrameLayout>
private fun replaceFragment(fragment:Fragment){
    val fragmentManager:FragmentManager = supportFragmentManager
    val fragmentTransaction:FragmentTransaction = fragmentManager.beginTransaction()
    fragmentTransaction.replace(R.id.frame_layout,fragment)
    fragmentTransaction.commit()
}
when(menuItem.itemId){
    R.id.home_item->{
        replaceFragment(HomeFragment())
        true
    }
    R.id.setting_item->{
        replaceFragment(SettingFragment())
        true
    }
    R.id.about_item->{
        replaceFragment(AboutFragment())
        true
    }
    else->false
}
override fun onCreate(savedInstanceState: Bundle?) {
    super.onCreate(savedInstanceState)
    binding = ActivityMainBinding.inflate(layoutInflater)
    setContentView(binding.root)
    replaceFragment(HomeFragment()) // 加入這行

		/.../
}
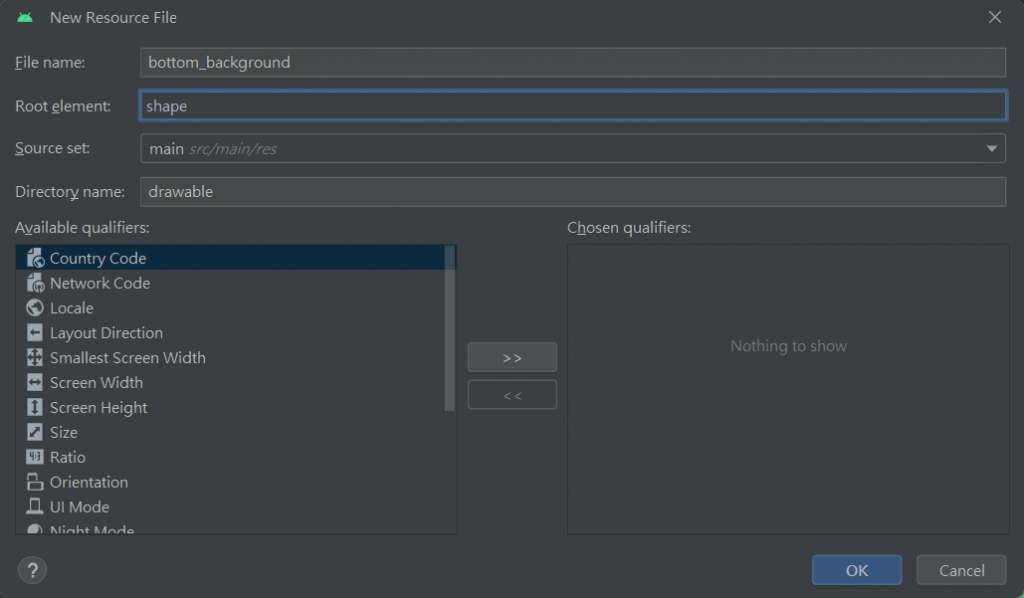
為了補償各位所以今天加碼!我們來學怎麼讓畫面變漂亮,作法來自參考資料最下面的 YT 連結,大家也可以去看看。
<color name="bottom_backgroundColor">#5A5AAD</color>
<color name="bottom_unclick">#d2d2d2</color>
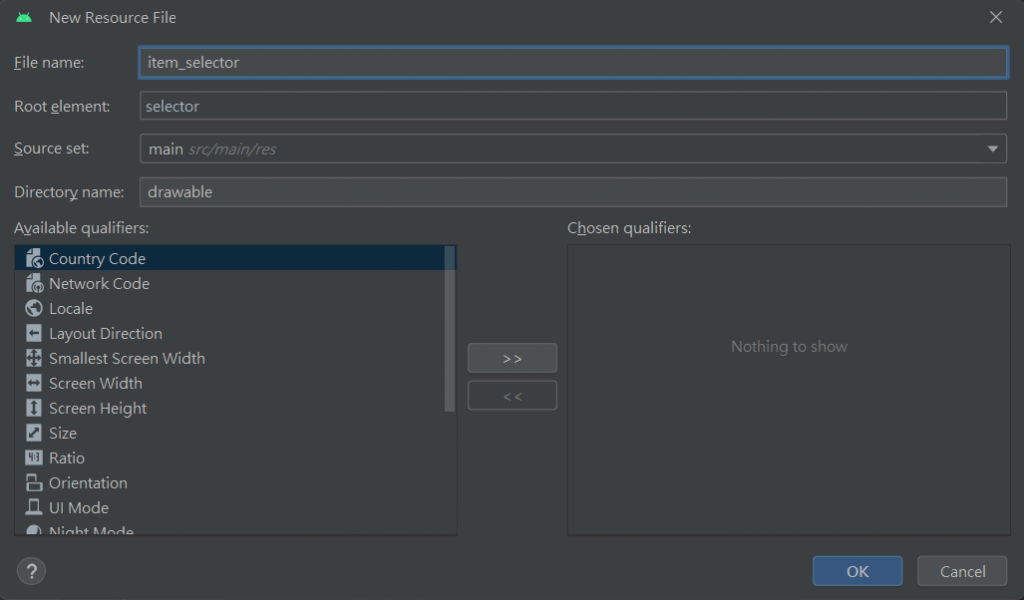
<item
    android:state_selected="true"
    android:color = "@color/white"/>
<item
    android:state_selected="false"
    android:color = "@color/bottom_unclick"/>
<com.google.android.material.bottomnavigation.BottomNavigationView
    android:id="@+id/bottomNavigationView"
    android:layout_width="match_parent"
    android:layout_height="wrap_content"
    android:background="@drawable/bottom_background"
    android:layout_marginEnd="20dp"
    android:layout_marginStart="20dp"
    android:layout_marginBottom="30dp"
    android:layout_marginTop="30dp"
    app:layout_constraintBottom_toBottomOf="parent"
    app:layout_constraintEnd_toEndOf="parent"
    app:layout_constraintStart_toEndOf="parent"
    app:menu="@menu/menu"
    app:itemIconSize="30dp"
    app:itemIconTint="@drawable/item_selector"
    app:itemRippleColor="@android:color/transparent"
    app:labelVisibilityMode="unlabeled"/>
快樂的分頁~影片連結
經過了三天的努力,我們終於把分頁給做完了,分頁的學問可真多啊!學習上遇到最大的困難只有資料幾乎是 Java 的,沒看到甚麼 Kotlin 的教學,就算有我也看不懂 orz,但還是順利完成了。
下一篇會輕鬆一點,教大家怎麼把應用程式下載到實體手機上!
Bottom Navigation Bar - Android Studio | Fragments | Java | 2023
https://www.youtube.com/watch?v=jOFLmKMOcK0
Day 26 - Bottom Navigation ( Implementation )
https://ithelp.ithome.com.tw/articles/10307281?sc=iThelpR
Android 基礎的 Fragment 使用方式
https://medium.com/@waynechen323/android-基礎的-fragment-使用方式-730858c12a43
How to Implement Bottom Navigation with Activities | Android Studio Tutorial
https://www.youtube.com/watch?v=MUl19ppdu0o&t=711s


 iThome鐵人賽