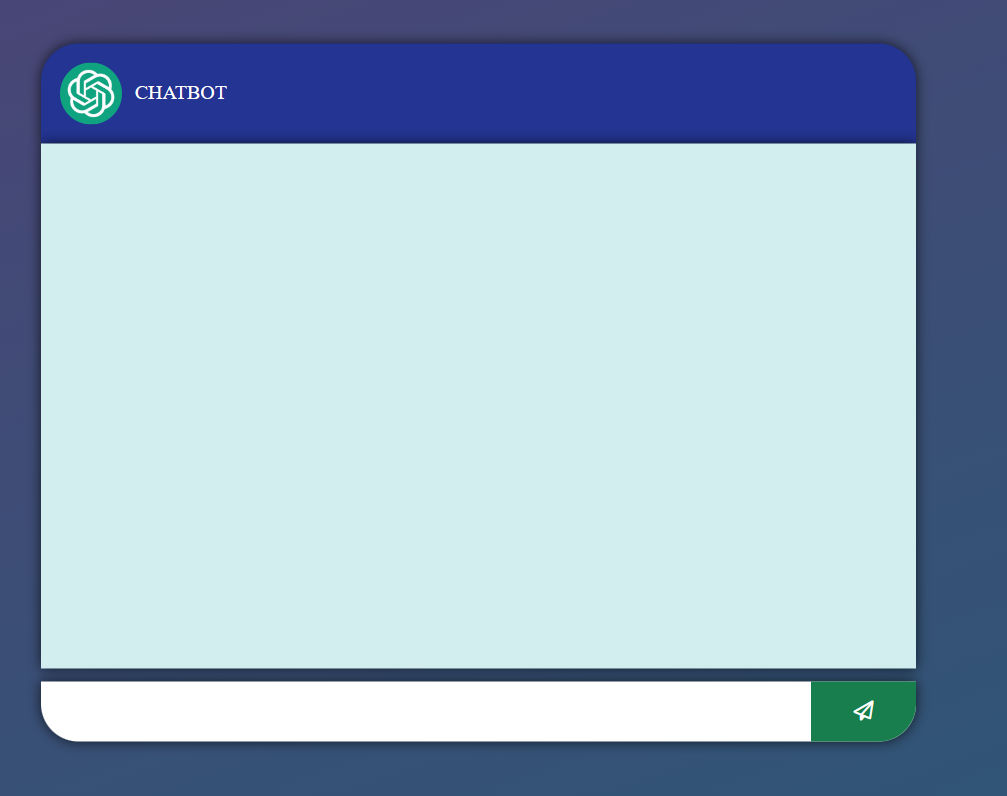
透過前兩天的前端頁面,我們今天來建立應用,讓我們的頁面可以成功執行出來
from flask import Flask,render_template,request,request

app = Flask(__name__)

@app.route('/')
def index():
    return render_template('index.html')

if __name__ =='__main__':
    app.run(debug=True)
有了這個後就可以先執行起來看看我們的聊天室囉
但是這時候我們按下送出的按鈕後,甚麼都不會發生,因為還沒寫一些主要的功能呀!!
前幾天有說到要先申請openAI的API key
@app.route('/send_msg', methods=['POST'])
def send_msg():
    message = request.form['message']
    return chat(message)

def chat(userMSG):
    response = openai.Completion.create(
        engine = "text-davinci-003",
        prompt = userMSG,
        temperature = 0.8,
        max_tokens = 150,
        n = 1,
        stop = None,
        timeout = 20,
    )
    return response['choices'][0]['text']
$(document).ready(function() {
    const msgContainer = $('.msg-container');

    $('.chat-form').on('submit', event => {
        event.preventDefault();

        const message = $('.chat-box').val();
        $('.chat-box').val('');

        $('.msg-container').append(`<div class="user-msg-box"><div class="user-msg"><span class='msg-span'>` + message + `</span></div></div>`);
        scrollToBottom();
        $.ajax({
            method: 'POST',
            url: '/send_msg',
            data: {
                message: message
            },
            success: function(response) {
                $('.msg-container').append(`<div class="bot-message"><div class="bot-logo"><img src="https://freelogopng.com/images/all_img/1681038242chatgpt-logo-png.png"></div><div class="bot-msg"><span class='msg-span'>`+ response +`</span></div></div>`);
                scrollToBottom(); // 在成功回應後呼叫自動滾動函數
            }
        });
    });

    function scrollToBottom() {
        msgContainer.scrollTop(msgContainer[0].scrollHeight); // 將滾動位置設置到底部
    }
});
明天我會針對程式碼補充做解釋
