當每一次跑測試的時候,在 mac 上的 Xcode 大概都做了這些事情
1 - 啟動 macOS 上的模擬器
2 - 動態注入 test bundle 去 app
3 - 啟動模擬器上的 app
4 - 開始跑 test
5 - 終止 app
在上述第三步的時候,如果你的 App 有使用 CoreData (SwiftData),有使用追蹤服務,也有可能打了一些 api 在啟動的時候。
我們逐項來看
因前面的專案是使用 SwiftUI 開的,所以我們另開一個 UIKit 的專案來進行。
step1: 開一個新的檔案,這裡用 MockAppDelegate.swift 當範例
step2: 將 AppDelegate 的程式碼複製到 MockAppDelegate 裡
step3: 移除 @UIApplicationMain 或 @main
step4: 將複製過去的程式碼,class 宣告改成 MockAppDelegate
/// MockAppDelegate.swift
import UIKit

class MockAppDelegate: UIResponder, UIApplicationDelegate {
step5: 在 class name 上加上 @objc(MockAppDelegate)
step6: 將 didFinishLaunchingWithOptions 以外的 func 都移除掉
@objc(MockAppDelegate)
class MockAppDelegate: UIResponder, UIApplicationDelegate {
    func application(_ application: UIApplication, didFinishLaunchingWithOptions launchOptions: [UIApplication.LaunchOptionsKey: Any]?) -> Bool {
        /// 用來確認真的從 MockAppDelegate 啟動
        print("this is test target")
        return true
    }
}
step7: 開一個 main.swift 的檔案
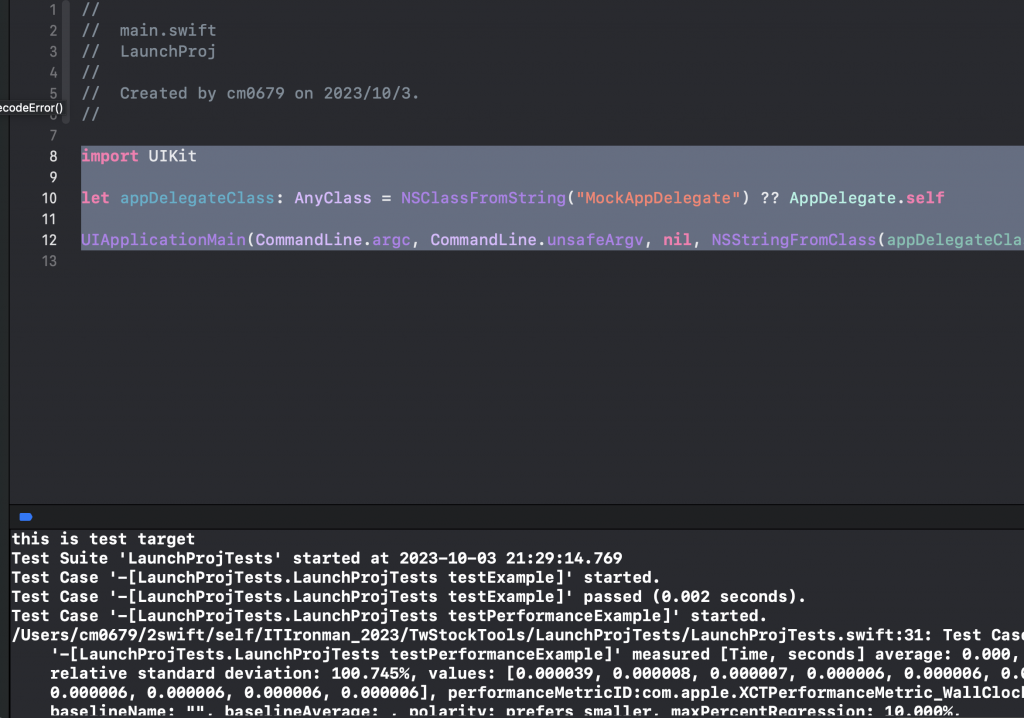
step8: 將這段貼上 main.swift
import UIKit

let appDelegateClass: AnyClass = NSClassFromString("MockAppDelegate") ?? AppDelegate.self

UIApplicationMain(CommandLine.argc, CommandLine.unsafeArgv, nil, NSStringFromClass(appDelegateClass))
step9: 跑一遍 Unit Testing,你會從 console 看到 this is test target,就表示運行的是 MockAppDelegate,而不是 AppDelegate

