Azure DevOps 提供 99.9% 的 SLA 服務等級保證,表示一年之中必須要有 99.9% 的時間正常營運,如果 Azure DevOps 在特定月份遺漏 SLA,則會將每月費用的一部分退款。
換言之,無法提供服務的時間為 8 小時 45 分 36 秒。
(60秒 * 60分 * 24小時 * 365天 ) * 0.1% = 31536秒 = 8 小時 45 分 36 秒
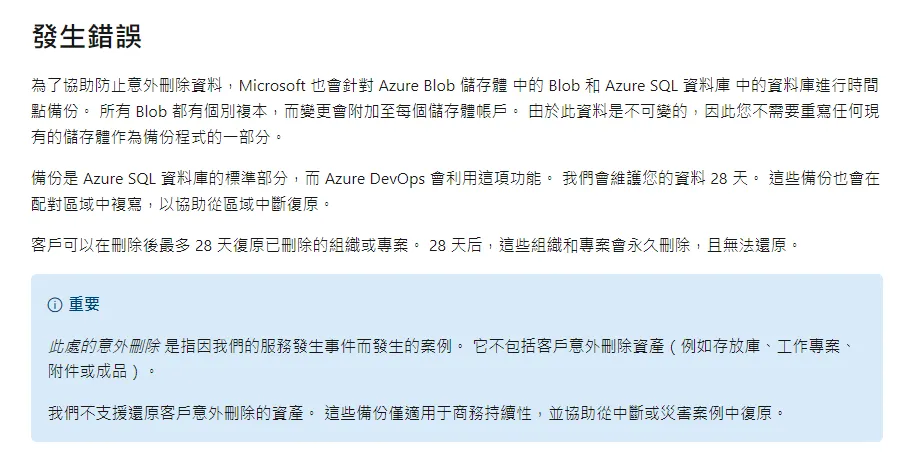
為了防止意外刪除資料,Microsoft 也會針對 Azure Blob 和 Azure SQL 資料庫進行時間點備份。Azure DevOps 會利用這項功能維護您的資料 28 天,這些備份也會在配對區域中複寫,以協助從區域中斷復原。
Azure DevOps 可以在刪除後最多 28 天復原已刪除的組織或專案。
雖然 Azure DevOps 有 99.9 的 SLA,但它仍然有趴下的可能性。
又或是哪天某位同事突然中邪把 Repository 給刪了
在組織評估其資訊系統與資產所面臨的潛在風險時,就必須將這一點納入考量,尤其是資訊單位同時又擔任 RD 的角色時,程式碼版本管控伺服器的備援就相當重要。
在資訊安全風險評鑑的過程,我們就會列舉資訊系統可能遇到的風險情境與影響範圍,根據損害的等級與發生的可能性來估算風險值。
若超出可承受之風險值,組織就必須有所作為。
例如新增風險處理措施來備份 Azure DevOps Git 儲存庫,並評估殘餘風險值是否在可接受之範圍。
如何備份 Azure DevOps Git 儲存庫
以下我們將了解如何使用 YAML 檔案備份儲存庫。
包括以下步驟:
建立 Azure DevOps 個人存取權杖 (PAT)
登入您的 Azure DevOps 門戶,前往個人存取權杖。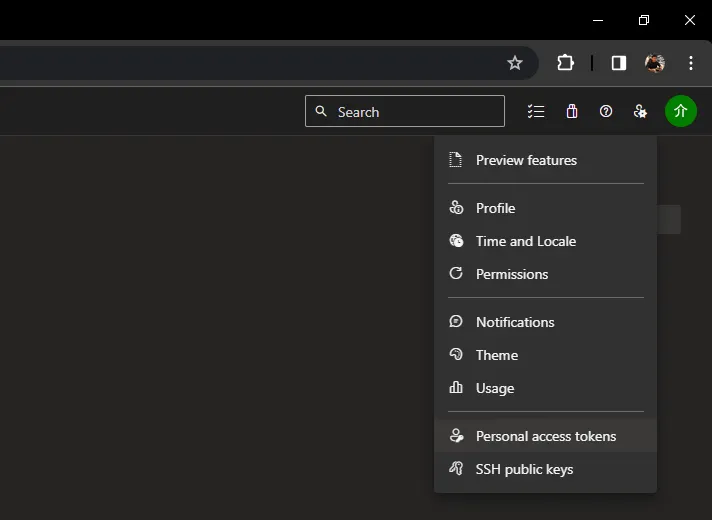
點選 New Token 建立令牌
輸入 Token 的名字,例如 Repo Backup Token。
選擇您的 Organization
範圍選擇 Custom defined,只給予該 Token 對 Code 有讀取權限
到期日可以選擇 Custom defined,最久可以設定一年。
注意:複製並保存 Token,因為您將無法再次看到它。
建立 YAML 文件
前往 Pipelines,建立 Pipeline。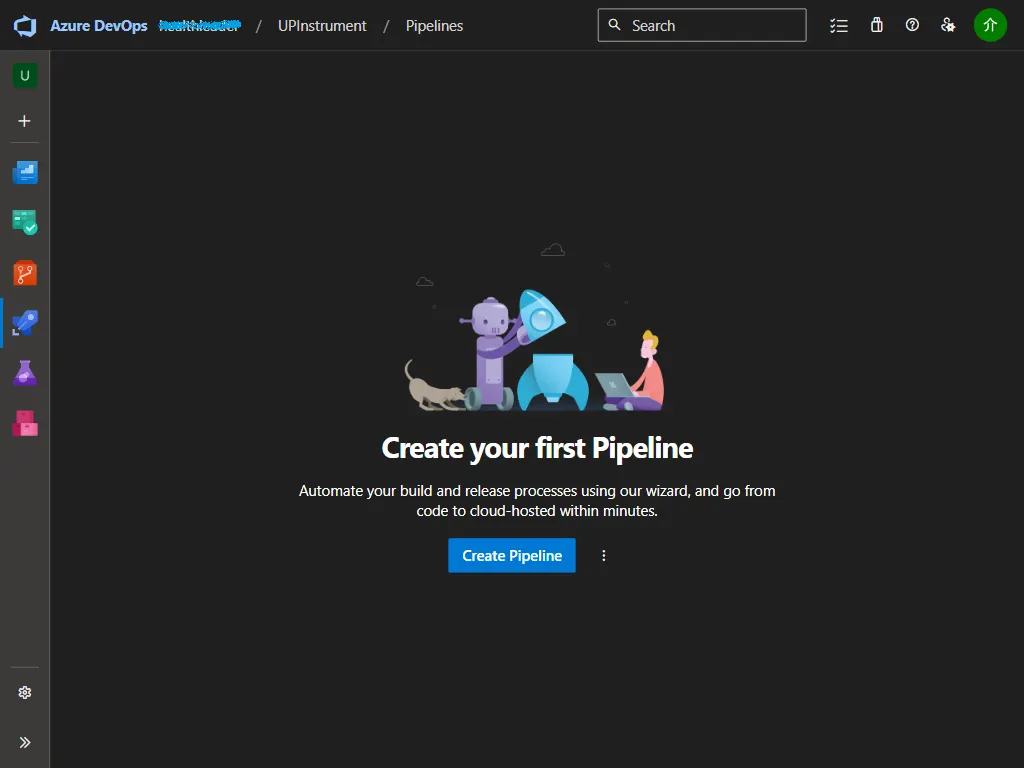
選擇 Azure Repos Git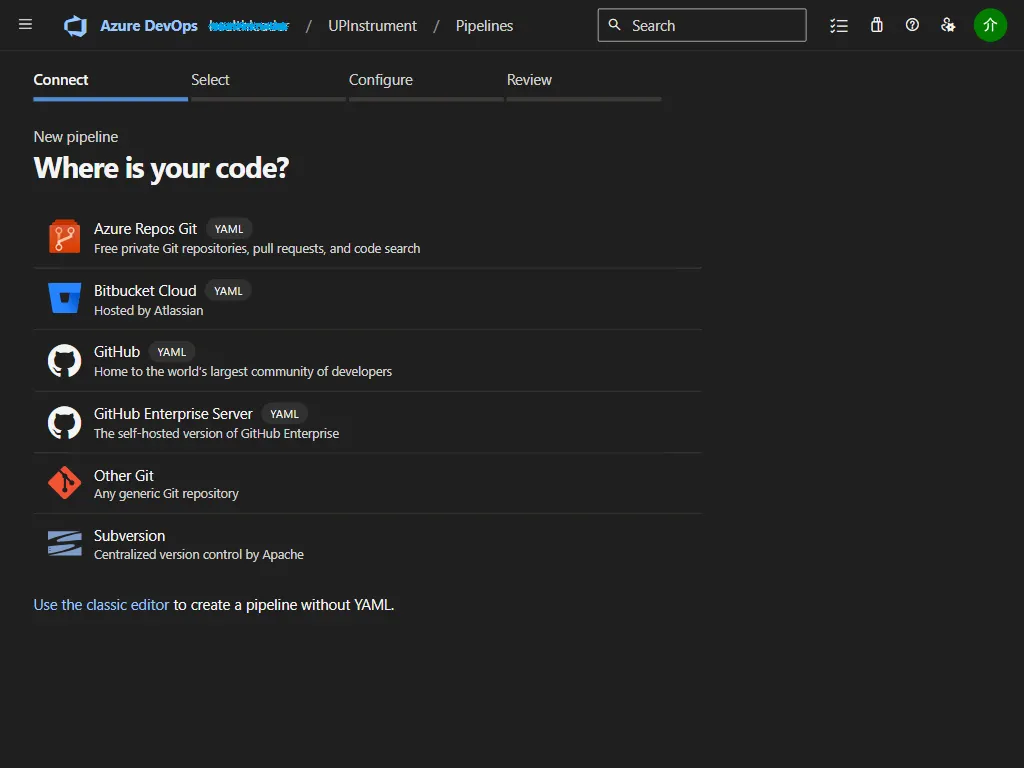
選擇您要備份的 Repository。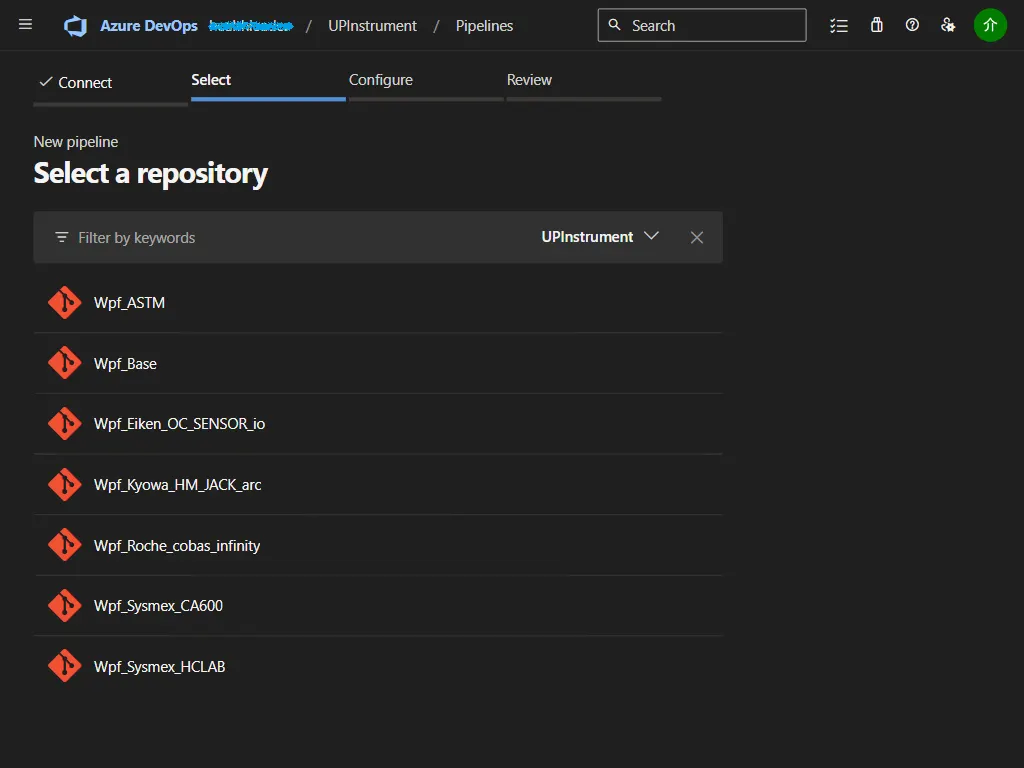
選擇 Starter pipeline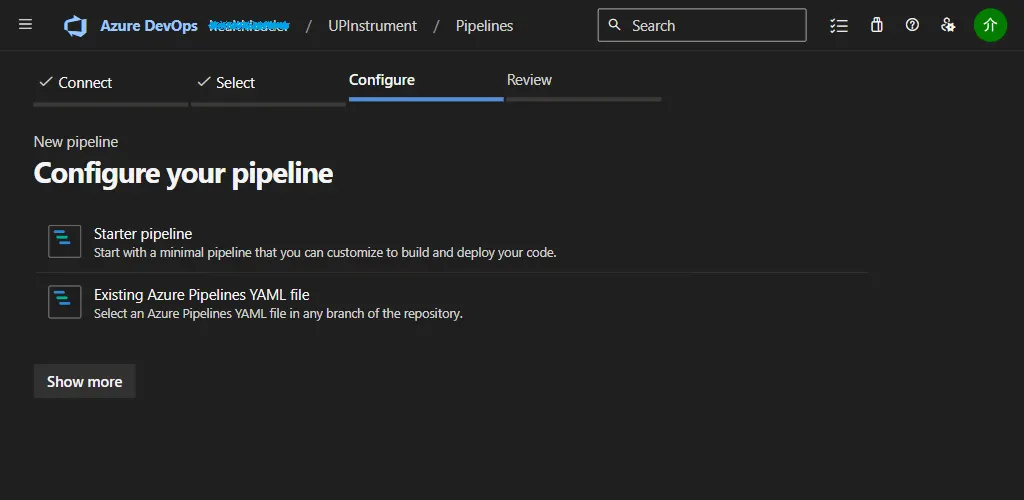
以下是您將看到的預設代碼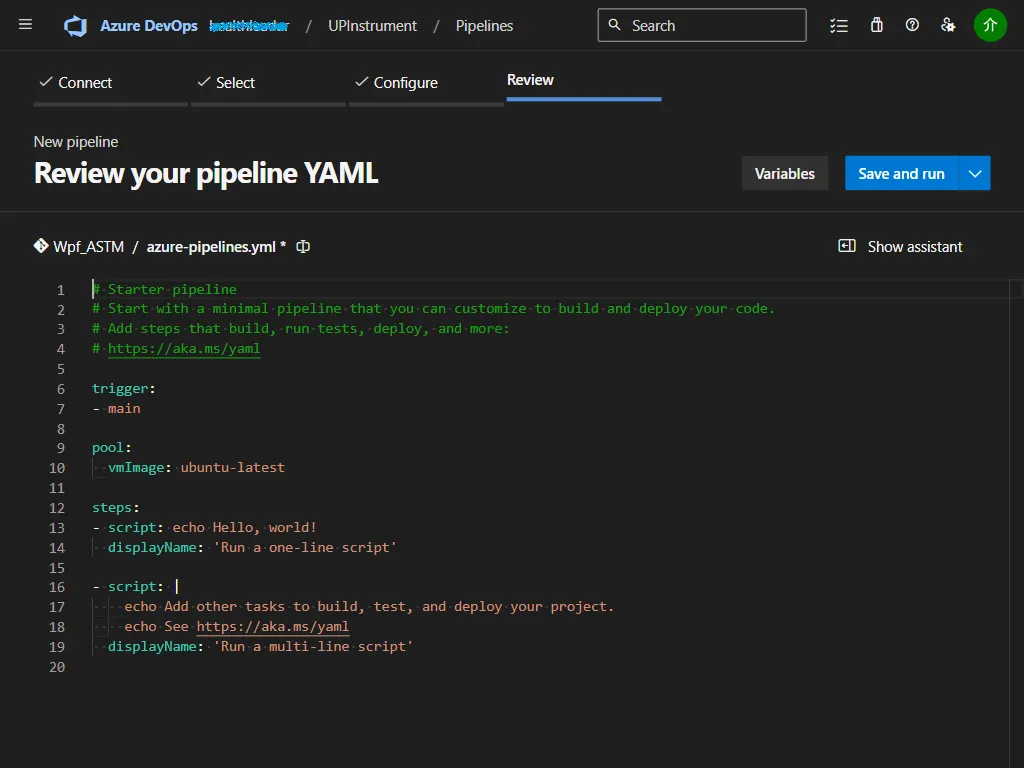
將 yaml 更新為以下程式碼
trigger:
  branches:
    include:
      - '*'
stages:
  - stage: _default
    jobs:
      - job: Job
        pool:
          vmImage: windows-latest
        steps:
          - task: CmdLine@2
            inputs:
              script: git clone --mirror https://{pat-token}@dev.azure.com/{organization}/{project}/_git/{repo}
          - task: ArchiveFiles@2
            inputs:
              rootFolderOrFile: $(System.DefaultWorkingDirectory)
              includeRootFolder: true
              archiveType: zip
              archiveFile : $(Build.ArtifactStagingDirectory)/Backup.zip
              replaceExistingArchive: true
          - task: AzureFileCopy@3
            displayName: AzureBlob File Copy
            inputs:
              SourcePath: $(Build.ArtifactStagingDirectory)/Backup.zip
              azureSubscription: '{subscription-connection}'
              Destination: 'AzureBlob'
              storage: '{storage-name}'
              ContainerName : '{container-name}'
              BlobPrefix : '{blob-name}'
Trigger:通配符 * 將監視所有分支,儲存庫中有任何變更時都會觸發管道。
CmdLine:呼叫 git clone –mirror 來建立儲存庫的副本,取得儲存庫時需要使用個人存取權杖 (PAT)。
存檔檔案:將取得上一個步驟中複製的 git 儲存庫,壓縮為 Backup.zip。
檔案複製:它將取得存檔副本並將其傳送至 Azure Blob 存儲
建立訂閱連接
前往專案設定
前往 Service Connections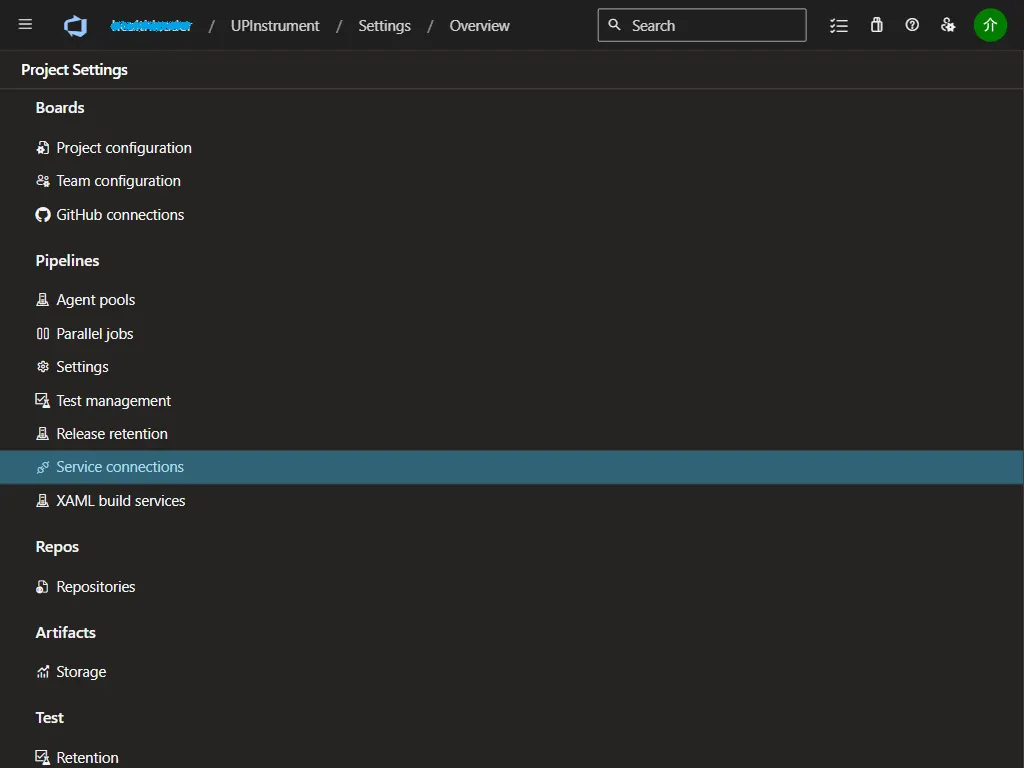
建立 Service Connection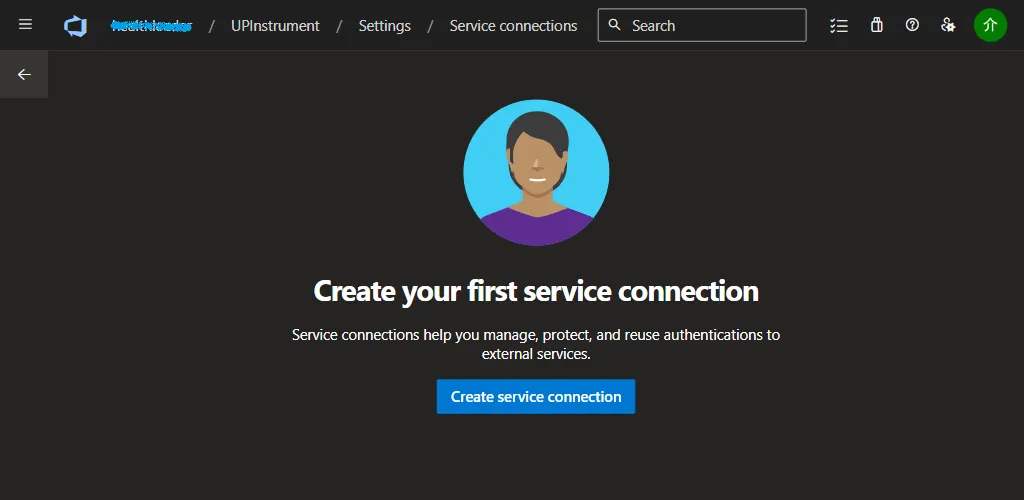
選擇 Azure Resource Manager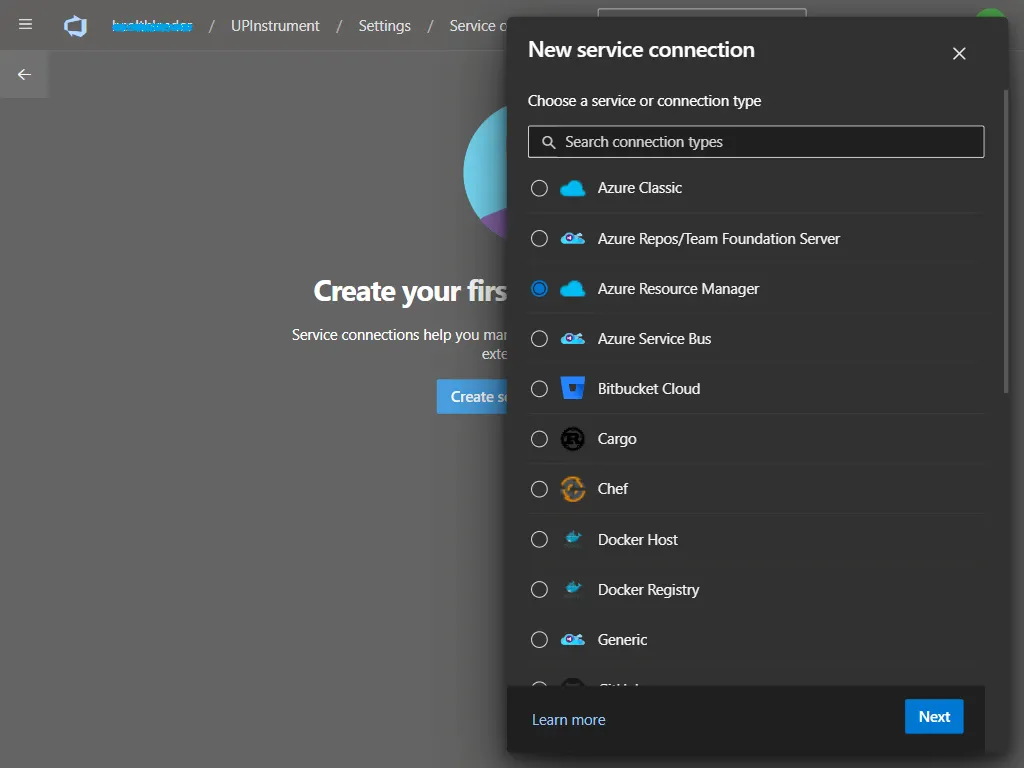
認證方式選擇 Service Principal (automatic)
選擇您擁有儲存帳戶的資源群組
輸入訂閱連接的名字,例如 repobackup。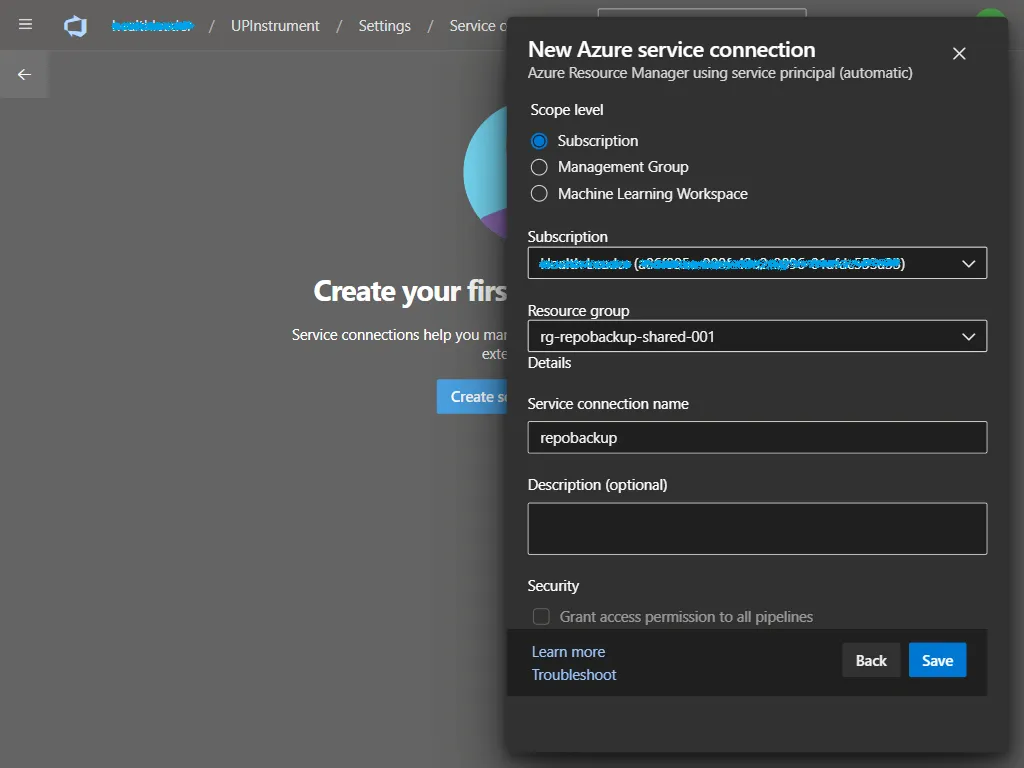
儲存後完成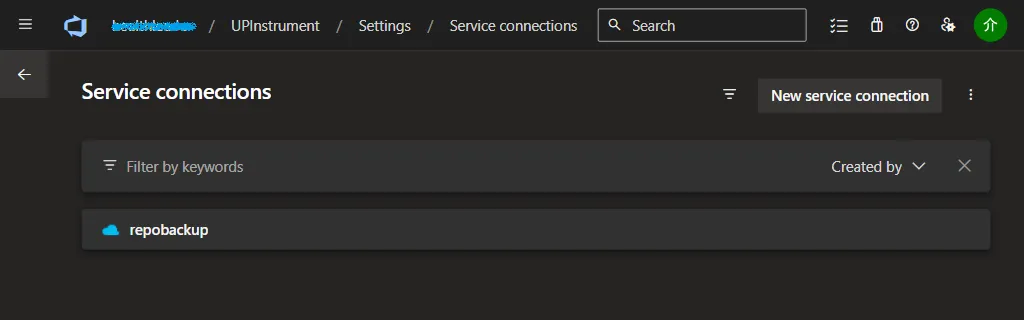
回到 YAML 文件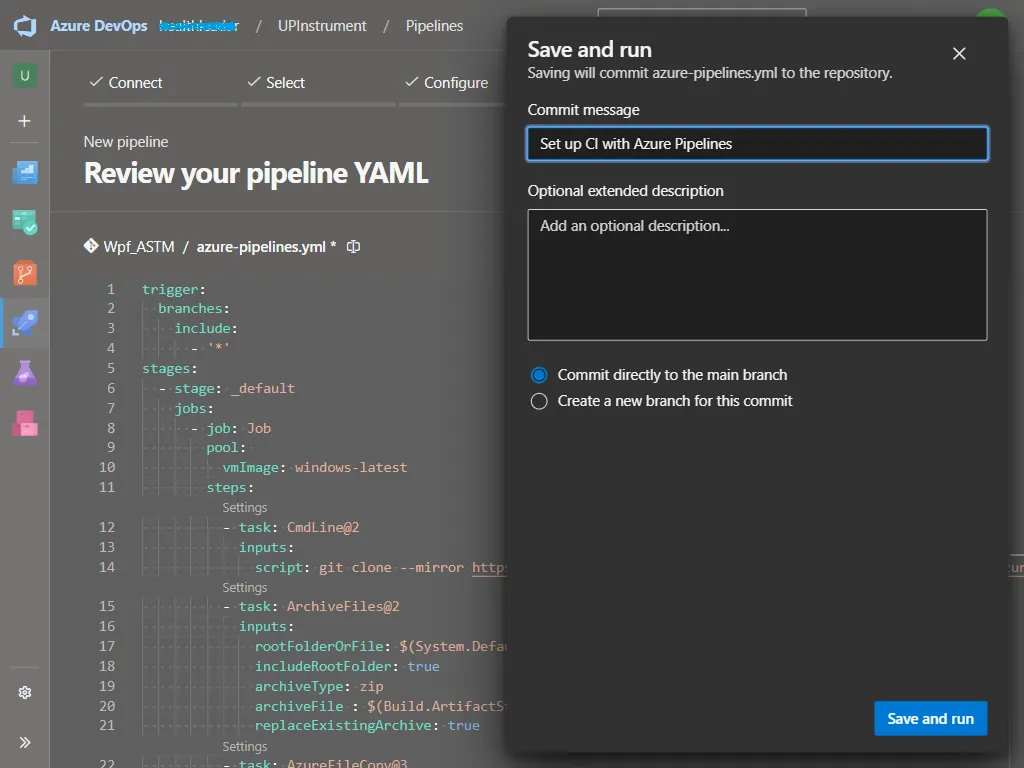
我們需要填寫以下參數
確認完成後,點選 Save and Run。
第一次執行會遇到權限請求,點選 View。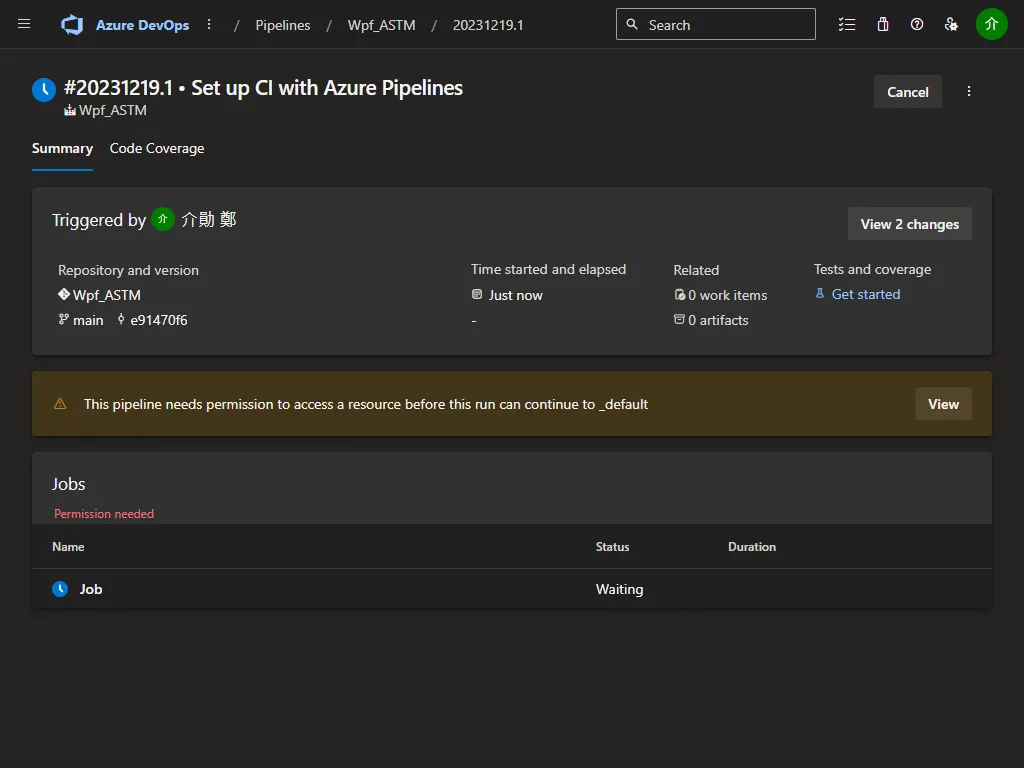
允許存取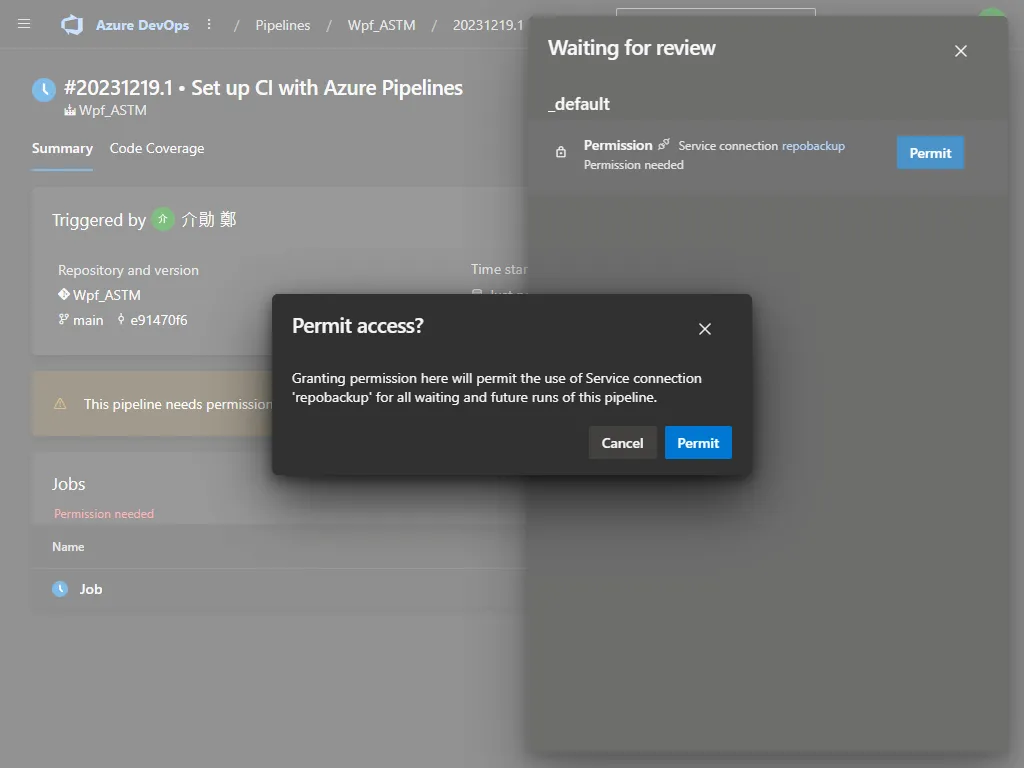
沒有意外的話,通常會執行成功。
Pipeline 也會發信通知您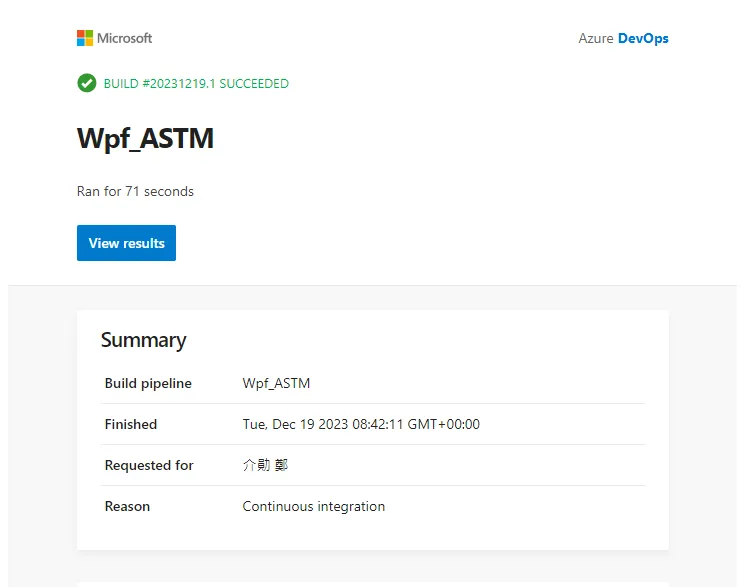
前往儲存體帳號進行驗證,資料果然產生了。
建議設定 BlobPrefix,會多一層資料夾方便我們區分備份檔案。
點進去就可以看到儲存庫的備份了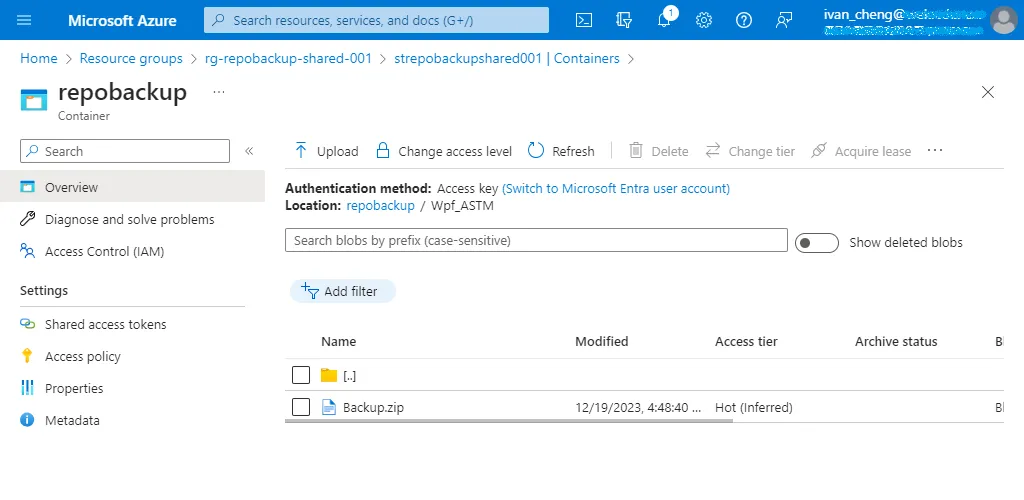
我們也可以使用變數把日期加入檔名
trigger:
  branches:
    include:
      - '*'
variables:
  backup_date: $[format('{0:yyyy}-{0:MM}-{0:dd}T{0:HH}-{0:mm}-{0:ss}', pipeline.startTime)]
stages:
  - stage: _default
    jobs:
      - job: Job
        pool:
          vmImage: windows-latest
        steps:
          - task: CmdLine@2
            inputs:
              script: git clone --mirror https://{pat-token}@dev.azure.com/{organization}/{project}/_git/{repo}
          - task: ArchiveFiles@2
            inputs:
              rootFolderOrFile: $(System.DefaultWorkingDirectory)
              includeRootFolder: true
              archiveType: zip
              archiveFile : $(Build.ArtifactStagingDirectory)/$(backup_date)_Backup.zip
              replaceExistingArchive: true
          - task: AzureFileCopy@3
            displayName: AzureBlob File Copy
            inputs:
              SourcePath: $(Build.ArtifactStagingDirectory)/$(backup_date)_Backup.zip
              azureSubscription: '{subscription-connection}'
              Destination: 'AzureBlob'
              storage: '{storage-name}'
              ContainerName : '{container-name}'
              BlobPrefix : '{blob-name}'
每次產出的備份檔案就不會被覆寫了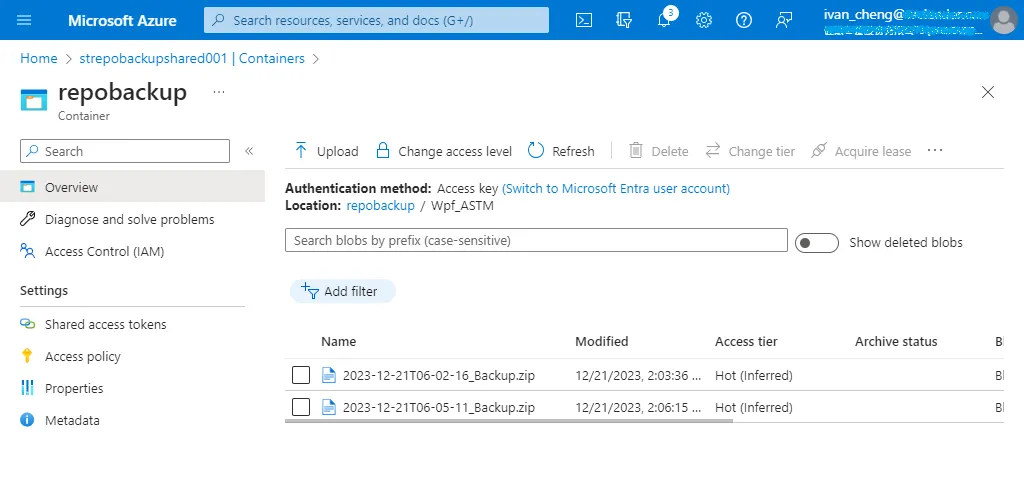
定期刪除備份
我們可以到 Stroage Account 的 Lifecycle Management,新增規則。
輸入規則名稱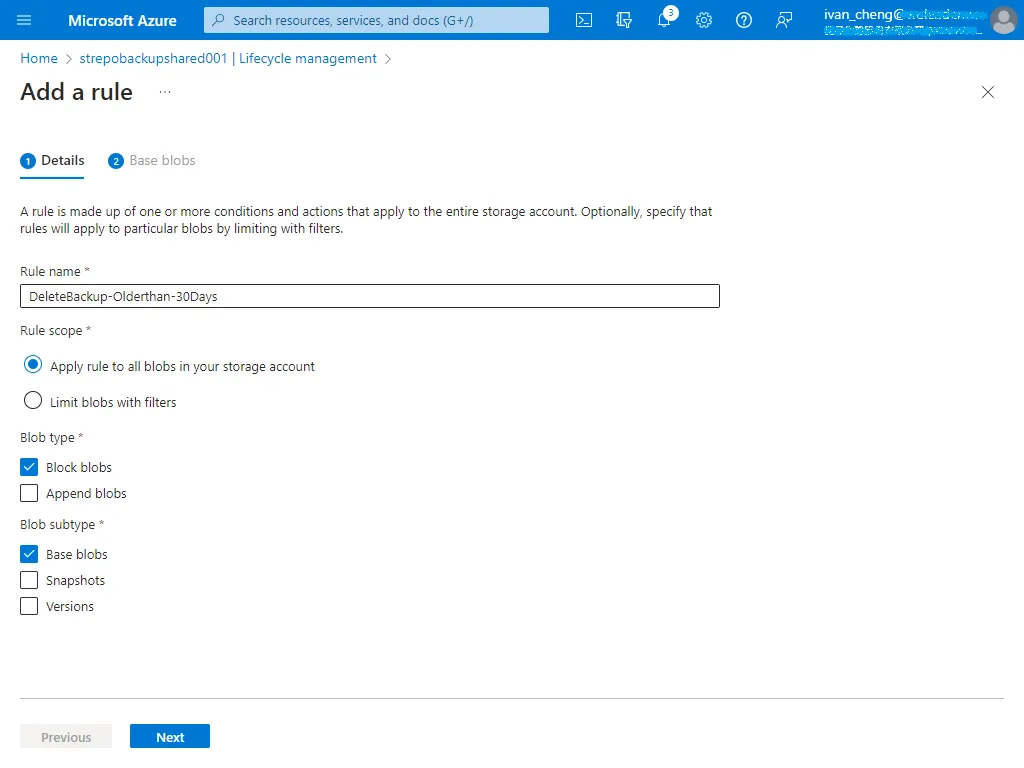
若 Blob 超過 30 天沒有修改,則進行刪除。
當然您也可以設定先搬至冷儲存在進行刪除,來節省儲存體的費用。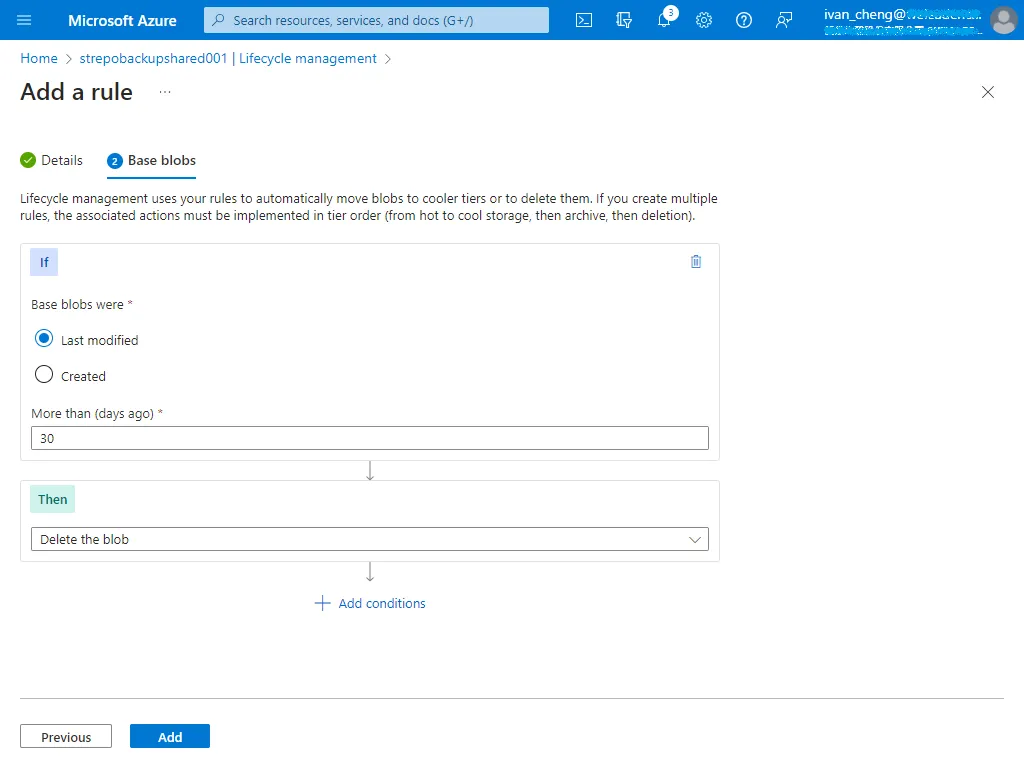
還原備份檔案
接下來我們要透過 Backup.zip 去還原 Azure DevOps 的 Repository,很多人備份都不做還原測試,等出事之後才發現備份檔根本無效,我們事情不要做半套阿。
If you don’t like your job, you don’t strike! You just go in every day and do it really half-assed. That’s the American way.
如果你不喜歡你的工作,你不主動出擊,你就每天一樣去上班,然後把事情亂做或做一半,這就是美國人的做法。
下載備份檔案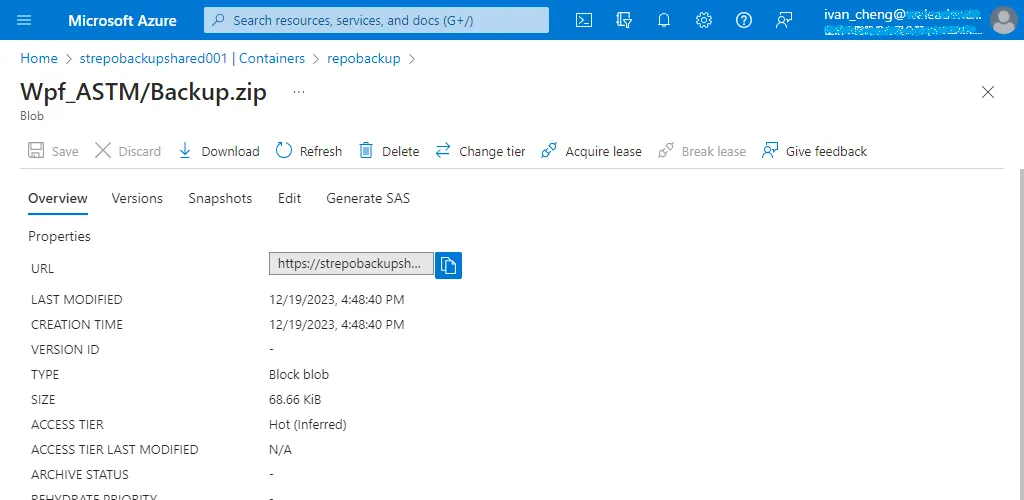
接其解壓縮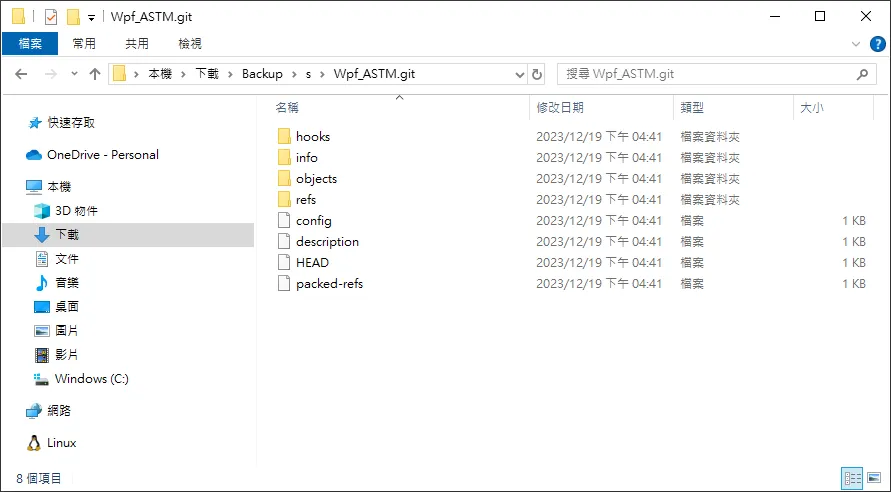
使用命令提示字元切換到該路徑底下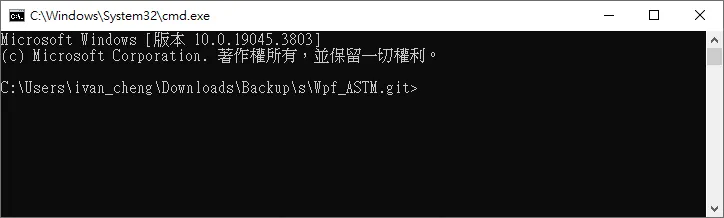
就可以透過下列指令進行還原到原本的 Repository
git push --force --mirror https://dev.azure.com/{your_organization}/{your_project}/_git/{your_repo}
發生錯誤,缺少 ForcePush 權限。
Total 0 (delta 0), reused 0 (delta 0), pack-reused 0
To https://dev.azure.com/{your_organization}/UPInstrument/_git/Wpf_ASTM
 * [new reference]   origin/main -> origin/main
 ! [remote rejected] main (TF401027: You need the Git 'ForcePush' permission to perform this action. Details: identity '61d9f138-8c41-45f6-8c24-e69e4dc9b580\ivan_cheng@domain', scope 'branch'.)
error: failed to push some refs to 'https://dev.azure.com/{your_organization}/UPInstrument/_git/Wpf_ASTM'
前往專案設定,調整自己所屬角色的權限允許 ForcePush。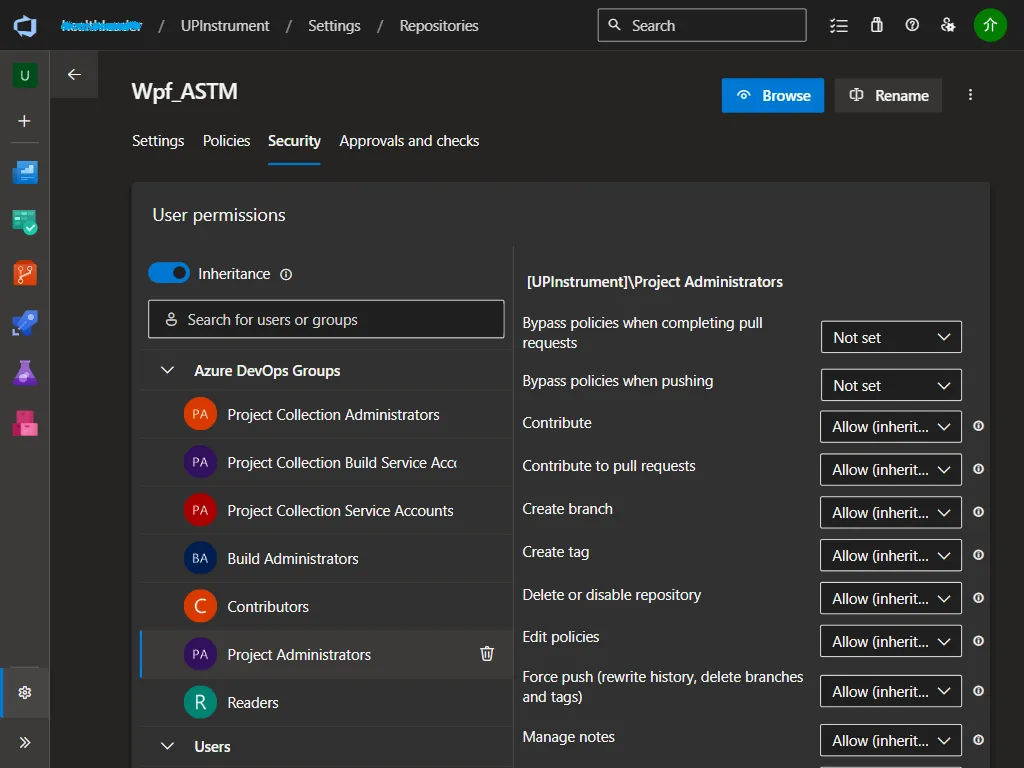
再試一次就成功了
Enumerating objects: 12, done.
Counting objects: 100% (12/12), done.
Delta compression using up to 8 threads
Compressing objects: 100% (12/12), done.
Writing objects: 100% (12/12), 9.00 KiB | 4.50 MiB/s, done.
Total 12 (delta 1), reused 0 (delta 0), pack-reused 0
remote: Analyzing objects... (12/12) (7 ms)
remote: Validating commits... (2/2) done (0 ms)
remote: Storing packfile... done (50 ms)
remote: Storing index... done (66 ms)
To https://dev.azure.com/{your_organization}/UPInstrument/_git/Wpf_ASTM
 - [deleted]         origin/dd11a2ae47a38e348d72515e83759e37436c97a1
 - [deleted]         origin/main
 * [new branch]      ivan -> ivan
 * [new branch]      main -> main
 * [new branch]      master -> master
也可以還原到新的 Repository,建立一個新的叫 Wpf_ASTM_Restore
Enumerating objects: 38, done.
Counting objects: 100% (38/38), done.
Delta compression using up to 8 threads
Compressing objects: 100% (37/37), done.
Writing objects: 100% (38/38), 12.73 KiB | 2.54 MiB/s, done.
Total 38 (delta 9), reused 0 (delta 0), pack-reused 0
remote: Analyzing objects... (38/38) (7 ms)
remote: Validating commits... (12/12) done (0 ms)
remote: Storing packfile... done (49 ms)
remote: Storing index... done (50 ms)
To https://dev.azure.com/{your_organization}/UPInstrument/_git/Wpf_ASTM_Restore
 + 80e8be0...dd11a2a main -> main (forced update)
 * [new branch]      ivan -> ivan
 * [new branch]      master -> master
回到 Repository 檢查,程式碼都順利回來囉。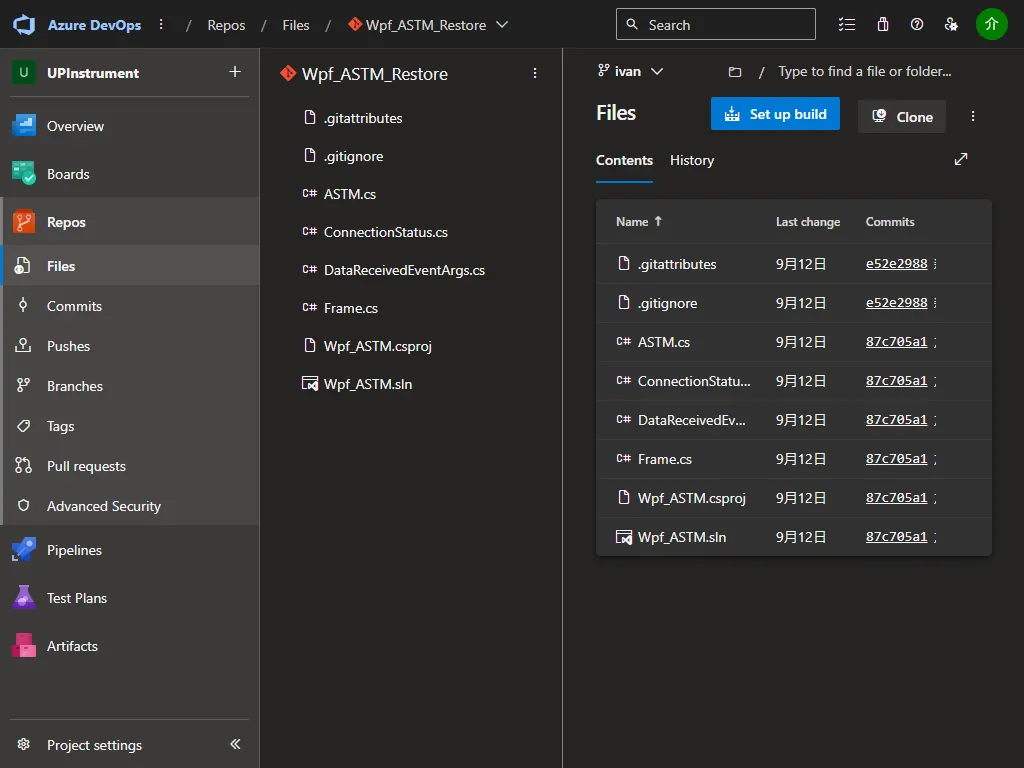
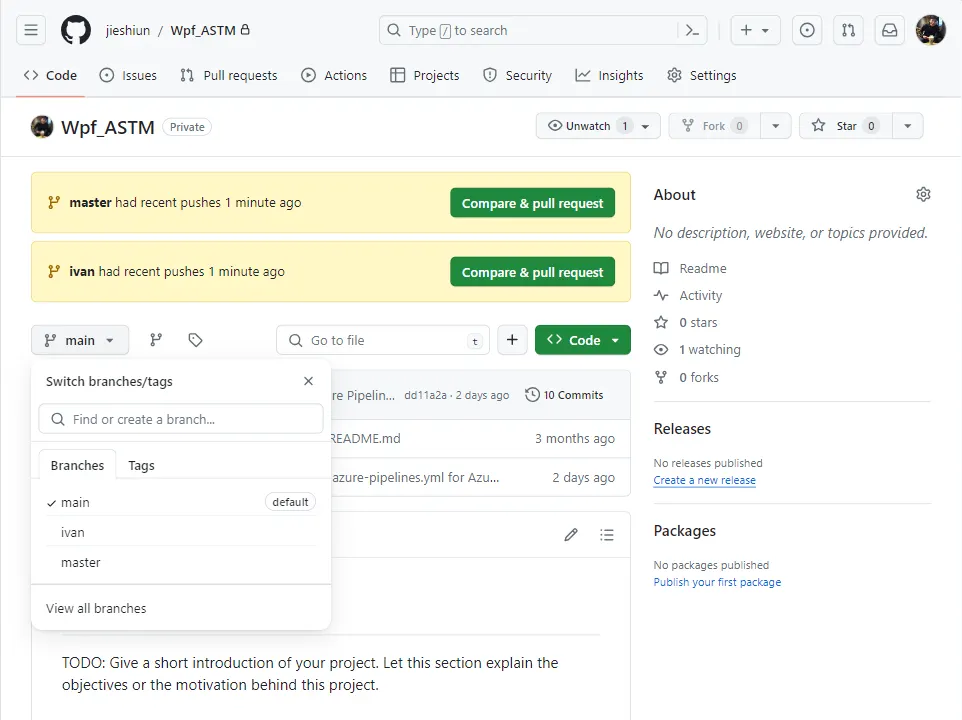
還原到 GitHub 也是沒問題
git push --force --mirror https://github.com/jieshiun/Wpf_ASTM.git
Enumerating objects: 38, done.
Counting objects: 100% (38/38), done.
Delta compression using up to 8 threads
Compressing objects: 100% (37/37), done.
Writing objects: 100% (38/38), 12.57 KiB | 559.00 KiB/s, done.
Total 38 (delta 9), reused 0 (delta 0), pack-reused 0
remote: Resolving deltas: 100% (9/9), done.
To https://github.com/jieshiun/Wpf_ASTM.git
 * [new branch]      ivan -> ivan
 * [new branch]      main -> main
 * [new branch]      master -> master
今天的分享就到這邊,謝謝大家。
參考文件
 Ivan Cheng
