前言:
List可以製作出具有可以滑動的列表排版,這個單元將會使用子View的概念,然後結合資料結構,來呈現List。
先製作一個基本的View,例如:
struct SwiftUIView7: View {
    var body: some View {
        CellView()
    }
}

struct CellView: View {
    var body: some View {
        HStack() {
            Text("Title")
                .font(.title)
                .foregroundStyle(.green)

            Spacer()

            Text("Description")
                .font(.subheadline)
        }
        .padding()
    }
}
這個基本的View,使用水平排版分別在左右兩邊使用Text元件。
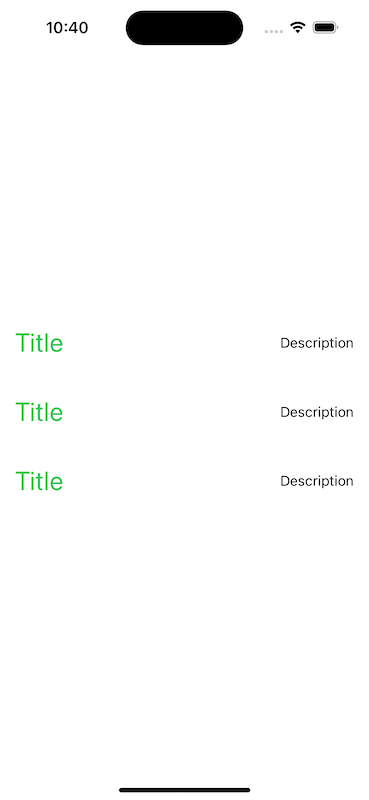
如果將這個子View直接引用三次,會自動使用垂直排版排列出來:
CellView()
CellView()
CellView()
呈現如圖:

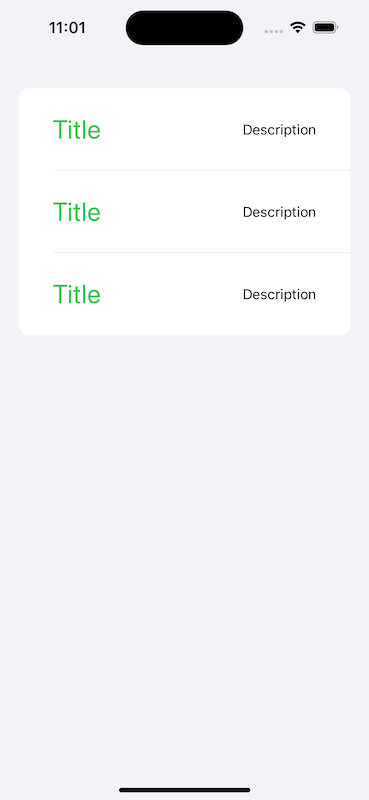
如果要使用List元件來列表呈現,將這三個子View放到List內,例如:
List {
    CellView()
    CellView()
    CellView()
}
呈現如圖:

但因為這些都是固定格式,也就是這三個子View的內容一模一樣,如果要使用動態資料來呈現List,就必須要使用陣列與List一起使用,所以先宣告一個結構:
struct Person {
    var id: Int
    var name: String
    var email: String
}
這個結構內部宣告了三個變數,分別是id、name與email。
然後宣告一個結構陣列,根據這個結構所宣告好的變數,來分別填入初始化的內容:
let persons: [Person] = [Person(id: 1, name: "Jake", email: "jake@mail"),
                         Person(id: 2, name: "Allan", email: "allan@mail"),
                         Person(id: 3, name: "Eason", email: "eason@mail")]
所以List就可以根據這個結構陣列來將內容呈現出來,將List帶入這個persons陣列:
List(persons, id: \.id) { person in
    CellView()
}
將陣列帶入到List時,必須要指定可識別的id,所以這裡就直接帶入結構陣列的id。
然後將原本的子View修改可以從外部帶入參數進來:
struct CellView: View {

    let name: String
    let email: String

    var body: some View {
        HStack() {
            Text(name)
                .font(.title)
                .foregroundStyle(.green)

            Spacer()

            Text(email)
                .font(.subheadline)
        }
        .padding()
    }
}
使用let宣告兩個變數,分別為name與email,然後帶入到Text內。
所以在呼叫子View時,就必須要進行初始化name與email兩個變數,直接帶入結構陣列的name與email:
List(persons, id: \.id) { person in
    CellView(name: person.name, email: person.email)
}
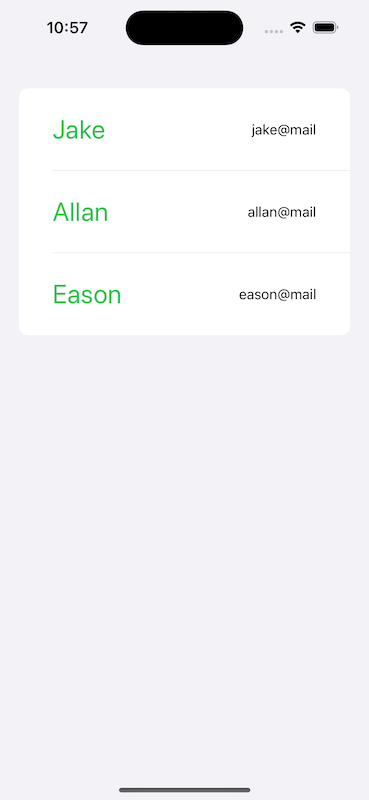
最後呈現效果如圖:

從 SwiftUI 到 Apple Vision Pro - SwiftUI 從零開始 Day7 [完]
