文章同步更新在 CodeFictionist
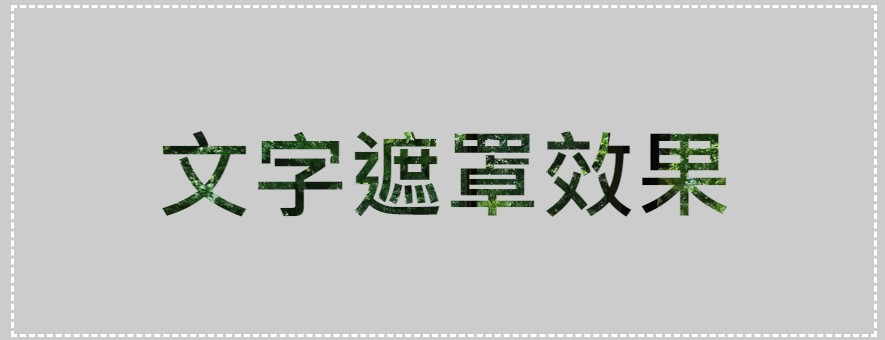
今天再回到文字的背景,我們在 Day 10 介紹過圖片的遮罩效果,今天來看看文字的遮罩效果。
在文字上做遮罩其實比對圖片來說簡單很多,只要透過 background 和 background-clip 就可以輕鬆達成。
(如果你記得的話,圖片遮罩還得靠屬性 mask 來達成)
先直接來看 code:
<div class="mask-text">文字遮罩效果</div>
.mask-text {
 background: url("https://i.postimg.cc/bJs0ZYPS/DSC-1027.jpg") no-repeat top center;
 background-clip: text;
 color: transparent;
}

其實這裡的原理很簡單,就是透過 background-clip 將背景設定在文字上,這裡記得將文字的顏色設定為透明,這樣背景才能顯示出來。
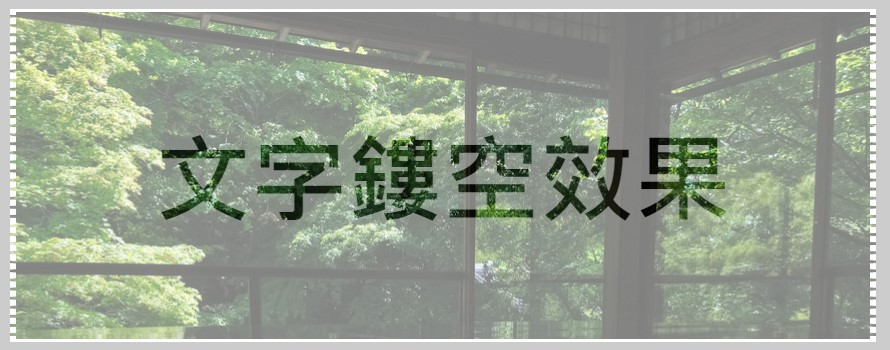
使用 background + background-clip 也可以做出文字鏤空的效果,什麼叫文字的鏤空效果呢?我們看一下成果:

細細觀察這個效果,就是在一層圖片上疊上一層半透明白色薄罩,然後在疊上文字,呈現一種文字鏤空的效果。
實際上在寫 code 也是按照這順序來:
<div class="hollow-text">
 <div class="white-bg">
  <div class="text">
   文字鏤空效果
  </div>
 </div>
</div>
.hollow-text {
 background: url("https://i.postimg.cc/bJs0ZYPS/DSC-1027.jpg") no-repeat top center;
}

.white-bg {
 background: rgba(255, 255, 255, 0.5);
}

.text {
 background: url("https://i.postimg.cc/bJs0ZYPS/DSC-1027.jpg") no-repeat top center;
 color: transparent;
 background-clip: text;
}
.hollow-text 設定背景圖片。.white-bg 設定一層半透明白色背景。.text 設定文字的背景圖片,並將文字顏色設定為透明,這樣背景才能顯示出來。其實說白了,鏤空就只是把具遮罩效果的文字再套上一層背景而已。只是因為套用背景一致,所以看起來像是透過去的感覺。
