為了讓兩個範例程式碼都能在 Xcode 中預覽,我們需要為每個範例分別加入 PreviewProvider。這樣做可以幫助我們在開發過程中即時查看介面效果。以下是兩個範例分別加入預覽的完整程式碼:
Formimport SwiftUI
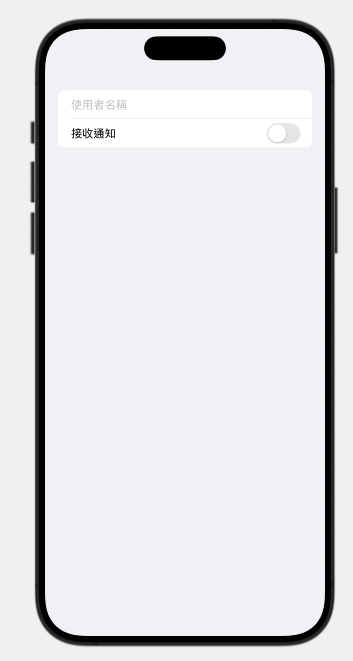
struct ContentView: View {
@State private var username: String = ""
@State private var notificationsEnabled: Bool = false
var body: some View {
Form {
TextField("使用者名稱", text: $username)
Toggle("接收通知", isOn: $notificationsEnabled)
}
}
}
struct ContentView_Previews: PreviewProvider {
static var previews: some View {
ContentView()
}
}
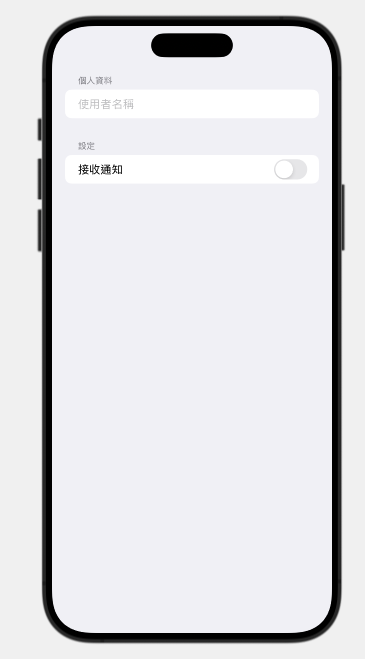
Section 分組import SwiftUI
struct SectionedFormView: View {
@State private var username: String = ""
@State private var notificationsEnabled: Bool = false
var body: some View {
Form {
Section(header: Text("個人資料")) {
TextField("使用者名稱", text: $username)
}
Section(header: Text("設定")) {
Toggle("接收通知", isOn: $notificationsEnabled)
}
}
}
}
struct SectionedFormView_Previews: PreviewProvider {
static var previews: some View {
SectionedFormView()
}
}