
在現代網路應用程式開發中,跨來源資源共用 (Cross-Origin Resource Sharing,簡稱 CORS)是一個常見且重要的概念
今天,我們就來聊聊 CORS 在 Spring Boot 中的應用,讓你的 API 能夠自由地跨網域通信
技術上來說,CORS 是一種安全機制,允許網頁從不同來源 (不同網域) 的伺服器請求資源
沒有 CORS,瀏覽器會阻止這些跨不同來源請求,以防止潛在的安全威脅
安全性:CORS 讓你能夠控制哪些網域可以存取你的 API,有效防止未經授權的存取靈活性:它允許你的 API 被不同網域的前端應用程式使用,增加了 API 的通用性
合規性:許多現代網路應用架構(如微服務)需要跨網域通信,CORS 使這成為可能關於 CORS 相關參數的深入解釋,請參考文末的參考連結,這裡不會深入的探討
Spring Boot 提供了多種方式來配置 CORS,我們將介紹最常用的兩種方法
這是最簡單的方法,適合需要對特定控制器或方法啟用 CORS 的情況
直接把註解加到控制器或方法上就好,然後指定相關的網域
在這個例子中,我們允許來自 http://example.com 的請求存取 /hello 端點
@RestController
public class HelloController {

    @CrossOrigin(origins = "http://example.com")
    @GetMapping("/hello")
    public String hello() {
        return "Hello, Cross-Origin World!";
    }
}
如果你想為整個應用程式配置 CORS,可以使用全局配置
@Configuration
public class CorsConfig {

    @Bean
    public WebMvcConfigurer corsConfigurer() {
        return new WebMvcConfigurer() {
            @Override
            public void addCorsMappings(CorsRegistry registry) {
                registry.addMapping("/**")
                        .allowedOrigins("http://example.com")
                        .allowedMethods("GET", "POST", "PUT", "DELETE")
                        .allowedHeaders("*")
                        .allowCredentials(true)
                        .maxAge(3600);
            }
        };
    }
}
讓我們來解釋一下 CORS 的相關參數
addMapping(String pathPattern)
/** 表示應用到所有路徑/api/** 只應用到以 /api 開頭的路徑allowedOrigins(String... origins)
http://example.com 只允許來自 example.com 的請求* 允許所有來源(不建議在生產環境中使用)allowedMethods(String... methods)
GET, POST, PUT, DELETE 允許這四種 HTTP 方法allowedHeaders(String... headers)
* 允許所有標頭Content-Type, Authorization 只允許這兩個特定標頭exposedHeaders(String... headers)
Authorization 允許客戶端讀取回應中的 Authorization 標頭allowCredentials(boolean allowCredentials)
true 允許發送認證資訊maxAge(long maxAge)
快取 多長時間(以秒為單位)3600 表示預檢請求的結果可以被快取一小時要在本機測試 CORS 功能,我們需要兩個部分:一個簡單的前端頁面和一個 Spring Boot 後端
讓我們一步步來設置和測試
我們使用之前的全局配置方法來設定 CORS,但稍作修改以允許本地測試
@Configuration
public class CorsConfig {

    @Bean
    public WebMvcConfigurer corsConfigurer() {
        return new WebMvcConfigurer() {
            @Override
            public void addCorsMappings(CorsRegistry registry) {
                registry.addMapping("/**")
                        .allowedOrigins("http://localhost:5500") // 允許來自 local 伺服器的請求
                        .allowedMethods("GET", "POST", "PUT", "DELETE")
                        .allowedHeaders("*")
                        .allowCredentials(true);
            }
        };
    }
}
在一開始的 HelloController 增加一個 API 端點
@RestController
public class HelloController {

    @GetMapping("/api/hello")
    public String hello() {
        return "Hello from Spring Boot!";
    }
}
啟動你的 Spring Boot 應用程式,它應該會運行在 http://localhost:8080
建立一個簡單的 HTML 文件,命名為 index.html
<!DOCTYPE html>
<html lang="en">
<head>
    <meta charset="UTF-8">
    <meta name="viewport" content="width=device-width, initial-scale=1.0">
    <title>CORS Test</title>
</head>
<body>
    <h1>CORS Test</h1>
    <button onclick="testCORS()">Test API Call</button>
    <p id="result"></p>

    <script>
        function testCORS() {
            fetch('http://localhost:8080/api/hello')
                .then(response => response.text())
                .then(data => {
                    document.getElementById('result').textContent = data;
                })
                .catch(error => {
                    document.getElementById('result').textContent = 'Error: ' + error;
                });
        }
    </script>
</body>
</html>
測試檔案會一併放在版控裡面
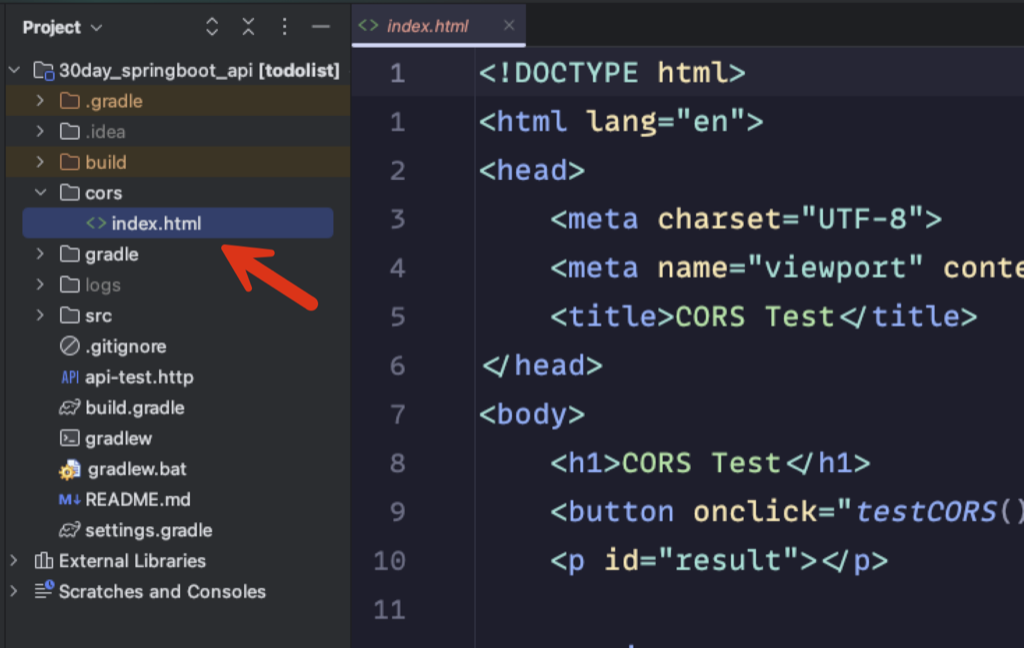
http://localhost:5500 運行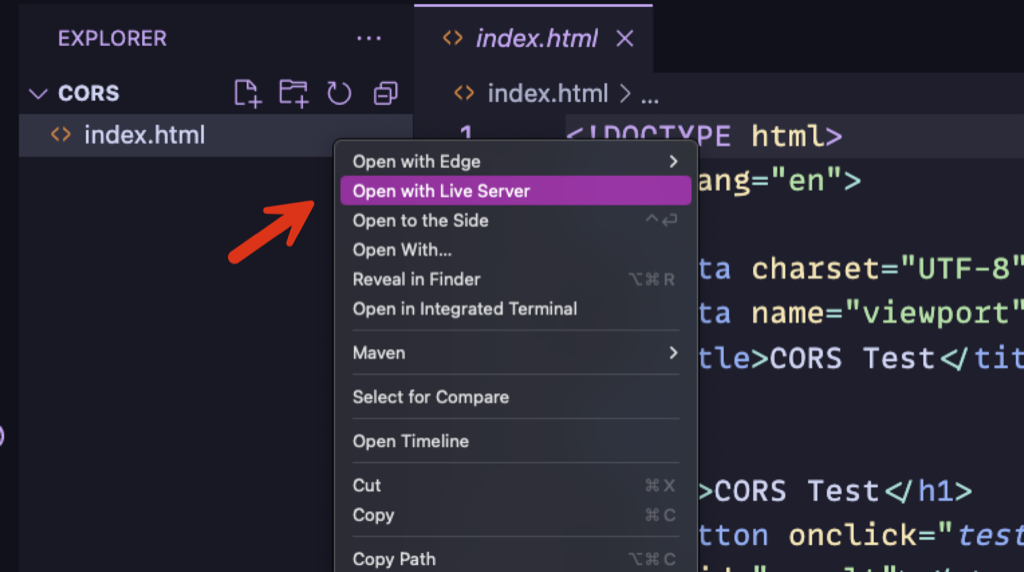
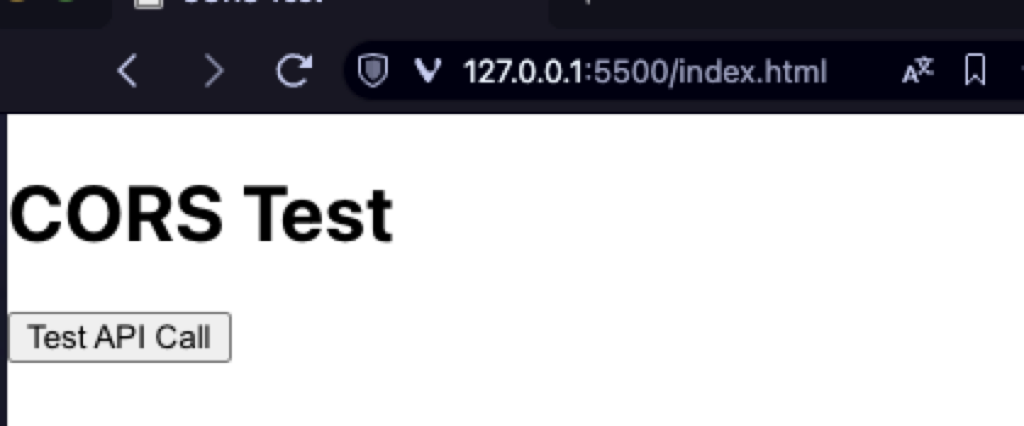
Test API Call 按鈕控制台中看到一個錯誤
localhost ,需要把它換成 127.0.0.1 或是再多一組設定
Hello from Spring Boot! 顯示在頁面上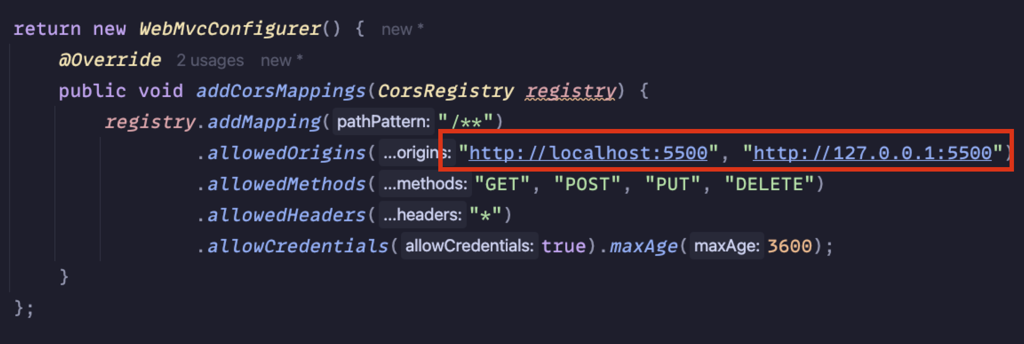
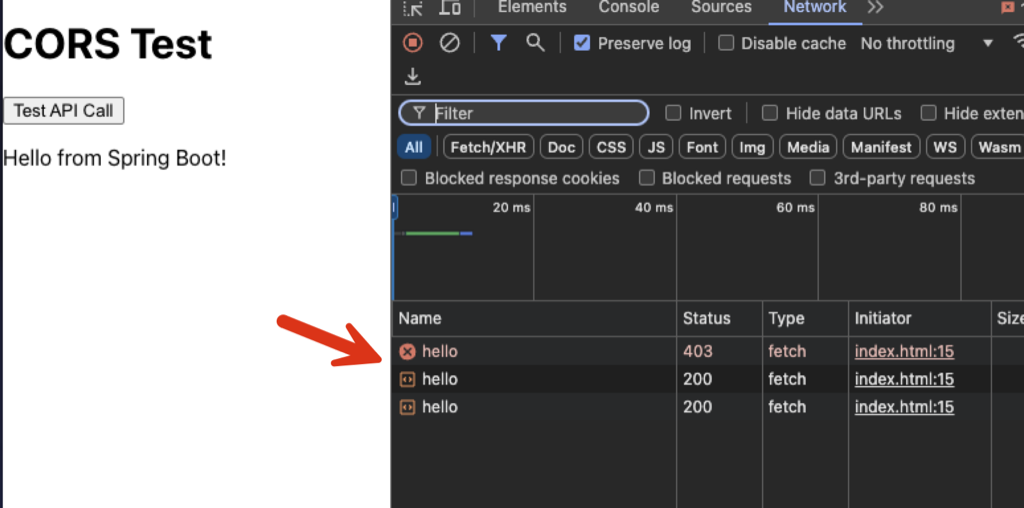
通過這個簡單的測試,你可以直觀地看到 CORS 的作用
CORS 在現代網路應用開發中扮演著重要角色,它既保障了安全性,又提供了必要的靈活性
通過 Spring Boot 的簡單配置,你可以輕鬆地實現 CORS,讓你的 API 能夠安全地與不同網域的應用程式進行通信
記住,雖然 CORS 很有用,但也要謹慎使用,只允許必要的來源和方法,以確保你的 API 安全性
我的粉絲專頁
圖片來源:AI 產生
