昨天已經介紹過為什麼要使用Proxy了,今天就直接實作。
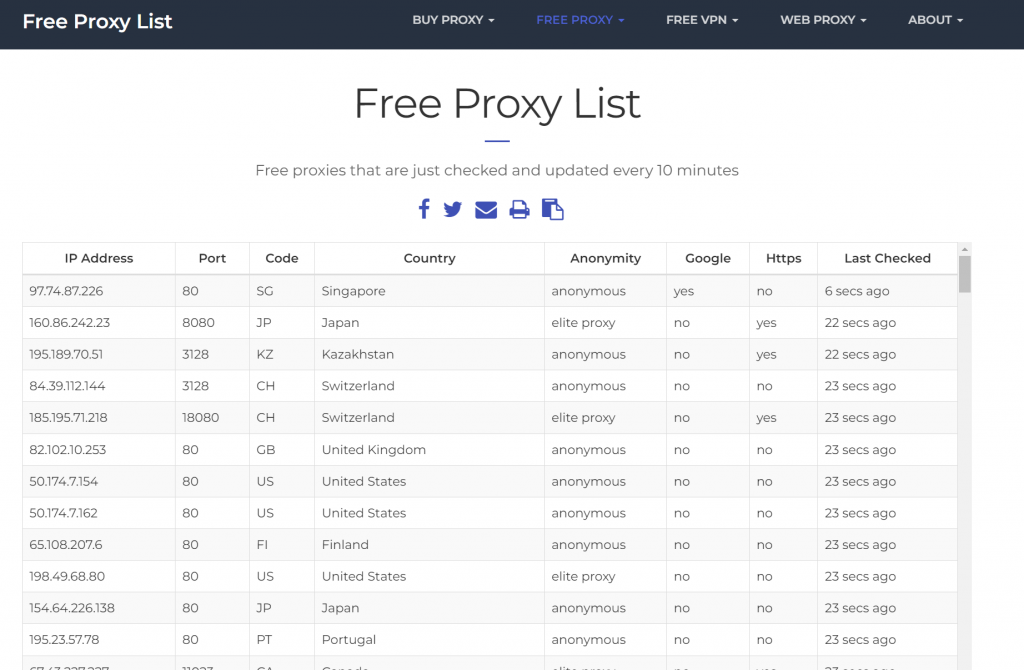
要將下圖中的ip、port存下來使用
右鍵=>檢視原始碼 就可以看到相關資訊了,所以是靜態網頁,直接用Jsop就好了。
取得Dom物件後,將Table裡的資料取出即可。
@Entity
@Data
public class Proxy {
    @Id
    @GeneratedValue(strategy = GenerationType.AUTO)
    private Long id;
    private String ip;
    private int port;

    public Proxy(String ip, int port) {
        this.ip = ip;
        this.port = port;
        this.active = true;
    }
}
public interface ProxyRepository extends JpaRepository<Proxy, Long> {
}
public interface ProxyCrawlerService {
    List<Proxy> getProxies() throws IOException;
}
主要的邏輯都在這邊了,簡單說明一下要做甚麼。
@Override
    public List<Proxy> getProxies() throws IOException {
        String url = "https://www.free-proxy-list.net/";

        List<Proxy> proxies = new ArrayList<>();
        Document doc = Jsoup.connect(url).get();
        // 找到代理表格的 tbody 部分
        Element tableBody = doc.select("table.table tbody").first();

        if (tableBody != null) {

            // 取得表格中的每一行
            Elements rows = tableBody.select("tr");
            // 遍歷每一行,並擷取數據
            for (Element row : rows) {
                Elements cells = row.select("td");

                // 如果列數符合表格的預期
                if (cells.size() >= 8) {
                    String ipAddress = cells.get(0).text();
                    String port = cells.get(1).text();
                    String country = cells.get(3).text();
                    String anonymity = cells.get(4).text();
                    String google = cells.get(5).text();
                    String https = cells.get(6).text();
                    String lastChecked = cells.get(7).text();
                    if ("yes".equals(google) || "yes".equals(https))
                        proxies.add(new Proxy(ipAddress, Integer.parseInt(port)));

                }
            }
        } else {
            System.out.println("表格找不到!");
        }

        log.info("web say google ok or https ok proxy count is :{}", proxies.size());
        List<Proxy> collect = proxies.parallelStream().filter(pro -> isProxyValid(pro.getIp(), pro.getPort()))
                .collect(Collectors.toList());

        log.info("ok proxy count is :{}", collect.size());
        return collect;
    }

    public boolean isProxyValid(String ip, int port) {
        try {
            java.net.Proxy proxy = new java.net.Proxy(java.net.Proxy.Type.HTTP, new InetSocketAddress(ip, port));
            URL url = new URL("https://rent.591.com.tw/list");
            HttpURLConnection connection = (HttpURLConnection) url.openConnection(proxy);
            connection.setConnectTimeout(5000); // 5 seconds timeout
            connection.connect();

            boolean b = connection.getResponseCode() == 200;
            log.info("isProxyValid:{}", b ? "OK" : "Fail");
            log.info("ip:{}:{}", ip, String.valueOf(port));

            return b;
        } catch (IOException e) {

            log.info("isProxyValid:{}", "timeout");
            return false;
        }
    }
新預計8小時更新一次Proxy
proxy.update.schedule=0 0 0/8 * * ?
總之就是時間到了,就去爬取免費Proxy,然後存到DB中。
@Service
public class UpdateProxyScheduler {

    @Autowired
    ProxyCrawlerService proxyCrawlerService;

    @Autowired
    ProxyRepository proxyRepository;

    @PostConstruct
    public void runOnceAtStartup() {
        updateProxySchedule();
    }

    @Scheduled(cron = "${proxy.update.schedule}")
    public void scheduledCrawl() throws Exception {
        updateProxySchedule();
    }

    private void updateProxySchedule() {
        List<Proxy> proxies = Collections.emptyList();
        try {
            proxies = proxyCrawlerService.getProxies();
        } catch (IOException e) {
            e.printStackTrace();
        }
        proxyRepository.saveAll(proxies);
    }

}
先使用ProxyRepository
@Autowired
private ProxyRepository proxyRepository;
調整方法=>getJsoupDoc,之前是Jsop直接訪問591,現在使用Jsop的proxy方法,指定使用資料庫中的隨機proxy。
並且失敗的話,回從新再執行一次該方法。 (應該要設個失敗上限次數,偷懶沒寫)
private Document getJsoupDoc(String urlString) {

    List<Proxy> proxies = proxyRepository.findAll();
    Proxy randomProxy = proxies.get(new Random().nextInt(proxies.size()));

    log.info("use proxy ip:{}:{}", randomProxy.getIp(), String.valueOf(randomProxy.getPort()));

    Connection connection = Jsoup.connect(urlString)
            .proxy(randomProxy.getIp(), randomProxy.getPort())
            .timeout(10000);

    // Add headers or user-agent if needed
    Document doc = null;
    try {
        doc = connection.get();
        log.info("use proxy ip:{}:{} => OK", randomProxy.getIp(), String.valueOf(randomProxy.getPort()));
        return doc;
    } catch (IOException e) {
        log.error("proxy連線異常,message:{}", e);
        return getJsoupDoc(urlString);
    }

}
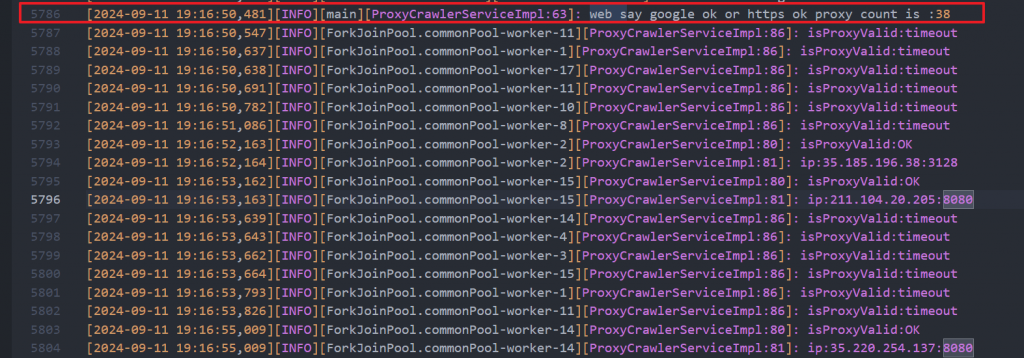
FreeProxyList提供了300個免費Proxy,我只使用可以連上google或https的,共38個。
結果只有3個,傻眼。 (最慘的時候只有一個能用
成功使用proxy取得591資料
https://github.com/a951753sxd/rental-crawler
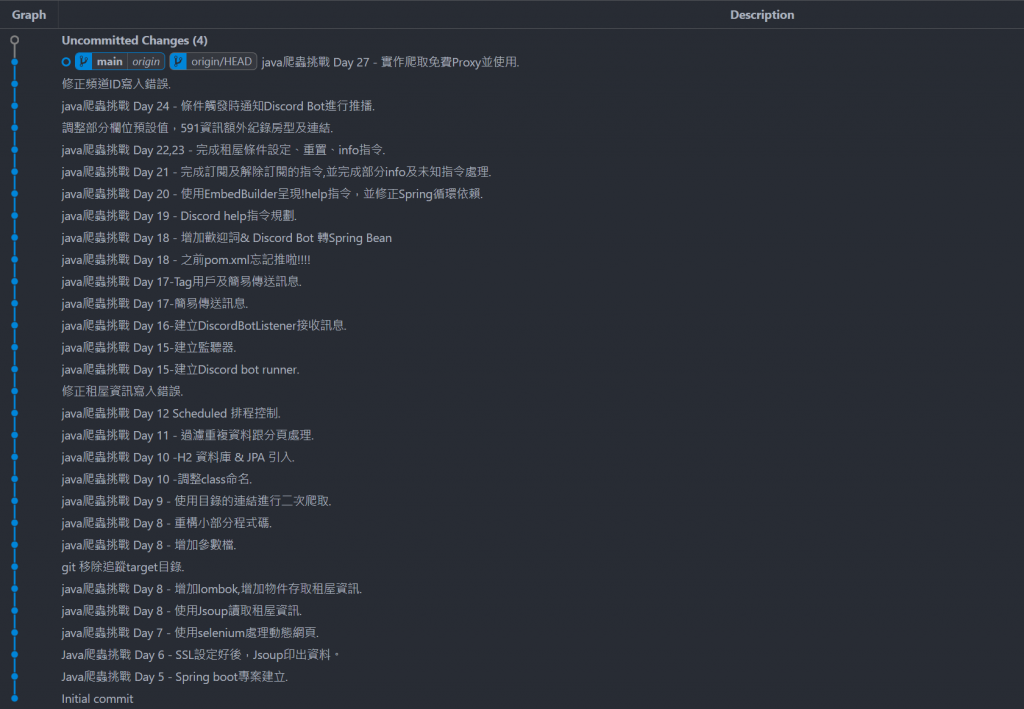
今天成功爬取免費Proxy並存入資料庫中供591爬蟲模組使用,今天的實作也是意義重大,可以說是把第5~12天的進度透過不同的目標又進行了一次實作。
程式開發開發真的告一個段落了,接下來的三天就打打字,聊聊一些我的心得吧XD。
