昨天建立了標題列元件,今天來利用 Icon、Menu 與 Sidenav 等 Angular Material 元件增加標題列的功能。
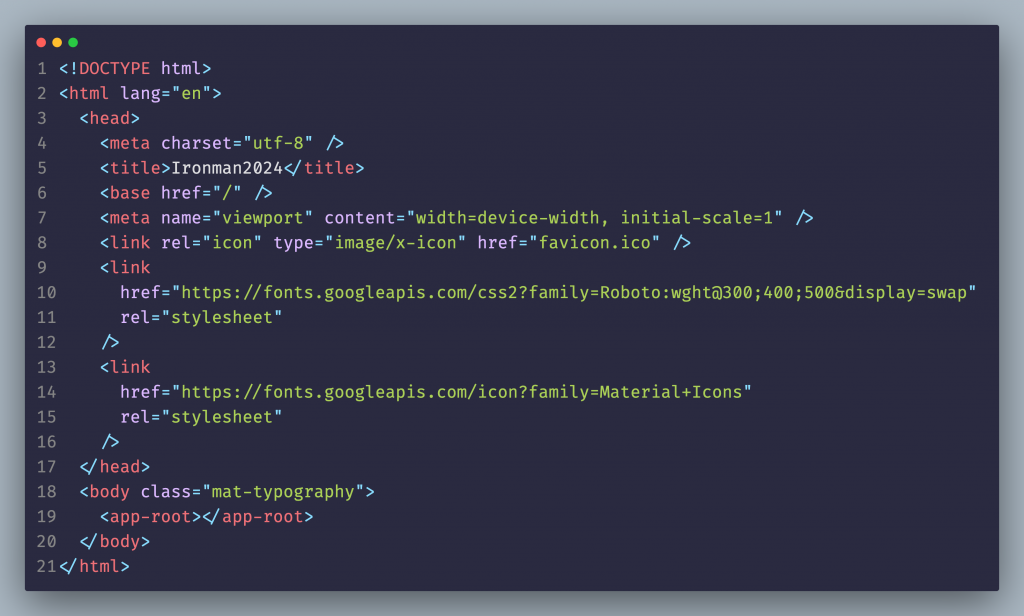
在我們安裝 Angular Material 的時候,Schemaics 會直接在 index.html 加入 Google Fonts 的樣式連結,讓我們可以利用 <mat-icon> 使用 svg 圖示。
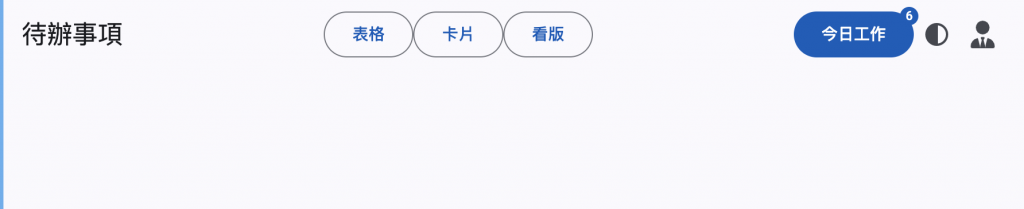
引用 MatIconModule 模組後,我們就可以如下程式在工具列中加入圖示。不過這邊為了讓使用者在點選圖示時有對應的功能,所以一併使用了 mat-icon-button 指令元件設成圖示按鈕。
<mat-toolbar>
  ...
  <button mat-icon-button><mat-icon>contrast</mat-icon></button>
</mat-toolba
有時候我們無法從 Google Icons 來找到所需要的圖示,也可以在 <mat-icon> 使用 Font Awesome 等圖示庫,或是直接使用專案中使用的圖示資料夾。
export const appConfig: ApplicationConfig = {
  providers: [
    ...
    provideHttpClient(),
    {
      provide: ENVIRONMENT_INITIALIZER,
      multi: true,
      useValue: () => {
        const registry = inject(MatIconRegistry);
        const sanitizer = inject(DomSanitizer);
        registry.addSvgIcon(
          'user-tie',
          sanitizer.bypassSecurityTrustResourceUrl('icon/user-tie.svg')
        );
      },
    },
  ],
};
在使用自訂的 svg 檔案前,先在應用程式初始化的時候,利用 MatIconRegistry 服務註冊圖示。如此面程式,我們可以透過 addSvgIcon 方法給予圖示名稱與路徑,或是使用 addSvgIconInNamespace 方法把圖示依不同的命名空間進行分類。如此一來,就可以透過 <mat-icon> 內的 svgIcon 屬性來指定自訂的圖示名稱。
<mat-icon svgIcon="user-tie"></mat-icon>
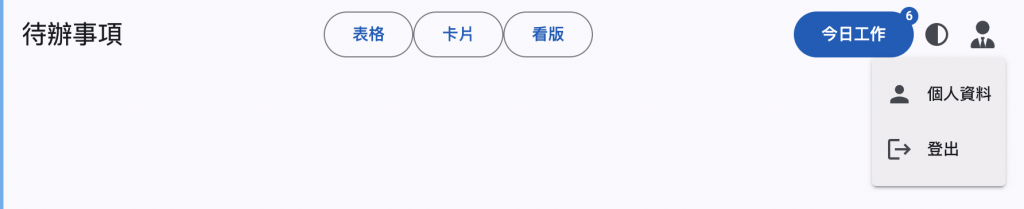
接下來,我們在使用者圖示按鈕加上選單,讓使用者可以編輯個人資料與登出。同樣地,在引用 MatMenuModule 模組後,就可以在頁面範本中使用 <mat-menu> 與 mat-menu-item 定義選單。
<mat-menu #menu="matMenu">
  <button mat-menu-item>
    <mat-icon>person</mat-icon>
    <span>個人資料</span>
  </button>
  <button mat-menu-item>
    <mat-icon>logout</mat-icon>
    <span>登出</span>
  </button>
</mat-menu>
我們可以在按鈕中使用 matMenuTriggerFor 指令元件連接此按鈕要開啟的選單。
<button mat-icon-button [matMenuTriggerFor]="menu">
  <mat-icon svgIcon="user-tie"></mat-icon>
</button>
如果需要在程式中指定特定作業時開啟選單,則可以利用 viewChilrd 來取得 matMenuTriggerFor 實體,並呼叫 openMenu() 方法開啟選單。
protected readonly trigger = viewChild<MatMenuTrigger>(MatMenuTrigger);

openMenu(): void {
  this.trigger()?.openMenu();
}
另外,MatMenu 也提供 xPosition 與 yPosition 兩個屬性來設定選單開啟的位置,以及 overlapTrigger 屬性設定選單是否與 MenuTrigger 重覆。而在 MatMenuItem 中設定 matMenuTriggerFor 就可以實作巢狀的選單功能。
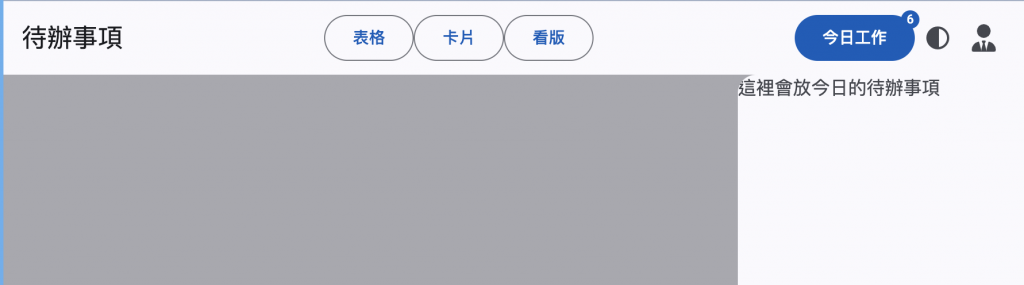
最後,引用 MatSidenavModule 模組來讓點選「今日工作」按鈕來開啟右側欄顯示工作清單。
<mat-sidenav-container>
  <router-outlet></router-outlet>
  <mat-sidenav #side mode="over" position="end">
    這裡會放今日的待辦事項
  </mat-sidenav>
</mat-sidenav-container>
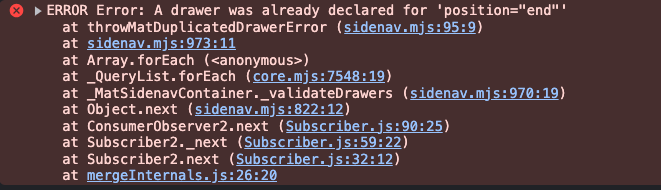
如上面程式,利用 <mat-sidenav-container> 標籤建立一區域,而 <mat-sidenav> 則用來定義左右側的區塊。需注意的是在同一個容器中同樣的 position 值不可以設定兩次,否則會拋出下圖的錯誤訊息。
如此一來,就可以在點選「今日工作」按鈕時,利用 toggle() 方法來開啟或關閉右側區塊。
在 MatSidenav 中提供了 mode 來決定呈現方式是浮動於畫面上時主視窗是否會縮小 (over / psuh) 或是以沒有灰底的一側呈現並縮減主視窗尺寸 (side) 等。若需求上希望覆蓋標題列,則可以設定 fixedInViewport 屬性為 true
今天大致處理完整個待辦事項的主頁框架,接下來來採用 Table 元件處理待辦事項的清單。


 iThome鐵人賽