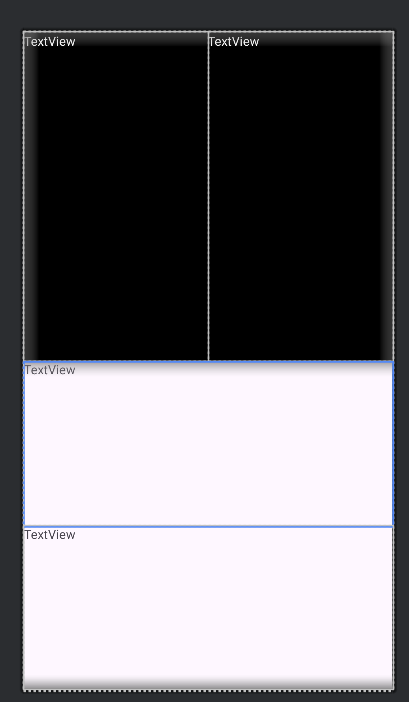
今天要介紹的LinearLayout與前面有介紹過的Guidelines一樣都是一種佈局工具
它們讓我們可以更簡單整齊的控制UI元件的排列
LinearLayout分為vertical(垂直方向)或horizontal(水平方向)兩種排列方式,面對不同的排列方式,內部物件的屬性也會需要修改,在這樣設定之後,權重分配時比較不容易出現問題
layout_height和layout_width設定成固定寬高或match_parentorientation是vertical的話,需要將layout_width設成match_parent且layout_height設成0dp,接著還需要為每一個物件設定權重(layout_weight)orientation為horizontal的話,則需要與vertical相反,要將內層所有物件的layout_width和layout_height都設成0dp和match_parent,唯一與vertical相同的是一樣需要為每一個物件設定權重(layout_weight)權重的設定通常是
android:layout_weight="1"
它會將前一層Linear Layout的所有空間平均分配給所有有設定權重的物件
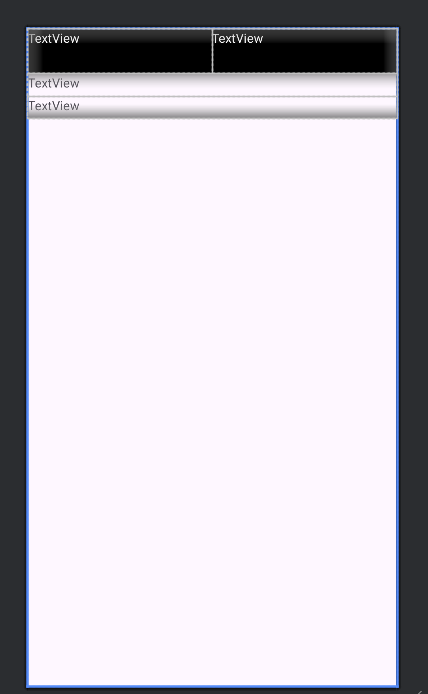
也可根據需要調整分配大小


更改的只有最外層的Linear Layout這部分
android:layout_height="100dp"
<?xml version="1.0" encoding="utf-8"?>
<androidx.constraintlayout.widget.ConstraintLayout xmlns:android="http://schemas.android.com/apk/res/android"
    xmlns:app="http://schemas.android.com/apk/res-auto"
    xmlns:tools="http://schemas.android.com/tools"
    android:id="@+id/main"
    android:layout_width="match_parent"
    android:layout_height="match_parent"
    tools:context=".MainActivity">

    <LinearLayout
        android:layout_width="match_parent"
        android:layout_height="match_parent"
        android:orientation="vertical"
        tools:layout_editor_absoluteX="1dp"
        tools:layout_editor_absoluteY="1dp">

        <LinearLayout
            android:layout_width="match_parent"
            android:layout_height="0dp"
            android:layout_weight="1"
            android:orientation="horizontal"
            android:background="@color/black">

            <TextView
                android:id="@+id/textView"
                android:layout_width="0dp"
                android:layout_height="match_parent"
                android:layout_weight="1"
                android:text="TextView"
                android:textColor="@color/white"/>

            <TextView
                android:id="@+id/textView2"
                android:layout_width="0dp"
                android:layout_height="match_parent"
                android:layout_weight="1"
                android:text="TextView"
                android:textColor="@color/white"/>
        </LinearLayout>

        <LinearLayout
            android:layout_width="match_parent"
            android:layout_height="0dp"
            android:layout_weight="1"
            android:orientation="vertical">

            <TextView
                android:id="@+id/textView3"
                android:layout_width="match_parent"
                android:layout_height="0dp"
                android:layout_weight="1"
                android:text="TextView" />

            <TextView
                android:id="@+id/textView4"
                android:layout_width="match_parent"
                android:layout_height="0dp"
                android:layout_weight="1"
                android:text="TextView" />
        </LinearLayout>
    </LinearLayout>
</androidx.constraintlayout.widget.ConstraintLayout>
Linear Layout的介紹就到這裡了
下篇將會介紹Intent
