昨天說了如何在local安裝Serverless framework和如何撰寫serverless.yml,接著就可以測試serverless.yml有沒有問題,然後就準備部署!
寫好serverless.yml後,如果想知道語法有沒有錯誤 ,可以下package指令。
serverless package --stage dev --region us-east-1
如果語法有錯誤,會出現warning,就可以根據warning去debug。
跑完serverless package,如果沒有什麼問題,會產出cloudFormation的template,可以拿用這個template跟之前的檔案比對看看有沒有異常。下面為產出的template部分範例,雖然在serverless.yml只有新增或修改lambda,但是產生template的時候,也會一併把需要的cloudwatch LogGroup和相關的iam policy都建出來。
{
  "AWSTemplateFormatVersion": "2010-09-09",
  "Description": "The AWS CloudFormation template for this Serverless application",
  "Resources": {
    ...
    "HelloLogGroup": {
      "Type": "AWS::Logs::LogGroup",
      "Properties": {
        "LogGroupName": "/aws/lambda/gitlab-serverless-ci-cd-dev-hello"
      }
    },
    "IamRoleLambdaExecution": {
      "Type": "AWS::IAM::Role",
      "Properties": {
        "AssumeRolePolicyDocument": {
          ...
        },
        "Policies": [
          {
            ...
          }
        ],
        "Path": "/",
        "RoleName": {
          "Fn::Join": [
            "-",
            [
              "gitlab-serverless-ci-cd",
              "dev",
              {
                "Ref": "AWS::Region"
              },
              "lambdaRole"
            ]
          ]
        }
      }
    },
    "HelloLambdaFunction": {
      "Type": "AWS::Lambda::Function",
      "Properties": {
        "Code": {
          "S3Bucket": {
            "Ref": "ServerlessDeploymentBucket"
          },
          "S3Key": "serverless/gitlab-serverless-ci-cd/dev/1707904798846-2024-02-14T09:59:58.846Z/gitlab-serverless-ci-cd.zip"
        },
        "Handler": "src/handler.hello",
        "Runtime": "nodejs14.x",
        "FunctionName": "gitlab-serverless-ci-cd-dev-hello",
        "MemorySize": 1024,
        "Timeout": 6,
        "Role": {
          "Fn::GetAtt": [
            "IamRoleLambdaExecution",
            "Arn"
          ]
        }
      },
      "DependsOn": [
        "HelloLogGroup"
      ]
    },
    "HelloLambdaVersionBZJ54yQRqv09RmGgNZLD9ZuxPi6guA1Nk4DmswQi8": {
      "Type": "AWS::Lambda::Version",
      "DeletionPolicy": "Retain",
      "Properties": {
        "FunctionName": {
          "Ref": "HelloLambdaFunction"
        },
        "CodeSha256": "O1xQgjbr7ZB5e7XT184OMcUJ/uSZJXUELdLNvKD5R30="
      }
    },
    "ApiGatewayRestApi": {
      "Type": "AWS::ApiGateway::RestApi",
      "Properties": {
        "Name": "dev-gitlab-serverless-ci-cd",
        "EndpointConfiguration": {
          "Types": [
            "EDGE"
          ]
        },
        "Policy": ""
      }
    },
    "ApiGatewayResourceHello": {
      "Type": "AWS::ApiGateway::Resource",
      "Properties": {
        "ParentId": {
          "Fn::GetAtt": [
            "ApiGatewayRestApi",
            "RootResourceId"
          ]
        },
        "PathPart": "hello",
        "RestApiId": {
          "Ref": "ApiGatewayRestApi"
        }
      }
    },
    "ApiGatewayMethodHelloOptions": {
      "Type": "AWS::ApiGateway::Method",
      "Properties": {
        ...
      }
    },
    "ApiGatewayMethodHelloGet": {
      "Type": "AWS::ApiGateway::Method",
      "Properties": {
        ...
      },
      "DependsOn": [
        "HelloLambdaPermissionApiGateway"
      ]
    },
    "ApiGatewayDeployment1707904797771": {
      "Type": "AWS::ApiGateway::Deployment",
      "Properties": {
        ...
      },
      "DependsOn": [
        "ApiGatewayMethodHelloOptions",
        "ApiGatewayMethodHelloGet"
      ]
    },
    "HelloLambdaPermissionApiGateway": {
      "Type": "AWS::Lambda::Permission",
      "Properties": {
        ...
      }
    }
  },
  "Outputs": {
    ...
  }
}
驗證完serverless.yml後,接下來就可以來deploy serverless,只需要下serverless deploy指令,並指定stage和region即可部署到對應的region(如果yaml檔內沒有使用${opt:stage}和${opt:region},可以直接使用預設的stage和region,就不需要額外給這兩個參數)。
serverless deploy --stage dev --region us-east-1
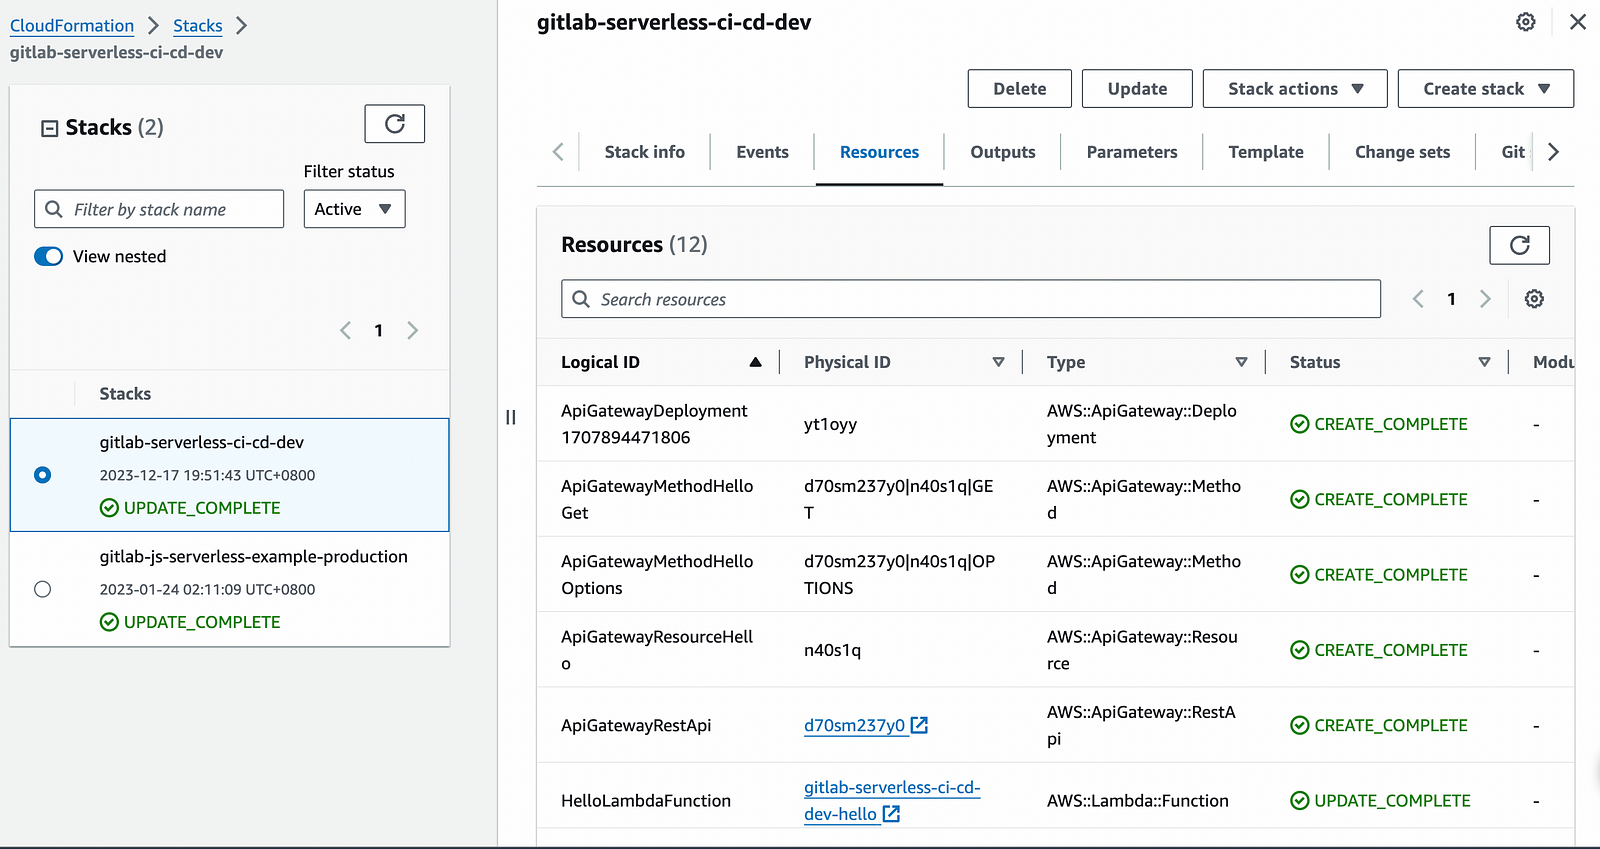
部署完成就可以從aws的cloudFormation看到結果。
範例: https://gitlab.com/hjoruhjoru/aws-serverless-ci-cd
