昨天我們討論到在 MacOS 平台上的前置作業,而今天要來實作建立 GitLab。
首先我們需要的是我們主機的 IP,這裡指的是指我們在這個內網內的 IP。
Linux 可以使用 hostname -i 指令來取得。而 MacOS 則是用 ipconfig getifaddr en0。
輸入指令後我們會得到一組 IP,但一般家用網路應該都是由分享器的 DHCP Server 來派發 IP。所以想要固定下來這組 IP 就可以在分享器的管理頁面來保留。
由於我們要建立了新的 Cluster,所以理所當然的,我們先前所建立的 Namespace 不會存在於新的 Cluster 中。
這邊我們要再建立一次。
kubectl create ns gitlab
必要工具在前幾天都提過了,也就是 kubectl、helm,還有 kind,這邊如果已經安裝過了就不用再安裝了。
GitLab 官方提供了很多範例在 Github Repository 上,等等會需要用官方的範例來建立 GitLab,所以這邊需要下載下來。
git clone https://gitlab.com/gitlab-org/charts/gitlab.git
首先可以觀察一下官方的設定檔。
kind: Cluster
apiVersion: kind.x-k8s.io/v1alpha4
nodes:
- role: control-plane
  extraPortMappings:
    # containerPort below must match the values file:
    #   nginx-ingress.controller.service.nodePorts.https
    # Change hostPort if port 443 is already in use.
  - containerPort: 32443
    hostPort: 443
    listenAddress: "0.0.0.0"
    # containerPort below must match the values file:
    #   nginx-ingress.controller.service.nodePorts.ssh
    # Using high-numbered hostPort assuming port 22 is
    #   already in use.
  - containerPort: 32022
    hostPort: 32022
    listenAddress: "0.0.0.0"
簡單來說,就是建立一個 Control-Plane Node 也就是 Master Node,然後將這個 Node 的 32443 和 32022 Ports 映射到我們主機的 443 和 32022 Ports 上。
建立指令:
kind create cluster --config examples/kind/kind-ssl.yaml
前天也提過了。
helm repo add gitlab https://charts.gitlab.io/
helm repo update
這是一個免費的域名服務,可以讓我們可以很輕易的建立自訂義的 Hostname,而不用一直透過修改 /etc/hosts 來自定義域名。
使用方法主要是:<任何名稱>.<IP地址>.nip.io
例如: app.192.168.1.10.nip.io 會解析到 192.168.1.10
而我們的 GitLab 的域名會是用這種方法來建立。
請將前面在 Step IP 所取得的值帶入 your host IP 中。
helm -n gitlab install gitlab gitlab/gitlab \
  --set global.hosts.domain=(your host IP).nip.io \
  -f examples/kind/values-base.yaml \
  -f examples/kind/values-ssl.yaml
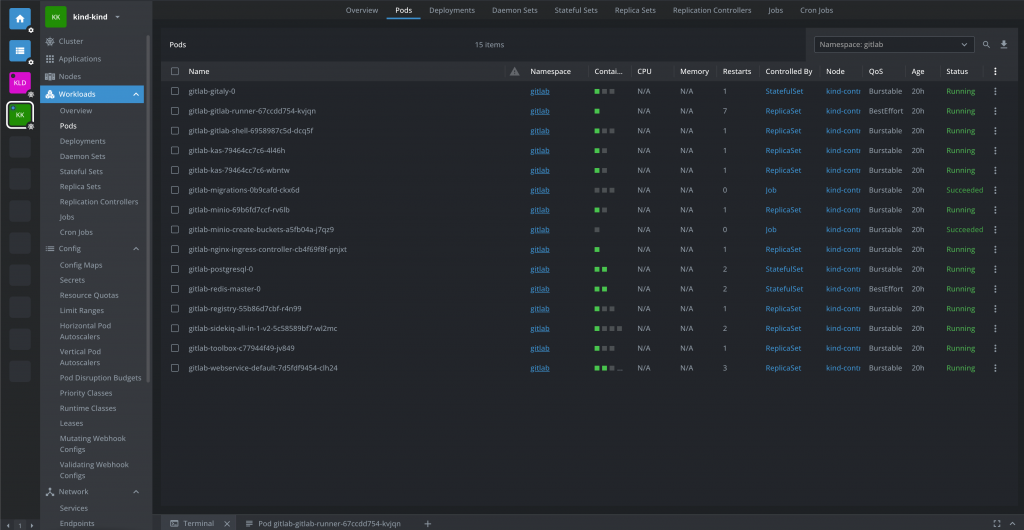
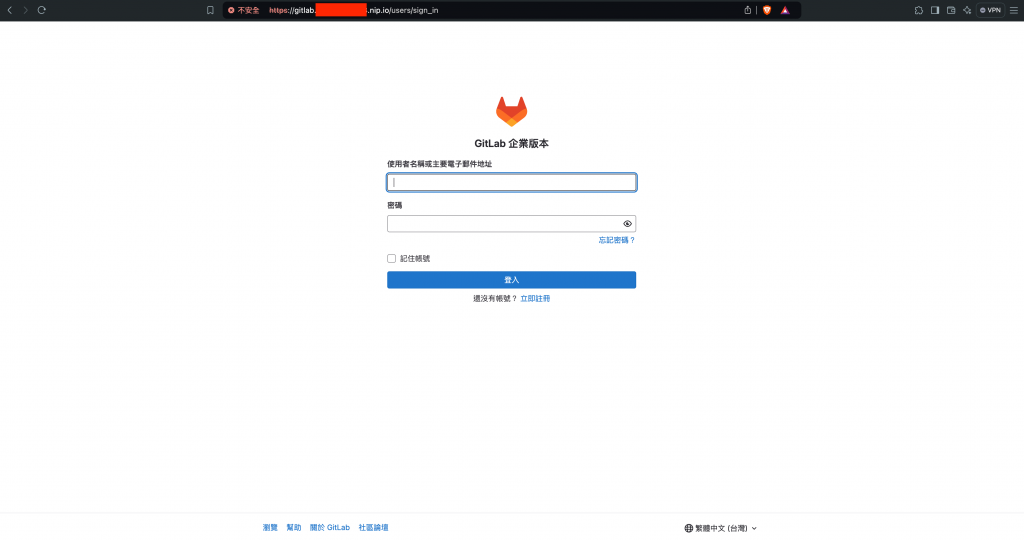
執行完後,一開始會看到 gitlab-runner Pod 一直在重啟,但是耐心等待到其他 Pods 都為 Running 後,就會發現 gitlab-runner Pod 已經正常,而我們也可以透過瀏覽器輸入 https://gitlab.(your host IP).nip.io 進入我們的 GitLab 網站。


