昨天已經完成了登入、註冊 UI 的部分,今天我們處理登入後的畫面。本文除了簡單的 UI 設計外,著重在 ListView.buider 的使用方式。
參考程式碼:https://github.com/ksw2000/ironman-2024/tree/5dae3eedb7ff1c09e9ae7d08b6884259969cd170/whisper
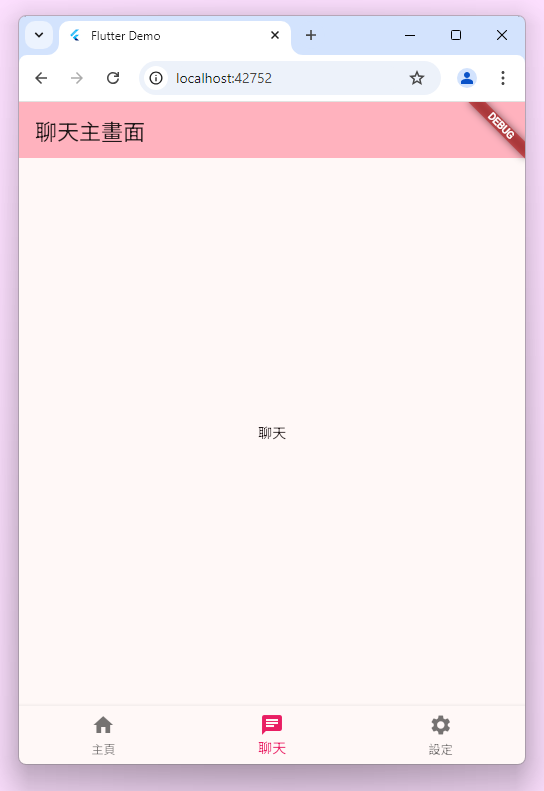
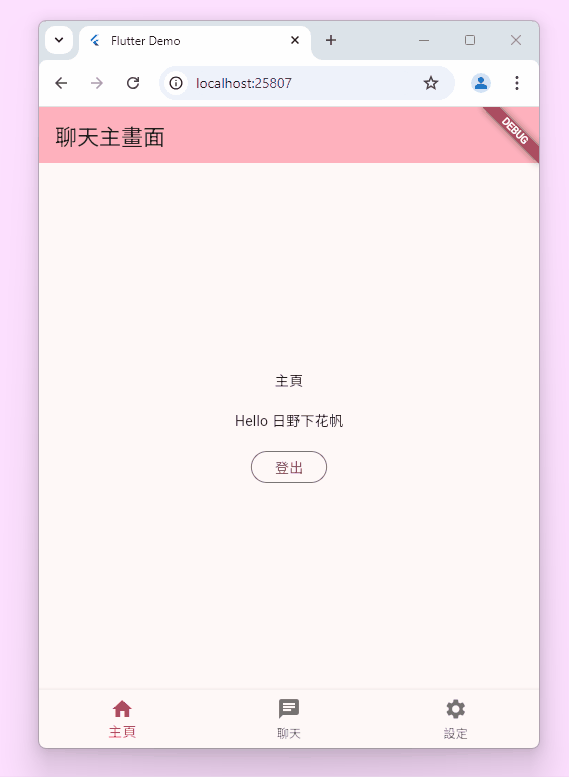
首先在登入後的頁面 Scaffold 中新增 bottomNavigationBar,用來讓使用者切換不同的頁面。我們一共設計三個頁面,「主頁」用來顯示使用者訊息,好友、交換 ID 等,中間的「聊天」則顯示與多個朋友的最新一則聊天訊息,「設定」的頁面則允許使用者更換頭貼、名稱、密碼等...。
Scaffold(
  appBar: AppBar(
    backgroundColor: Theme.of(context).colorScheme.inversePrimary,
    title: const Text('聊天主畫面'),
  ),
  body: _widgetOptions.elementAt(_selectedIndex),
  bottomNavigationBar: BottomNavigationBar(
    items: const <BottomNavigationBarItem>[
      BottomNavigationBarItem(
        icon: Icon(Icons.home),
        label: '主頁',
      ),
      BottomNavigationBarItem(
        icon: Icon(Icons.chat),
        label: '聊天',
      ),
      BottomNavigationBarItem(
        icon: Icon(Icons.settings),
        label: '設定',
      ),
    ],
    currentIndex: _selectedIndex,
    selectedItemColor: Colors.pink,
    onTap: _onItemTapped,
  ),
);
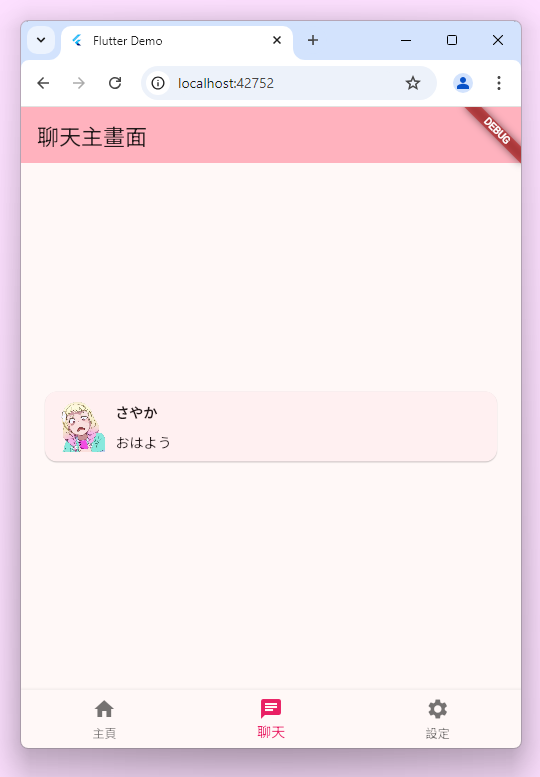
首先,聊天的部分,使用 Card 來放資訊,同時放上頭貼、用戶名稱及聊天訊息
我們可以將這個 Card 做包裝
class ChatCard extends StatelessWidget {
  const ChatCard(this.chatInfo, {super.key});
  final Chat chatInfo;

  @override
  Widget build(BuildContext context) {
    return Card(
        child: InkWell(
            onTap: () {},
            child: Row(
              children: [
                Padding(
                  padding: EdgeInsets.all(10),
                  child: Image.network(
                    "https://i.imgur.com/1N9WlmT.png",
                    width: 50,
                    height: 50,
                  ),
                ),
                Column(crossAxisAlignment: CrossAxisAlignment.start, children: [
                  Text(
                    chatInfo.userName,
                    style: const TextStyle(fontWeight: FontWeight.bold),
                  ),
                  const SizedBox(height: 7),
                  Text(chatInfo.messages.firstOrNull ?? "")
                ])
              ],
            )));
  }
}
並建立一個 Chat 來儲存資料
class Chat {
  Chat({
    this.profile = "https://i.imgur.com/1N9WlmT.png",
    required this.userName,
    required this.userID,
    required this.messages,
  });
  String profile;
  String userName;
  int userID;
  List<String> messages = [];
}
由於我們的聊天訊息會很多,因此,此時要再包上一個 ListView.builder 來建立 List,一開始預先載入 20 條訊息,當觸發至底部時,我們再次載入 20 條,直到無法再載入。由於載入訊息也需要進行異步處理,因此我們可以先使用 futureBuilder 向伺服器取得訊息。
class ChatPage extends StatefulWidget {
  const ChatPage({super.key});

  @override
  State<ChatPage> createState() => _ChatPageState();
}

class _ChatPageState extends State<ChatPage> {
  final Future<List<Chat>> _loadChatList =
      Future.delayed(const Duration(seconds: 1), () {
    return List<Chat>.generate(
        20,
        (index) => Chat(
            profile: "https://i.imgur.com/1N9WlmT.png",
            userName: "さやか-$index",
            userID: 1,
            messages: ["おはよう"]));
  });

  @override
  Widget build(BuildContext context) {
    return FutureBuilder(
        future: _loadChatList,
        builder: (context, snapshot) {
          if (snapshot.hasError) {
            return Center(
                child: Column(
              children: [
                const Icon(
                  Icons.error_outline,
                  color: Colors.redAccent,
                ),
                const SizedBox(
                  height: 20,
                ),
                Text("${snapshot.error}")
              ],
            ));
          } else if (snapshot.hasData) {
            return Center(
              child: ChatCardListView(
                items: snapshot.data!,
              ),
            );
          }
          return const Center(
            child: CircularProgressIndicator(),
          );
        });
  }
}
至於 ChatCardListView 的實作方式,則是利用 ListView.builder 來建立 List,同時設定一個監聽器,當畫面滑至底部時觸發載入更多聊天訊息。
class ChatCardListView extends StatefulWidget {
  const ChatCardListView({super.key, required this.items});
  final List<Chat> items;

  @override
  State<ChatCardListView> createState() => _ChatCardListViewState();
}

class _ChatCardListViewState extends State<ChatCardListView> {
  final _scrollController = ScrollController();
  List<Chat> _items = [];
  bool _isLoadingMore = false;

  @override
  void initState() {
    _items = widget.items;
    _scrollController.addListener(() {
      if (_scrollController.position.pixels ==
          _scrollController.position.maxScrollExtent) {
        _loadMoreItems();
      }
    });
    super.initState();
  }

  Future<void> _loadMoreItems() async {
    if (!_isLoadingMore) {
      setState(() {
        _isLoadingMore = true;
      });

      // 模擬一個延遲載入更多項目
      await Future.delayed(const Duration(seconds: 1));

      setState(() {
        _items.addAll(List<Chat>.generate(
            20,
            (index) => Chat(
                profile: "https://i.imgur.com/1N9WlmT.png",
                userName: "さやか${_items.length + index}",
                userID: 1,
                messages: ["おはよう"])));
        _isLoadingMore = false;
      });
    }
  }

  @override
  void dispose() {
    _scrollController.dispose();
    super.dispose();
  }

  @override
  Widget build(BuildContext context) {
    return ListView.builder(
      padding: const EdgeInsets.symmetric(horizontal: 10),
      controller: _scrollController,
      itemCount: _items.length + (_isLoadingMore ? 1 : 0),
      itemBuilder: (context, index) {
        if (index == _items.length) {
          return const Padding(
            padding: EdgeInsets.all(8.0),
            child: Center(child: CircularProgressIndicator()),
          );
        }
        return ListTile(
          title: ChatCard(_items[index]),
        );
      },
    );
  }
}
改完後的效果會像這樣:
接著設定的頁面,首先一定要能讓使用者換名字,還有更換密碼,接著再新增一個登出按鈕。如以下畫面所示,此畫面可以利用 ListView 來建構
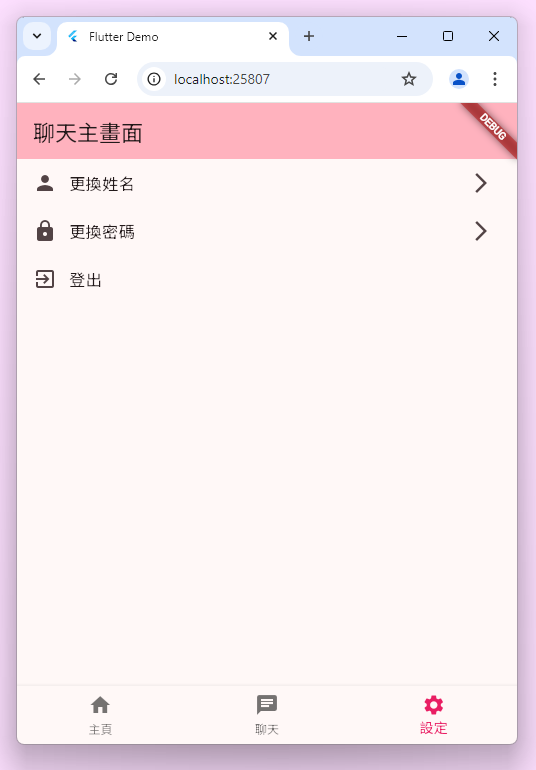
class SettingsPage extends StatelessWidget {
  const SettingsPage({super.key});

  @override
  Widget build(BuildContext context) {
    return ListView(
      children: [
        ListTile(
          title: const Text('更換姓名'),
          leading: const Icon(Icons.person),
          trailing: const Icon(Icons.arrow_forward_ios),
          onTap: () {},
        ),
        ListTile(
          leading: const Icon(Icons.lock),
          title: const Text('更換密碼'),
          trailing: const Icon(Icons.arrow_forward_ios),
          onTap: () {},
        ),
        ListTile(
          leading: const Icon(Icons.exit_to_app),
          title: const Text('登出'),
          onTap: () {},
        ),
      ],
    );
  }
}
後續詳細的部份我們會再進行處理,今天的教學就先到此為止吧!