今天我們來簡單的建構一下UI界面,搬家好忙,等結束後再寫多一點,今天繼續水一下
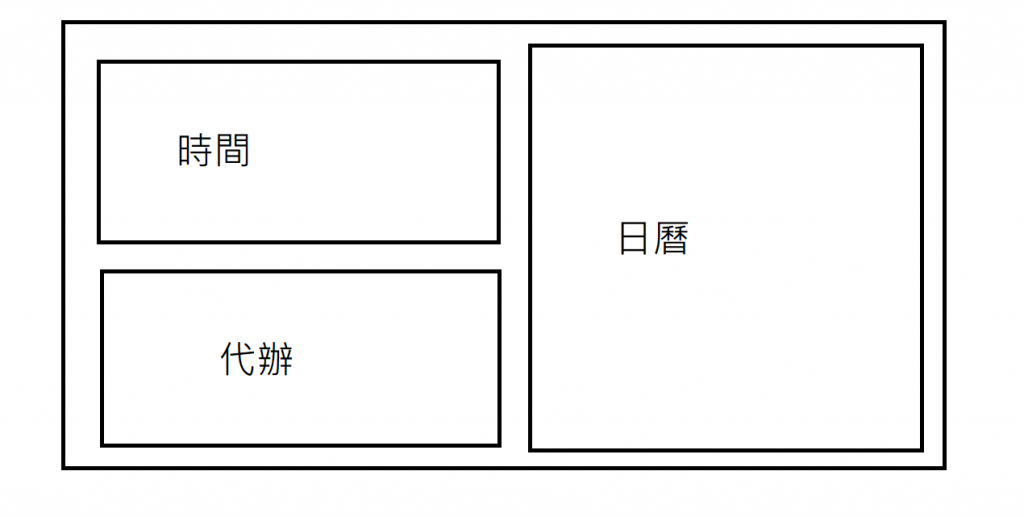
因為我大多數的時候手機都是橫放在手機架上的,所以本APP開發會以橫向的UI架構來設計,基本構想圖如下
程式碼如下
import androidx.compose.foundation.background
import androidx.compose.foundation.layout.*
import androidx.compose.material.MaterialTheme
import androidx.compose.material.Surface
import androidx.compose.material.Text
import androidx.compose.runtime.Composable
import androidx.compose.ui.Alignment
import androidx.compose.ui.Modifier
import androidx.compose.ui.graphics.Color
import androidx.compose.ui.tooling.preview.Preview
import androidx.compose.ui.unit.dp

@Composable
fun CalendarLayout() {
    Row(modifier = Modifier.fillMaxSize().padding(8.dp)) {
        // 左側:時間與代辦事項
        Column(
            modifier = Modifier
                .weight(1f)
                .fillMaxHeight()
                .padding(4.dp)
        ) {
            // 顯示時間區塊
            Box(
                modifier = Modifier
                    .weight(1f)
                    .fillMaxWidth()
                    .padding(4.dp)
                    .background(Color.LightGray),
                contentAlignment = Alignment.Center
            ) {
                Text(text = "時間", style = MaterialTheme.typography.h6)
            }

            Spacer(modifier = Modifier.height(8.dp))

            // 顯示代辦事項區塊
            Box(
                modifier = Modifier
                    .weight(1f)
                    .fillMaxWidth()
                    .padding(4.dp)
                    .background(Color.LightGray),
                contentAlignment = Alignment.Center
            ) {
                Text(text = "代辦", style = MaterialTheme.typography.h6)
            }
        }

        Spacer(modifier = Modifier.width(8.dp))

        // 右側:日曆
        Box(
            modifier = Modifier
                .weight(1f)
                .fillMaxHeight()
                .padding(4.dp)
                .background(Color.White),
            contentAlignment = Alignment.Center
        ) {
            Text(text = "日曆", style = MaterialTheme.typography.h6)
        }
    }
}

@Preview(showBackground = true)
@Composable
fun PreviewCalendarLayout() {
    Surface {
        CalendarLayout()
    }
}
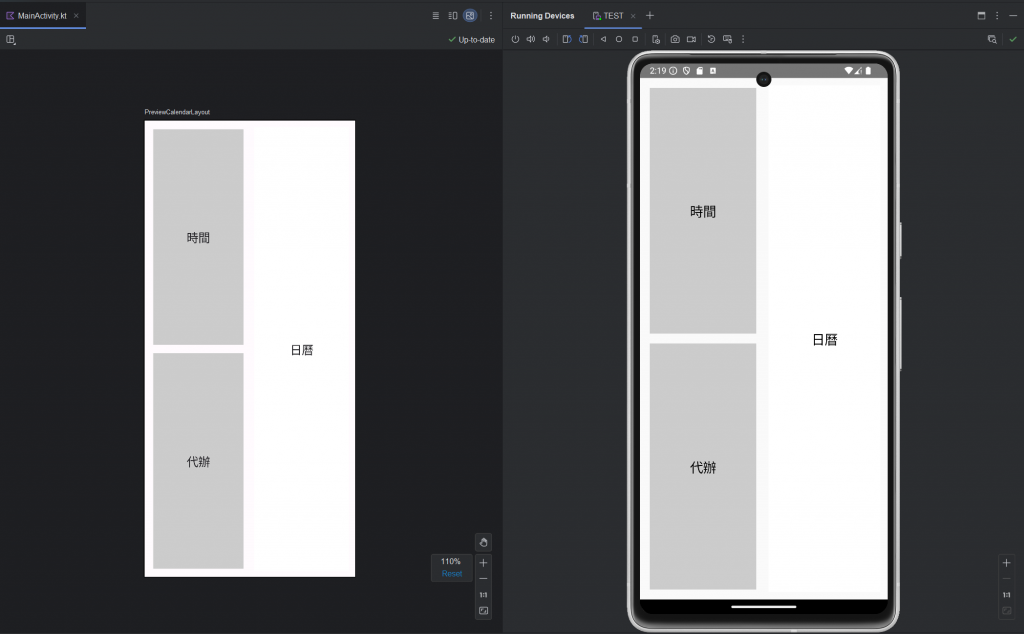
但是這個程式碼會有個問題
由於我們預設APP的打開時是直立的,和我們想要的橫躺有一定的出入,雖然虛擬機能透過上方的按鈕轉橫躺,但在@Preview無法直接橫躺,所以需要在程式碼的部分做點調整
我們在上方主程式的地方加入這段指令requestedOrientation = ActivityInfo.SCREEN_ORIENTATION_LANDSCAPErequestedOrientation是用來設定 Activity 的螢幕方向。當設定這個屬性時,系統會將 Activity 的螢幕方向鎖定為指定的方向,而ActivityInfo.SCREEN_ORIENTATION_LANDSCAPE是一個常數,用來表示橫向
class MainActivity : ComponentActivity() {
    override fun onCreate(savedInstanceState: Bundle?) {
        super.onCreate(savedInstanceState)
        requestedOrientation = ActivityInfo.SCREEN_ORIENTATION_LANDSCAPE
        setContent {
            _2024ironmanTheme {
                CalendarLayout()
            }
        }
    }
}
而@Preview需要加入device = "spec:orientation=landscape,width=411dp,height=891dp"
orientation=landscape是用來設定預覽的方向為橫向,width、height用來指定高度和寬度,這方面的高度和寬度需要依據你的需求去定義。
@Preview(showBackground = true,
    device = "spec:orientation=landscape,width=411dp,height=891dp"
)
@Composable
fun PreviewCalendarLayout() {
    Surface {
        CalendarLayout()
    }
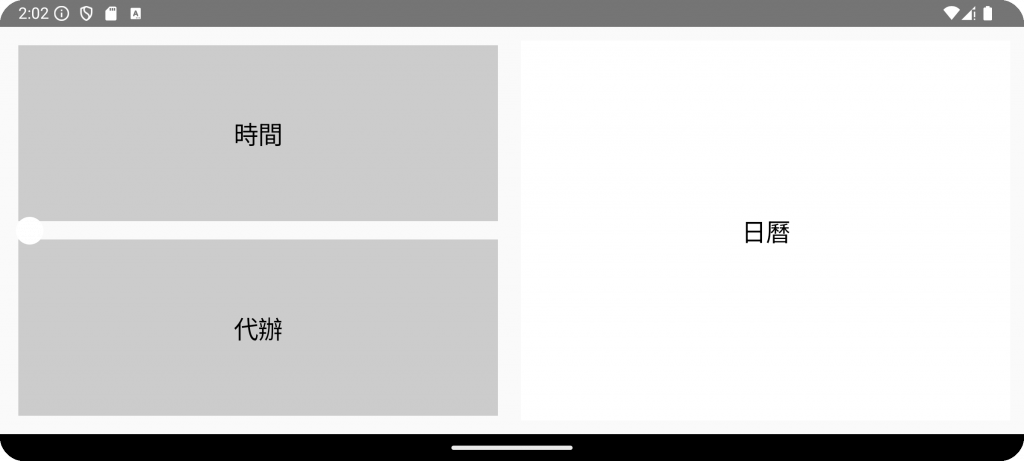
修改後呈現的結果如下
很遺憾我還在搬家的地獄受苦受難(X,因此今天也只能先擠一點內容出來參賽,明天如果有機會(搬完家)我們來探討一下日曆部分的界面該如何執行,目前預計會使用google calendar api來將內容同步到google日曆上面,今天的內容就到這裡結束了,謝謝各位的觀看。
