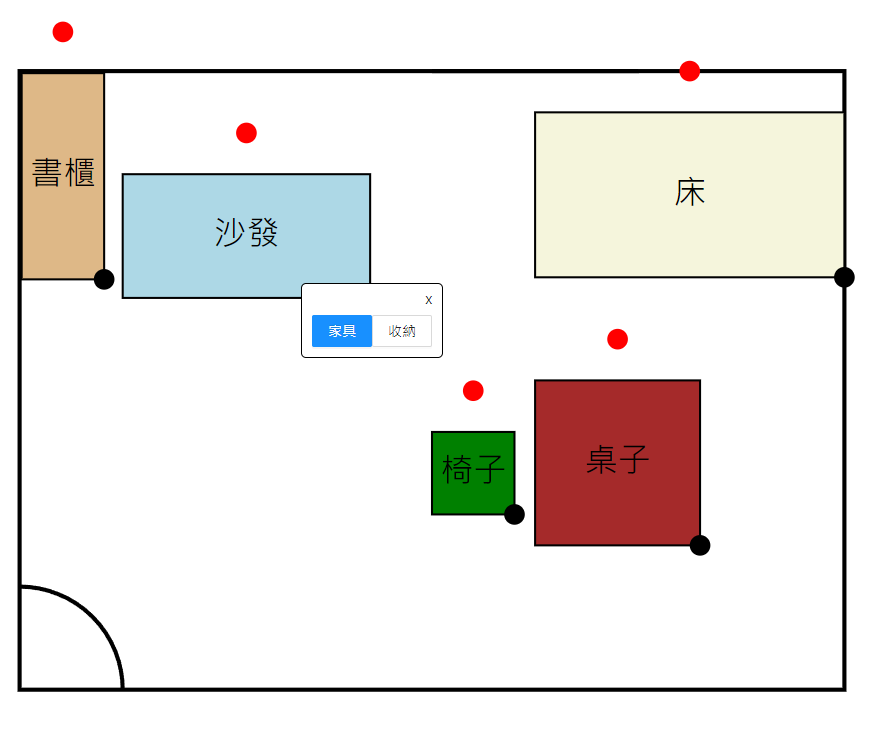
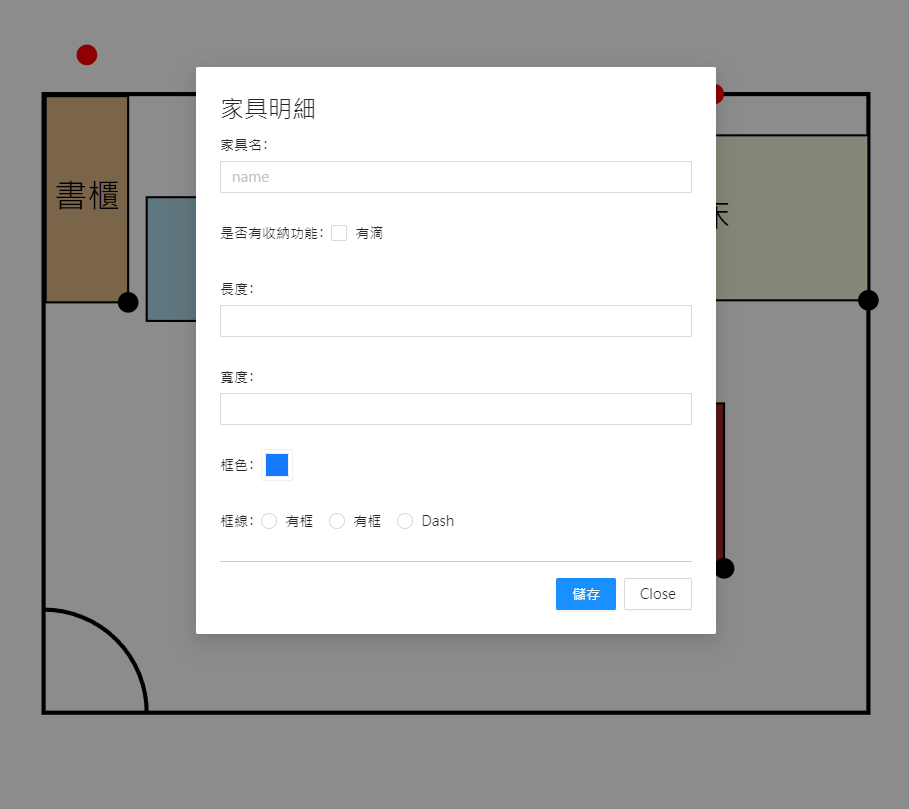
因為還要記錄家具裡面裝了什麼東西,所以調整了一下 UX
先出現一個提示框可以選要調整家具還是要調整收納用品
一樣是雙擊出現,如下方圖片
之後就可以點擊家具按鈕,出現昨天做的彈窗
做法是先在 html 加一個模板
<div #popover class="popover" [style.display]="isPopoverVisible ? 'block' : 'none'" [style.left.px]="popoverX"
    [style.top.px]="popoverY">
    <div class="text-end" style="position: relative;top: -5px; cursor: pointer;" (click)="onCloseClick()">x</div>
    <button nz-button nzType="primary"(click)="onButtonClick(EditType.furniture)">家具</button>
    <button nz-button (click)="onButtonClick(EditType.storage)">收納</button>
</div>
綁定的方法不變
  // 新增的雙擊處理方法
  private handleDoubleClick(item: Furniture, event: MouseEvent): void {
    this.isPopoverVisible = true;
    this.popoverX = event.clientX;
    this.popoverY = event.clientY;
    this.furnitureSetting = item;
  }

  onCloseClick() {
    this.isPopoverVisible = false;
  }

  onButtonClick(editType: EditType) {
    switch (editType) {
      case EditType.furniture:
        this.isPopoverVisible = false;
        this.showPopup(this.furnitureSetting);
        break;
      case EditType.storage:
        this.isPopoverVisible = false;
        // 顯示儲物空間編輯彈窗
        // this.showStoragePopup(this.storageSetting);
        break;

      default:
        break;
    }
  }
今日進度 Day13
