現在可以看一看一般在搜尋圖片欄位時的圖片欄位參照內容:
*[_type == "blogPost" && slug == $slug][0] { heroImage }
圖片顯示的會是這樣:
asset: {
  _ref:image-405133738b6d3ec5cee2c0144b999ad62e3b4e67-770x480-jpg
  _type:reference
}
看到 _ref 的內容是
image-405133738b6d3ec5cee2c0144b999ad62e3b4e67-770x480-jpg
用 - 分開來看的可以知道
再來看一看 Sanity 的圖片網址結構
https://cdn.sanity.io/images/zxxxxxxg/production/405133738b6d3ec5cee2c0144b999ad62e3b4e67-770x480.jpg
這樣就知道要顯示 Sanity 的圖片可以用 asset._ref 的內容組建出來的。
只要使用 .split(”-”) 分解 ref 字串形成這樣的 tuple 結構:
[ "image", "405133738b6d3ec5cee2c0144b999ad62e3b4e67", "770x480", "jpg" ]
再來用這樣的組合法,就可以簡單的做出圖片的網址了:
https://cdn.sanity.io/images/${projectId}/${dataset}/${arr[1]}-${arr[2]}.${arr[3]}
同樣一張 Sanity 圖片還有各種參數可議設定,
// 圖片網址
https://{imageUrl}.jpg

// 設定高度為 200 ( 寬度會等比自適應 )
https://{imageUrl}.jpg?h=200

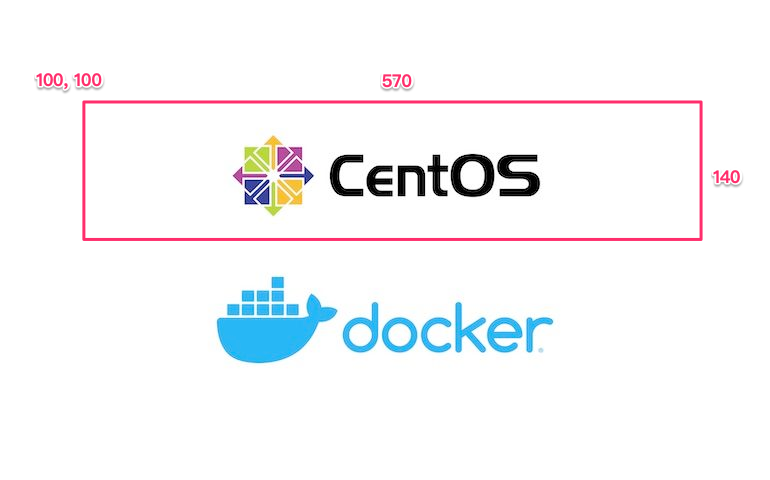
還可以用 rect=x,y,width,height 參數只取圖片的部分片段
https://{imageUrl}.jpg?rect=100,100,570,140

也可以同時 rect 跟 h 同時設定。
這樣可以得到的片段都是一樣的,感覺上就是圖片解析度不一樣而已。
https://{imageUrl}.jpg?rect=100,100,570,140&h=200


最後一個要設定的參數是 blur,設定圖片的模糊程度 ( 1 - 2000 )
// Blur the image
https://cdn.sanity.io/images/zxxxxxxg/production/405133738b6d3ec5cee2c0144b999ad62e3b4e67-770x480.jpg?blur=50
原圖 ( 15KB )

blur=20 ( 12KB )

blur=50 ( 8KB )

設定 blur 可以在特定情況下使用、而且也會有一定程度的省流量的效果。
