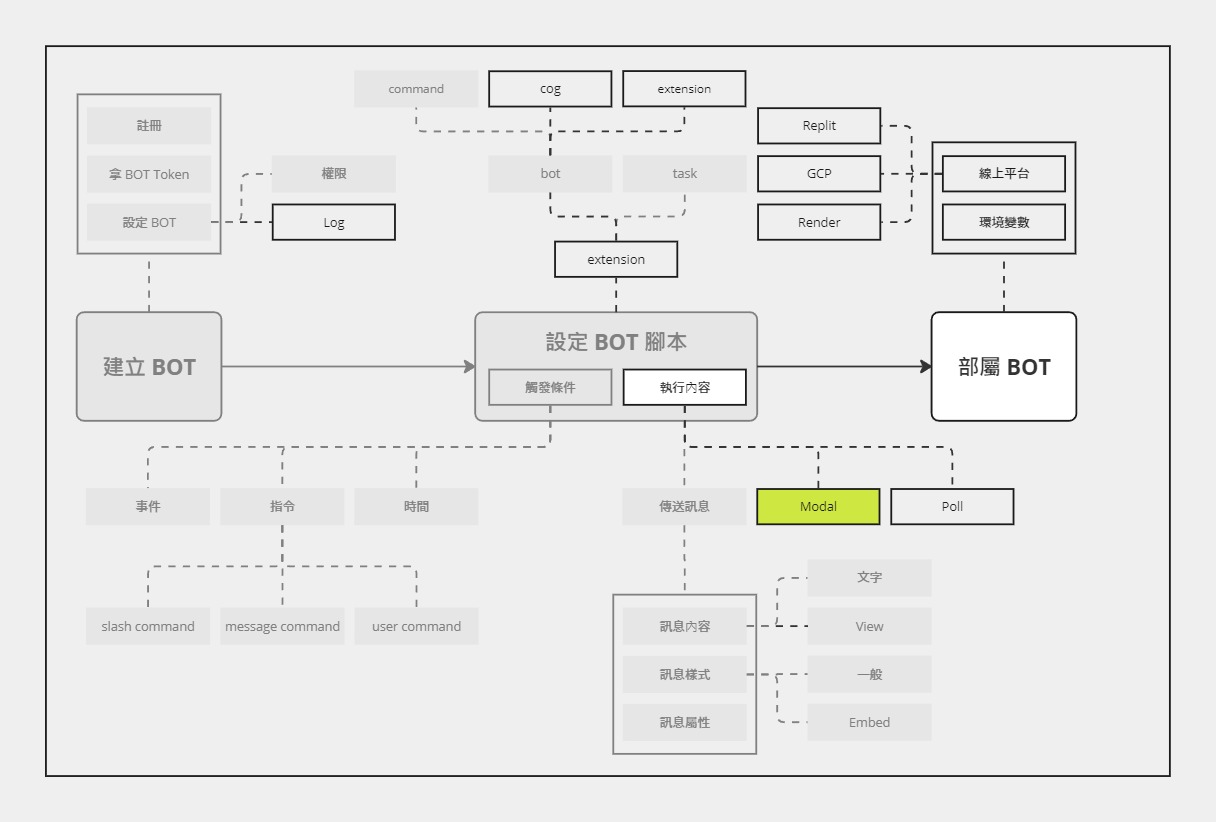
今天來介紹如何用 Discord BOT 傳送 Modal 給使用者填資料。

除了傳送訊息,Discord BOT 也可以傳送一個可以互動的彈出視窗,也就是今天的主題 ── Modal。
Modal 的中文翻譯感覺沒有很統一,包含:互動視窗、模態框等,所以後續文章我會繼續維持使用原文 Modal 來稱呼。
用比較通俗一點的講法,Modal 就是所謂的「彈出視窗」,在使用者關閉或完成之前,不能做其他的事情。Modal 在前端開發上是一個很常見的元件,通常會用於提醒、通知,或是表單,也因此,在許多 UI Library 都會有對應的設計。
會說「對應」是因為有些 Library 定義的是 Dialog,不是 Modal。至於 Modal 與 Dialog 又有什麼異同舊式另一個話題了...
而 Discord 的 Modal 比較狹隘一點,它是讓 App (例如:Discord BOT) 收集表單類型的資料用的彈出視窗介面。
原文:Modals are single-user pop-up interfaces that allow apps to collect form-like data. (Discord 的說明)
而且,Modal 的使用也有兩個比較大的限制。第一,它只能由應用指令 (例如:斜線指令) 或是可以互動的元件 (例如:按鈕) 來觸發。換句話說,只有互動類 (Interaction) 的觸發條件才能彈出 Modal 給使用者。第二,Modal 中的元件只能是 Text Input (編號為 4),不能使用按鈕、下拉式選單等其他元件。
如同先前所述,Modal 的觸發有一些限制,所以這邊使用斜線指令 (slash command) 來做為範例。
忘記那是什麼的朋友可以回去複習一下 Day 11 的文章
import discord
from discord import app_commands

GUILD_ID = "your guild ID"
MY_GUILD = discord.Object(id=GUILD_ID)

class MyClient(discord.Client):
    def __init__(self, *, intents: discord.Intents):
        super().__init__(intents=intents)
        self.tree = app_commands.CommandTree(self)

    async def setup_hook(self):
        self.tree.copy_global_to(guild=MY_GUILD)
        await self.tree.sync(guild=MY_GUILD)

class Questionnaire(discord.ui.Modal, title="Questionnaire Response"):
    name = discord.ui.TextInput(label="Name")
    answer = discord.ui.TextInput(label="Answer", style=discord.TextStyle.paragraph)

    async def on_submit(self, interaction: discord.Interaction):
        await interaction.response.send_message(
            f"Thanks for your response, {self.name}!", ephemeral=True
        )

intents = discord.Intents.default()
client = MyClient(intents=intents)

@client.tree.command()
async def ping(interaction: discord.Interaction):
    await interaction.response.send_modal(Questionnaire())

client.run('token')
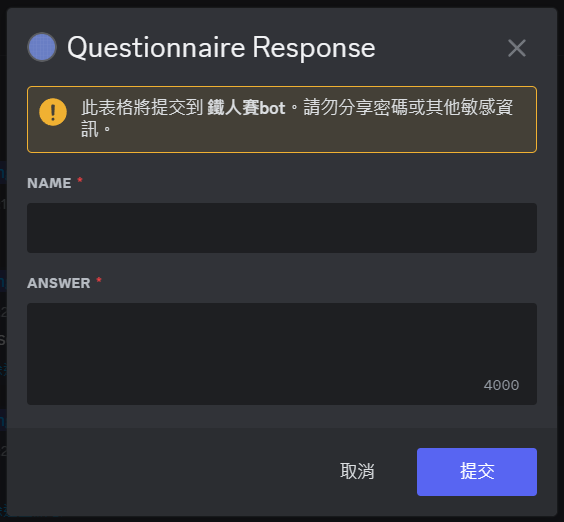
執行後,用 /ping 觸發,就可以看到 Modal:

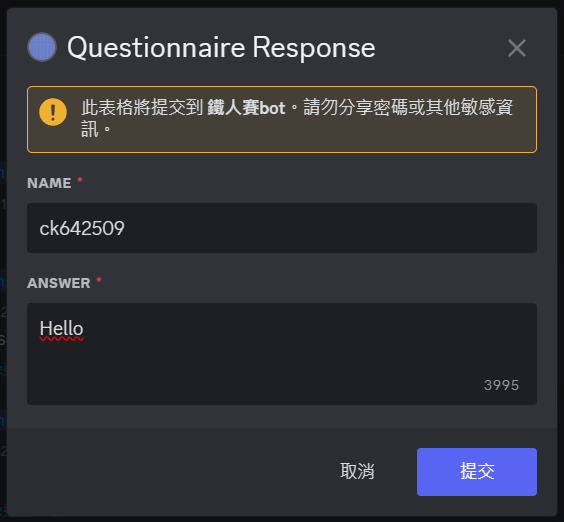
簡單填寫一下。

送出後,就會收到這條訊息:

有關 bot 與 slash command 的部分就不再介紹了。重點在這兩個部分:
class Questionnaire(discord.ui.Modal, title="Questionnaire Response"):
    name = discord.ui.TextInput(label="Name")
    answer = discord.ui.TextInput(label="Answer", style=discord.TextStyle.paragraph)

    async def on_submit(self, interaction: discord.Interaction):
        await interaction.response.send_message(
            f"Thanks for your response, {self.name}!", ephemeral=True
        )
在建立 Modal 時,需要先建立一個 Modal 的 subclass,接著再設定裡面的各個欄位 (Text Input)。最後,再設定 on_submit,也就是 Modal 內的資料提交時所觸發的函數。
這部分就簡單多了,從之前的 send_message 改成 send_modal,傳送的內容也改成 Modal 物件就好了。
await interaction.response.send_modal(Questionnaire())
Text Input 有幾個常用的參數:
label (str):標籤,也就是這個 Text Input 的標題style (discord.TextStyle):風格,只有兩種,分成 short 和 paragraph (long) (可以參考文件)placeholder (str):提示文字default (str):預設值required (bool):是否為必填 (預設為 True)min_length (int):至少要輸入的字串長度 (0 到 4000)max_length (int):至多能輸入的字串長度 (1 到 4000)row (int):排序編號。一個 Modal 至多只能有 5 個 Text Input,所以 row 必須介於 0 到 4 之間,而且不能重複。(沒設定的話,就會依照程式碼的順序排列)其他參數細節可以看 discord.py 的文件
如果想要同時傳遞 Modal 和訊息的話 (不太建議),可以用 interaction.channel.send,不要用 interaction.response.send,因為一個 interaction 只能 response 一次。
@bot.tree.command()
async def ping(interaction: discord.Interaction):
    await interaction.channel.send("Pong!")
    await interaction.response.send_modal(Questionnaire())
今天介紹了如何建立 Modal,需要特別記得的點有兩個:
