戰國時期張儀遊說各國開放 API 給秦整合,才能夠瓦解合縱聯盟。
在這篇教程中,我們將探討如何集成外部 API 和服務,自動化 GitHub issue 管理,並使用 CodeRabbit 自動進行代碼審查,Vercel 與 Zeabur 來實現自動化部屬。
今日範例程式: https://github.com/Edit-Mr/2024-GitHub-Actions/tree/main/19
我們首先需要設置一個 GitHub Actions 工作流程,當有新的 issue 創建或更新時,自動執行指定操作。例如,我們可以自動為新創建的 issue 標籤。
在 .github/workflows 目錄下創建一個 YAML 文件,例如 issue-management.yml,並添加以下內容:
name: Manage GitHub Issues

on:
  issues:
    types: [opened, edited]

jobs:
  label:
    runs-on: ubuntu-latest
    steps:
      - name: Checkout repository
        uses: actions/checkout@v3

      - name: Label new issues
        uses: actions/github-script@v6
        with:
          script: |
            const issue = context.issue;
            const labels = ['new-issue'];
            await github.issues.addLabels({
              ...issue,
              labels
            });
這個工作流程在每次 issue 被創建或更新時自動為其添加一個標籤 new-issue。
假設我們想要在 issue 被標記為 bug 時,自動將其分配給一個特定的用戶。我們可以擴展上述 YAML 文件:
name: Manage GitHub Issues

on:
  issues:
    types: [opened, edited]

jobs:
  label:
    runs-on: ubuntu-latest
    steps:
      - name: Checkout repository
        uses: actions/checkout@v3

      - name: Label new issues
        uses: actions/github-script@v6
        with:
          script: |
            const issue = context.issue;
            const labels = ['new-issue'];
            await github.issues.addLabels({
              ...issue,
              labels
            });

      - name: Assign bug issues
        if: contains(github.event.issue.labels.*.name, 'bug')
        uses: actions/github-script@v6
        with:
          script: |
            const issue = context.issue;
            await github.issues.addAssignees({
              ...issue,
              assignees: ['specific-user']
            });
有許多第三方服務可以幫助我們提高開發效率,大多不須要手動設定,只需要設置一些配置即可。這裡會介紹幾個我自己常用的服務。
官網:CodeRabbit
比如說面對中電會大量的代碼審查,有時候難免會出現遺漏的情況,這時候就可以使用 CodeRabbit 來自動進行代碼審查。CodeRabbit 對於開源專案是完全免費的。
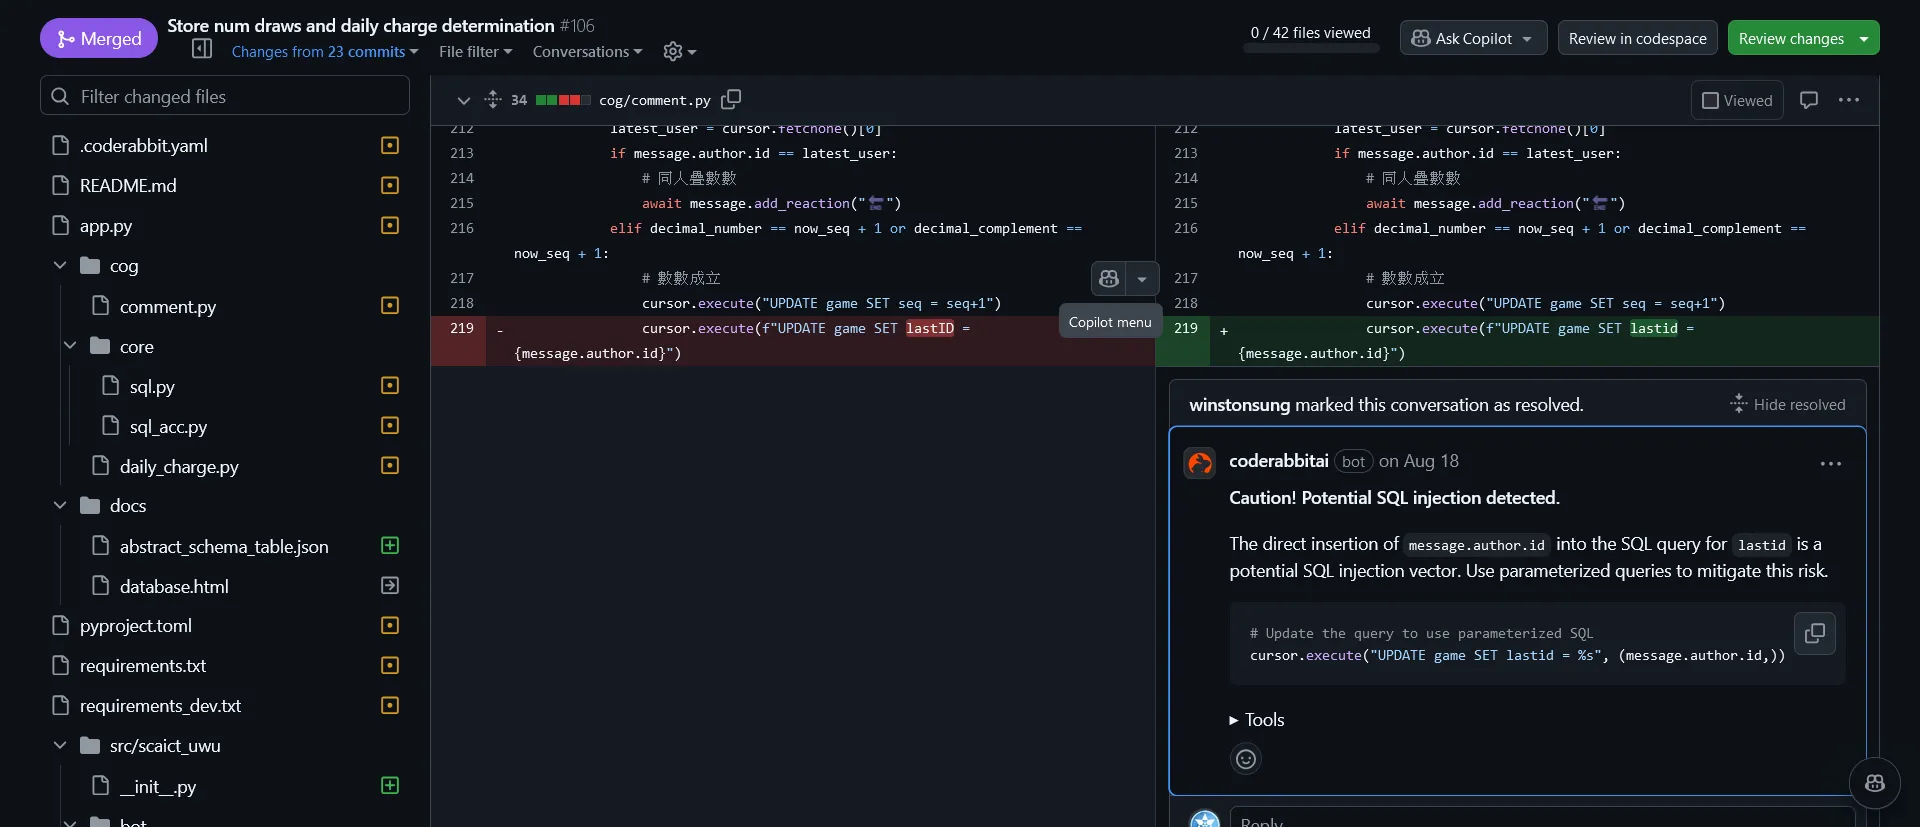
你只需要註冊並安裝至你的 GitHub 存儲庫,然後設置一些基本配置,就可以開始使用了。CodeRabbit 會自動檢查你的代碼,並提供有關代碼品質和風格的反饋。
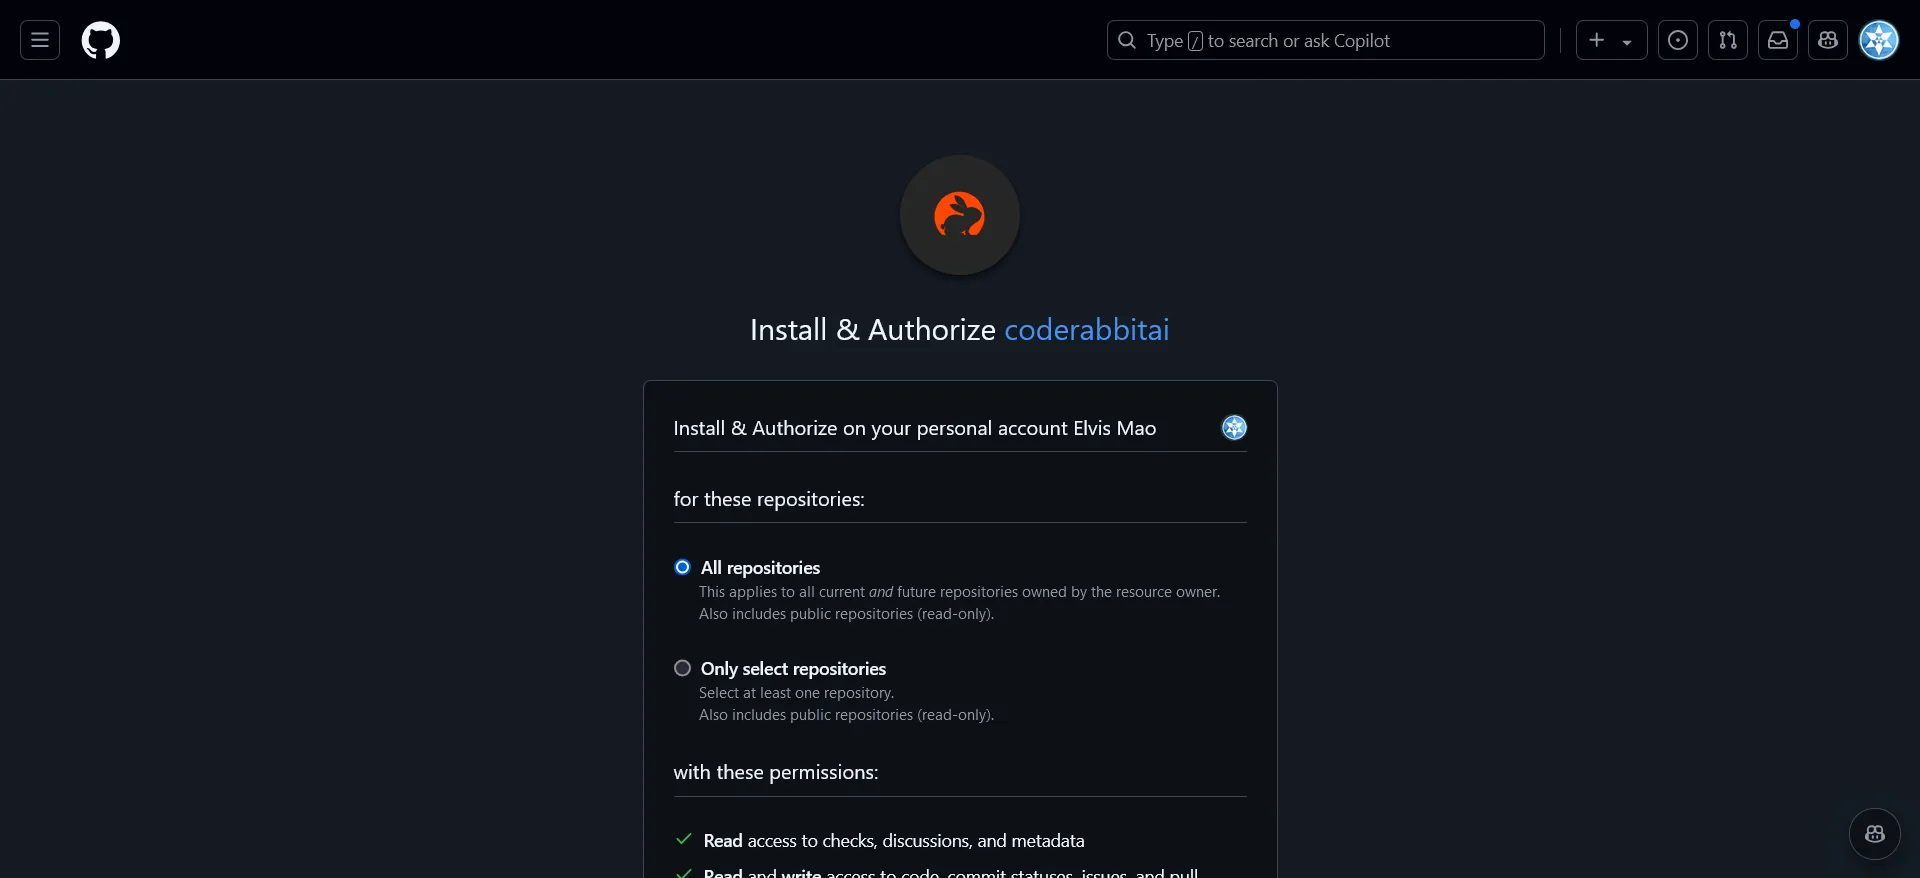
你可以建立 .coderabbit.yaml 文件來配置代碼審查的規則,例如以下是我們中電喵的設置:
# yaml-language-server: $schema=https://coderabbit.ai/integrations/schema.v2.json
language: "en-US"
early_access: false
tone_instructions: "You are a smart cat"
reviews:
  profile: "assertive"
  path_instructions:
    - path: "templates/*.html"
      instructions: "All text should follow sparanoid/chinese-copywriting-guidelines. There should be space between English and Chinese."
  request_changes_workflow: false
  high_level_summary: true
  poem: true
  review_status: true
  collapse_walkthrough: false
  auto_review:
    enabled: true
    drafts: true
    base_branches:
      - main
      - development
chat:
  auto_reply: true
官網:Vercel
Vercel 是一個 serverless 的部署平台,可以幫助你快速部署靜態網站、API 和 Serverless 函數。只需將你的代碼推送到 GitHub 存儲庫,Vercel 將自動構建和部署你的應用程序。
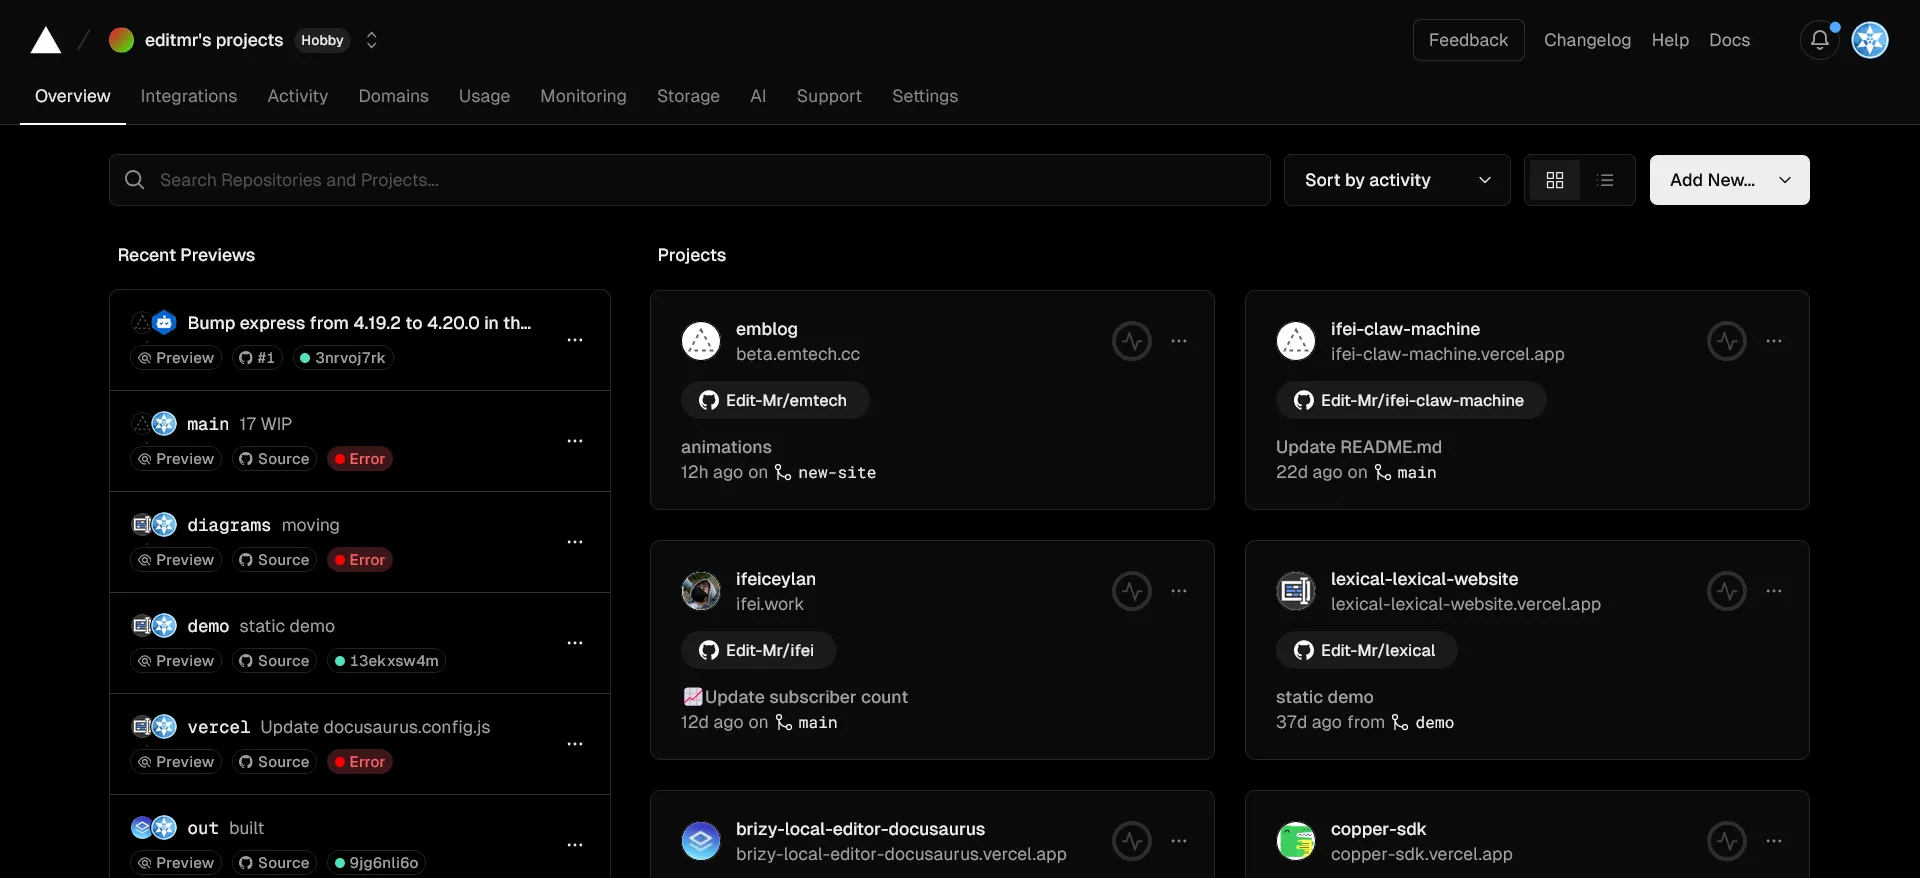
Vercel 最方便的是它會在每次代碼推送後自動部署你的應用程序,你不需要手動操作。你可以訪問 Vercel 的控制台來查看應用程序的部署狀態和日誌。
你可以使用 vercel.json 設置自動部署的規則,或是重新導向規則。例如只在特定分支推送時部署,或者只在特定時間部署。這樣可以確保你的應用程序始終保持最新狀態。
比如說我最用的就是在某些分支取消自動部屬,因為有些東西就是還沒做完每天都要看他噴錯寄 email 罵我也是很煩的。
參考配置:https://vercel.com/docs/projects/project-configuration
{
  "git": {
    "deploymentEnabled": {
      "main": false,
      "new-site": false
    }
  }
}
或著是你可以設定一些簡單的重新導向規則:
{
  "redirects": [
    { "source": "/me", "destination": "/profile.html", "permanent": false }
  ]
}
註冊:Zeabur
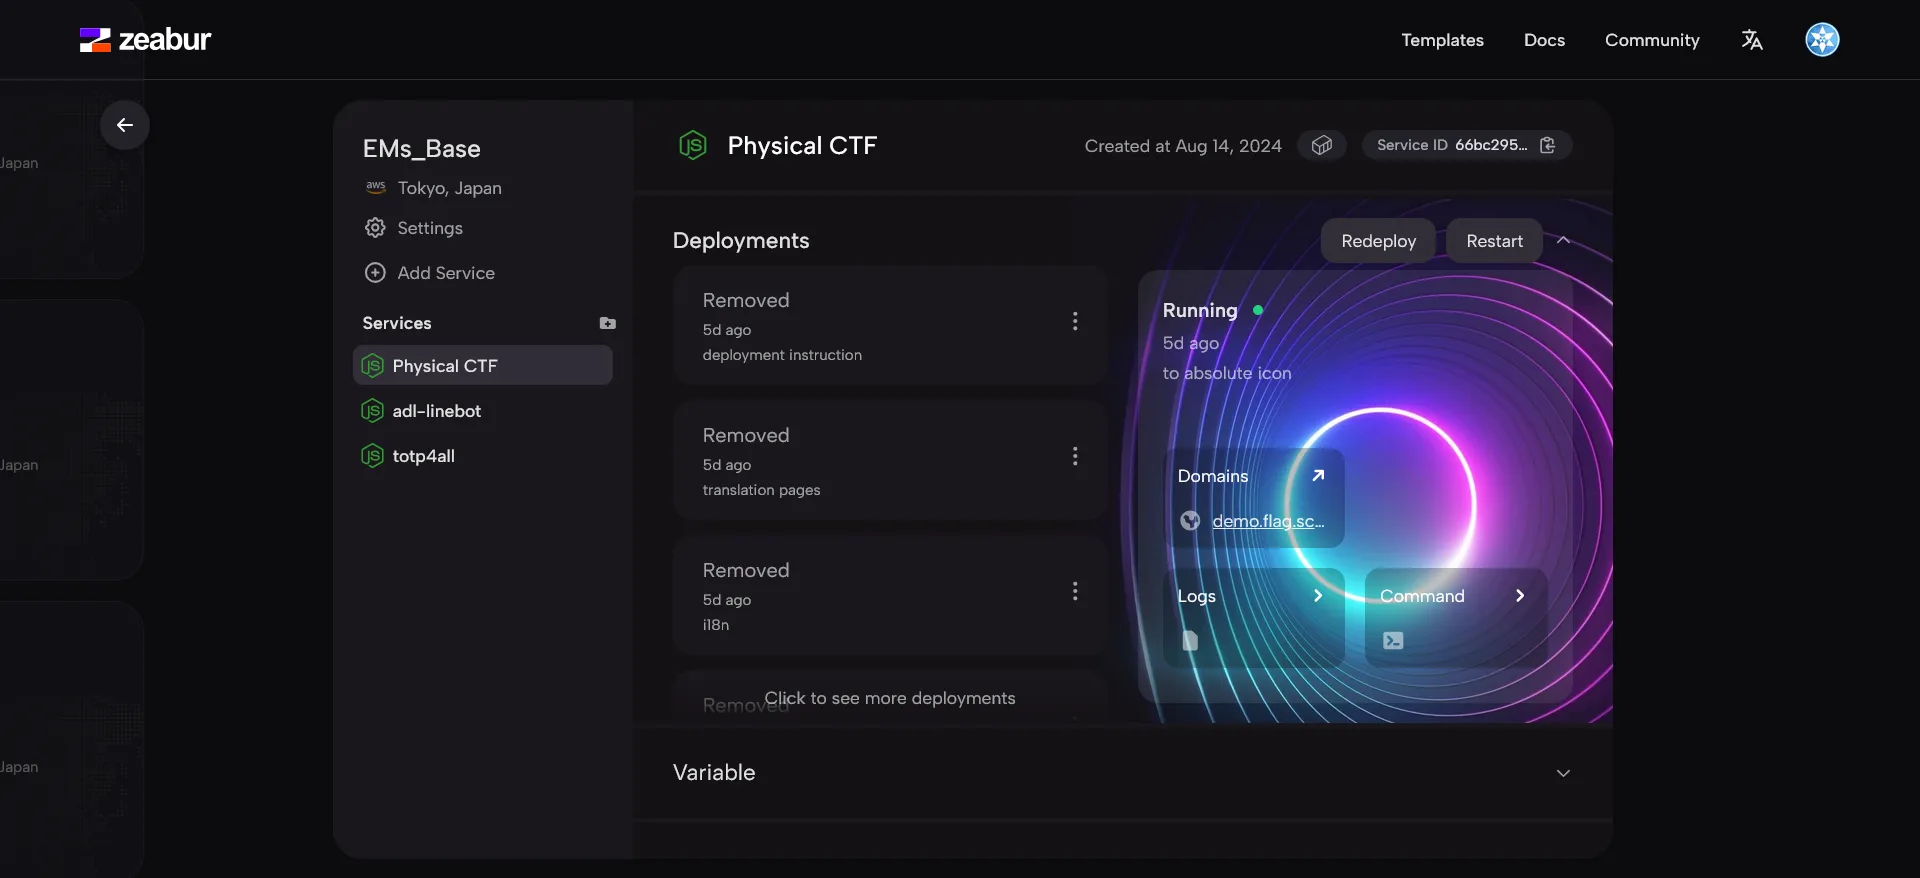
Zeabur 是一個可以幫助你部署服務的平台,而且只需要透過幾個簡單的按鈕即可完成,無論你使用什麼程式語言或開發框架。Zeabur 採用按量計費的方式,你只需要為你的服務實際用到的資源付費,而不需要為整個伺服器付費。
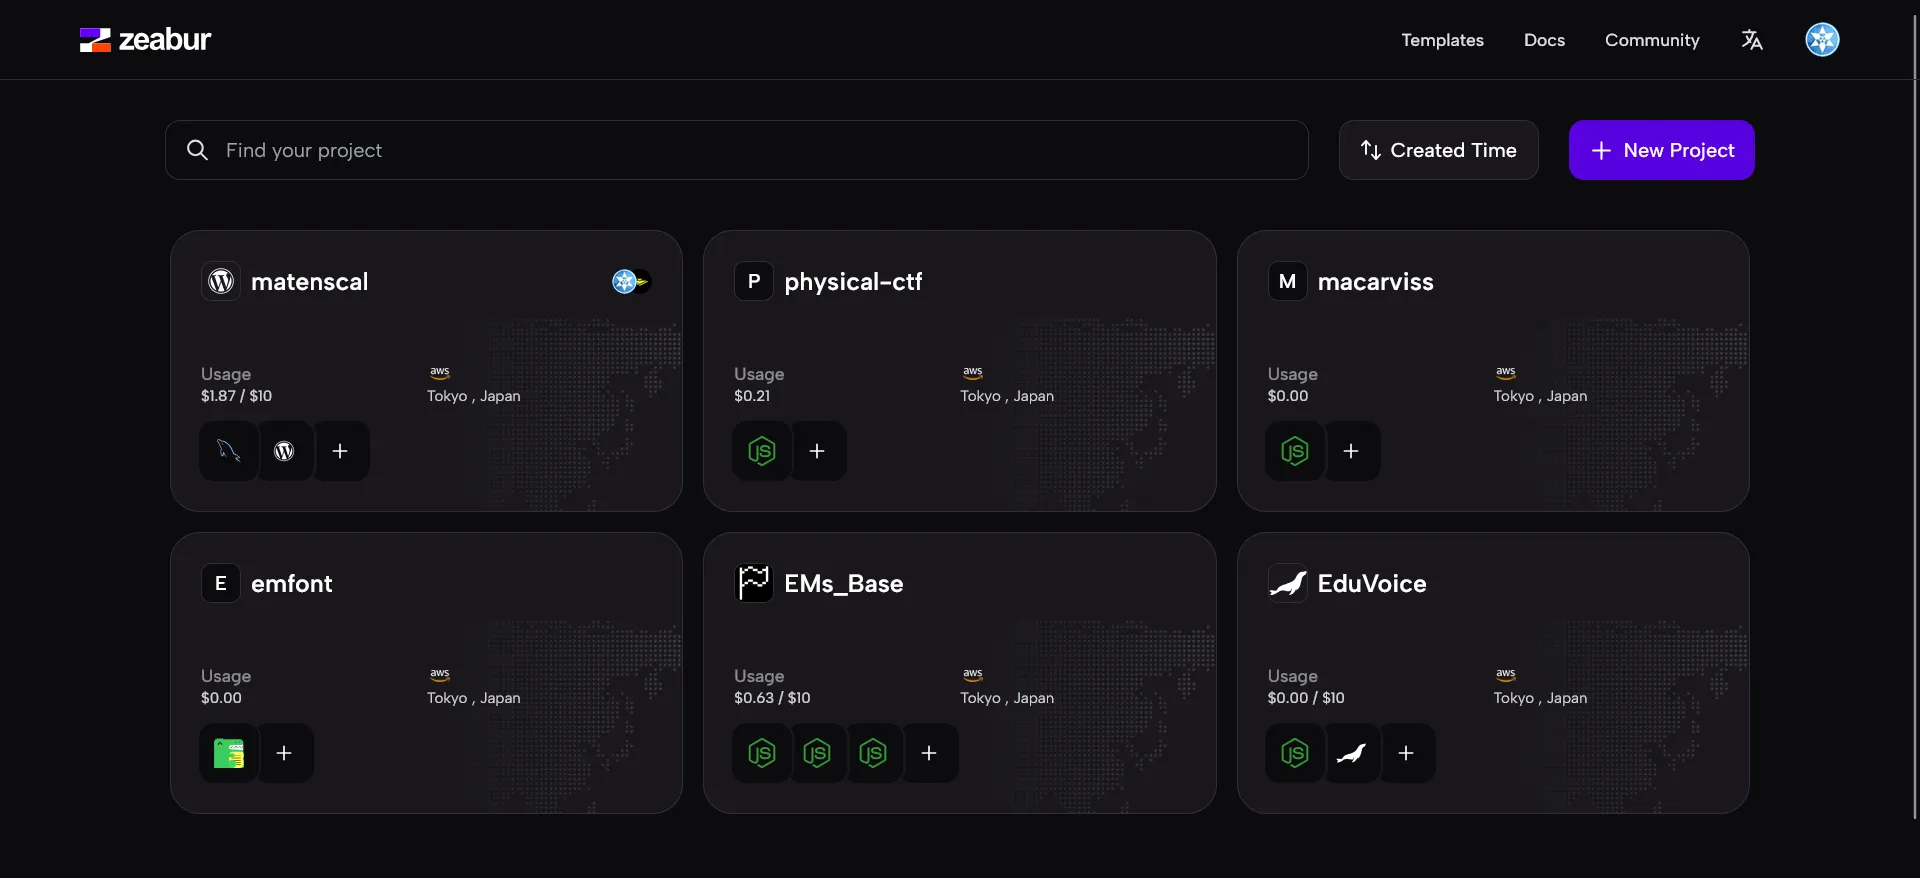
如果你只是要部屬 serverless 函數,Zeabur 是完全免費的。你可以在 Zeabur 的控制台上查看你的服務的部署狀態和日誌,並設置自動部署規則。
通常 99% 的時間你不會需要,但你可以使用 zbpack.json 文件來配置你的服務,例如以下是一些簡單的配置範例:
{
  "build_command": "npm install && npm run build:dist"
}
{
  "start_command": "php artisan migrate && _startup"
}
今天,我們探討了如何使用 GitHub Actions 自動化 issue 管理,並集成外部 API 來提高開發效率,並確保代碼品質。希望這篇教程能幫助你更高效地管理專案。
