本篇是針對上一篇的一點畫面上的優化,主要每次在載入的時候會先空的,大概半秒左右後才把文章顯示出來。
這樣不僅對 CLS 評分有影響,對使用者的體驗也有很大的影響。
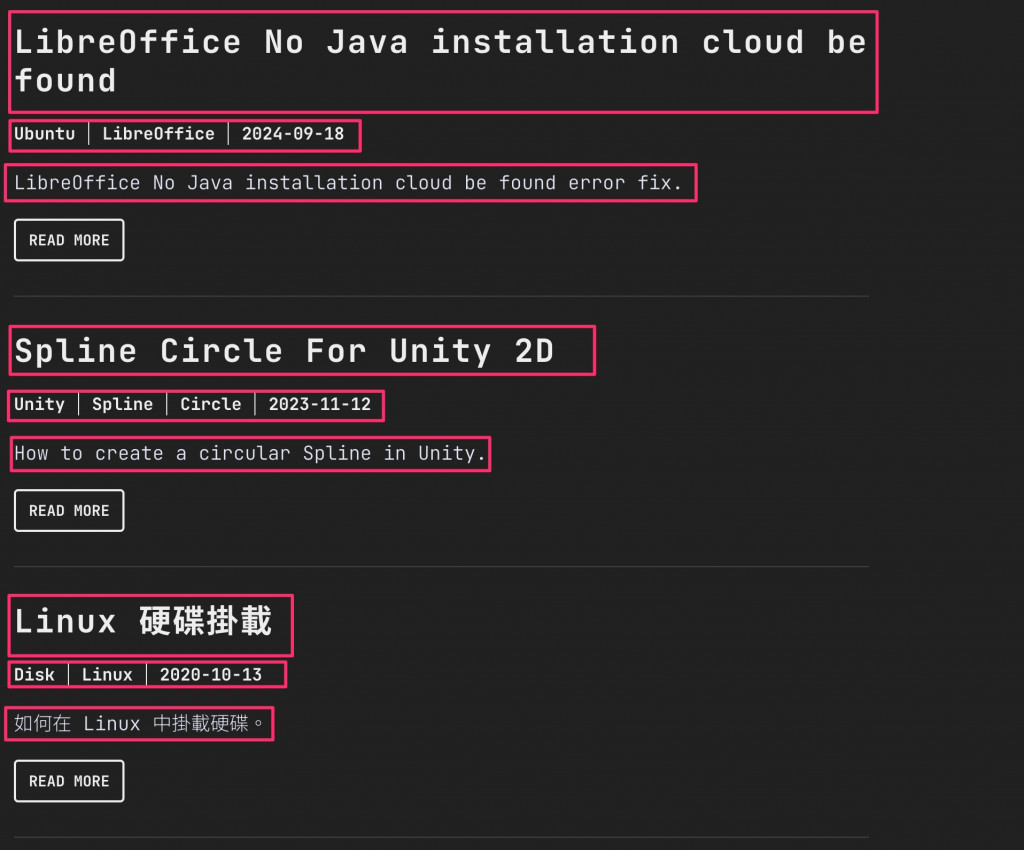
先來分析一下文章列表的結構,基本上每一篇文章的結構都是這樣

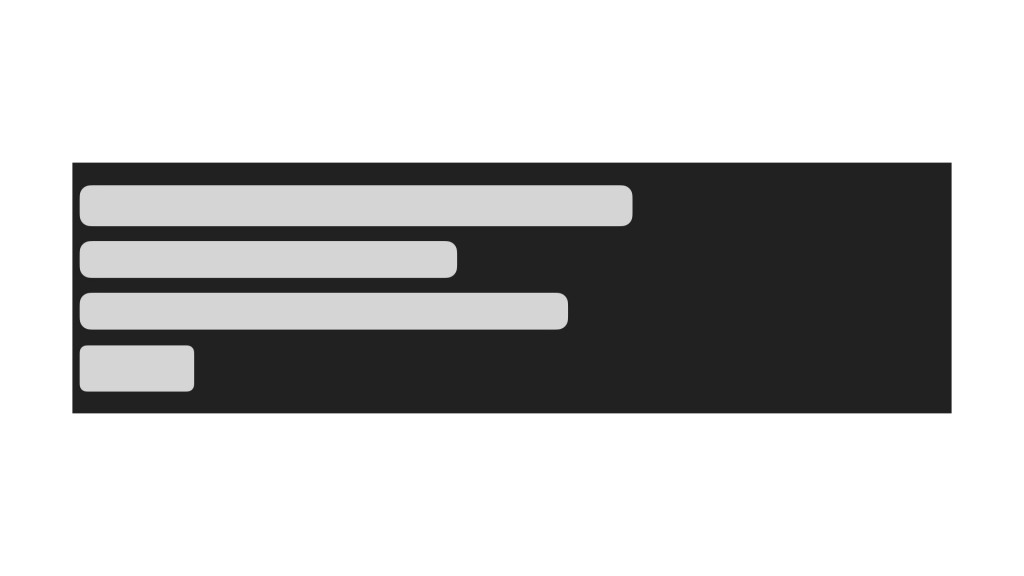
我預期做到的是在文章載入的時候會先顯示這樣的 Skeleton 畫面:

在開始之前一樣是先把文章拉出來做個獨立 Component 方便開發:
// app/components/PostPreview.tsx

import Link from "next/link";
import type { BlogPost } from "@/app/sanity/types";

export default function PostPreview(post: BlogPost) {
  return (
    <li key={post._id} className="py-8 border-b border-b-neutral-800">
      <h2 className="text-3xl tracking-wider font-bold text-neutral-200">
        <Link href={`/${post.slug.current}`}>{post.title}</Link>
      </h2>
      <div className="text-base font-bold text-neutral-200 mt-5">
        {post.tags?.map((tag) => (
          <span
            className="px-3 first:pl-0 border-r border-r-neutral-200"
            key={tag}
          >
            {tag}
          </span>
        ))}
        <span className="px-3">{post.publishedAt}</span>
      </div>
      <h3 className="text-lg font-light mt-5">{post.subtitle}</h3>
      <div className="mt-5">
        <Link
          className="inline-block border-2 border-neutral-200 text-neutral-200 px-3 py-2 text-sm font-bold rounded uppercase"
          href={`/${post.slug.current}`}
        >
          Read More
        </Link>
      </div>
    </li>
  );
}
再建立另外一個 PostPreviewSkeleton.tsx 的 Component 專門來處理 Skeleton 的樣式:
( 使用 tailwind.css 預設的 animate-pulse 作為樣式 )
// app/components/PostPreviewSkeleton.tsx

export default function PostPreviewSkeleton() {
  return (
    <li className="post-preview-skeleton py-8 border-b border-b-neutral-800 animate-pulse">
      <div className="w-96 h-7 rounded-md bg-neutral-200"></div>
      <div className="w-72 h-6 rounded-md bg-neutral-200 mt-5"></div>
      <div className="w-80 h-7 rounded-md bg-neutral-50 mt-5"></div>
      <div className="w-20 h-9 rounded-md bg-neutral-200 mt-5"></div>
    </li>
  );
}
接著更改 PostsBlock.tsx 讓他在初始化的時候先使用 Skeleton 的 Component:
<ul className="post-list">
  {R.isNotEmpty(posts) // 如果還沒有文章要顯示
    ? posts.map((post) => <PostPreview key={post._id} post={post} />)
    : new Array(5) // 預設顯示 5 個 Skeleton
        .fill(0)
        .map((_, idx) => <PostPreviewSkeleton key={idx} />)}
</ul>
這樣就會在刷新頁面時先顯示 Skeleton 的樣式了:

