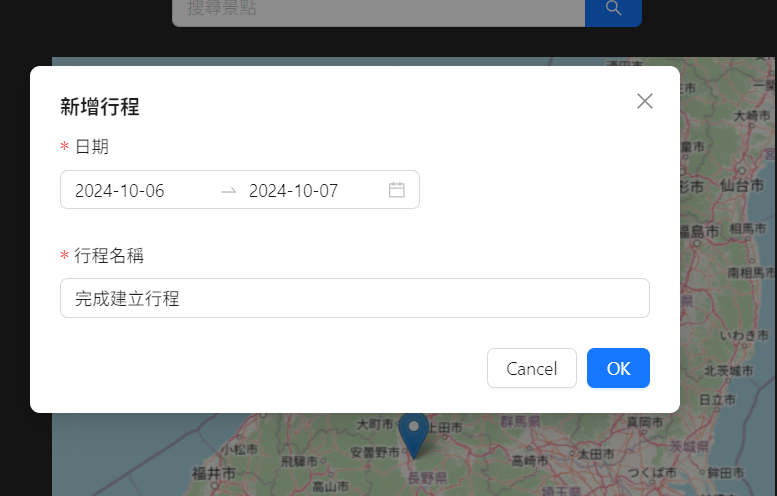
昨天我們先把樣子畫好了,今天就來實踐新增行程這項功能吧,一樣先把slice、reducer等redux相關的東西先定義好,那我們就開始吧!
架構上跟之前加入收藏差不多
// redux/scheduleSlice.js

import { createSlice } from "@reduxjs/toolkit";

const initialState = { scheduleItems: [] };
const scheduleSlice = createSlice({
  name: 'schedule',
  initialState,
  reducers: {
    addScheduleItems: (state, action) => {
      state.scheduleItems.push(action.payload);
      console.log("add schedule reducer");
    },
    removeScheduleItems: (state, action) => {
      state.scheduleItems = state.scheduleItems.filter((x) => x.name !== action.payload);
    },
  },
});

// export state to global
export const selectScheduleItems = (state) => state.schedule.scheduleItems;

// export actions to global
export const { addScheduleItems, removeScheduleItems } = scheduleSlice.actions;

// export reducer to global
export default scheduleSlice.reducer;
// redux/store.js
import { thunk } from 'redux-thunk';
import { configureStore } from '@reduxjs/toolkit';
import { combineReducers } from 'redux';
import favoritesReducer from './favoriteSlice';
import scheduleReducer from './scheduleSlice';

const rootReducer = combineReducers({
    favorites: favoritesReducer,
    schedule: scheduleReducer,
  });

  export const store = configureStore({
    reducer: rootReducer,
    devTools: process.env.NODE_ENV !== 'production',
    middleware: (getDefaultMiddleware) =>
      getDefaultMiddleware({
        serializableCheck: false,
      }).concat(thunk),
  });

// export const persistor = persistStore(store);
export default store;
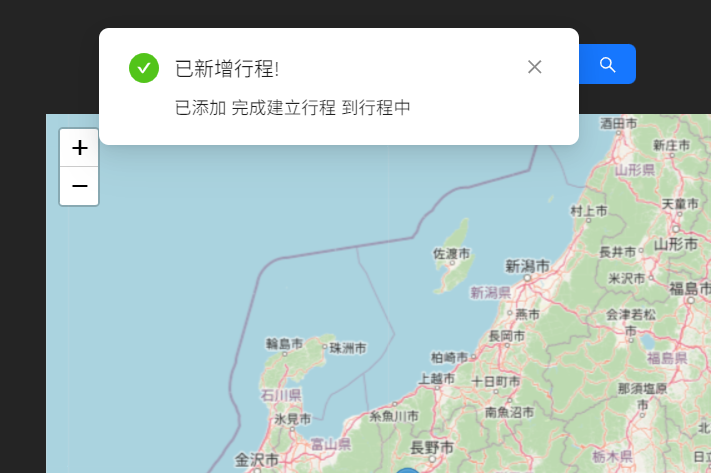
我們先在按下ok時會觸發的handleOk函式裡利用dispatch將我們輸入完成的內容回傳到redux中,那這邊我們也使用antd的notification功能提示我們行程建立成功。而我們建立行程時要儲存的資料為行程名稱與時間,我們也設定<required: true>就是必填選項的意思,否則不能送出dispatch。
const handleOk = () => {
    form.validateFields().then(values => {
        dispatch(addScheduleItems({
            scheduleName: values['schedule name:'],
            time: time,
        }));
        console.log('Action dispatched');
        notification.success({
            message: '已新增行程!',
            description: `已添加 ${values['schedule name:']} 到行程中`,
            placement: 'top'
        });
        toggleModal();
        form.resetFields();
    }).catch(info => {
        console.log('Validate Failed:', info);
    });
};
<Form form={form} layout="vertical">
    <Form.Item
        name="date"
        label="日期"
        rules={[{ required: true, message: '請選擇日期' }]}
    >
        <RangePicker onChange={timeChange} />
    </Form.Item>
    <Form.Item
        name="schedule name:"
        label="行程名稱"
        rules={[{ required: true, message: '請輸入行程名稱' }]}
    >
        <Input onChange={(e) => nameChange(e.target.value)} />
    </Form.Item>
</Form>
這裡可以看到,按下建立行程後,會有成功的訊息!
 !
!
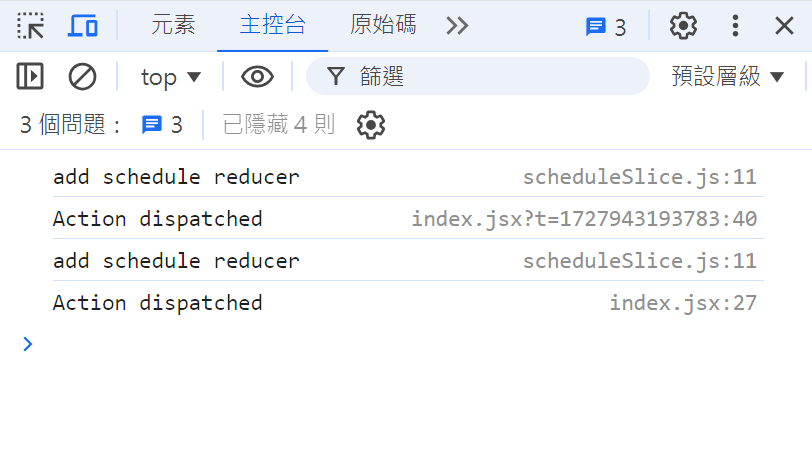
在這邊也提醒一下各位,可以適度的使用console.log指令放在會執行動作的地方,可以查看到底有沒有成功。舉例來說,我們有在scheduleSlice中加入**console.log("add schedule reducer");**如此一來,只有當成功發送dispatch後,並且reducers成功街收到訊息後,才會在主控台(F12)顯示這串文字,以下是範例:
今天完成了基本的建立行程功能,大致上來說跟加入收藏差不多,只是這次是可以自己輸入文字而已,而且也跟各位簡單介紹了很好的除錯方法,當我們在寫Redux時是非常需要知道任務到底有沒有成功的,請各位一定要多善用此功能。在明天,我們會實現在個別的景點中,可以選擇已建立的行程並把他加入到裡面。那我們就明天見了!
