今天這一篇文章要來用docker跑n8n,並且建立第一個Workflow!
Step 1 安裝docker
Step 2 安裝與Docker Compose&安裝n8n
 volumes:
   n8n_storage:
 services:
   n8n:
     image: n8nio/n8n:latest
     restart: always
     ports:
       - "127.0.0.1:5678:5678"
     volumes:
       - n8n_storage:/home/node/.n8n
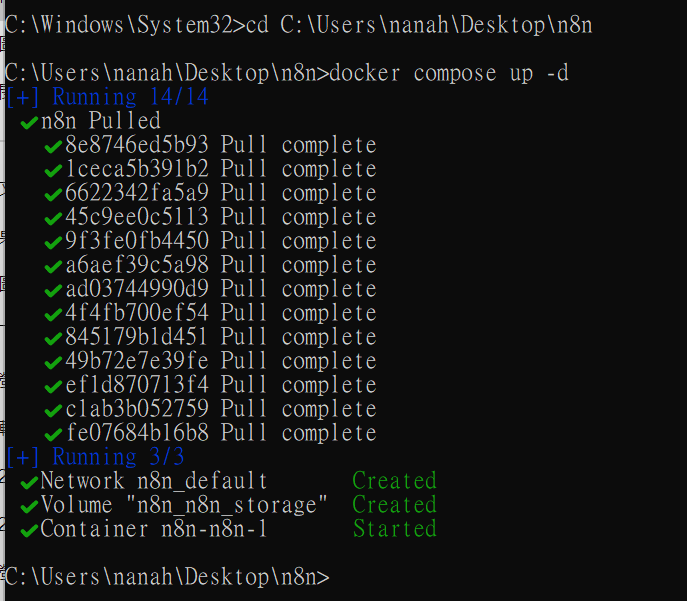
Step 3 啟動n8n
注意!!由於是本地安裝,對於n8n來說是google是來路不明的,因此無法直接連到google等帳號做存取,也就是不會出現google的登入按鈕,可以按照以下步驟解決。
進入google cloud平台以取得通行證
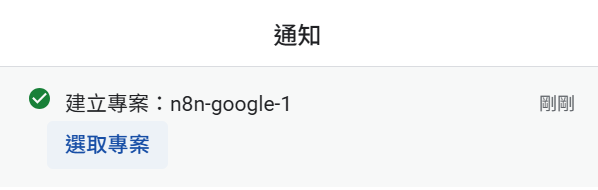
新增專案並選取該專案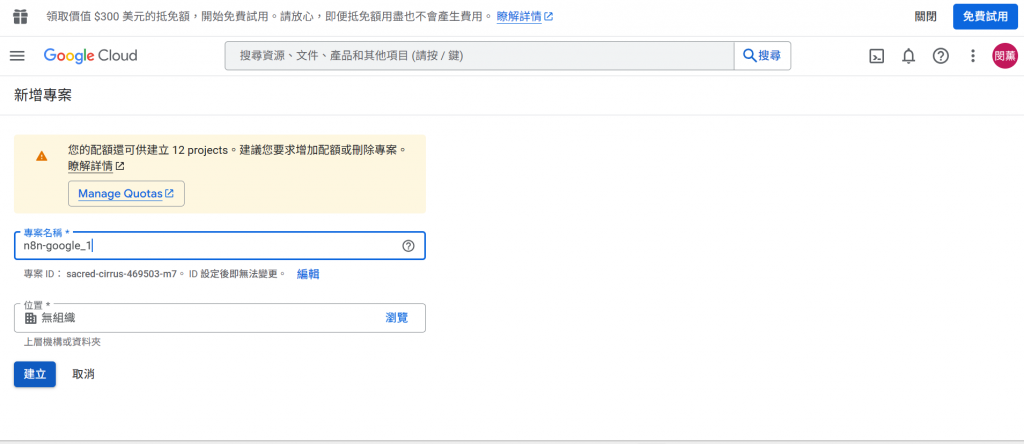
選擇gmail API、google calenderAPI等等,點擊啟用 (這裡以gmail示範)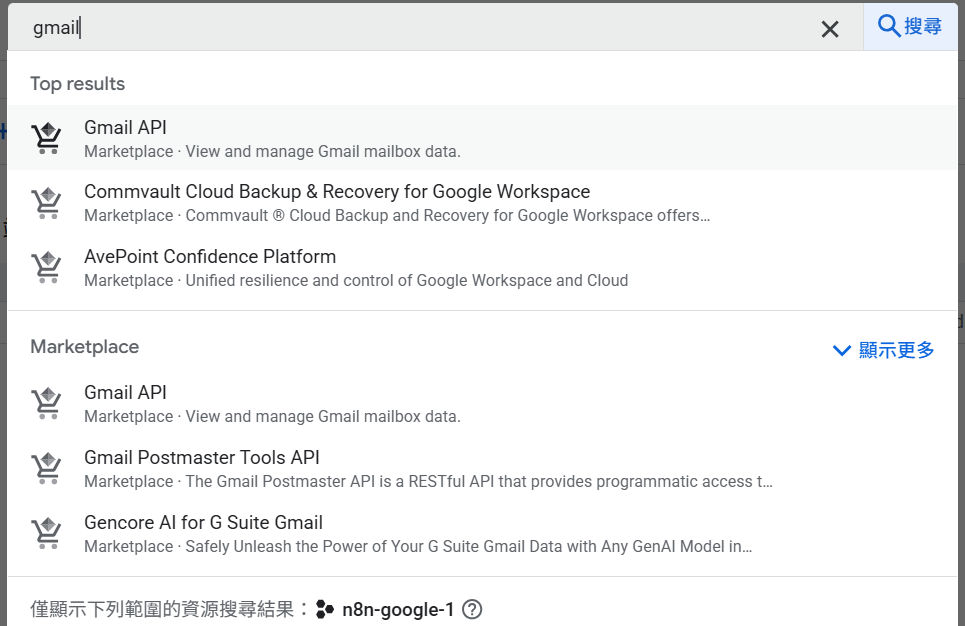
點選OAuth來允許授權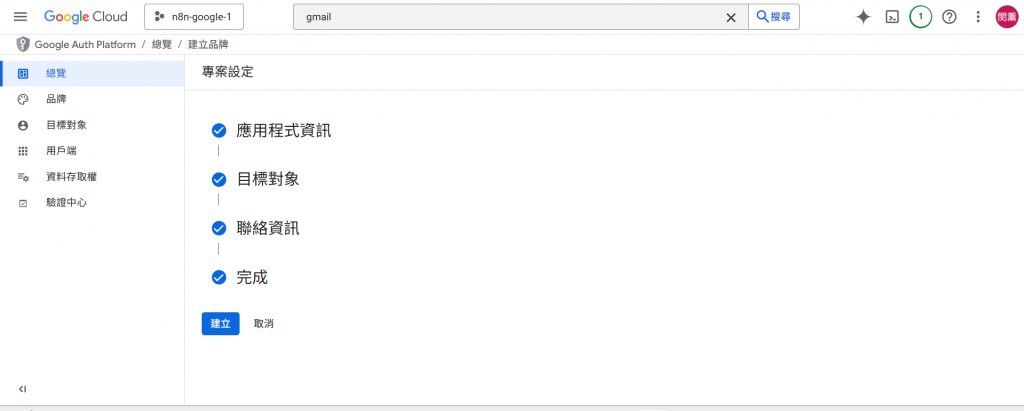
設定目標對象(這裡先設定自己)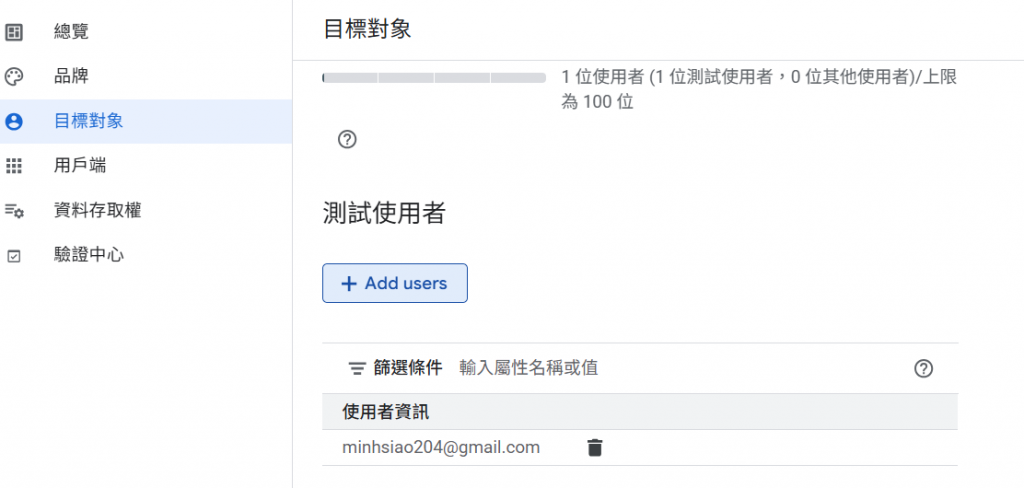
建立用戶端,並點選網頁應用程式
移到網頁最下面的「已授權的重新導向URI」,貼上從n8n頁面複製的「OAuth Redirect URL」
點擊建立後,會出現用戶端ID與用戶端密碼,複製下來回到n8n頁面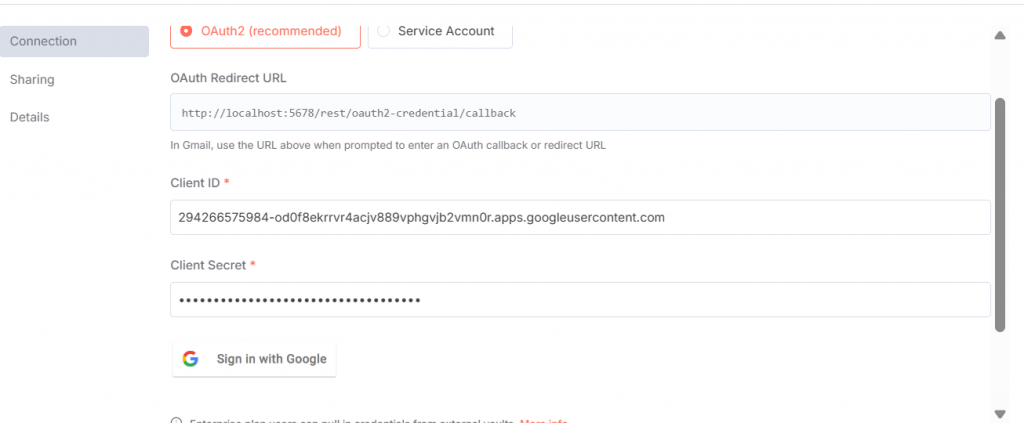
就會出現google登入按鈕,按指示登入
建立一個觸發器,類似開關,只要啟動就會按照設定的步驟一步一步執行
首先建立手動觸發器
雙擊點選後會出現設定頁面
點擊set mock data 建立資料內容
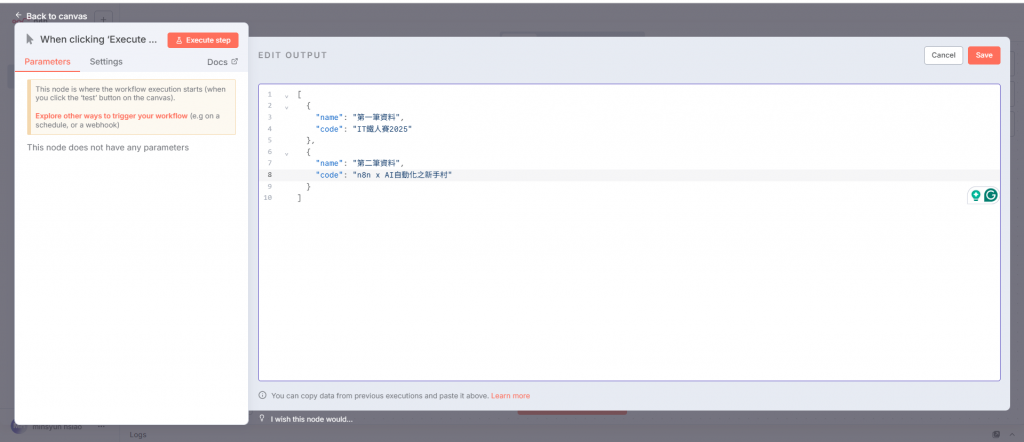
儲存後會顯示數據已被鎖定以方便做測試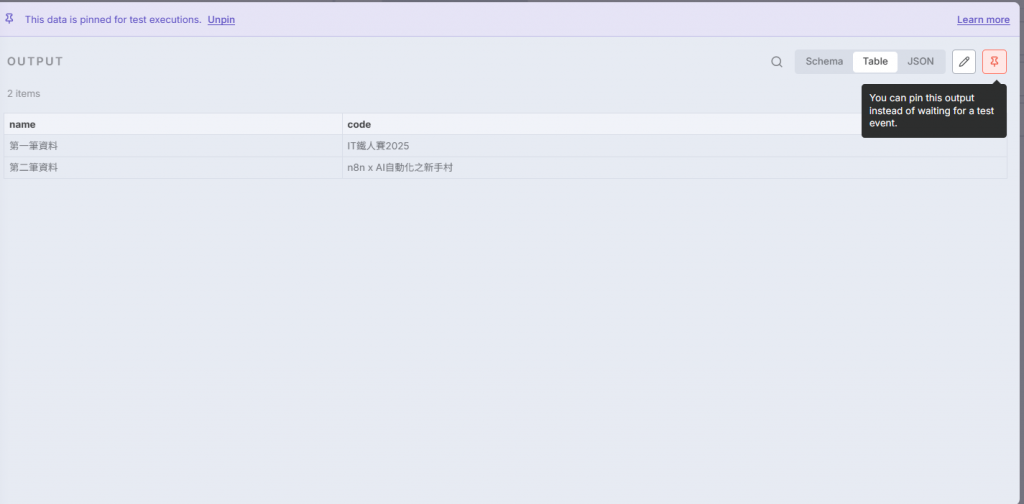
點下執行按鈕可以看到剛輸入的兩筆資料被送出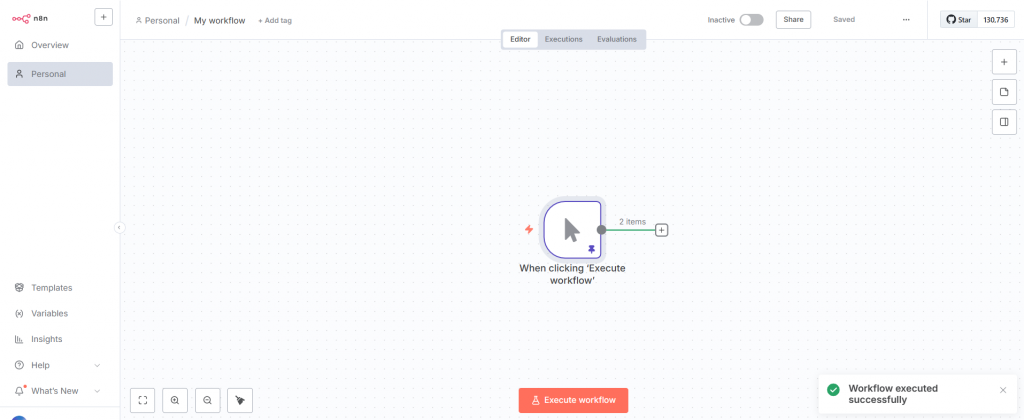
點擊+號設定節點,選擇將資料送到何處,這裡選擇gmail的send message功能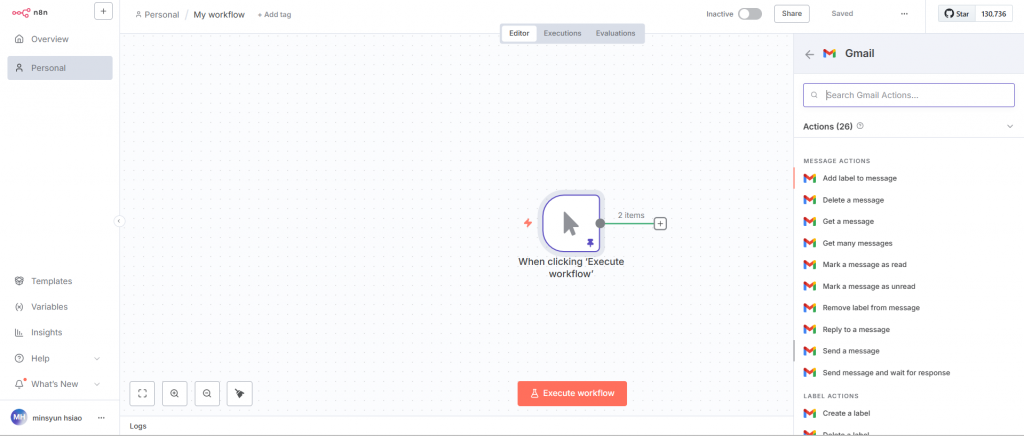
節點設定頁面
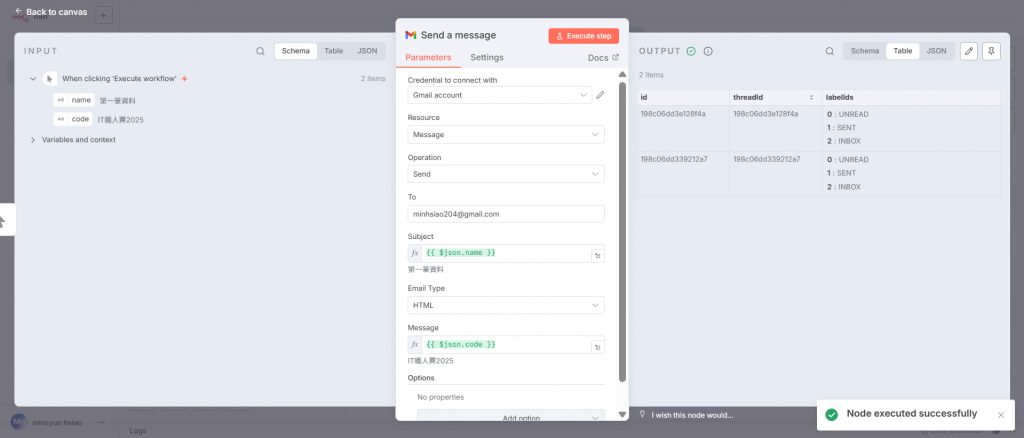
按下執行 !
!
未完待續~