讀CSV檔案
產生推播
產生通知按鈕: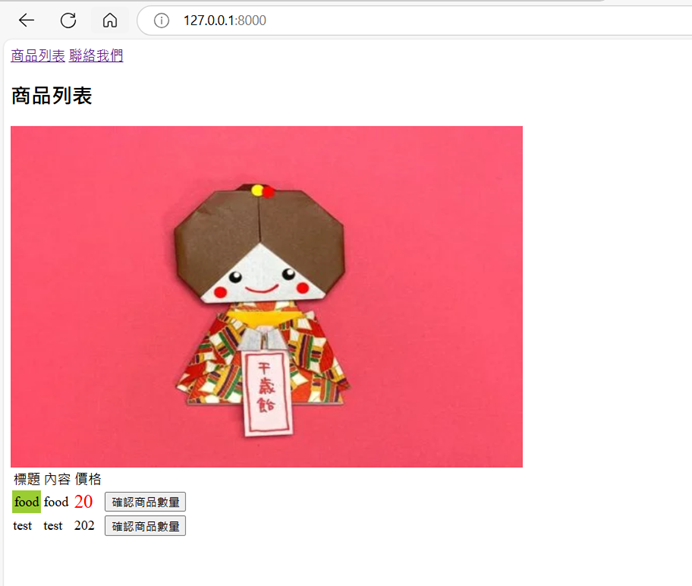
用指令建立推播
php artisan make:notification OrderDelivery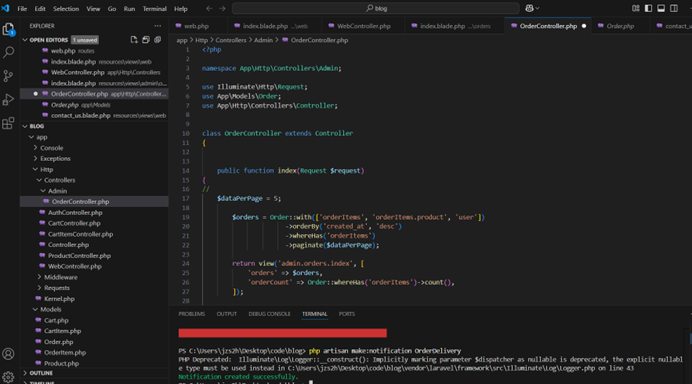
看到新增的資料夾跟內容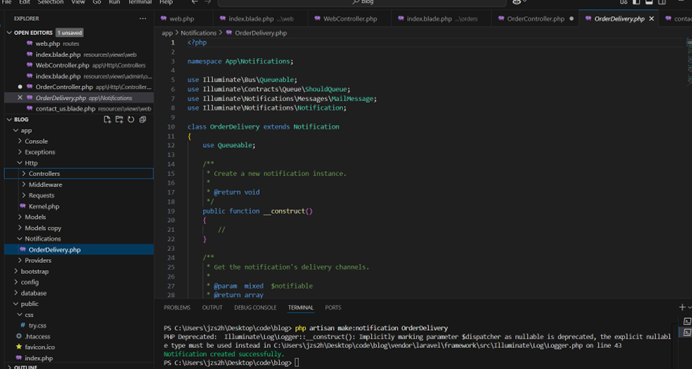
原來的程式碼
<?php

namespace App\Notifications;

use Illuminate\Bus\Queueable;
use Illuminate\Contracts\Queue\ShouldQueue;
use Illuminate\Notifications\Messages\MailMessage;
use Illuminate\Notifications\Notification;

class OrderDelivery extends Notification
{
    use Queueable;

    /**
     * Create a new notification instance.
     *
     * @return void
     */
    public function __construct()
    {
        //
    }

    /**
     * Get the notification's delivery channels.
     *
     * @param  mixed  $notifiable
     * @return array
     */
    public function via($notifiable)
    {
        return ['mail'];
    }

    /**
     * Get the mail representation of the notification.
     *
     * @param  mixed  $notifiable
     * @return \Illuminate\Notifications\Messages\MailMessage
     */
    public function toMail($notifiable)
    {
        return (new MailMessage)
                    ->line('The introduction to the notification.')
                    ->action('Notification Action', url('/'))
                    ->line('Thank you for using our application!');
    }

    /**
     * Get the array representation of the notification.
     *
     * @param  mixed  $notifiable
     * @return array
     */
    public function toArray($notifiable)
    {
        return [
            //
        ];
    }
}
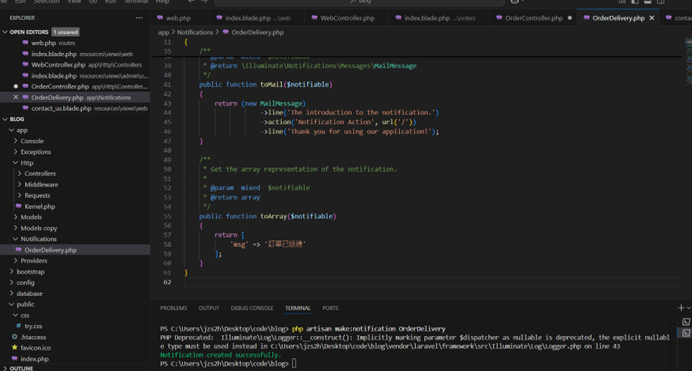
修改return ['mail'];
變成return ['database'];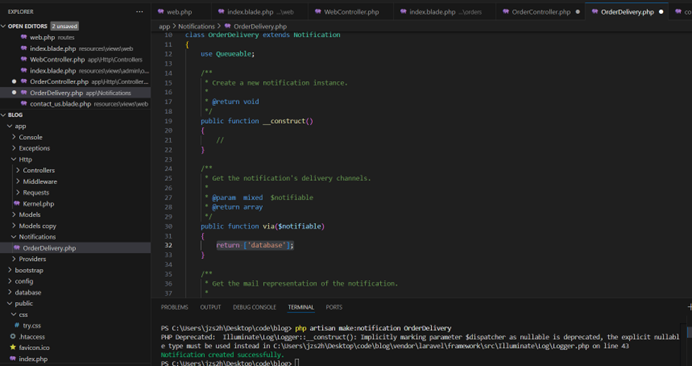
再修改程式碼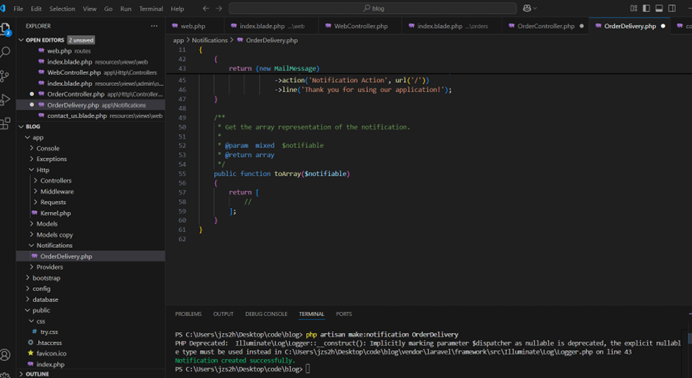
變成 return [
'msg' => '訂單已送達'
];
用指令產生資料表的結構
php artisan notifications:table
使用uuid使用當下的時間搓當作id
用指令產生資料表php artisan migrate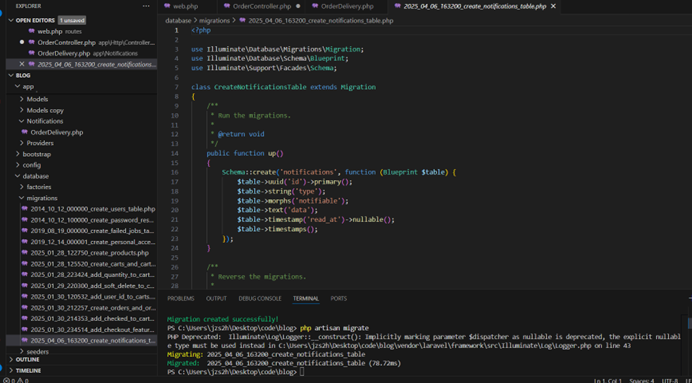
修改OrderController的程式碼,加入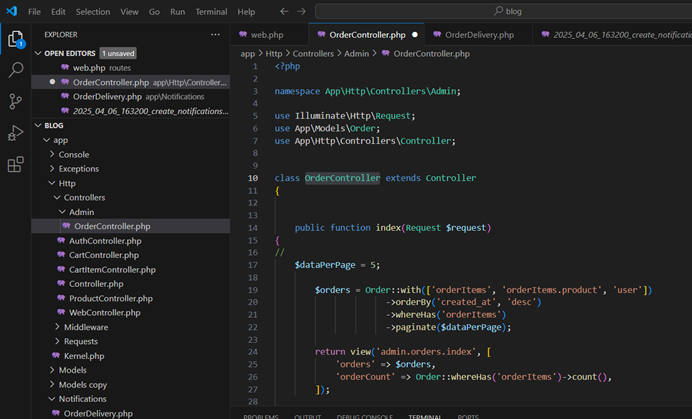
設定送出 跟 沒有送出
新增後: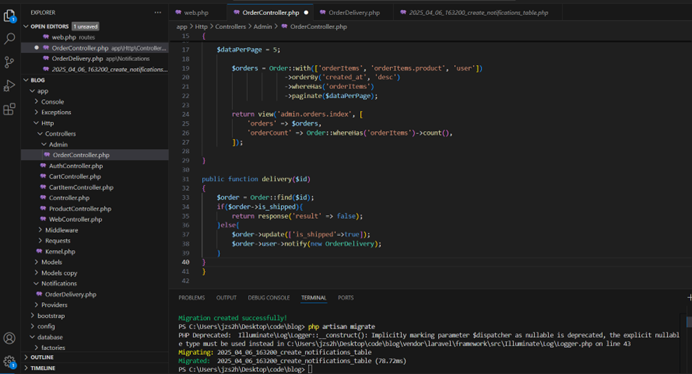
看user的models裡面有預設的
use Illuminate\Notifications\Notifiable;
回到OrderDelivery裡面也加入
use App\Notifications\OrderDelivery;
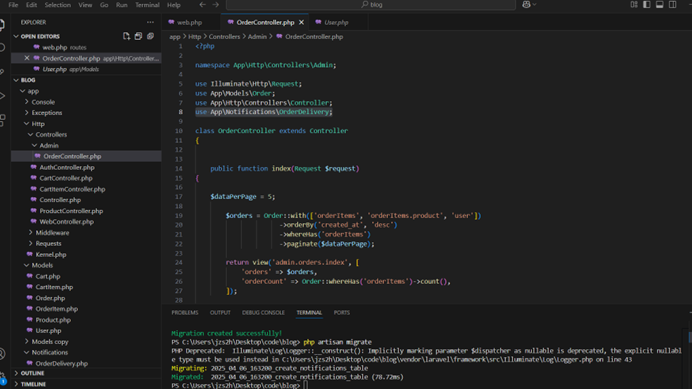
再修改裡面的程式碼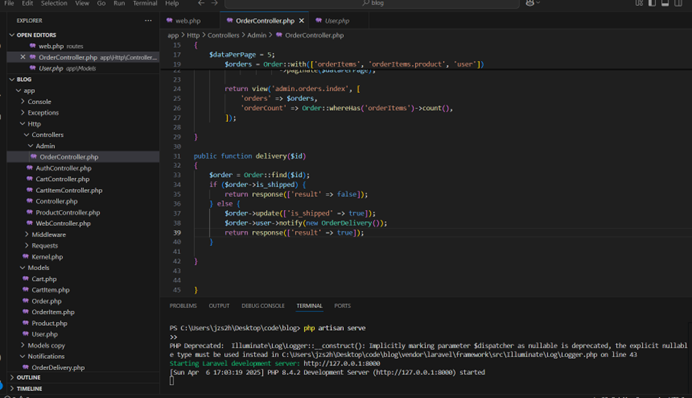
增加路由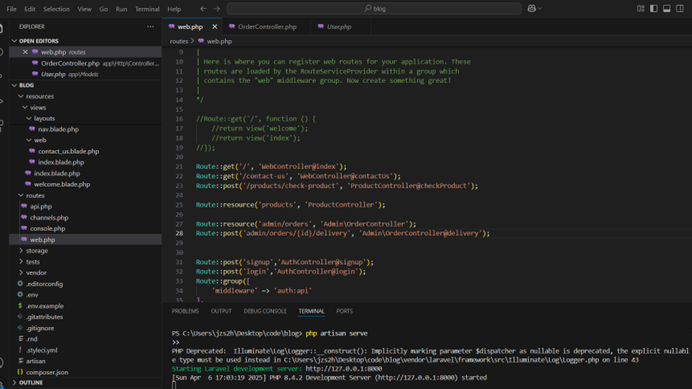
先用POSTMAN測試
先在後端啟動php artisan serve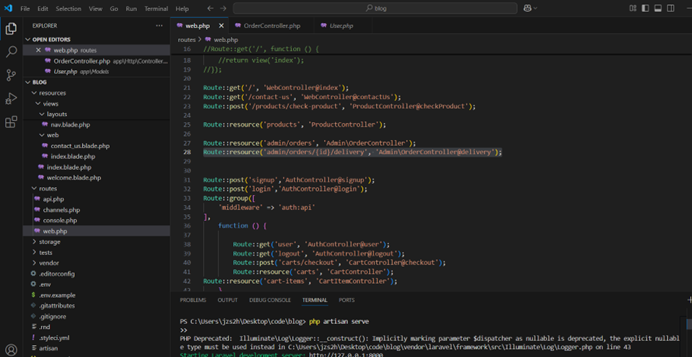
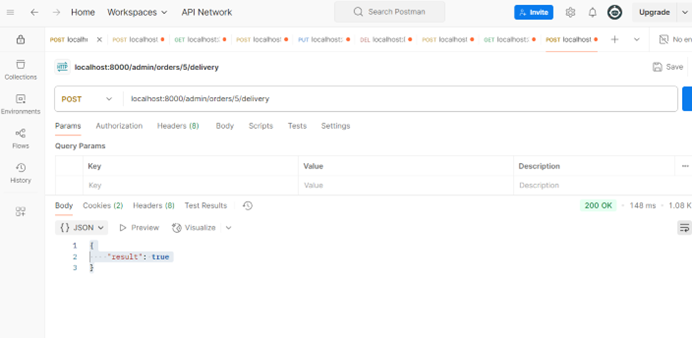
用POSTMAN測試: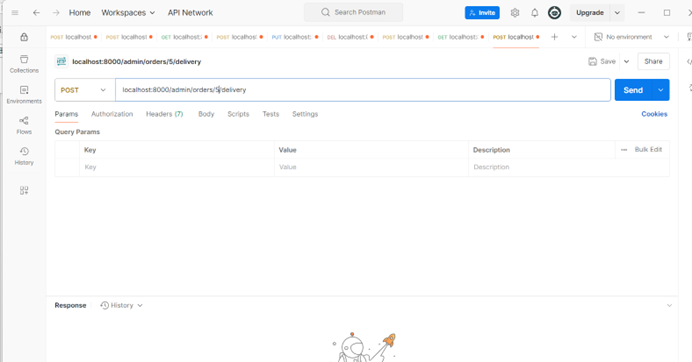
對應看資料表5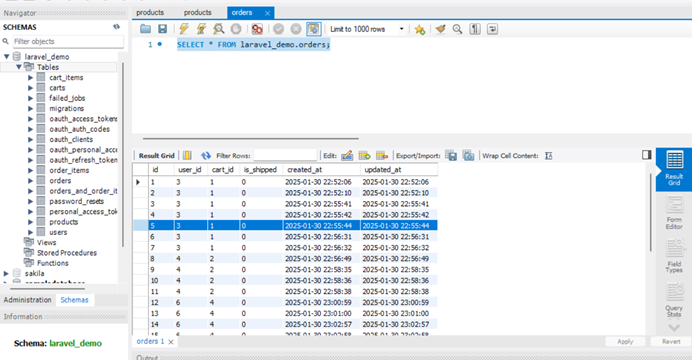
+
多出現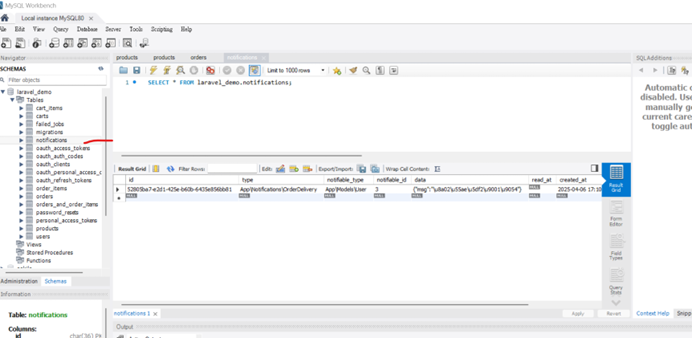
再設定
改WebController 程式碼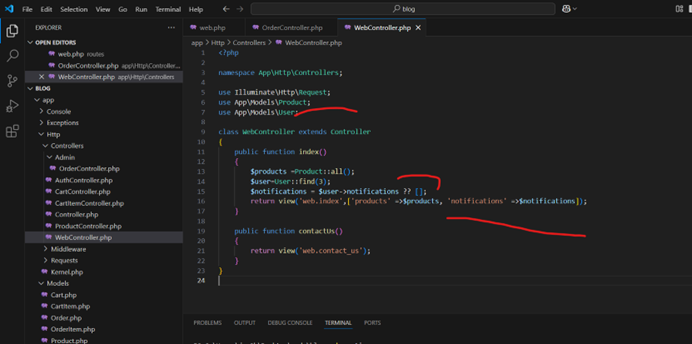
顯示在前端https://getbootstrap.com/
加入bootstrap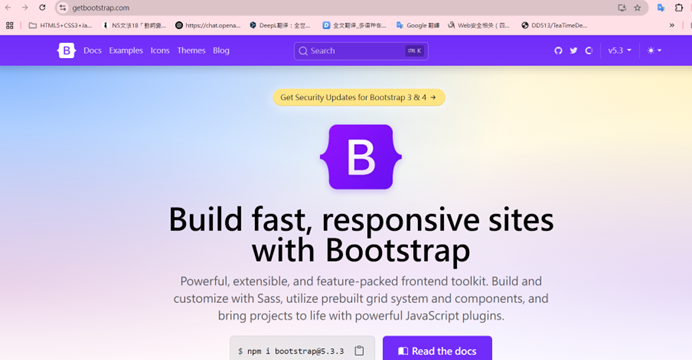
https://getbootstrap.com/docs/4.6/getting-started/introduction/
選4.6的版本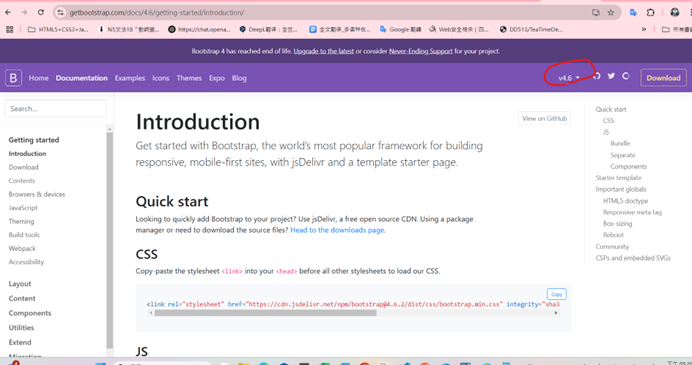
複製CSS
再貼入>顯示
將貼在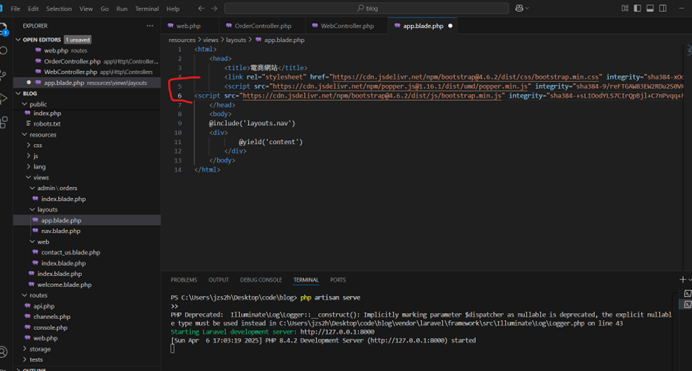
移到
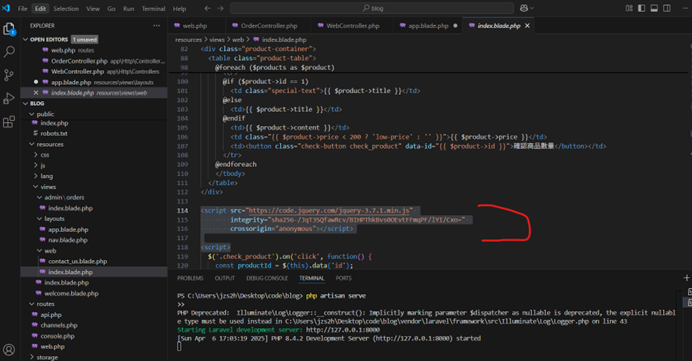
<script src="https://code.jquery.com/jquery-3.7.1.min.js"
        integrity="sha256-/JqT3SQfawRcv/BIHPThkBvs0OEvtFFmqPF/lYI/Cxo="
        crossorigin="anonymous"></script>

<script>
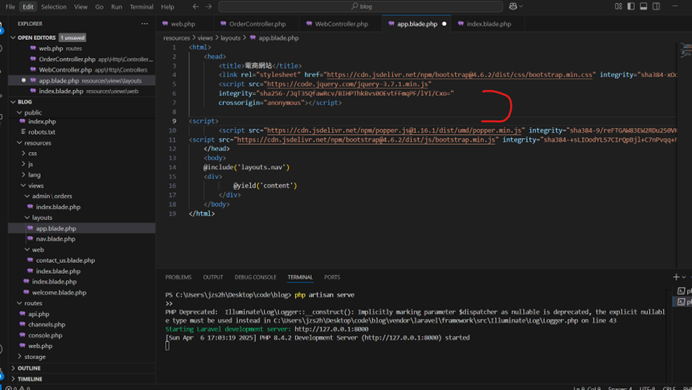
加入在layout的資料夾裡面>擺放的順序很重要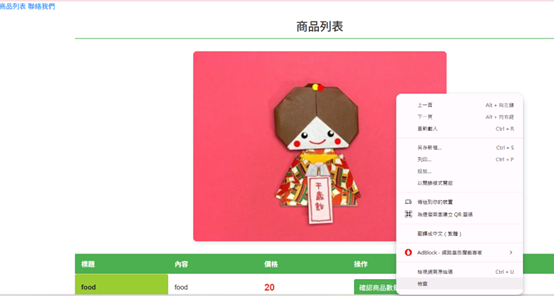
畫面>右鍵>檢查>看是否
搜尋modal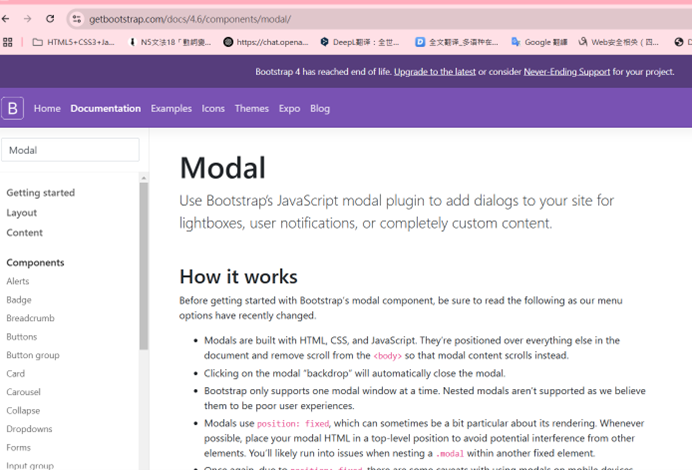
裡面有sample code
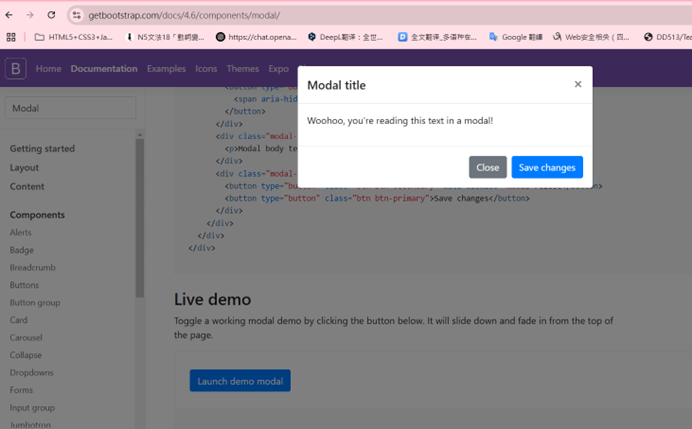
複製裡面的程式碼:
Launch demo modal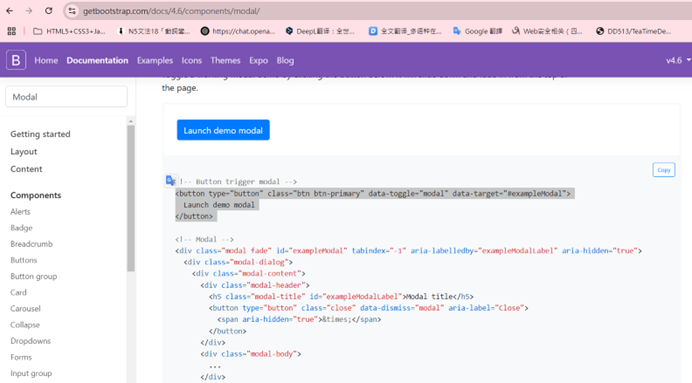
貼上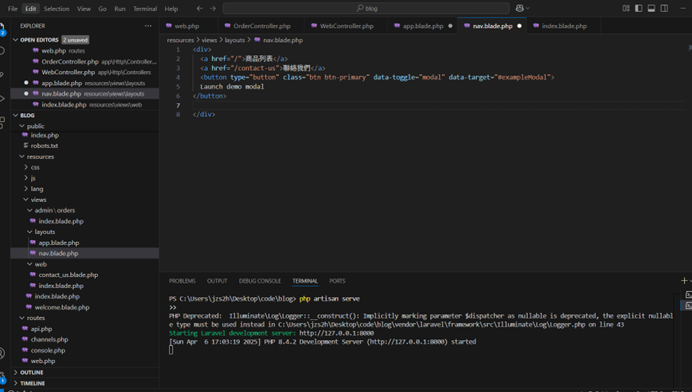
改叫 通知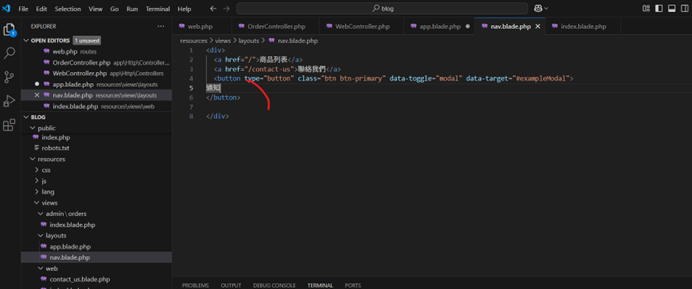
修改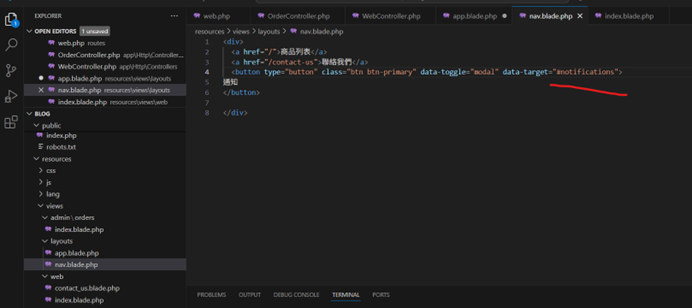
再修改程式碼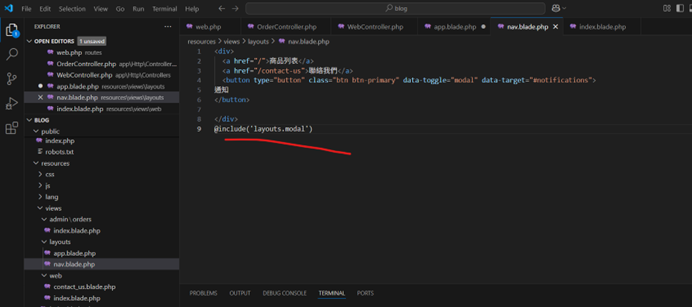
再新增檔案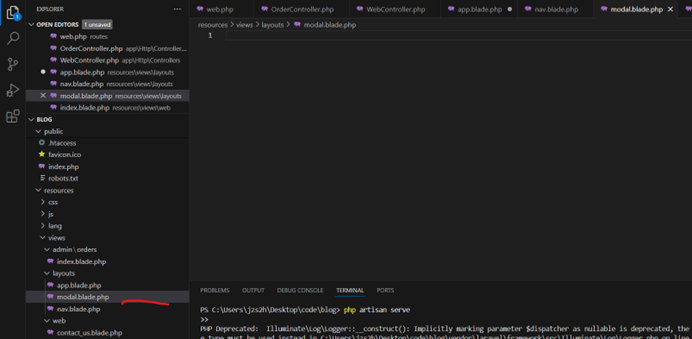
貼上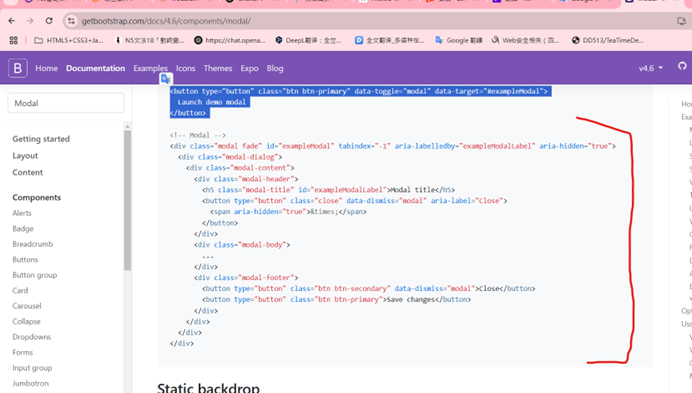
貼上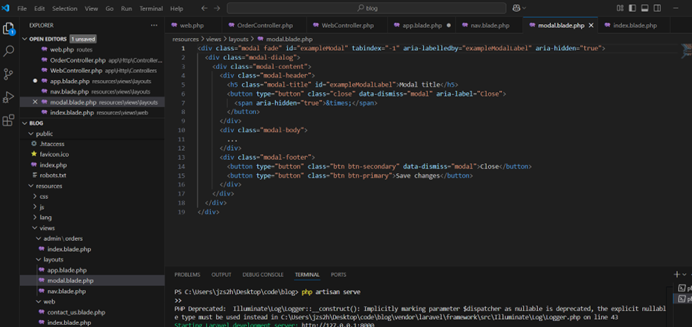
修改id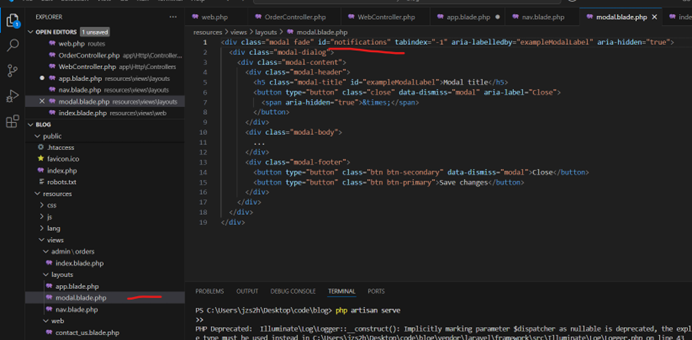
變 通知 把裡面先刪除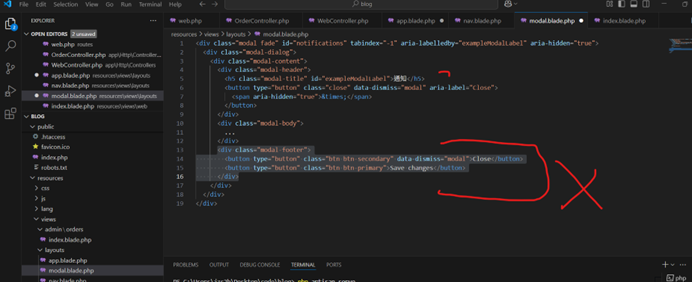
只剩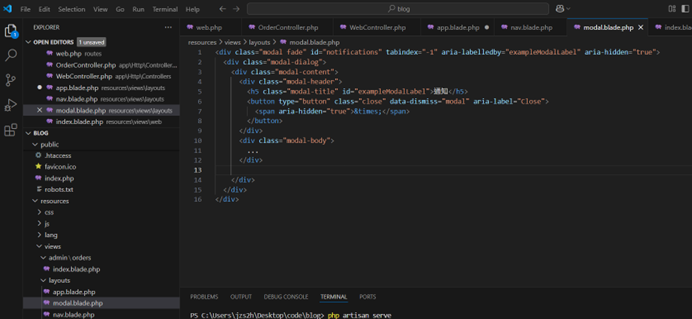
資料表裡面有msg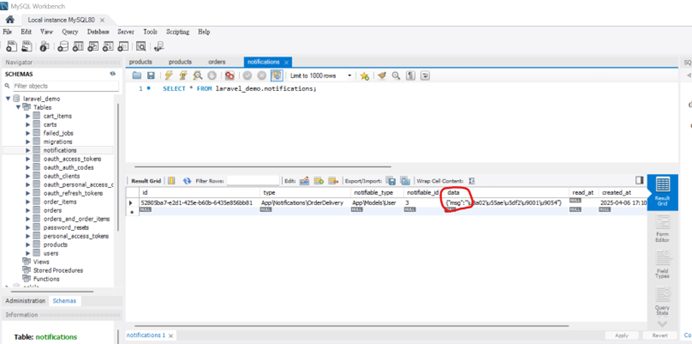
修改程式碼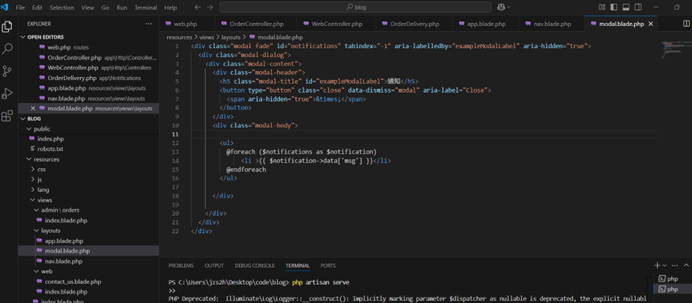
<div class="modal fade" id="notifications" tabindex="-1" aria-labelledby="exampleModalLabel" aria-hidden="true">
<div class="modal-dialog">
<div class="modal-content">
<div class="modal-header">
<h5 class="modal-title" id="exampleModalLabel">通知</h5>
<button type="button" class="close" data-dismiss="modal" aria-label="Close">
<span aria-hidden="true">×</span>
</button>
</div>
<div class="modal-body">
<ul>
@foreach ($notifications as $notification)
<li >{{ $notification->data['msg'] }}</li>
@endforeach
</ul>
</div>
</div>
</div>
</div>
畫面上面按 通知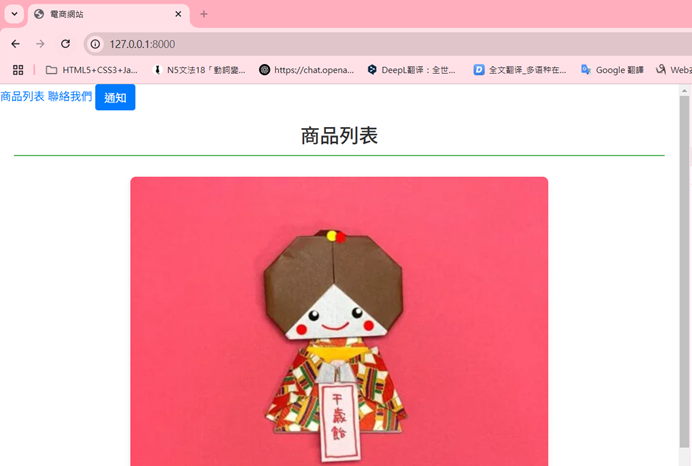
顯示
大家明天見~


 iThome鐵人賽