🌅 今日修煉開始
還記得昨天我們學會了如何用 DevSpace 的 HotReload 與 Hooks ?就像學會了開車的基本操作,但光會踩油門和煞車還不夠,我們還需要學會自動導航系統!
想像一下,每次開發時都要手動執行一堆指令:
- 先啟動資料庫
- 等資料庫準備好
- 執行資料 migrate
- 啟動應用程式
這就像每次開車都要手動調整座椅、後照鏡、音響... 太累了對吧?
今天我們要學習 DevSpace 的 Commands,讓開發環境變得像特斯拉一樣智慧!
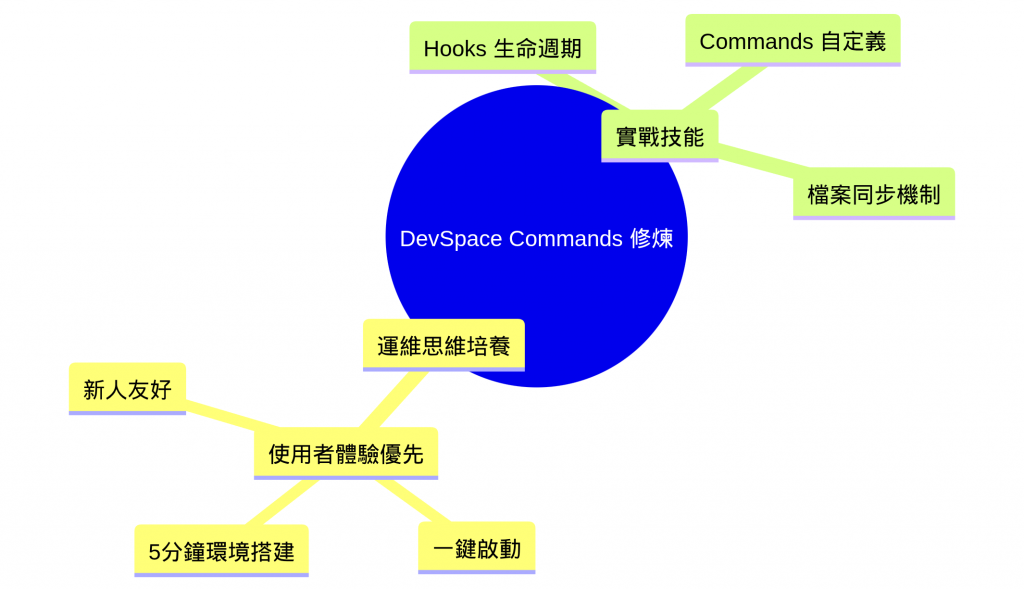
✅ Commands - 建立自定義開發指令
✅ Hooks 生命週期 - 在關鍵時刻執行特定動作
✅ 實戰整合 - 打造完整的自動化工作流
沒有自動化的痛苦日常
讓我用一個生活化的例子來說明。想像你是一家餐廳的主廚: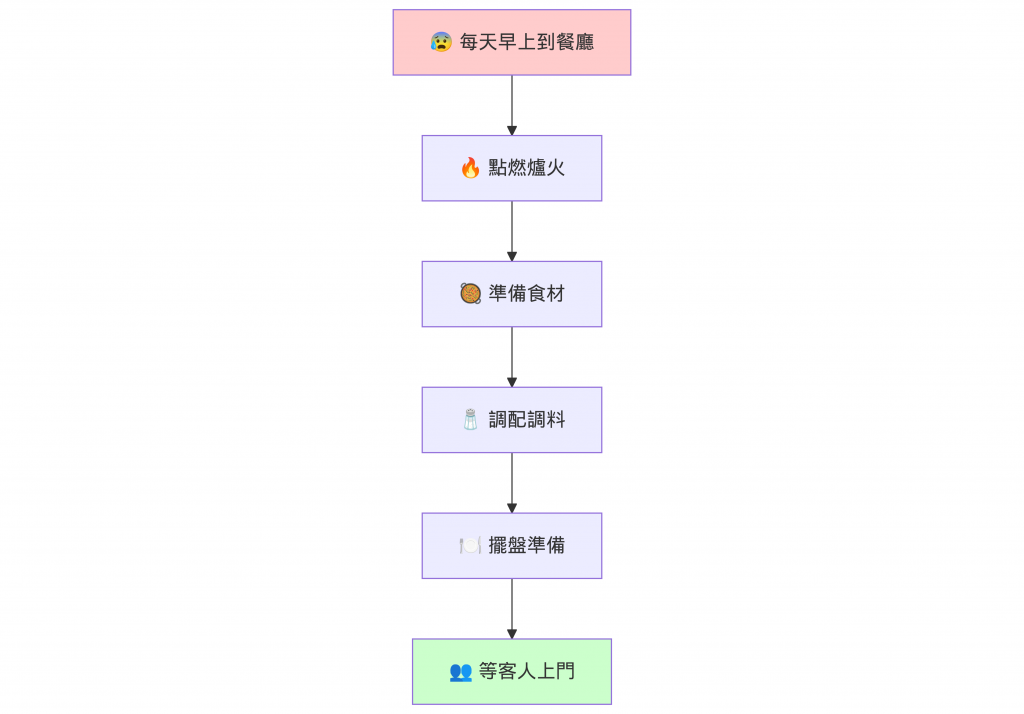
如果每天都要手動重複這些步驟,不僅累人,還容易出錯。萬一忘記點火就開始炒菜,或是調料還沒準備好就要出餐,整個流程就亂了!
開發環境的類似困擾
在容器開發中,我們也面臨類似問題:
# 傳統手動流程 😫
kubectl apply -f postgres.yaml
# 等等... 資料庫準備好了嗎?
kubectl get pods -w
# 好像可以了,執行遷移
kubectl exec -it postgres-pod -- psql -U postgres -d myapp -f migration.sql
# 再啟動應用
kubectl apply -f app.yaml
# 檢查狀態
kubectl get svc
# 設定 port-forward
kubectl port-forward svc/app 8080:8080
問題在哪裡?
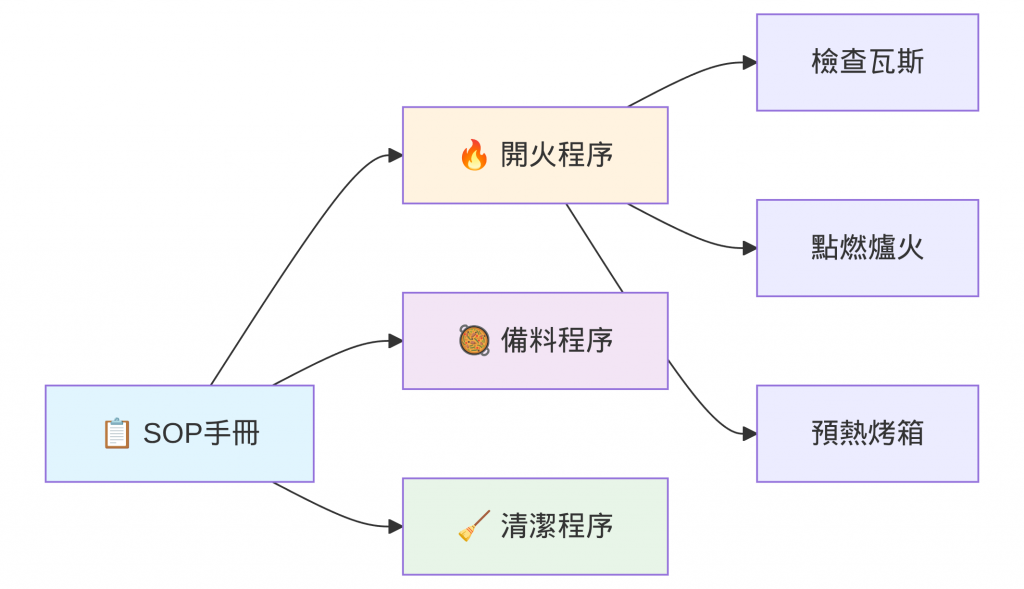
概念理解:像餐廳的標準作業程序
DevSpace Commands 就像餐廳的 標準作業程序 (SOP):
我們其實也很常寫 Makefile 的
target,預先編排好這些順序,然後一鍵執行,其實是異曲同工之妙。
# devspace.yaml
version: v2beta1
name: my-project

commands:
  migrate          # 指令名稱
      description: "Run migration"
      command: |-            # 要執行的指令
          echo "🚀 開始資料遷移..."
          # 你的指令內容

  setup
      description: "Setup db"
      command: |
          echo "🏗️ 環境設定中..."
          # 多行指令
讓我們建立一個遷移指令:
# devspace.yaml
commands:
  my-command:
    description: "Echo with custom parameters"
    command: |
      echo "Echo with parameters: $@"
      echo $1 $2
使用方式
> devspace list commands

     NAME   |          DESCRIPTION
  ----------+---------------------------------
    my-command | Echo with custom parameters
devspace run [dependency].[command] [command-flags-and-args]
> devspace run my-command ithome 雷N

info Using namespace 'devspace-demo'
info Using kube context 'kind-devspace-demo'
Deploying with parameters: ithome 雷N
ithome 雷N
我們應該很常有個需求是,寫後端時,常常需要執行 Database migration,執行 migrate 時機有︰
after:deploy
因此我們需要建立以下檔案來給 devpsace 執行。
tree
.
├── devspace.yaml
├── manifest
│   ├── postgres-deployment.yaml
│   ├── postgres-pvc.yaml
│   └── postgres-service.yaml
└── sql
    └── V1__Create_users_table.sql
postgres-pvc.yaml - 資料持久化儲存
apiVersion: v1
kind: PersistentVolumeClaim
metadata:
  name: postgres-pvc
spec:
  accessModes:
    - ReadWriteOnce
  resources:
    requests:
      storage: 1Gi
💡 就像給資料庫準備一個專用的保險箱,確保資料不會因為 Pod 重啟而消失
postgres-deployment.yaml - 資料庫部署配置
apiVersion: apps/v1
kind: Deployment
metadata:
  name: postgresql
spec:
  replicas: 1
  selector:
    matchLabels:
      app: postgresql
  template:
    metadata:
      labels:
        app: postgresql
    spec:
      containers:
      - name: postgresql
        image: postgres:13
        env:
        - name: POSTGRES_DB
          value: myapp
        - name: POSTGRES_USER
          value: postgres
        - name: POSTGRES_PASSWORD
          value: secret
        ports:
        - containerPort: 5432
        volumeMounts:
        - name: postgres-storage
          mountPath: /var/lib/postgresql/data
      volumes:
      - name: postgres-storage
        persistentVolumeClaim:
          claimName: postgres-pvc
postgres-service.yaml - 網路服務暴露
apiVersion: v1
kind: Service
metadata:
  name: postgresql
spec:
  selector:
    app: postgresql
  ports:
    - port: 5432
      targetPort: 5432
  type: ClusterIP
devspace.yaml 幾個重要特色:
我的想法是︰
before:deploy hook ,確認有多少 SQL 檔案after:deploy:postgresql 階段,測試 PostgreSQL 連接是否可用
能有多個hook handler都是聽同一個 hook event,就會按照宣告的順序依序執行。
hooks:
  # 部署前檢查
  - name: pre-deploy-setup
    events: ["before:deploy"]
    command: |
      echo "🚀 Starting PostgreSQL deployment..."
      echo "Checking if SQL files exist..."
      ls -la sql/

  # 等待 PostgreSQL 完全就緒
  - name: wait-for-postgresql
    events: ["after:deploy:postgresql"]
    command: |
      echo "⏳ Waiting for PostgreSQL pod to be scheduled..."
      kubectl wait --for=condition=PodScheduled pod -l app=postgresql -n devspace-demo --timeout=60s

      echo "⏳ Waiting for PostgreSQL to be ready..."
      kubectl wait --for=condition=ready pod -l app=postgresql -n devspace-demo --timeout=120s

      echo "🔍 Getting PostgreSQL pod name..."
      POD_NAME=$(kubectl get pods -l app=postgresql -n devspace-demo -o jsonpath='{.items[0].metadata.name}')
      echo "Found pod: $POD_NAME"

      echo "🔄 Waiting for PostgreSQL service to be ready..."
      sleep 10

      echo "🐘 Testing PostgreSQL connection..."
      kubectl exec $POD_NAME -n devspace-demo -- pg_isready -U postgres

      if [ $? -eq 0 ]; then
        echo "✅ PostgreSQL is ready!"
      else
        echo "❌ PostgreSQL is not ready yet, waiting..."
        sleep 20
      fi

  # 創建資料庫和執行 SQL migrate
  - name: setup-database-and-execute-scripts
    events: ["after:deploy"]
    command: |
      echo "📊 Setting up database and executing SQL scripts..."

      # 等待一段時間確保 PostgreSQL 完全啟動
      sleep 15

      POD_NAME=$(kubectl get pods -l app=postgresql -n devspace-demo -o jsonpath='{.items[0].metadata.name}')

      # 檢查 pod 是否存在且運行中
      if [ -z "$POD_NAME" ]; then
        echo "❌ No PostgreSQL pod found"
        exit 1
      fi

      echo "Found pod: $POD_NAME"

      # 檢查 pod 狀態
      POD_STATUS=$(kubectl get pod $POD_NAME -n devspace-demo -o jsonpath='{.status.phase}')
      echo "Pod status: $POD_STATUS"

      if [ "$POD_STATUS" != "Running" ]; then
        echo "❌ Pod is not running yet"
        exit 1
      fi

      # 檢查資料庫是否已存在,如果不存在則創建
      echo "🔍 Checking if database 'myapp' exists..."
      DB_EXISTS=$(kubectl exec $POD_NAME -n devspace-demo -- psql -U postgres -lqt | cut -d \| -f 1 | grep -w myapp | wc -l)

      if [ "$DB_EXISTS" -eq 0 ]; then
        echo "📝 Creating database 'myapp'..."
        kubectl exec $POD_NAME -n devspace-demo -- psql -U postgres -c "CREATE DATABASE myapp;"
        if [ $? -eq 0 ]; then
          echo "✅ Database 'myapp' created successfully"
        else
          echo "❌ Failed to create database 'myapp'"
          exit 1
        fi
      else
        echo "✅ Database 'myapp' already exists"
      fi

      # 執行 SQL 腳本 - 使用修正的方法
      echo "📊 Executing SQL initialization scripts..."
      for script in sql/*.sql; do
        if [ -f "$script" ]; then
          echo "📝 Executing $(basename $script)..."

          # 方法1: 使用 cat 和管道
          cat "$script" | kubectl exec -i $POD_NAME -n devspace-demo -- psql -U postgres -d myapp

          if [ $? -eq 0 ]; then
            echo "✅ Successfully executed $(basename $script)"
          else
            echo "❌ Failed to execute $(basename $script)"
            # 顯示腳本內容以便調試
            echo "🔍 Script content:"
            cat "$script"
          fi
        fi
      done

      echo "🎉 Database setup completed!"

  # 顯示資料庫的 table 和資料
  - name: show-database-info
    events: ["after:deploy"]
    command: |
      sleep 5
      echo "🐘 Showing PostgreSQL database information..."
      POD_NAME=$(kubectl get pods -l app=postgresql -n devspace-demo -o jsonpath='{.items[0].metadata.name}')

      if [ ! -z "$POD_NAME" ]; then
        echo "📋 Available databases:"
        kubectl exec $POD_NAME -n devspace-demo -- psql -U postgres -l

        echo ""
        echo "📊 Tables in 'myapp' database:"
        kubectl exec $POD_NAME -n devspace-demo -- psql -U postgres -d myapp -c "\dt"

        echo ""
        echo "🔍 Table structure for 'users':"
        kubectl exec $POD_NAME -n devspace-demo -- psql -U postgres -d myapp -c "\d users"

        echo ""
        echo "📈 Indexes on 'users' table:"
        kubectl exec $POD_NAME -n devspace-demo -- psql -U postgres -d myapp -c "\di"

        echo ""
        echo "📊 Sample data from users table:"
        kubectl exec $POD_NAME -n devspace-demo -- psql -U postgres -d myapp -c "SELECT COUNT(*) as total_users FROM users;"
      else
        echo "❌ PostgreSQL pod not found"
      fi
實際執行
devspace dev --debug
透過 DataGrip 連接資料庫,(如果 service有設定正確)
完美!資料表建立了,初始測試資料也匯入了。
由於要執行 migrate,那我們要監聽 sql 資料夾的更動,並上傳到容器中。
這時就應用到之前學到的 sync,我們將 /sql資料夾隨時上傳到容器中。
dev:
  postgresql:
    name: postgresql
    labelSelector:
      app: postgresql
    sync:
      - path: ./sql:/docker-entrypoint-initdb.d
        excludePaths:
          - '*.tmp'
    logs:
      enabled: true
    ports:
      - port: 5432:5432
也新增一個 after:initialSync hook,用來確保新增的SQL有被同步過去
hooks:
  # 文件同步完成通知
  - name: dev-ready-notification
    events: ["after:initialSync"]
    command: |
      echo "🔄 File sync completed!"
      echo "💡 You can now connect to PostgreSQL at localhost:5432"
      echo "💡 Username: postgres, Database: myapp"
      echo "💡 To connect: psql -h localhost -p 5432 -U postgres -d myapp"
      echo ""
      echo "🚀 Development environment is ready!"
也新增一個 migrate command,用來執行 migration
commands:
  migrate:
    description: "Execute all SQL migration files"
    command: |
      echo "🚀 Starting database migration..."

      # 獲取 PostgreSQL pod 名稱
      POD_NAME=$(kubectl get pods -l app=postgresql -n devspace-demo -o jsonpath='{.items[0].metadata.name}')

      if [ -z "$POD_NAME" ]; then
        echo "❌ PostgreSQL pod not found. Make sure the development environment is running."
        echo "💡 Run 'devspace dev' first to start PostgreSQL"
        exit 1
      fi

      # 檢查 pod 狀態
      POD_STATUS=$(kubectl get pod $POD_NAME -n devspace-demo -o jsonpath='{.status.phase}')
      echo "📊 Pod status: $POD_STATUS"

      if [ "$POD_STATUS" != "Running" ]; then
        echo "❌ PostgreSQL pod is not running"
        exit 1
      fi

      # 測試資料庫是否可連線
      echo "🔍 Testing PostgreSQL connection..."
      kubectl exec $POD_NAME -n devspace-demo -- pg_isready -U postgres

      if [ $? -ne 0 ]; then
        echo "❌ PostgreSQL is not ready"
        exit 1
      fi

      # 確保資料庫存在
      echo "🔍 Checking if database 'myapp' exists..."
      DB_EXISTS=$(kubectl exec $POD_NAME -n devspace-demo -- psql -U postgres -lqt | cut -d \| -f 1 | grep -w myapp | wc -l)

      if [ "$DB_EXISTS" -eq 0 ]; then
        echo "📝 Creating database 'myapp'..."
        kubectl exec $POD_NAME -n devspace-demo -- psql -U postgres -c "CREATE DATABASE myapp;"
      fi

      # 執行所有 SQL 文件
      echo "📊 Executing SQL migration files..."
      MIGRATION_COUNT=0
      SUCCESS_COUNT=0

      for script in sql/*.sql; do
        if [ -f "$script" ]; then
          MIGRATION_COUNT=$((MIGRATION_COUNT + 1))
          echo ""
          echo "📝 [${MIGRATION_COUNT}] Executing $(basename $script)..."

          # 顯示文件內容預覽
          echo "🔍 Preview:"
          head -3 "$script" | sed 's/^/   /'
          echo "   ..."

          # 執行 SQL 文件
          cat "$script" | kubectl exec -i $POD_NAME -n devspace-demo -- psql -U postgres -d myapp

          if [ $? -eq 0 ]; then
            echo "✅ Successfully executed $(basename $script)"
            SUCCESS_COUNT=$((SUCCESS_COUNT + 1))
          else
            echo "❌ Failed to execute $(basename $script)"
            echo "🔍 Script content:"
            cat "$script" | sed 's/^/   /'
          fi
        fi
      done

      echo ""
      echo "🎉 Migration completed!"
      echo "📊 Summary: ${SUCCESS_COUNT}/${MIGRATION_COUNT} files executed successfully"
新增資料 V3_add_more_user.sql
INSERT INTO public.users (id, name, department, created_at) VALUES (3, '雷NNN', 'ithome', '2025-08-30 17:05:42.139438 +00:00');
能看到 devspace 立刻上傳
15:07:25 dev:postgresql sync  Upstream - Event from filesystem for /home/nathan/Project/ithome2025/day16/database/sql/V3_add_more_user.sql
15:07:26 dev:postgresql sync  Upstream - Start applying 2 changes
15:07:26 dev:postgresql sync  Upstream - Upload File 'V3_add_more_user.sql'
15:07:26 dev:postgresql sync  Upstream - Upload 1 create change(s) (Uncompressed ~0.12 KB)
15:07:26 dev:postgresql sync  Upstream - Done Uploading
15:07:26 dev:postgresql sync  Upstream - Successfully processed 1 change(s)
15:07:26 dev:postgresql sync  Upstream - Done applying changes
15:07:27 dev:postgresql sync  Downstream - Start collecting changes
15:07:27 dev:postgresql sync  Downstream - Done collecting changes
15:07:27 dev:postgresql sync  Downstream - Start applying 0 changes
15:07:27 dev:postgresql sync  Downstream - Done applying changes
執行 devspace run migrate
> devspace run migrate
info Using namespace 'devspace-demo'
info Using kube context 'kind-devspace-demo'
🚀 Starting database migration...
📊 Pod status: Running
🔍 Testing PostgreSQL connection...
/var/run/postgresql:5432 - accepting connections
🔍 Checking if database 'myapp' exists...
📊 Executing SQL migration files...

📝 [1] Executing V1__Create_users_table.sql...
🔍 Preview:
   -- V1__Create_users_table.sql
   CREATE TABLE IF NOT EXISTS users (
       id SERIAL PRIMARY KEY,
   ...
CREATE TABLE
NOTICE:  relation "users" already exists, skipping
NOTICE:  relation "idx_users_department" already exists, skipping
CREATE INDEX
NOTICE:  relation "idx_users_created_at" already exists, skipping
CREATE INDEX
✅ Successfully executed V1__Create_users_table.sql

📝 [2] Executing V2_Add_init_data.sql...
🔍 Preview:
   INSERT INTO public.users (id, name, department, created_at) VALUES (1, '雷N', 'ithome', '2025-08-30 17:05:42.139438 +00:00');
   INSERT INTO public.users (id, name, department, created_at) VALUES (2, '雷NN', 'ithome', '2025-08-30 17:05:42.139438 +00:00');
   ...
ERROR:  duplicate key value violates unique constraint "users_pkey"
DETAIL:  Key (id)=(1) already exists.
ERROR:  duplicate key value violates unique constraint "users_pkey"
DETAIL:  Key (id)=(2) already exists.
✅ Successfully executed V2_Add_init_data.sql

📝 [3] Executing V3_add_more_user.sql...
🔍 Preview:
   INSERT INTO public.users (id, name, department, created_at) VALUES (3, '雷NNN', 'ithome', '2025-08-30 17:05:42.139438 +00:00');   ...
INSERT 0 1
✅ Successfully executed V3_add_more_user.sql

🎉 Migration completed!
📊 Summary: 3/3 files executed successfully
到此,我們就實現了在K8s中,透過 DevSpace 佈署資料庫以及 migration 機制。
經過今天的實戰練習,我們成功地從「手工作坊」進化到「自動化工廠」!讓我們回顧一下這個轉變過程:
🔄 從混亂到有序的進化歷程
Before: 手動地獄 😫
# 每次開發都要重複這些步驟...
kubectl apply -f postgres.yaml
kubectl get pods -w  # 眼巴巴等待...
kubectl exec -it postgres-pod -- psql ...  # 手動執行 SQL
kubectl apply -f app.yaml
kubectl port-forward ...  # 又要記一堆指令
After: 一鍵自動化 🚀
# 現在只需要...
devspace dev          # 自動部署 + 初始化
devspace run migrate  # 動態執行遷移


 iThome鐵人賽