在行程規劃 App 裡,地圖不只是背景,而是資訊承載的重要介面。今天要動手實作 Google Map 在 Flutter 中的客製化應用,重點在於「地圖樣式切換」,以及如何根據主題自動呈現不同的外觀。
透過 google_maps_flutter 的 Map Style 功能,我們可以自由調整地圖的顏色、道路樣式、建築顏色,甚至決定哪些元素要顯示或隱藏,讓地圖更符合使用場景。
Google 提供了 Map Style 工具,能夠直覺地設計地圖樣式,例如道路顏色、建築外觀,最後會產生對應的 JSON。
Google Map 的樣式設定是由一組 JSON 陣列控制,每個物件代表一種「元素(featureType)」與「子元素(elementType)」的設定,並透過 stylers 修改顏色、可見性等屬性。
官方文件可參考 Google Maps Styling Reference。
[
  {
    "featureType": "road.local",
    "elementType": "geometry.fill",
    "stylers": [
      { "color": "#ffcc00" },
      { "visibility": "on" }
    ]
  }
]
featureType:要調整的地圖類別,例如:
road.local → 小路road.highway → 高速公路poi.park → 公園water → 河流、湖泊elementType:細分類別,例如:
geometry.fill → 填滿顏色geometry.stroke → 邊框線條labels.text.fill → 文字顏色labels.icon → 標籤圖示stylers:實際樣式修改,例如:
color → HEX 色碼visibility → on / off / simplified
lightness、saturation → 調整亮度、飽和度google_maps_flutter 提供了 style 屬性,只要讀取 JSON 並套用,就能切換地圖外觀。這也意味著我們可以根據 App 的「日夜模式」自動切換不同的地圖主題。
assets/
 └─ maps/
     ├─ light_map.json
     └─ dark_map.json
pubspec.yaml 註冊flutter:
assets:
- assets/maps/light_map.json
- assets/maps/dark_map.json
final mapStyleProvider = FutureProvider.family<String, String>((ref, assetPath) async {
  return await rootBundle.loadString(assetPath);
});
class MapScreen extends ConsumerWidget {
  final List<LatLng> locations;

  const MapScreen({super.key, required this.locations});

  @override
  Widget build(BuildContext context, WidgetRef ref) {
    final isDark = Theme.of(context).brightness == Brightness.dark;

    final assetPath = isDark
        ? 'assets/maps/dark_map.json'
        : 'assets/maps/light_map.json';

    final mapStyleAsync = ref.watch(mapStyleProvider(assetPath));

    return mapStyleAsync.when(
      data: (mapStyle) => GoogleMap(
        initialCameraPosition: CameraPosition(
          target: locations.isNotEmpty ? locations.first : LatLng(25.0340, 121.5645),
          zoom: 14,
        ),
        style: mapStyle,
      ),
      loading: () => const Center(child: CircularProgressIndicator()),
      error: (err, stack) => Center(child: Text('載入失敗: $err')),
    );
  }
}
這樣就能讓地圖依據主題自動切換樣式,實現日夜模式或自訂風格。
今天的客製化,目標是讓使用者專注於「當日行程」與「交通資訊」,同時保留必要的地理參考。
landscape.natural 開啟,方便戶外行程參考。最終效果是:重點清楚、資訊乾淨、視覺簡潔,更符合行程規劃 App 的需求。
| 淺色 | 深色 |
|---|---|
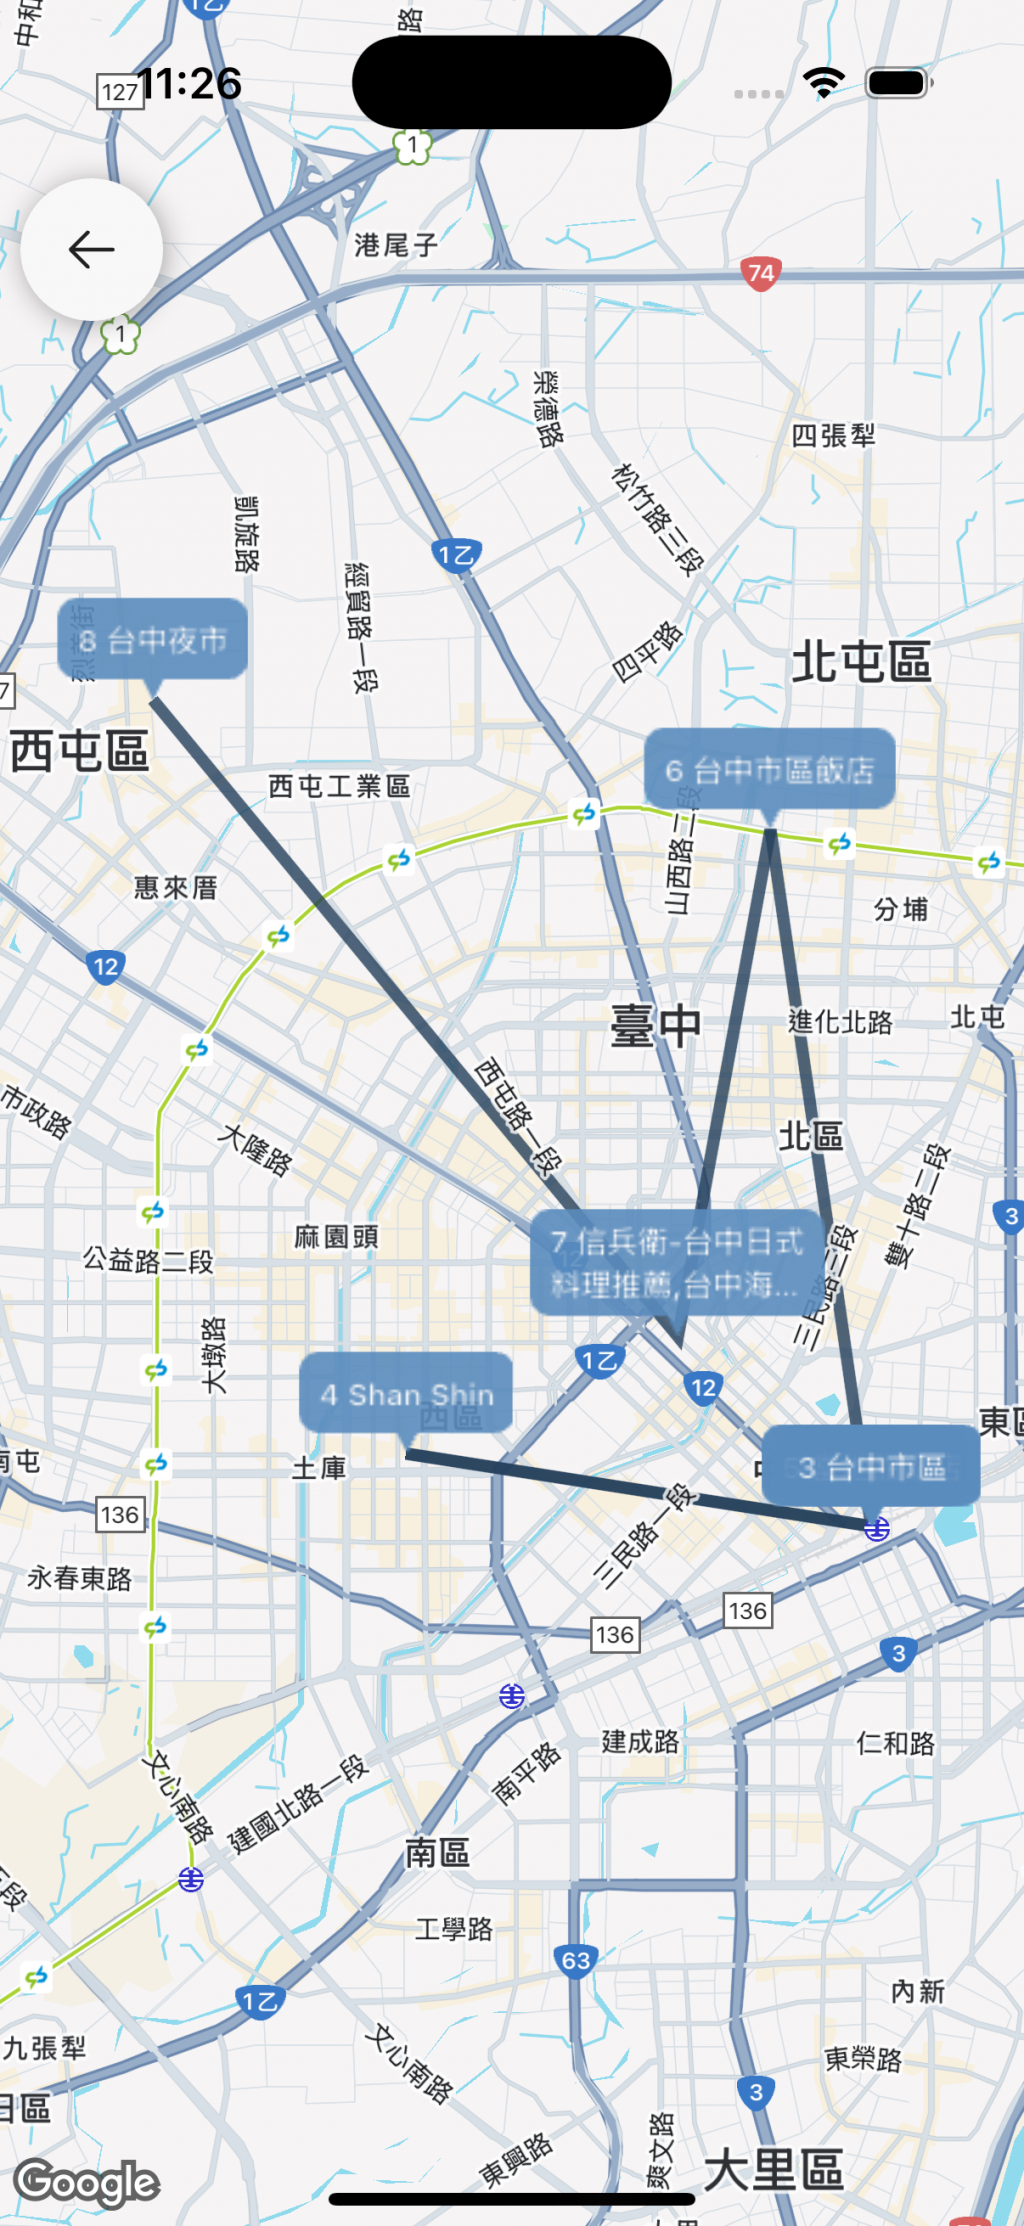 |
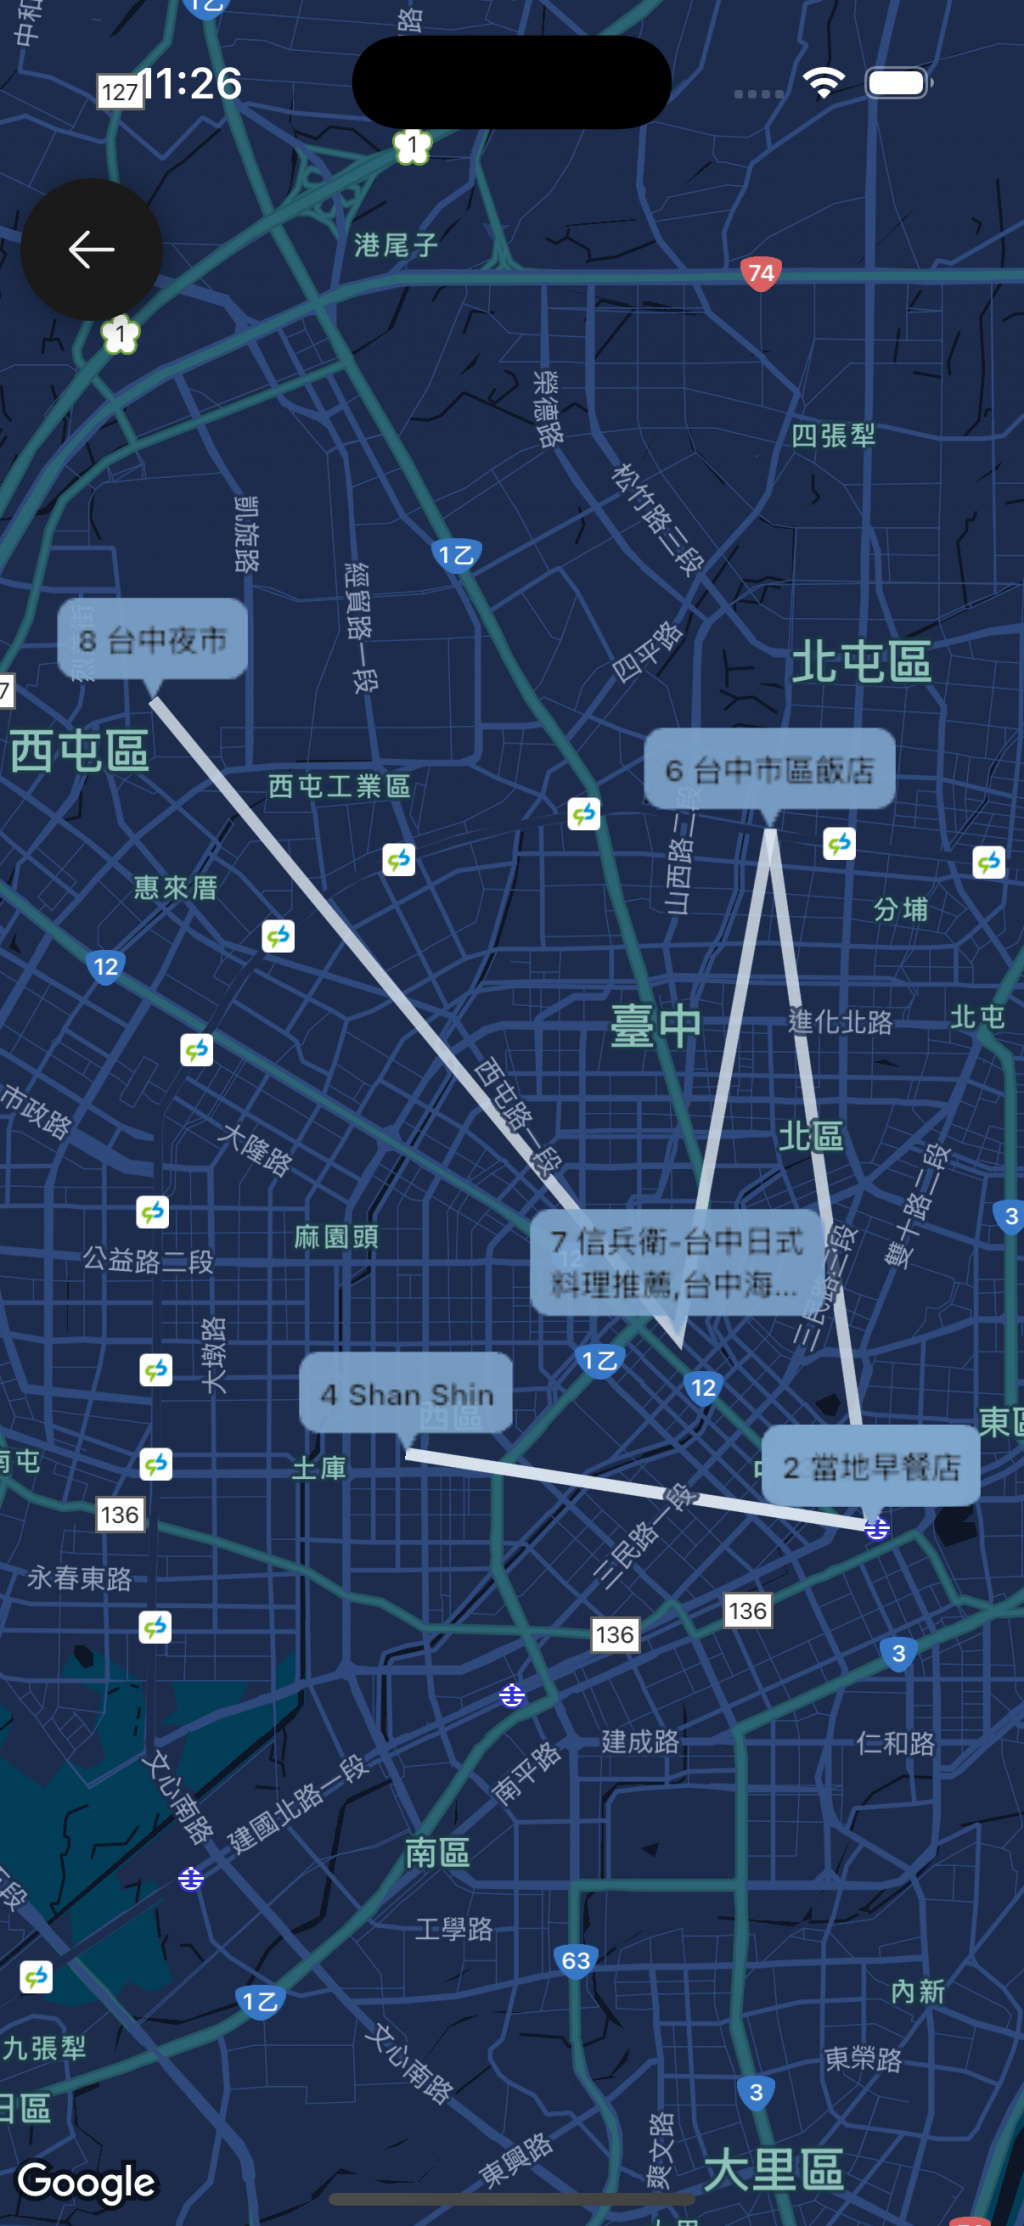 |


 iThome鐵人賽